
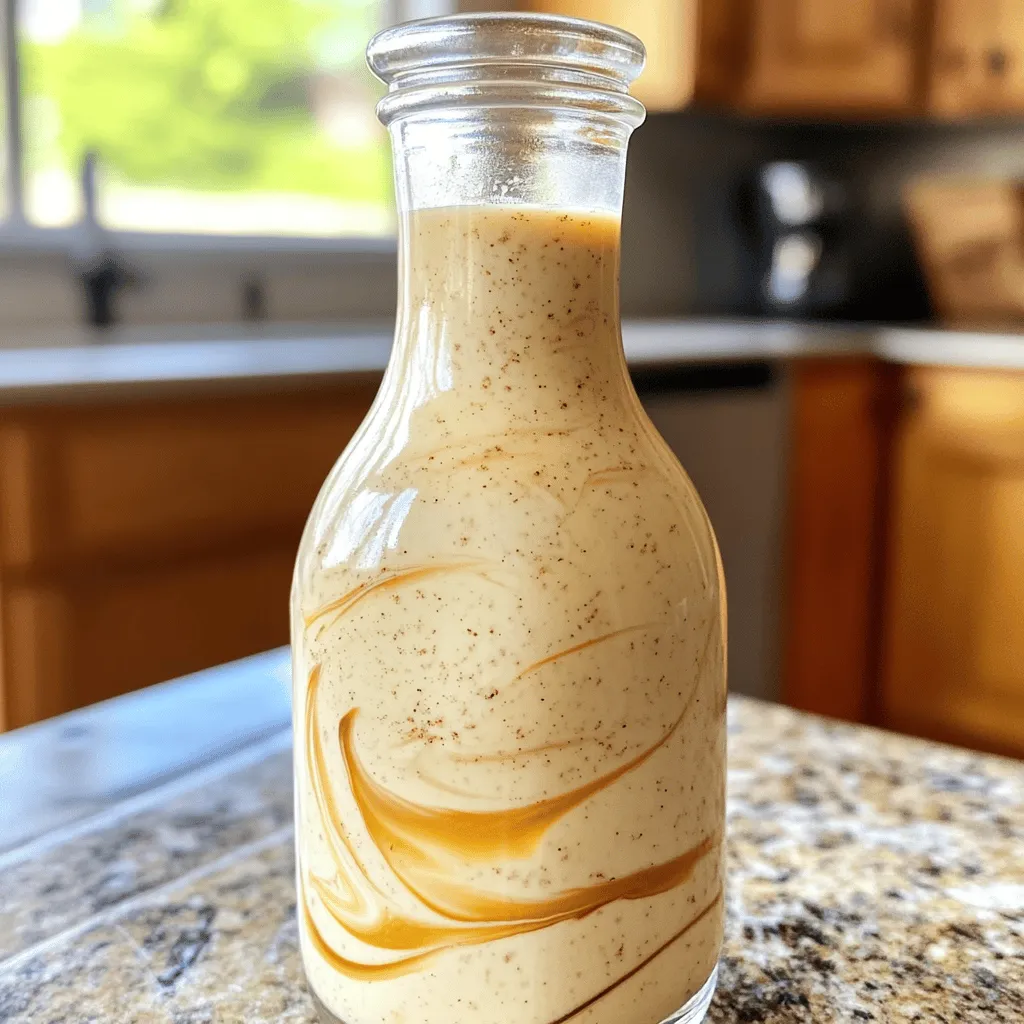
Are you ready to elevate your morning coffee with a rich, homemade Vanilla Bean Coffee Creamer? This delightfully creamy recipe will impress your taste buds and transform your daily brew. With just a few simple ingredients, you can craft a smooth, delicious creamer that fits any taste preference. Join me as I guide you through the easy steps to master this tasty addition to your coffee routine. It’s time to savor each sip!
Ingredients
Main Ingredients for Vanilla Bean Coffee Creamer
– 2 cups whole milk (or plant-based milk)
– 1 cup heavy cream
– 1/4 cup pure maple syrup (or agave nectar)
– 1 vanilla bean
– 1 teaspoon pure vanilla extract
– A pinch of salt
The main ingredients make this creamer rich and smooth. Whole milk gives a creamy base, while heavy cream adds extra thickness. Maple syrup or agave nectar sweetens the mix naturally.
The star of our recipe is the vanilla bean. It has small seeds that burst with flavor. Scraping the seeds from the bean brings out the best taste. The extra vanilla extract boosts the flavor even more. A pinch of salt enhances all the sweet notes.
Optional Add-Ins and Substitutions
– Different sweeteners (e.g., honey, sugar)
– Alternative flavorings (e.g., cocoa powder, cinnamon)
– Dairy-free options for lactose intolerance
You can switch up the sweeteners based on your taste. Honey and sugar work well if you want a different flavor. You might also add cocoa powder for a chocolate twist or cinnamon for warmth.
If you’re lactose intolerant, use plant-based milk instead of whole milk. Almond, oat, or coconut milk are great choices. These options keep the creamer tasty and creamy.
Step-by-Step Instructions
Preparation Steps
1. Start by pouring 2 cups of whole milk and 1 cup of heavy cream into a medium saucepan.
2. Place the saucepan over medium heat. Stir the mixture as it warms up.
3. Keep a close eye on it. You want it warm, not boiling. This step helps the flavors blend well.
4. Once warm, add 1/4 cup of pure maple syrup. You can also use agave nectar as a sweetener.
5. Stir gently until the syrup mixes in fully. This natural sweetness adds depth to the creamer.
Infusing Flavors
1. Take 1 vanilla bean and split it lengthwise.
2. Scrape out the seeds carefully, adding them to the saucepan.
3. Don’t forget to add the split bean pods too. They add extra flavor as they steep.
4. Let the mixture heat for another 5-7 minutes. Stir gently to combine.
5. Keep the heat low, so it doesn’t boil. This is key for a great infusion.
6. After steeping, take the saucepan off the heat. Stir in 1 teaspoon of pure vanilla extract and a pinch of salt.
Straining and Storing
1. Allow the mixture to cool to room temperature.
2. Strain it through a fine-mesh sieve or cheesecloth. This removes the vanilla bean pods.
3. Pour the smooth creamer into a clean bottle or jar. Seal it tightly.
4. Store in the refrigerator. It will stay fresh for up to one week.
Enjoy your homemade vanilla bean coffee creamer! It adds a rich, creamy touch to your coffee.
Tips & Tricks
Achieving the Perfect Creaminess
To create a rich, creamy texture, choose whole milk and heavy cream. Whole milk gives a smooth base, while heavy cream adds velvety richness. If you prefer plant-based options, almond or oat milk works well too. Just remember, avoid boiling the mixture. Keep the heat low to keep flavors bold and fresh.
Customization and Scaling the Recipe
You can easily adjust the sweetness of your creamer. If you like it sweeter, add more maple syrup or agave nectar. For less sweetness, reduce the amount. If you need more or less creamer, just double or halve the ingredients. This makes it easy to fit your needs.
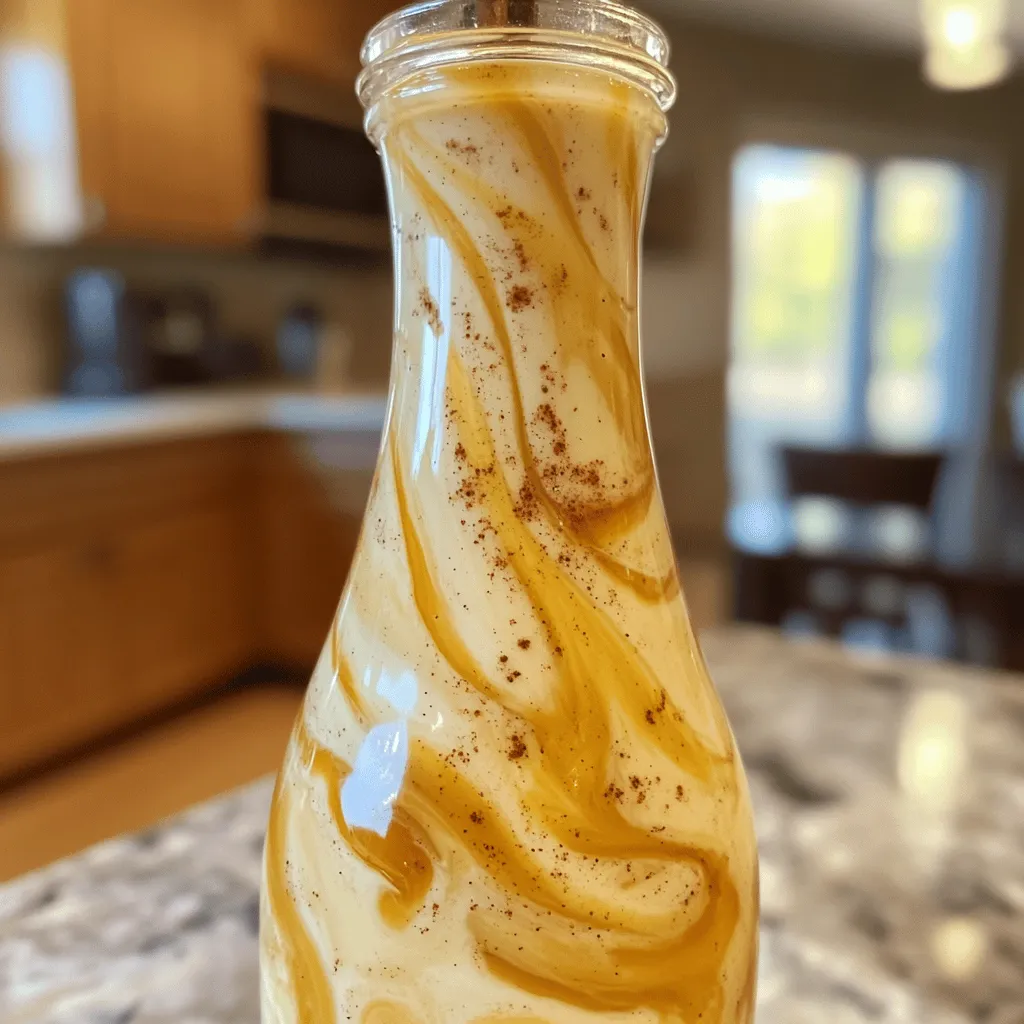
Presentation Ideas
Serve your creamer in a clear glass bottle for a pretty look. You can add a ribbon or label for a special touch. For a fun twist, drizzle some vanilla syrup on top when serving. Pair this creamer with any coffee type, like espresso or cold brew, for a delicious treat.
Variations
Flavor Variations
You can make your vanilla bean coffee creamer even more exciting. Try these fun flavors:
– Chocolate vanilla bean creamer: Add 1/4 cup of cocoa powder to your milk and cream mix. This chocolatey twist will bring rich depth to your coffee.
– Spiced vanilla bean creamer: Add a pinch of cinnamon and a dash of nutmeg while heating the mixture. This will warm up your drink with cozy spices.
Alternative Milk Options
You can make this creamer with different milk. Here are some great choices:
– Almond milk: This nutty option gives a light flavor. It pairs well with vanilla.
– Oat milk: Creamy and smooth, oat milk adds a nice, sweet touch.
– Coconut milk: For a tropical vibe, use coconut milk. It adds a rich, creamy texture.
Sugar-Free or Vegan Options
You can easily make this creamer fit your diet. Here’s how:
– Making a sugar-free version: Swap maple syrup with a sugar-free sweetener like stevia or erythritol. This keeps the sweetness without the sugar.
– Using only plant-based ingredients: Choose almond, oat, or coconut milk and use agave nectar instead of maple syrup. This keeps it vegan and delicious.
Storage Info
How to Store Vanilla Bean Coffee Creamer
Store your creamer in a clean glass bottle or jar. Glass keeps flavors fresh. Use an airtight container to avoid any odor absorption. Always make sure the container is tightly sealed. This helps keep the creaminess intact and prevents spoilage.
Shelf Life and Usage
Your homemade vanilla bean coffee creamer lasts about one week in the fridge. Always look for signs of spoilage. If it smells sour or has a change in texture, it’s time to toss it. A good rule is to check for any visible mold as well.
Freezing Tips
You can freeze the creamer for longer storage. Pour it into ice cube trays for easy use later. Once frozen, transfer the cubes to a freezer bag. When you need some, just thaw a few cubes in the fridge overnight. This keeps your coffee experience fresh and delightful!
FAQs
What is vanilla bean coffee creamer?
Vanilla bean coffee creamer is a rich, creamy addition to your coffee. It uses real vanilla beans, not artificial flavoring. Real vanilla beans offer a deep, natural flavor that enhances your drink. Artificial flavoring lacks the same taste depth. When you use a vanilla bean, you get tiny seeds that add texture and aroma. This makes your coffee feel special and gourmet.
Can I use vanilla extract instead of a vanilla bean?
Yes, you can use vanilla extract instead of a vanilla bean. However, the flavor will differ. Vanilla extract is more potent, but it lacks the unique texture of vanilla seeds. If you choose to substitute, use about 2 teaspoons of vanilla extract. This will give you a good flavor, but you will not have the same visual appeal. For the best taste, try both and see which you like more.
How long does homemade vanilla bean coffee creamer last?
Homemade vanilla bean coffee creamer lasts about one week in the fridge. Store it in a clean, airtight container. Keep it away from strong odors to maintain its flavor. If you see any changes in color or smell, it may be time to toss it out. Always check for signs of spoilage before using. This way, you enjoy the best taste in your coffee.
In this article, we explored how to make creamy vanilla bean coffee creamer at home. We covered essential ingredients, easy steps, and tips for perfect flavor and texture. You now know how to customize your creamer to fit your taste and needs. Remember to store it properly to keep it fresh. With these insights, your coffee can taste even better. Enjoy crafting your unique coffee creamer and delight in every sip!


