
Second Healthy Mug Cake Tasty and Easy Recipe
A quick and easy mug cake made with ripe bananas and nutty flavors, perfect for a single serving des...
6 min
1
Sweet treats and desserts
A quick and easy mug cake made with ripe bananas and nutty flavors, perfect for a single serving des...

Delicious and easy-to-make no-bake cookie dough bars that are perfect for satisfying your sweet toot...

Delicious strawberries filled with a creamy cheesecake mixture and topped with graham cracker crumbs...
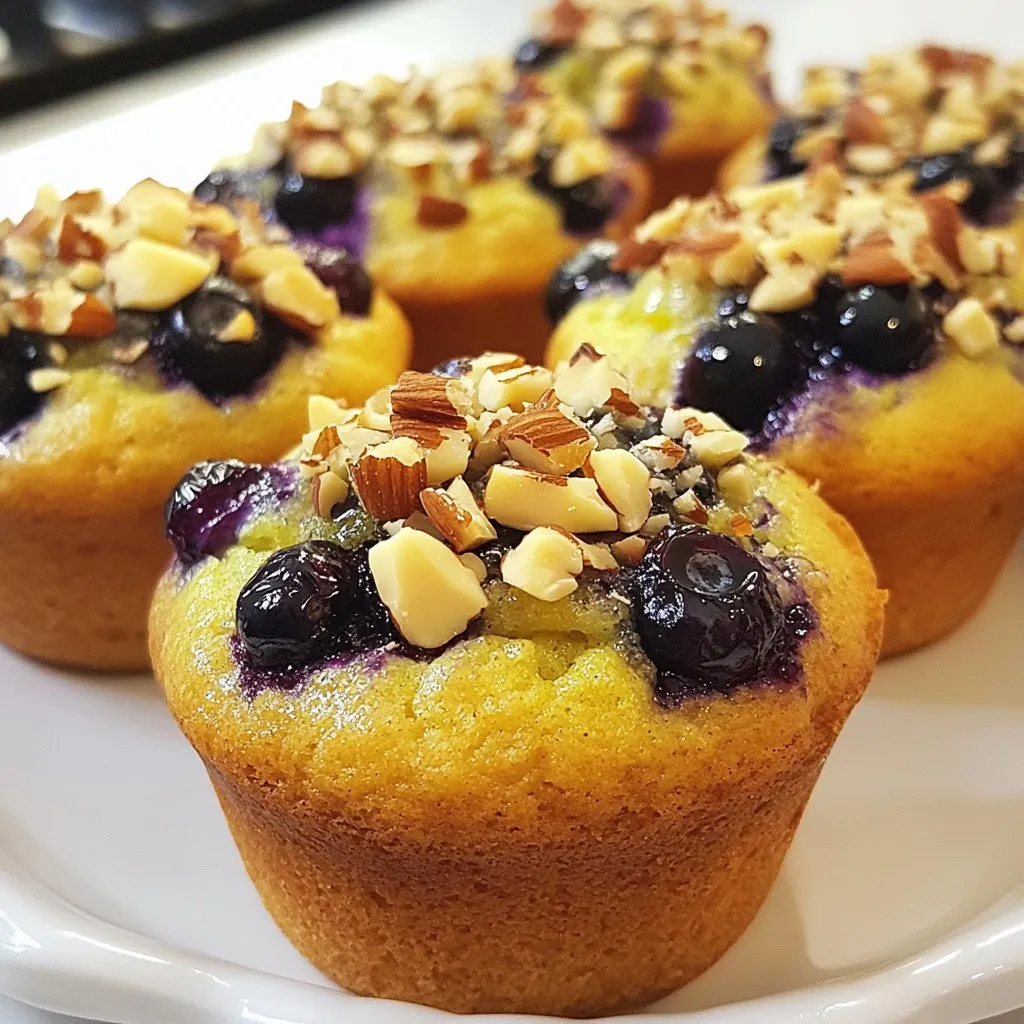
Delicious and healthy blueberry muffins made without sugar, perfect for a guilt-free treat.
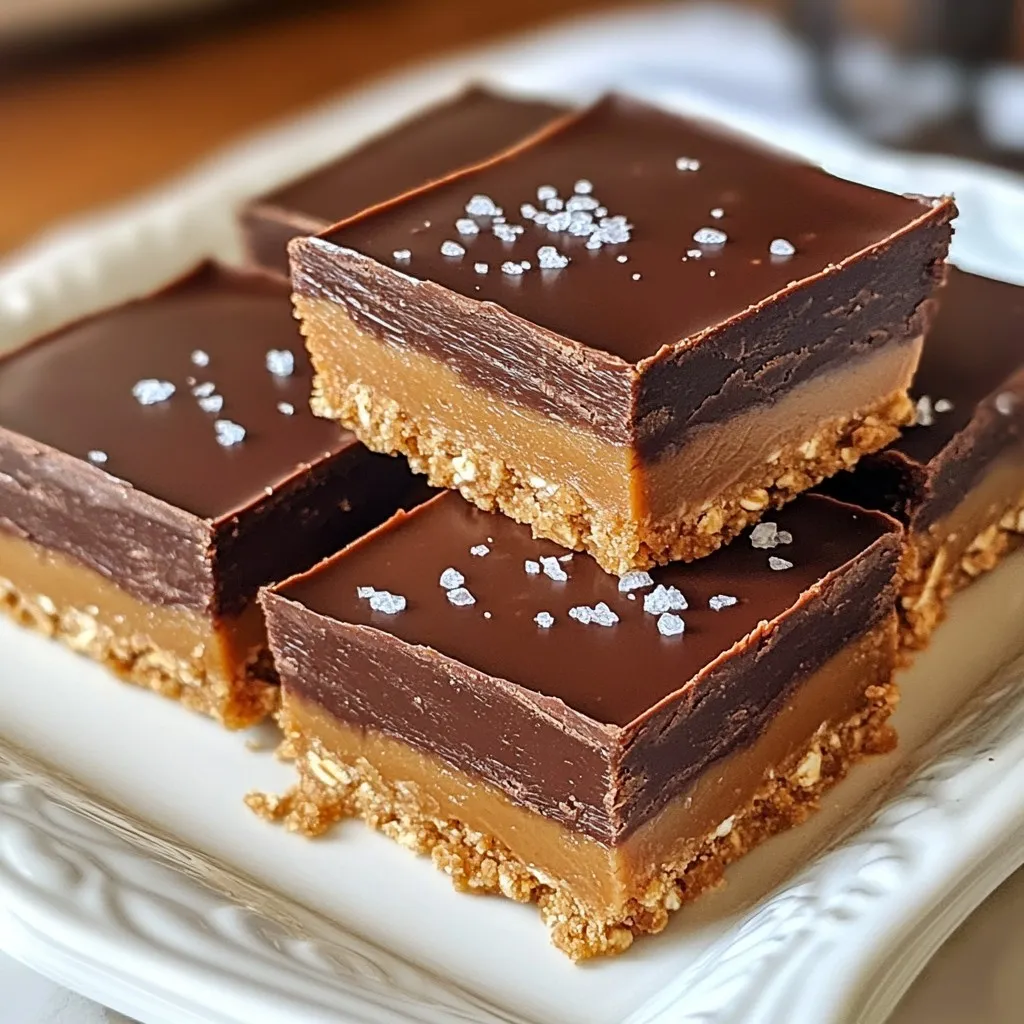
Delicious and easy-to-make no-bake bars combining chocolate and peanut butter.
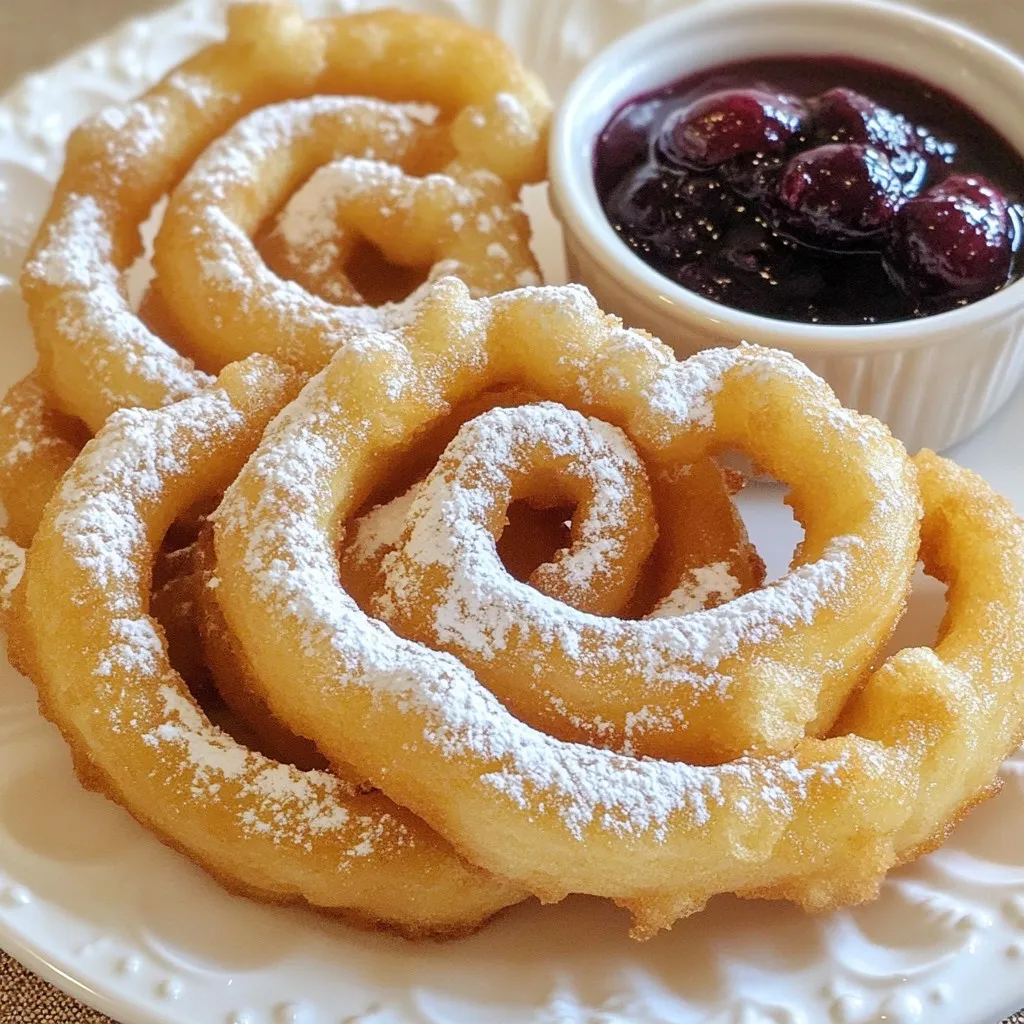
A fun and easy recipe for making funnel cake bites in an air fryer, perfect for a sweet treat.
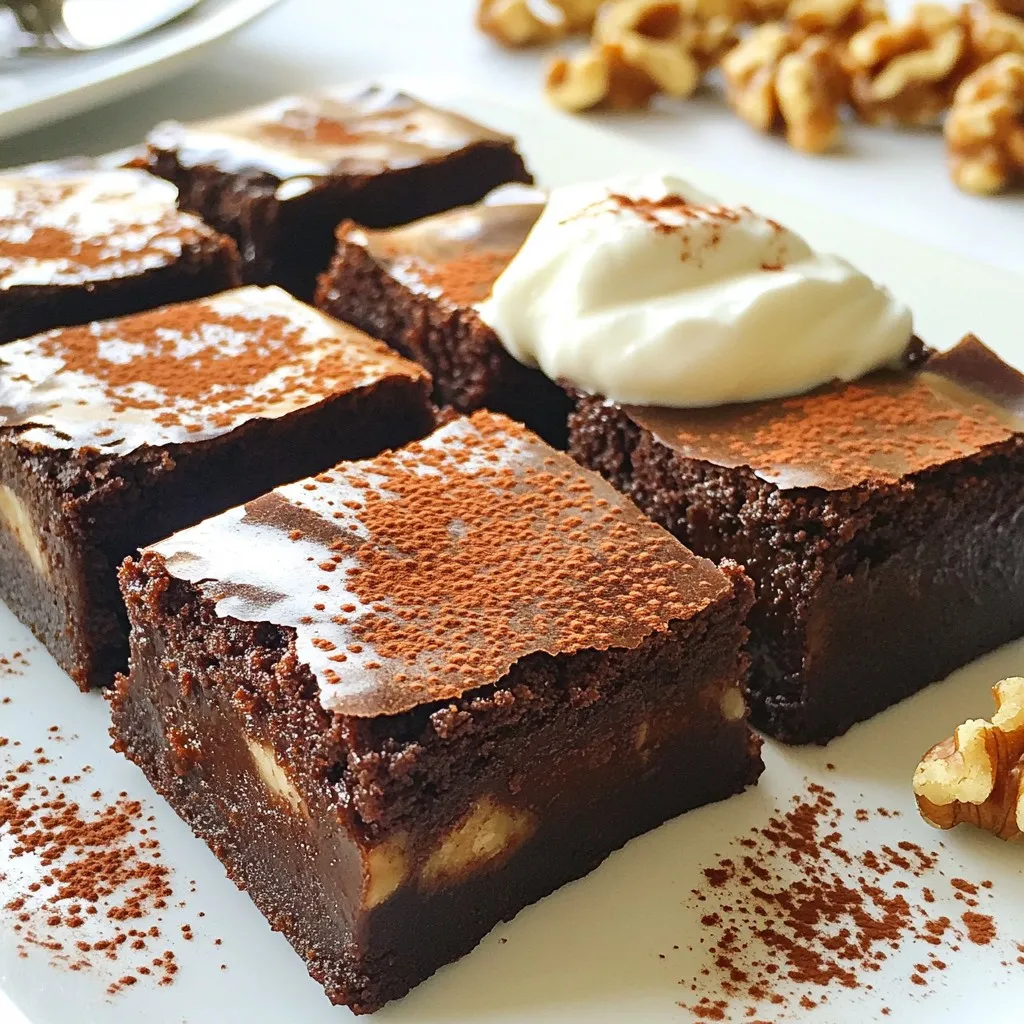
Delicious and healthier brownies made with Greek yogurt and whole wheat flour.
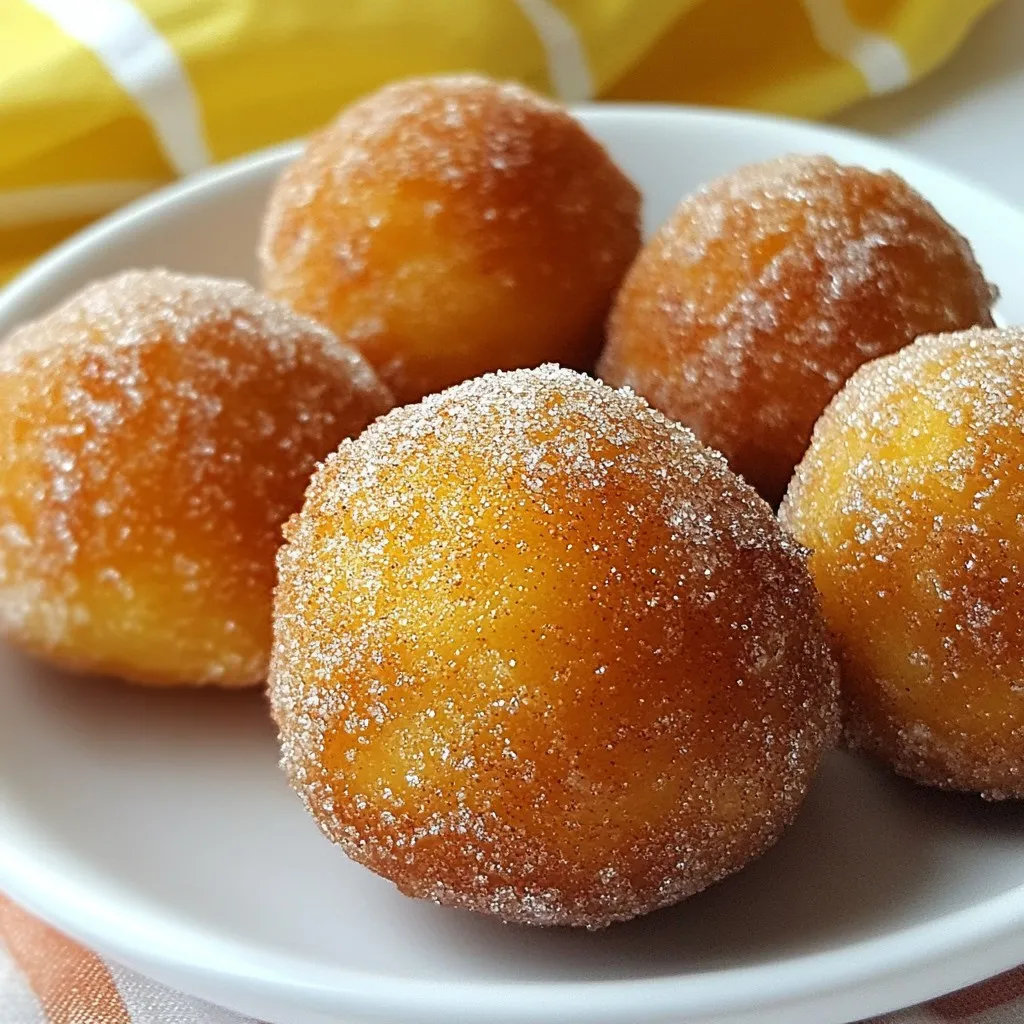
Delicious and fluffy donut holes coated in cinnamon sugar.
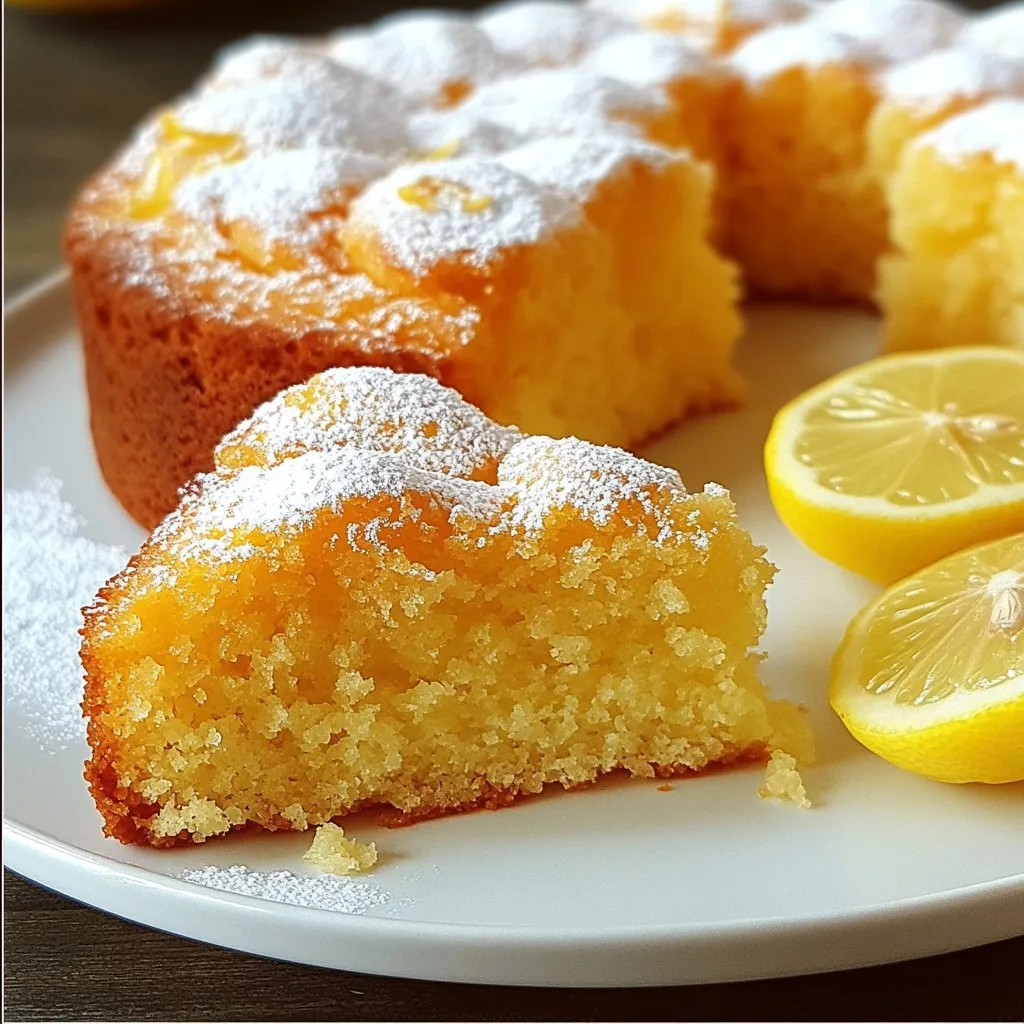
A light and refreshing cake made with Greek yogurt and lemon, perfect for any occasion.
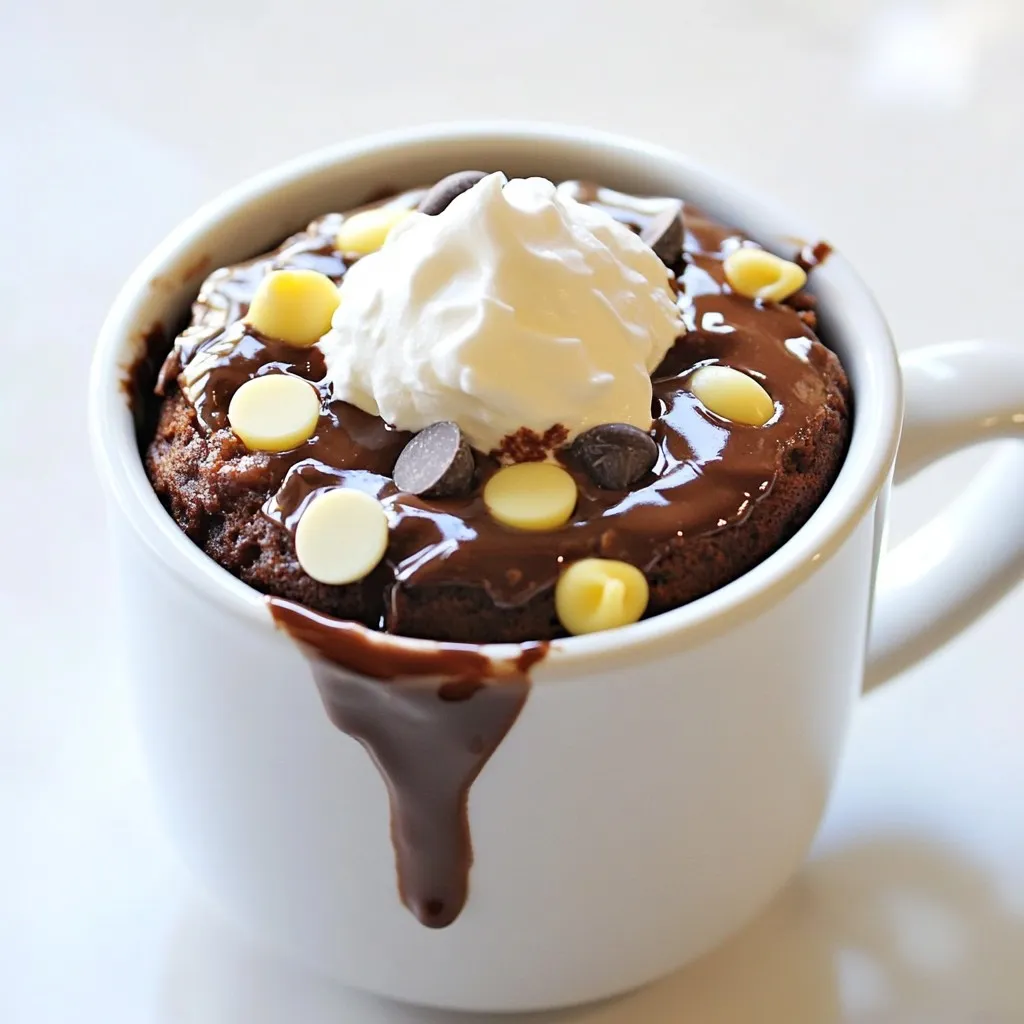
A rich and indulgent mug cake featuring three types of chocolate for a quick and satisfying dessert.
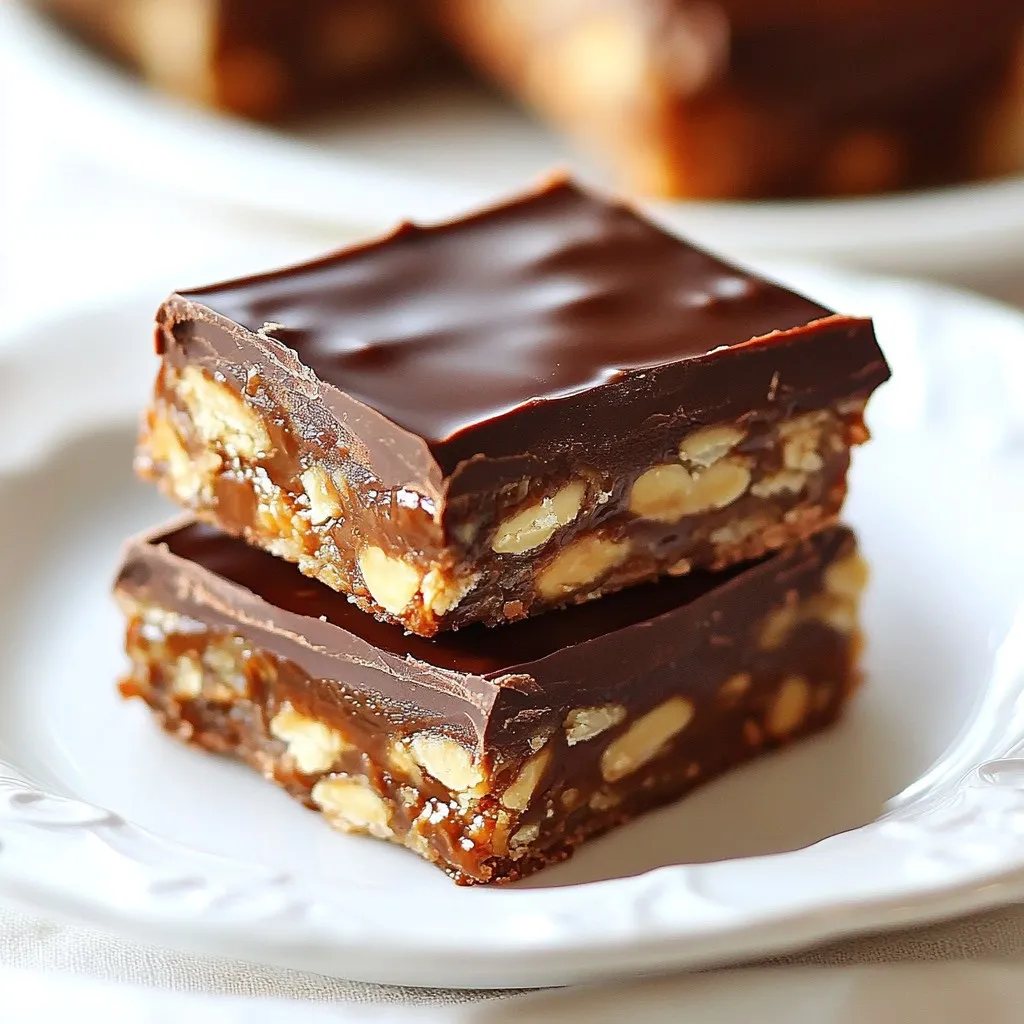
Delicious bars made with Medjool dates, peanuts, and coated in dark chocolate.
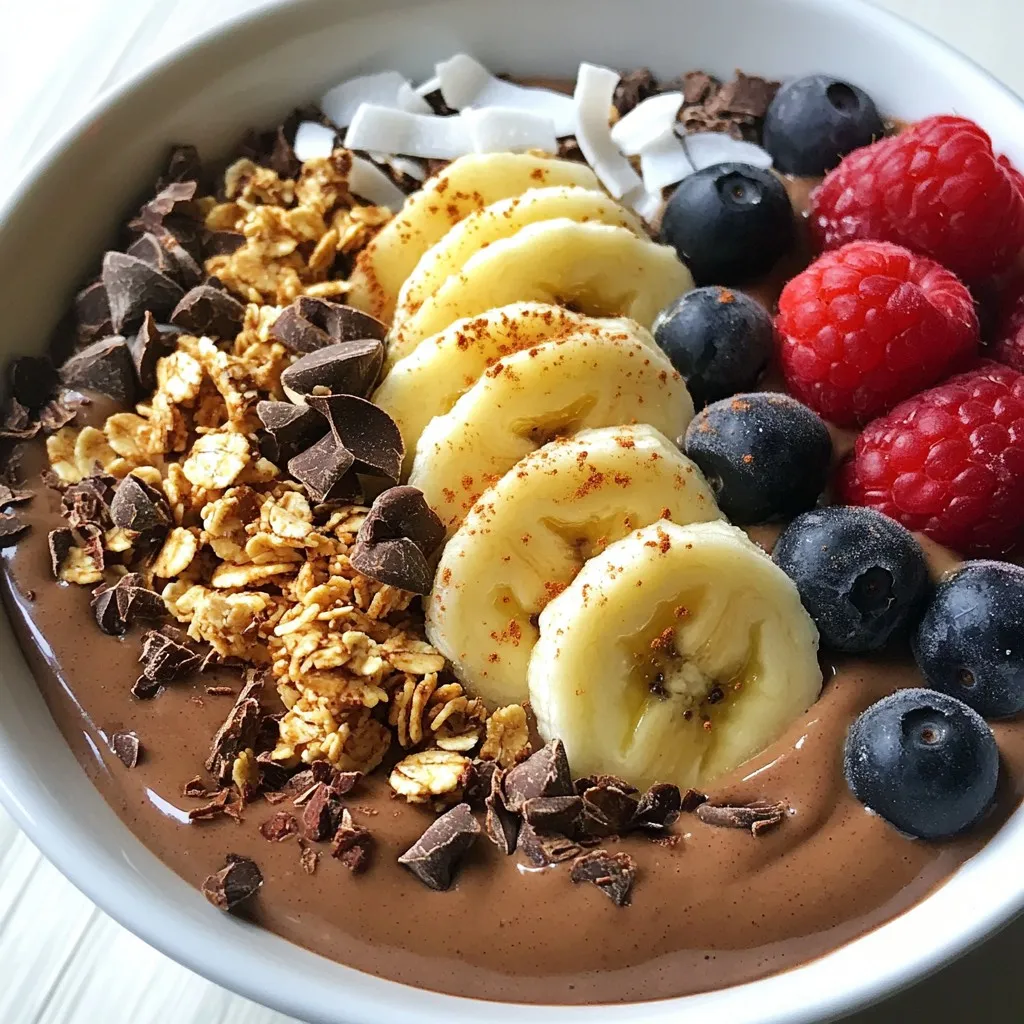
A rich and creamy smoothie bowl made with chocolate and peanut butter, topped with fresh fruits and...