
Air Fryer Teriyaki Salmon Bites Easy Weeknight Meal
Delicious salmon bites marinated in teriyaki sauce and cooked to perfection in an air fryer.
30 min
4
Starters and appetizers
Delicious salmon bites marinated in teriyaki sauce and cooked to perfection in an air fryer.

Crispy cauliflower bites coated in a sweet and spicy honey Sriracha sauce, perfect as a snack or app...

Crispy cauliflower florets coated in a sweet and spicy honey Sriracha sauce, perfect as an appetizer...

Deliciously crispy zucchini fries made in the air fryer, coated with Parmesan and spices.

Delicious and healthy lettuce wraps filled with savory beef and fresh vegetables.

Deliciously crispy zucchini fries made in the air fryer, coated with Parmesan and breadcrumbs.

Delicious nachos made with crispy sweet potato rounds topped with black beans, corn, cheese, and fre...

Delicious and flavorful chicken wraps with a sweet and spicy twist, perfect for a light meal.

Deliciously crispy zucchini fries coated in Parmesan and panko breadcrumbs.

Deliciously crispy pizza rolls filled with cheese and pepperoni, perfect for a snack or appetizer.
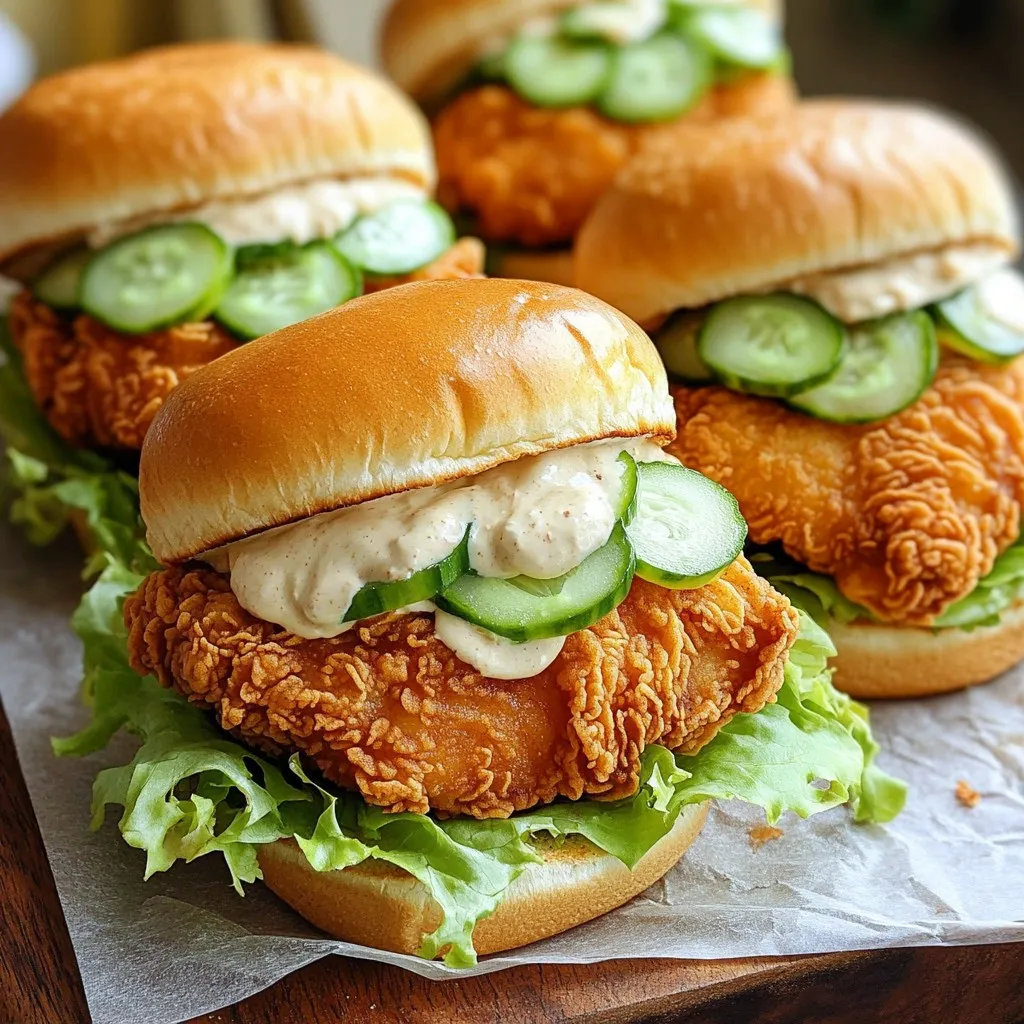
Delicious sliders featuring crispy fried chicken thighs coated in a spicy Bang Bang sauce, served on...

Crispy Brussels sprouts coated in a sweet and spicy chili glaze, perfect as a side dish or appetizer...