
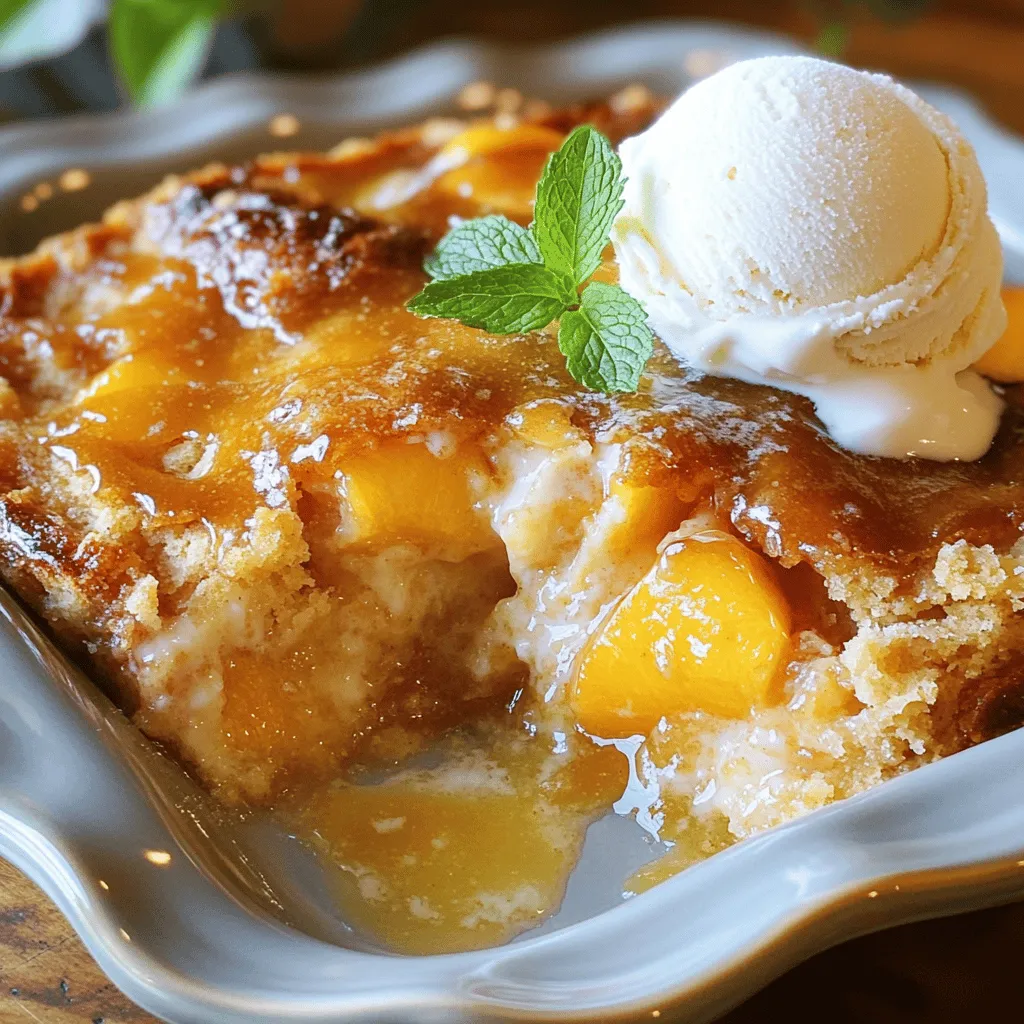
Are you ready for a dessert that will wow your friends and family? My Sticky Peach Cobbler Pudding is not only delicious, but it’s also super easy to make. You don’t need to be a pro in the kitchen. With simple ingredients and straightforward steps, you’ll have a warm, gooey treat that melts in your mouth. Read on to discover how to whip up this sweet delight!
Ingredients
Main Ingredients for Sticky Peach Cobbler Pudding
To make this tasty dessert, gather these main ingredients:
– 4 ripe peaches, peeled and sliced into wedges
– 1 cup packed brown sugar
– 1/2 cup unsalted butter, melted
– 1 cup all-purpose flour
– 1 teaspoon baking powder
– 1/4 teaspoon salt
– 1 cup milk, at room temperature
– 1 teaspoon pure vanilla extract
– 1 teaspoon ground cinnamon
– 1 tablespoon fresh lemon juice
These ingredients are simple but create a wonderful taste. The peaches add sweetness and juice. The brown sugar gives a rich flavor. The butter makes the pudding moist.
Optional Toppings and Enhancements
You might want to add some fun toppings. Here are a few ideas:
– Whipped cream
– Vanilla ice cream
– Fresh mint leaves for garnish
– Edible flowers for a pop of color
These toppings can make your dessert even more special. They add creaminess and a fresh look.
Ingredient Substitutions
If you can’t find an ingredient, don’t worry! Here are some swaps you can use:
– Use coconut oil instead of butter for a dairy-free option.
– Almond milk or oat milk can replace regular milk.
– Swap peaches for other fruits like berries or apples.
These substitutions keep the recipe flexible. You can still enjoy a delicious dessert, no matter what you have on hand. For the full recipe, check out the details above.
Step-by-Step Instructions
Preparation of Peaches
First, take your ripe peaches. You need four, so pick the best ones. Peel them and slice them into wedges. This step is key. The peaches need to be sweet and juicy. In a medium bowl, mix the sliced peaches with one tablespoon of fresh lemon juice and a quarter cup of brown sugar. Toss them gently to cover every piece. Set this bowl aside for about ten minutes. This lets the peaches soak in the flavor and release their juices.
Mixing the Batter
Next, grab a large mixing bowl. In this bowl, whisk together the dry ingredients. Combine one cup of all-purpose flour, one teaspoon of baking powder, and a quarter teaspoon of salt. Mix well until everything blends together. Now, slowly add in one cup of milk at room temperature, half a cup of melted unsalted butter, one teaspoon of pure vanilla extract, and one teaspoon of ground cinnamon. Stir until you get a smooth batter, with no lumps. This batter is simple but oh-so-delicious!
Baking Process and Achieving the Perfect Texture
Now, it’s time to bake! Preheat your oven to 350°F (175°C) and lightly grease a 9-inch baking dish. Pour the batter into the dish, spreading it evenly across the bottom. Then, carefully spoon the marinated peach mixture over the top. Avoid stirring; the magic happens as it bakes! Place the dish in the oven. Bake for 40 to 45 minutes. You’ll know it’s done when the top turns a lovely golden brown. A toothpick inserted into the center should come out clean. Once baked, let the pudding cool for a few minutes before serving. Enjoy your warm Sticky Peach Cobbler Pudding! For more details, check the Full Recipe.
Tips & Tricks
Common Mistakes to Avoid
When making Sticky Peach Cobbler Pudding, avoid these common mistakes. First, do not skip peeling the peaches. The skin can make the dish tough. Second, ensure your butter is melted but not hot. Hot butter can cook the batter, which alters the texture. Lastly, be gentle when layering the peaches. Stirring can mix the layers and ruin the pudding’s look.
Perfecting the Flavor Profile
To enhance flavor, use ripe peaches. They should smell sweet and feel slightly soft. Adding a pinch more cinnamon can elevate the taste. A splash of almond extract also pairs well with peaches. For a tangy twist, increase the lemon juice slightly. This balance of sweet and tart makes every bite exciting.
Optimal Baking Techniques
Baking at 350°F is key for a soft pudding. Make sure to preheat the oven fully. This step ensures even baking. Bake until you see a golden crust. A toothpick test helps too; it should come out clean from the center. If the top browns too fast, cover it with foil. This method helps it bake evenly without burning.
For the full recipe, check the provided details. Enjoy making your sticky peach cobbler pudding!
Variations
Gluten-Free Sticky Peach Cobbler Pudding
To make a gluten-free version, swap all-purpose flour for a gluten-free blend. Look for blends that include rice flour, tapioca flour, and xanthan gum. These will give your pudding a nice texture. Ensure your baking powder is also gluten-free. This way, everyone can enjoy this tasty treat without worry.
Adding Other Fruits (e.g., berries, apples)
You can mix in other fruits to change the flavor. Try adding blueberries, raspberries, or sliced apples. Each fruit brings its own taste and sweetness. Just keep the fruit ratio similar to the peaches. This way, the pudding stays moist and delicious. Experimenting with different fruits can make it fun and unique!
Making it a Vegan Dessert
To create a vegan version, replace the milk with almond or oat milk. Use a plant-based butter or coconut oil instead of regular butter. You can also swap eggs or dairy with a flaxseed meal. Just mix one tablespoon of flaxseed with three tablespoons of water and let it sit for a few minutes. This will bind your pudding and keep it moist. With these simple swaps, you can enjoy a vegan sticky peach cobbler pudding that everyone will love.
For the full recipe, check out the detailed instructions to guide you through this delightful dessert!
Storage Info
How to Properly Store Leftovers
To keep your sticky peach cobbler pudding fresh, let it cool first. Once cool, cover it tightly with plastic wrap or transfer it to an airtight container. Store it in the fridge for up to three days. This will keep the flavors intact and the pudding moist.
Reheating Techniques for Best Results
When it’s time to enjoy your leftovers, preheat your oven to 350°F (175°C). Place the pudding in an oven-safe dish. Cover it with foil to prevent drying out. Heat for about 15 to 20 minutes, or until warm throughout. If you’re in a hurry, you can use the microwave. Heat in short bursts of 30 seconds, checking in between, until warm.
Freezing Instructions and Tips
If you want to save some for later, freezing is a great option. Allow the pudding to cool completely. Cut it into portions and wrap each piece in plastic wrap. Then, place them into a freezer-safe bag or container. It can stay frozen for up to three months. To enjoy, thaw it in the fridge overnight before reheating. This keeps the texture nice and tasty.
For the full recipe, check out the detailed instructions above!
FAQs
How do I know when the pudding is done baking?
You can tell your pudding is done by looking for a golden brown top. A toothpick inserted in the center should come out clean. This shows that the batter has set well. If the toothpick has wet batter on it, bake for a few more minutes. The pudding should also spring back when gently touched. These signs help ensure a perfect bake.
Can I use canned peaches instead of fresh?
Yes, you can use canned peaches! Just make sure they are drained well. Canned peaches can save time and still taste good. Their sweetness may be stronger, so adjust the sugar if needed. Fresh peaches give a better texture, but canned peaches can be a great option.
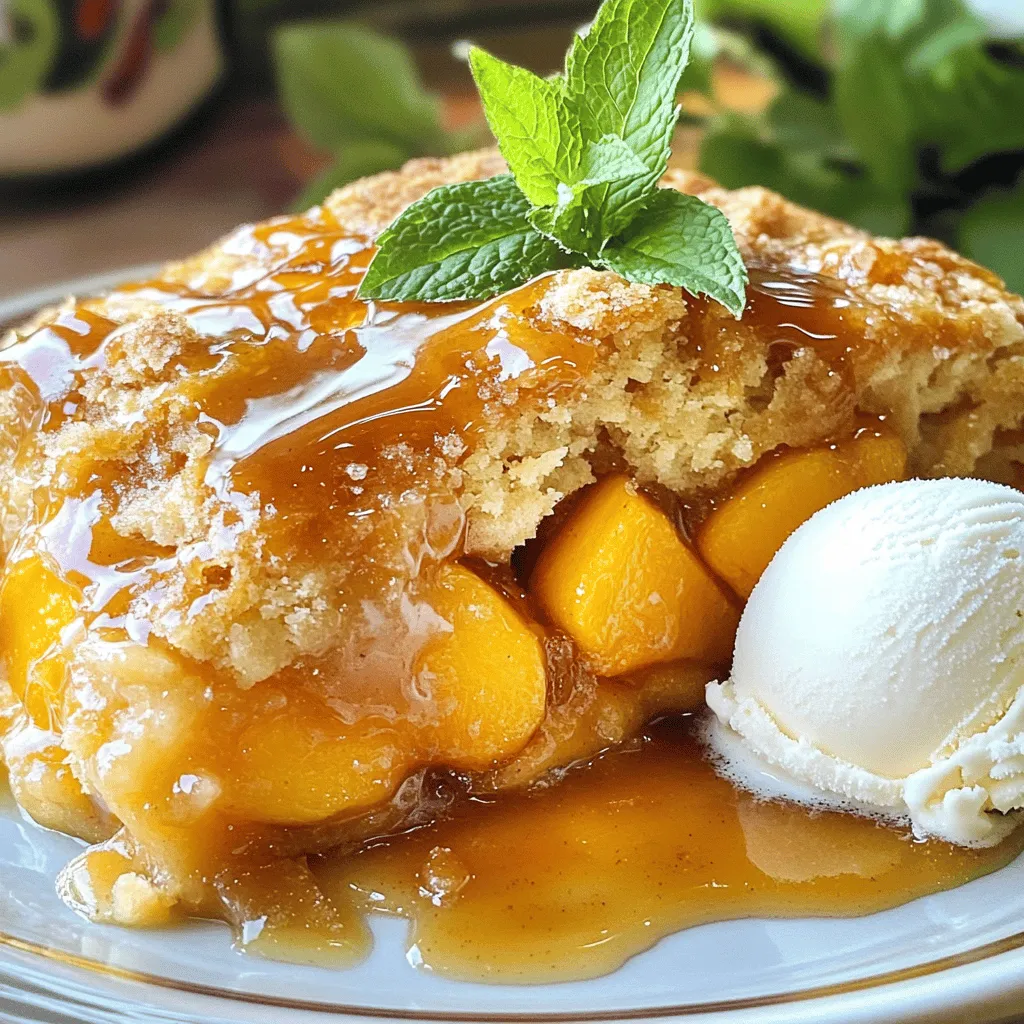
What are some serving suggestions for Sticky Peach Cobbler Pudding?
Serve your pudding warm for the best taste. Top it with whipped cream or vanilla ice cream. This adds a creamy contrast to the warm pudding. You can also sprinkle some ground cinnamon on top for extra flavor. Fresh mint leaves or edible flowers can make it look pretty. For a fun twist, try adding a drizzle of caramel sauce! For the full recipe, check the link above.
In this blog post, we explored how to make sticky peach cobbler pudding from start to finish. We discussed the main ingredients, optional toppings, and easy substitutions. You learned step-by-step instructions, avoiding common mistakes, and how to enhance flavors. We covered variations like gluten-free and vegan options. Finally, storage tips ensure your leftovers stay fresh.
This dessert is flexible and fun. You can make it your own. Enjoy baking and sharing this sweet treat with others!


