
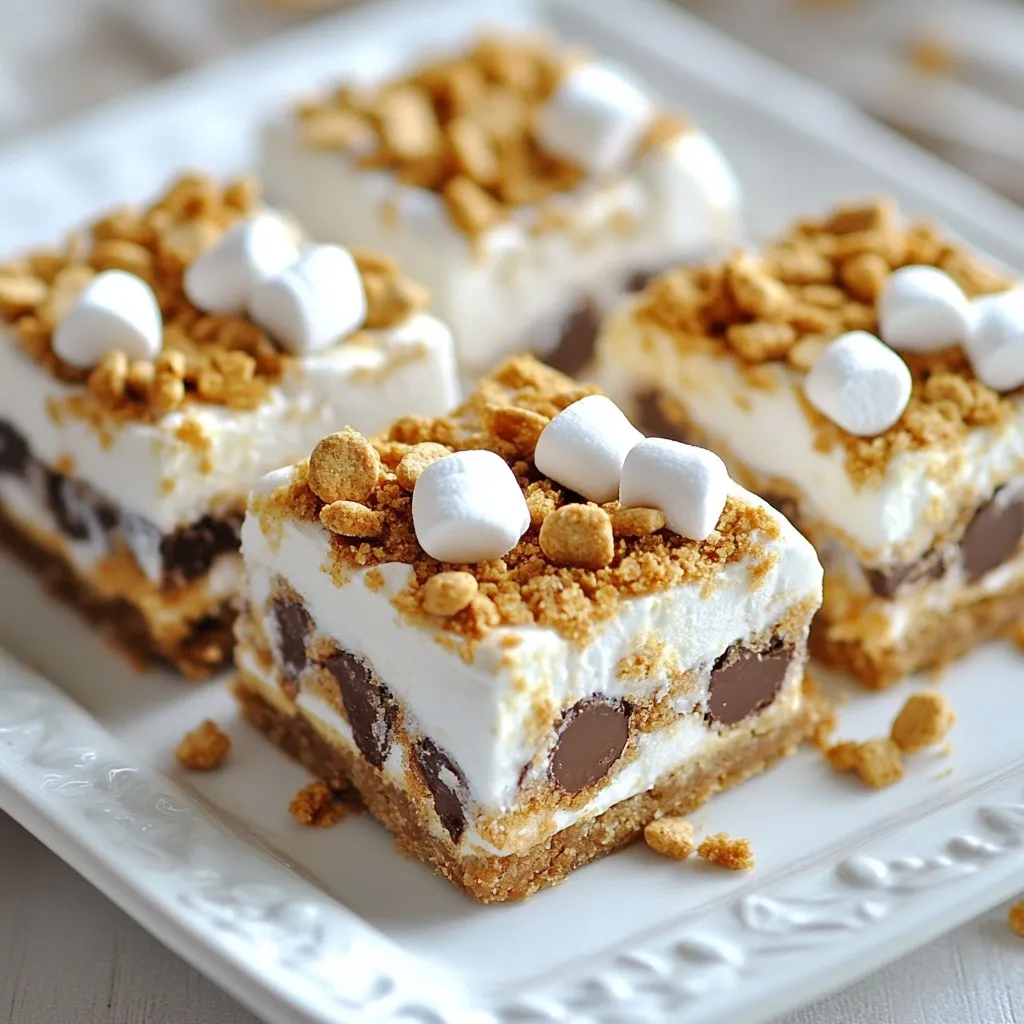
Are you ready for a sweet treat that’s super easy to make? S’mores No Bake Bars pack all the delicious flavors of a campfire favorite without the hassle. With just a few simple ingredients, you can whip up a dessert that will wow your friends and family. In this post, I’ll share everything from ingredient tips to fun variations. Let’s get started on making these irresistible bars!
Why I Love This Recipe
- Easy to Make: This recipe requires no baking, making it a quick and hassle-free dessert option for any occasion.
- Delicious Flavor Combination: The combination of chocolate, marshmallows, and peanut butter creates a rich and satisfying treat that everyone loves.
- Customizable: You can easily adjust the ingredients to suit your taste, such as using different types of chocolate or adding nuts for extra crunch.
- Perfect for Sharing: These bars are easy to cut into squares, making them ideal for parties, gatherings, or simply sharing with friends and family.
Ingredients
Complete List of Ingredients
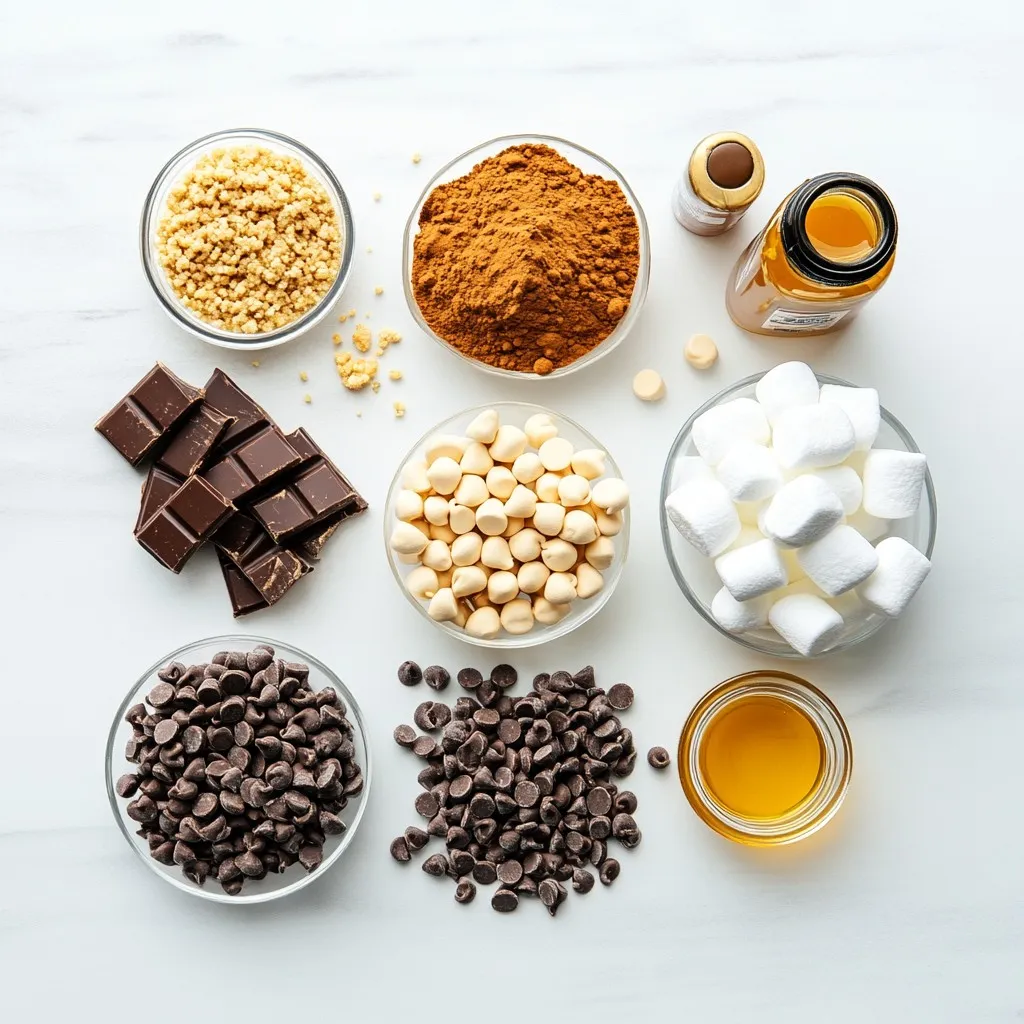
To make S’mores No Bake Bars, gather these simple ingredients:
– 2 cups graham cracker crumbs
– 1 cup mini marshmallows
– 1 cup chocolate chips (milk or dark)
– 1/2 cup unsweetened cocoa powder
– 1/2 cup creamy peanut butter
– 1/4 cup honey or pure maple syrup
– 1 teaspoon vanilla extract
– 1/4 teaspoon salt
– 1/2 cup additional mini marshmallows (for topping)
– Optional: 1/4 cup crushed graham crackers (for extra crunch on top)
Brand Recommendations for Ingredients
Choosing the right brands can enhance the taste. I recommend:
– Graham Crackers: Nabisco Honey Maid for classic flavor.
– Chocolate Chips: Ghirardelli or Nestlé for rich taste.
– Peanut Butter: Jif for creaminess or Justin’s for natural options.
– Honey: Local, raw honey for the best flavor.
– Vanilla Extract: Nielsen-Massey for pure quality.
Substitutions for Common Ingredients
If you lack some ingredients, here are easy swaps:
– Graham Cracker Crumbs: Use crushed digestive biscuits or vanilla wafers.
– Peanut Butter: Try almond butter or sunbutter for nut-free.
– Honey or Maple Syrup: Agave nectar works as a sweet alternative.
– Chocolate Chips: Use white chocolate or butterscotch for a twist.
– Mini Marshmallows: Regular marshmallows can be cut into smaller bits.
With these ingredients and tips, you can create delicious S’mores No Bake Bars with ease!
Step-by-Step Instructions
Preparation of the Baking Pan
Start by lining an 8×8 inch square baking pan with parchment paper. Leave some paper hanging over the sides. This makes it easy to lift the bars out later.
Mixing Dry Ingredients
In a big bowl, mix together the graham cracker crumbs, cocoa powder, and salt. Stir them well until they are fully blended. This dry mix gives the bars their yummy base.
Melting and Combining Wet Ingredients
In a microwave-safe bowl, add the creamy peanut butter, honey or maple syrup, and vanilla extract. Heat this mix in the microwave for 20 to 30 seconds. Stir until the mix is smooth and well combined.
Assembling Ingredients in the Pan
Pour the melted mix into the bowl with the dry ingredients. Stir until it forms a thick, dough-like texture. Gently fold in the mini marshmallows and chocolate chips. Make sure they spread evenly throughout the mix.
Topping the Bars
Transfer the combined mixture into the prepared pan. Press it down firmly with a spatula or your hands. Scatter the extra mini marshmallows and optional crushed graham crackers on top. Lightly press them in to stick well.
Chilling and Serving
Cover the pan with plastic wrap or aluminum foil. Place it in the fridge for at least 2 hours. This helps the bars set up nicely. Once chilled, lift them out using the parchment paper. Cut into squares or rectangles for serving.
Tips & Tricks
How to Achieve the Perfect Texture
To get the best texture for your S’mores No Bake Bars, focus on mixing well. When you blend the dry and wet ingredients, aim for a thick, dough-like mix. This helps the bars hold together. If the mixture is too crumbly, try adding a bit more peanut butter or honey. For best results, let the bars chill long enough. Two hours is the minimum, but longer can help them firm up more.
Best Practices for Melting Ingredients
When melting peanut butter and honey, use a microwave-safe bowl. Heat in short bursts, about 20 seconds at a time. Stir between each burst. This helps prevent burning and ensures a smooth mix. If you see any lumps, just stir more. You want a creamy consistency. Add the vanilla extract after melting for the best flavor boost.
Serving Suggestions and Presentation Ideas
For a fun presentation, cut the bars into squares or rectangles. Place them on a nice platter. Drizzle melted chocolate on top for a sweet touch. You can also add whole marshmallows or some extra graham cracker crumbs as a garnish. This makes the bars look fancy and inviting. Enjoy these bars at parties or as a snack!
Pro Tips
- Use a Food Processor: For a finer graham cracker crumb texture, pulse the graham crackers in a food processor before measuring. This will help achieve a better consistency in your bars.
- Chill Before Cutting: Allowing the bars to chill for at least 2 hours ensures they firm up properly, making them easier to cut into perfect squares without crumbling.
- Customize the Chocolate: Feel free to mix and match chocolate types! A combination of milk and dark chocolate chips can enhance the flavor and richness of your bars.
- Add a Pinch of Sea Salt: Sprinkling a little sea salt on top before chilling can elevate the flavors, adding a delightful contrast to the sweetness of the bars.
Variations
Different Flavor Combinations
You can easily change up the flavors in your S’mores No Bake Bars. Swap out the chocolate chips for butterscotch or white chocolate chips for a twist. You can also add mint extract instead of vanilla for a cool flavor. Try adding some crushed cookies for added crunch. Mixing in peanut butter chips can give it a nutty taste. This way, you can enjoy new flavor combos every time you make them.
Allergy-Friendly Versions (Nut-Free, Gluten-Free)
If you need nut-free options, just skip the peanut butter. Use sunbutter or another nut-free spread. For a gluten-free version, use gluten-free graham crackers. There are many brands that offer these. Make sure to check labels for gluten-free status. You can still enjoy these bars without the worry of common allergens.
Fun Additions (e.g., nuts, dried fruit)
Get creative with fun additions! Chopped nuts like walnuts or pecans can add a nice crunch. You can also mix in dried fruit like cranberries or raisins for sweetness. Try adding mini chocolate candies for bursts of flavor. Coconut flakes can give a tropical feel. These small changes can make your bars even more special and tasty!
Storage Info
Best Practices for Storing No Bake Bars
Store your S’mores No Bake Bars in an airtight container. This keeps them fresh and tasty. Use parchment paper between layers to prevent sticking. Keep the bars in a cool, dry place. If it’s hot, consider placing them in the fridge.
How Long Do They Last?
These bars can last up to one week at room temperature. If stored in the fridge, they can last for two weeks. To maintain their best taste and texture, eat them sooner rather than later.
Freezing Instructions for Longer Storage
To freeze, wrap each bar in plastic wrap. Place the wrapped bars in a freezer-safe bag or container. They can stay in the freezer for up to three months. When you want to enjoy them, thaw them in the fridge overnight. Enjoy your sweet treat anytime!
FAQs
Can I use regular size marshmallows instead of mini?
Yes, you can use regular marshmallows. Cut them into smaller pieces. This helps them mix well. Keep in mind that mini marshmallows blend better into the bars. They also give a nice texture.
How do I make these bars vegan-friendly?
To make these bars vegan, swap peanut butter for a nut-free option. Use maple syrup instead of honey. Choose dairy-free chocolate chips. These changes keep the same great taste without animal products.
What’s the best way to cut the bars for serving?
Once the bars are chilled, lift them out using the parchment paper. Use a sharp knife for clean cuts. You can cut them into squares or rectangles. Wipe the knife with a damp cloth between cuts for neat edges.
Can I use a different sweetener instead of honey or maple syrup?
Yes, you can use agave syrup or coconut nectar. Both options work well. They add sweetness without changing the flavor too much. Just make sure the consistency is similar to honey or maple syrup.
Is it necessary to chill the bars?
Chilling the bars is important. It helps them firm up and hold their shape. Without chilling, they may be too soft to cut. Aim for at least 2 hours in the fridge for best results.
In this post, we explored how to make no-bake bars from start to finish. We covered ingredient lists, brand recommendations, substitutions, and step-by-step instructions for success. I shared tips for perfect texture, storage methods, and ideas for variations to fit your needs.
With careful steps and the right ingredients, you can enjoy these tasty treats anytime. You now know how to personalize them to your taste. Happy bakin


