
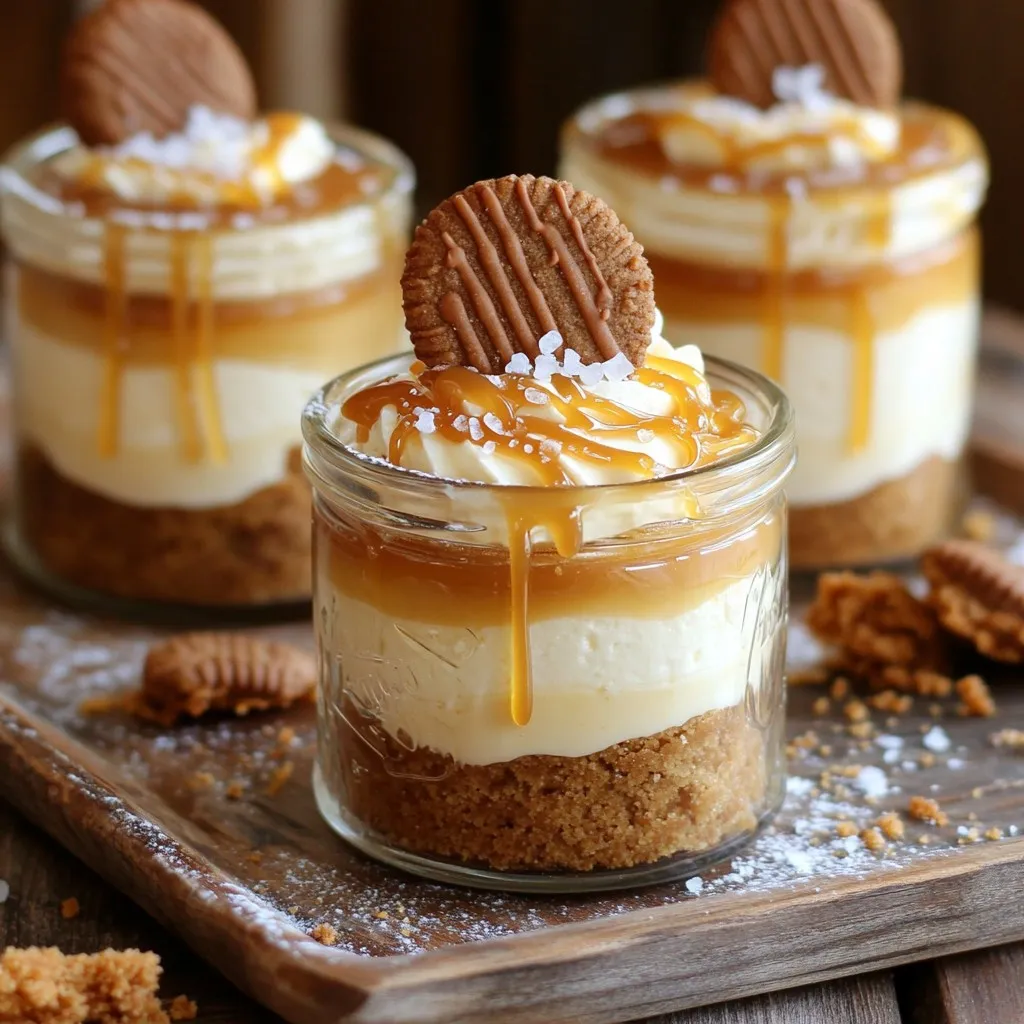
Ready for a treat that will make your taste buds dance? My Salted Caramel Biscoff Cheesecake Cups blend rich cream cheese with crunchy Biscoff cookies. Each bite is creamy, sweet, and perfectly salty. I’ll guide you step-by-step, from crafting the crust to drizzling on the caramel. Whether you’re a baking newbie or a dessert pro, these cups are easy and fun to whip up. Let’s create a dessert that you’ll want to share!
Ingredients
List of Ingredients
– Biscoff cookies: These cookies create a crunchy, sweet crust. Their unique spice profile adds depth to the dessert.
– Cream cheese: This ingredient gives the cheesecake its rich and creamy texture. Softened cream cheese blends smoothly, making the filling light and fluffy.
– Optional garnishes and toppings: Whole Biscoff cookies make a great garnish. Drizzling extra salted caramel sauce adds a sweet touch and enhances the flavor. A sprinkle of flaky sea salt boosts the taste, balancing the sweetness.
Using these ingredients, you’ll craft delightful cheesecake cups that are sure to impress!
Step-by-Step Instructions
Preparing the Crust
To start, grab a medium bowl. Here, you will combine the crushed Biscoff cookies with the melted butter. Mix them well until the mixture feels like wet sand. This consistency is key for a good crust.
Next, take your serving cups or small jars. Evenly scoop the cookie mixture into the bottom of each cup. Use the back of a spoon or your fingers to press it down firmly. Make sure it is nice and compact. After that, set the cups aside in the refrigerator. This chilling step helps the crust firm up while you make the filling.
Making the Cheesecake Filling
Now, let’s make the cheesecake filling. In a large bowl, beat the softened cream cheese with the sifted powdered sugar and vanilla extract. Use an electric mixer for this task. Mix until the filling is smooth and creamy. This will take a couple of minutes.
In another bowl, pour in the cold heavy whipping cream. Whip it using the mixer until soft peaks form. This should take about 2-3 minutes. Be careful not to over-whip, or it will get too stiff. Now, gently fold the whipped cream into the cream cheese mixture. Use a spatula and be gentle to keep the airiness.
To add flavor, pour in the salted caramel sauce. Sprinkle in a pinch of flaky sea salt. Gently fold it into the mixture until evenly combined. Be cautious to avoid deflating your whipped cream.
Assembling the Cups
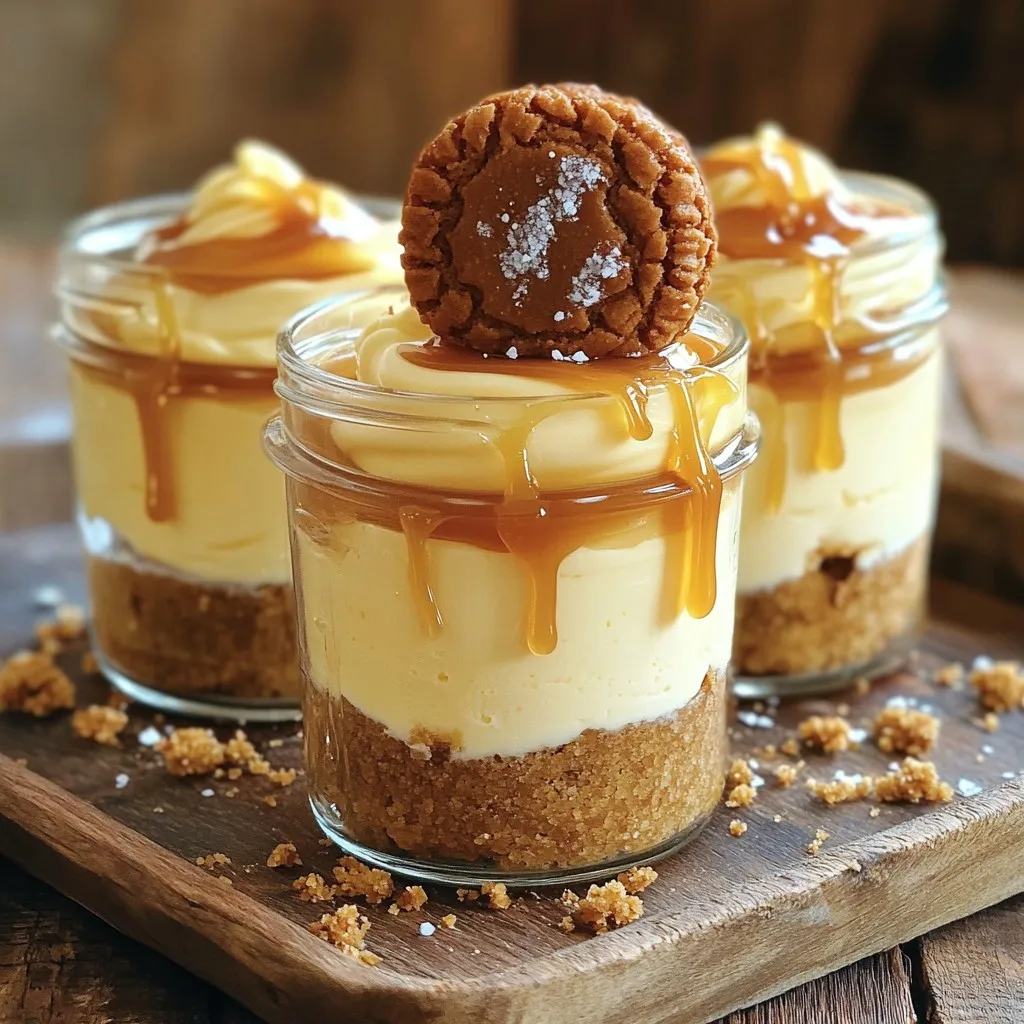
It’s time to fill the cups! Using a spoon or piping bag, fill each cup with the cheesecake mixture. Generously dollop it on top of the crust. Fill them to the brim for a delightful treat.
Next, drizzle extra salted caramel sauce over the cheesecake layers. This adds a beautiful finish and more flavor. Finally, sprinkle a tiny pinch of flaky sea salt on top. This helps enhance the flavor contrast.
For the final touch, add a whole Biscoff cookie on top of each cheesecake cup. This serves as a lovely garnish. Now, return the cups to the refrigerator. Chill them for at least 2 hours. This allows the flavors to meld and the cheesecake to set perfectly. Enjoy your delicious creations!
Tips & Tricks
Achieving the Best Texture
To get the best results, start with room temperature cream cheese. Cold cream cheese can lead to lumps. It mixes better and makes your cheesecake smooth. Set it out for about 30 minutes before you start.
Next, let’s whip the cream. Use cold heavy whipping cream for fluffiness. Beat it until you see soft peaks forming. This usually takes 2-3 minutes. Be gentle when you fold the whipped cream into the cream cheese. You want to keep it light and airy.
Enhancing Flavor
Adding extra flavors can make your cheesecake cups even better. Try mixing in some chocolate chips or crushed nuts. You can also add a splash of coffee or a hint of orange zest for a twist.
Serve your cheesecake cups cold. This helps the flavors pop. If they sit out too long, they can get too soft. Enjoy them fresh from the fridge for the best taste!
Variations
Flavor Modifications
You can mix things up with different cookie options. Instead of Biscoff, try Oreos for a classic taste. Graham crackers offer a simple, buttery base. If you want a nutty twist, use crushed pecan cookies.
For sauces, salted caramel is a star, but chocolate sauce adds rich flavor. Fruit sauces, like raspberry or blueberry, can brighten each bite. They give a fun contrast to the creamy cheesecake.
Dietary Adjustments
If you need a gluten-free dessert, alternative cookies are your friend. Look for gluten-free Biscoff or almond flour cookies. Both options work well for the crust.
For those who follow a vegetarian or vegan diet, swap cream cheese for vegan cream cheese. Use coconut cream for a lighter touch. This keeps the dessert creamy without dairy.
Storage Info
Best Practices for Storing Cheesecake Cups
To keep your salted caramel Biscoff cheesecake cups fresh, use airtight containers. Glass jars or plastic containers work great. Make sure they are clean and dry before use. Store the cups in the refrigerator for up to five days. This keeps the cheesecake creamy and the crust firm.
Freezing Instructions
You can freeze the cheesecake cups for later. First, cover each cup tightly with plastic wrap or foil. Then, place them in a freezer-safe container. They can stay frozen for up to three months. When you’re ready to enjoy, move them to the fridge to thaw overnight.
Freezing may change the texture a bit. The cheesecake might be slightly less creamy, but the flavor will still shine. Enjoy your treats anytime!
FAQs
Can I make the cheesecake cups ahead of time?
Yes, you can make these cheesecake cups ahead of time. I recommend chilling them for at least 2 hours before serving. You can even prepare them a day in advance. Just keep them covered in the fridge. This helps the flavors blend well and allows the cheesecake to set properly.
How do I prevent the cheesecake from being too runny?
To avoid a runny cheesecake, start with softened cream cheese. This helps it mix well. Make sure to whip the heavy cream until soft peaks form. Then, fold it gently into the cream cheese. This keeps the mixture fluffy. Also, chilling the cups for the right time helps them firm up.
Can I substitute the Biscoff cookies?
Yes, you can substitute Biscoff cookies. Some great alternatives include graham crackers or Oreo cookies. Both work well for the crust. If you want a different flavor, try using gingersnap cookies. They add a nice spice to the cheesecake.
These cheesecake cups mix Biscoff cookies and cream cheese for a tasty treat. We covered how to make them, from preparing the crust to adding toppings. Remember to use room temperature cream cheese for the best texture. Don’t shy away from trying different flavors or dietary options. These cups store well in the fridge and can be frozen too. With these tips, you can enjoy delicious cheesecake cups anytime and impress your friends!


