
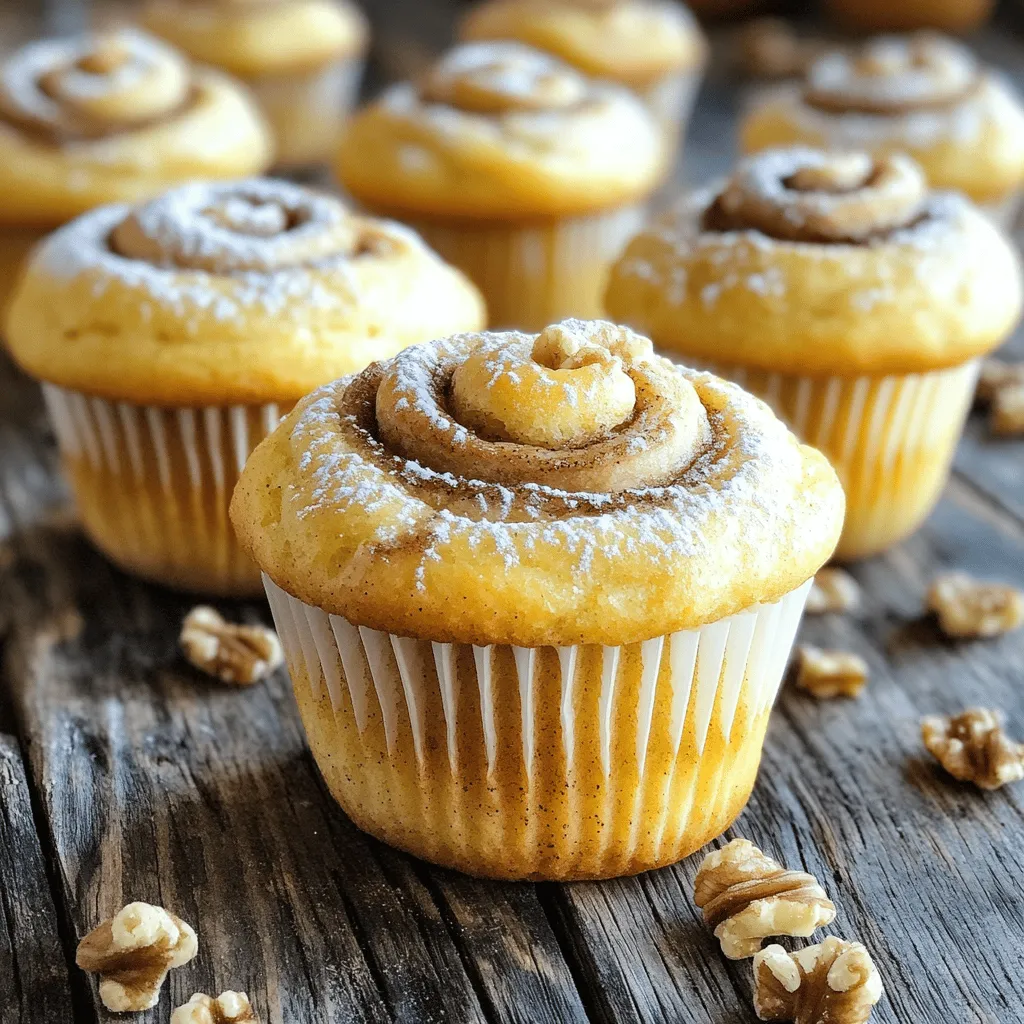
Craving a cozy, warm treat? You’ll love these Pumpkin Cinnamon Roll Muffins! They combine the soft, fluffy texture of muffins with the sweet spice of pumpkin and cinnamon. They are easy to make, perfect for fall, and great for breakfast or dessert. Join me as we explore the fun, simple steps to bake these delightful muffins and discover tips for tasty twists along the way!
Ingredients
List of All Ingredients
To make these delicious pumpkin cinnamon roll muffins, gather the following:
– 1 cup all-purpose flour
– 1 cup whole wheat flour
– 1 tablespoon baking powder
– 1 teaspoon baking soda
– 1 teaspoon ground cinnamon
– 1/2 teaspoon ground nutmeg
– 1/2 teaspoon salt
– 1 cup canned pumpkin puree
– 2/3 cup packed brown sugar
– 1/3 cup granulated sugar
– 1/2 cup milk (or non-dairy alternative)
– 1/4 cup vegetable oil
– 1 teaspoon vanilla extract
– 1/2 cup chopped walnuts or pecans (optional)
– 1/4 cup sugar for cinnamon swirl (for filling)
– 1 tablespoon ground cinnamon (for filling)
Optional Ingredients for Variation
You can switch things up with these optional ingredients:
– Chocolate chips for a sweet twist
– Raisins or dried cranberries for added texture
– Pumpkin pie spice for more warmth
– Different nuts like almonds for new flavors
Notes on Ingredient Substitutions
Here are some smart swaps you can try:
– Use almond flour or oat flour for a gluten-free version.
– Swap the milk with almond milk or oat milk for dairy-free muffins.
– Use coconut oil instead of vegetable oil for a different taste.
– Replace brown sugar with coconut sugar for a lower glycemic index.
These easy ingredient swaps keep the muffins tasty. Enjoy baking!
Step-by-Step Instructions
Prepping the Oven and Muffin Tin
First, heat your oven to 350°F (175°C). This step matters, as a hot oven helps the muffins rise well. Next, line a muffin tin with paper liners. If you don’t have liners, grease each cup lightly with cooking spray. This helps the muffins pop out easily after baking.
Preparing the Dry Ingredients
In a medium bowl, mix the dry ingredients. You need 1 cup of all-purpose flour and 1 cup of whole wheat flour. Add 1 tablespoon of baking powder and 1 teaspoon of baking soda. Then, include 1 teaspoon of ground cinnamon, 1/2 teaspoon of ground nutmeg, and 1/2 teaspoon of salt. Whisk these together until no lumps remain. This mix adds flavor and helps your muffins rise.
Combining the Wet Ingredients
In a separate large bowl, combine the wet ingredients. Start with 1 cup of canned pumpkin puree. Add 2/3 cup of packed brown sugar and 1/3 cup of granulated sugar. Pour in 1/2 cup of milk or a non-dairy alternative, 1/4 cup of vegetable oil, and 1 teaspoon of vanilla extract. Mix these well until the mixture is smooth and creamy. This blend keeps the muffins moist and flavorful.
Mixing and Swirling the Batter
Gradually add the dry mix to the wet ingredients. Stir gently with a spatula. You want to mix until just combined. It’s okay if there are a few lumps. If you like nuts, fold in 1/2 cup of chopped walnuts or pecans at this point. In a small bowl, mix 1/4 cup of sugar with 1 tablespoon of ground cinnamon for the filling.
Baking and Cooling Process
Scoop the muffin batter into the cups, filling them about halfway. Sprinkle a teaspoon of the cinnamon sugar mix on top of each. Then, add the remaining batter, filling the cups two-thirds full. Use a toothpick or knife to swirl the batter, creating a marbled look. Bake for 18-20 minutes. Check with a toothpick; it should come out clean. Allow the muffins to cool in the pan for about 5 minutes. Then, move them to a wire rack to cool completely. Enjoy warm for the best taste!
Tips & Tricks
Best Practices for Muffin Texture
To get soft and fluffy muffins, focus on mixing. Mix until just combined. Lumps are okay; they help keep the muffins tender. Use room temperature ingredients for a better blend. It helps the batter come together smoothly. When you scoop the batter, fill each cup about two-thirds full. This allows space for rising.
Common Baking Mistakes to Avoid
Avoid overmixing the batter. It can lead to tough muffins. Also, do not skip the preheating step. If the oven isn’t hot enough, your muffins may not rise well. Make sure to check the baking time, too. Every oven is different, so adjust as needed. Lastly, don’t forget to cool the muffins before serving. This lets the flavors settle.
Serving Suggestions for Maximum Enjoyment
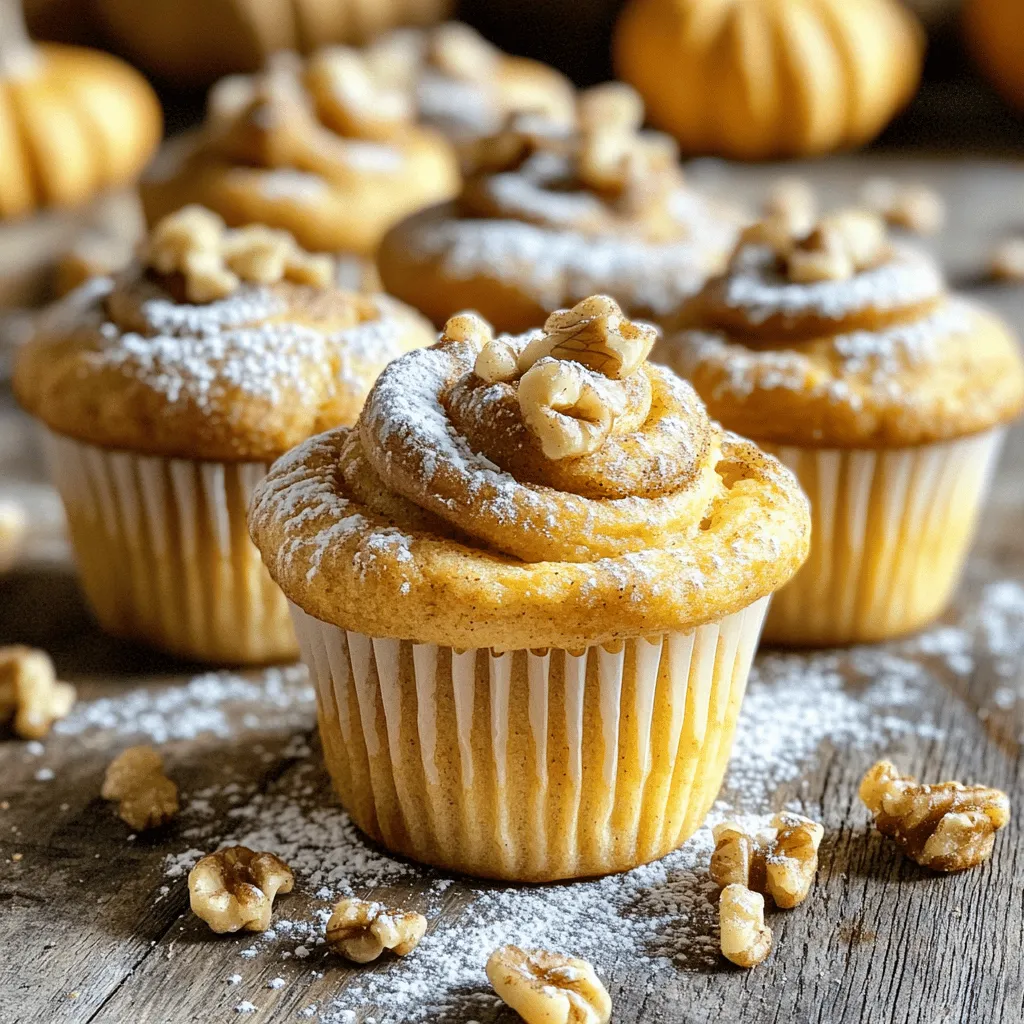
Serve these muffins warm for the best taste. Dust the tops with powdered sugar for a sweet touch. You can also drizzle a simple glaze made of powdered sugar and milk. For extra crunch, add chopped nuts on top before baking. Pair these muffins with coffee or tea for a cozy treat. Enjoy them as a snack or a breakfast delight!
Variations
Add-Ins for Extra Flavor
You can make your pumpkin cinnamon roll muffins even better! Adding chocolate chips is a great choice. They melt and create sweet pockets in each muffin. You might also try dried cranberries or raisins for a fruity twist. Nuts like walnuts or pecans add crunch. Just mix them into the batter before baking. This way, you can customize each batch to your taste.
Gluten-Free or Dairy-Free Alternatives
If you need gluten-free options, use almond flour or a gluten-free blend. This keeps the muffins light and fluffy. For a dairy-free version, substitute the milk with almond milk or oat milk. You can also use coconut oil instead of vegetable oil. These swaps work well and still taste great. Your muffins will still be soft and delightfully spiced.
Seasonal Twists for Every Occasion
You can change these muffins with the seasons. In fall, add a bit of ginger or allspice for warmth. Around the holidays, try adding orange zest for a fresh flavor. For spring, mix in a hint of lemon juice. These twists keep the recipe exciting throughout the year. Each season brings a new taste to enjoy.
Storage Information
How to Store Leftover Muffins
To keep your pumpkin cinnamon roll muffins fresh, store them in an airtight container. This helps prevent them from drying out. You can keep them at room temperature for up to three days. If you want them to last longer, consider refrigerating them. Just make sure to wrap them well to avoid absorbing odors.
Freezing Muffins for Later
Freezing is a great option if you can’t eat all the muffins right away. Let the muffins cool completely before freezing. Place them in a freezer-safe bag or container. Remove as much air as possible to prevent freezer burn. They can last up to three months in the freezer. When ready to enjoy, thaw them overnight in the fridge.
Reheating Suggestions for Optimal Freshness
When you’re ready to eat your muffins, reheating them brings back their warm, gooey goodness. For the best results, use your oven. Preheat it to 350°F (175°C). Place the muffins on a baking sheet and heat them for about 5-10 minutes. You can also use a microwave. Just heat them for 15-20 seconds, but be careful not to dry them out. Enjoy your cozy treat warm!
FAQs
Can I use fresh pumpkin instead of canned?
Yes, you can use fresh pumpkin. Start by roasting a small pumpkin. Cut it in half, remove the seeds, and roast it at 350°F for about 45 minutes. Then, scoop out the flesh and blend it until smooth. This fresh puree can replace canned pumpkin in your muffins. Fresh pumpkin gives a bright flavor and a lovely texture.
How do I know when the muffins are done?
The best way to check is with a toothpick. Insert it into the center of a muffin. If it comes out clean, the muffins are done. You can also gently press the top of a muffin. It should spring back. If it leaves an indent, they need a bit more time.
What is the best way to prevent muffins from sticking?
To prevent sticking, use paper liners in your muffin tin. You can also grease the cups with cooking spray or oil. Make sure to coat the sides well. This helps the muffins slide out easily after baking.
How long do the muffins stay fresh?
These muffins stay fresh for about three days at room temperature. Store them in an airtight container. If you want to keep them longer, place them in the fridge. They can last up to a week in there.
Can I make mini muffins with this recipe?
Yes, you can make mini muffins! Just adjust the baking time. Mini muffins will bake for about 10-12 minutes. Keep an eye on them. Use the toothpick test to check for doneness. Enjoy your bite-sized treats!
This blog post covered all the key steps to make great muffins. We went over the ingredients, baking instructions, and helpful tips. I shared variations to keep things fun and exciting. You learned how to store muffins for later enjoyment and answered common questions to guide your baking. Remember, the right ingredients and techniques make all the difference. Enjoy your baking journey and make delicious muffins for every occasion!


