
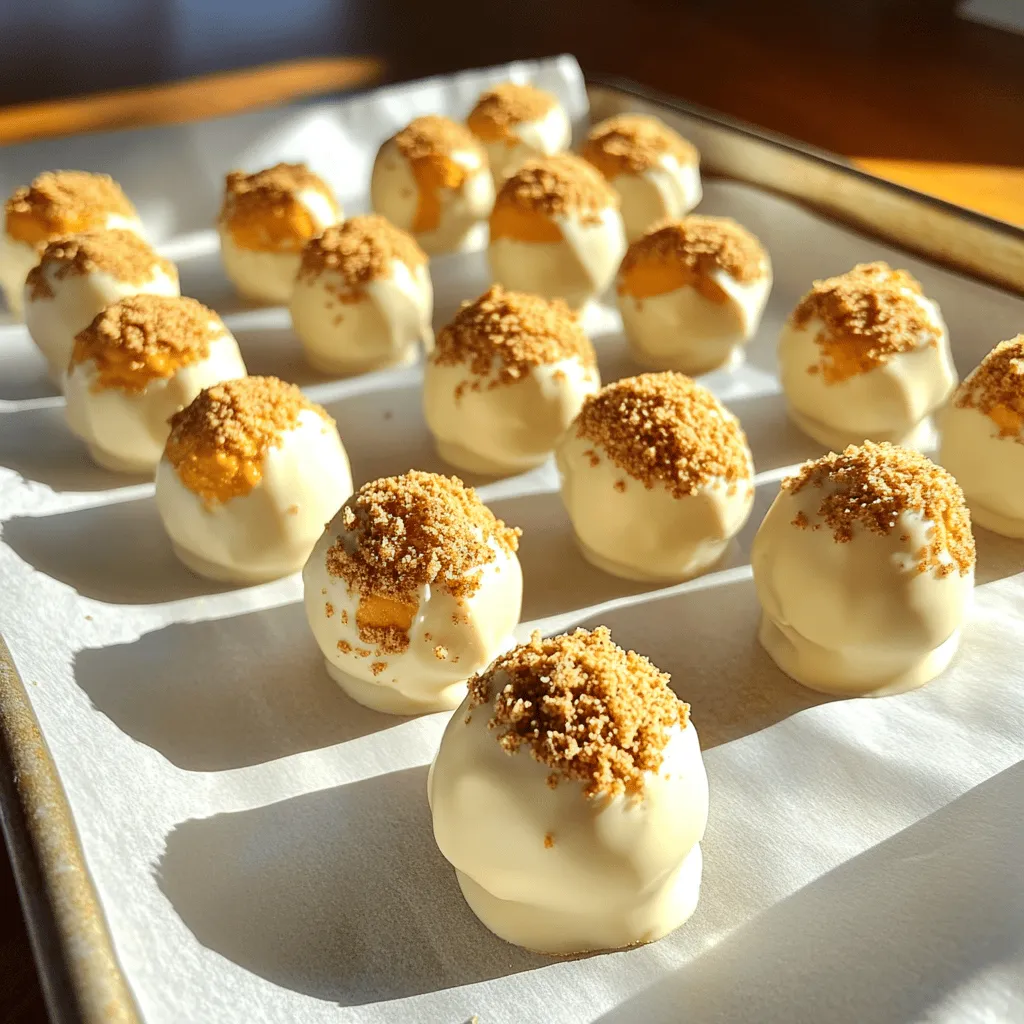
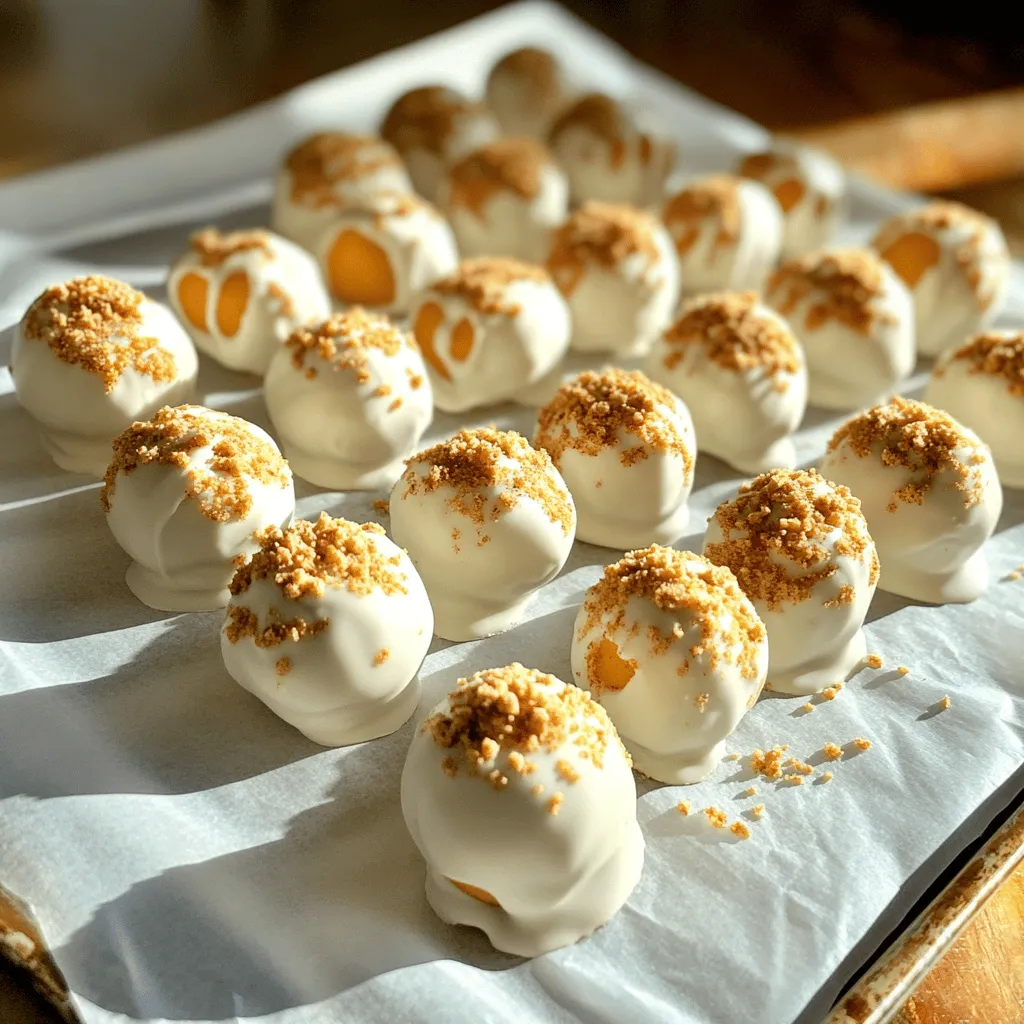
When fall rolls around, nothing says cozy like Pumpkin Cheesecake Truffles. These tasty bites mix cream cheese, pumpkin puree, and sweet spices for a perfect treat. Whether you’re hosting a gathering or just craving something sweet, these truffles are easy to make and simply irresistible. Join me as we discover the ingredients and steps to create this delightful fall favorite! Don’t miss out on this seasonal delight!
Ingredients
Main Ingredients
– 1 cup cream cheese, softened to room temperature
– 1 cup canned pumpkin puree
– 1/2 cup powdered sugar
– 1 teaspoon vanilla extract
– 1 teaspoon pumpkin pie spice
– 1 cup crushed graham crackers, plus extra for garnish
– 1 cup white chocolate chips
– 1 tablespoon coconut oil (optional, for smoother chocolate coating)
– Pinch of sea salt
The main ingredients create a rich and creamy base for the truffles. Cream cheese gives them a smooth texture. Canned pumpkin puree adds warmth and flavor. Powdered sugar sweetens the mix perfectly. Vanilla extract enhances the taste, while pumpkin pie spice brings in that fall essence. Crushed graham crackers add a nice crunch, making the truffles even more delightful. The white chocolate coating wraps everything in a sweet layer. If you want a smoother finish, you can use coconut oil as well. A pinch of sea salt balances the sweetness.
Optional Garnishes
– Extra crushed graham crackers
– Pumpkin pie spice
– Cinnamon
Garnishes add a fun touch to your truffles. Extra crushed graham crackers can give a nice crunch on top. A sprinkle of pumpkin pie spice or cinnamon makes them look pretty and adds extra flavor. These little details make your truffles even more special. They turn a simple treat into an eye-catching dessert that everyone will love. You can mix and match these garnishes to suit your style. Enjoy making these delicious pumpkin cheesecake truffles!
Step-by-Step Instructions
Preparing the Cheesecake Mixture
In a large bowl, combine these ingredients:
– 1 cup cream cheese, softened
– 1 cup canned pumpkin puree
– 1/2 cup powdered sugar
Mix them well. You can use an electric mixer or a whisk. Blend until smooth. Add these next:
– 1 teaspoon vanilla extract
– 1 teaspoon pumpkin pie spice
– Pinch of sea salt
This mix gives the truffles their rich flavor. Make sure it is creamy with no lumps.
Forming the Truffles
Now, fold in the crushed graham crackers. Use about 1 cup of crushed graham crackers. This step makes the mixture thicker. After that, chill the mixture for about 30 minutes. This will help shape it better.
Once chilled, use a cookie scoop or your hands. Shape the mixture into 1-inch balls. Place the truffles on a parchment-lined baking sheet. This keeps them from sticking.
Coating the Truffles
To make the truffles firm, freeze them for about 1 hour. While they freeze, prepare the chocolate coating. In a microwave-safe bowl, combine:
– 1 cup white chocolate chips
– 1 tablespoon coconut oil (optional)
Heat in the microwave in 15-second intervals. Stir in between until smooth.
When the truffles are firm, dip each one into the melted chocolate. Let any extra chocolate drip back into the bowl. Place the coated truffles back on the baking sheet.
For a fun touch, sprinkle extra crushed graham crackers or pumpkin spice on top. Let the chocolate set at room temperature. You can also chill them in the fridge to speed up the process.
Tips & Tricks
Ensuring Smooth Mixture
Using softened cream cheese is key. Soft cream cheese blends easily, making your mixture smooth. If it’s cold, lumps will form. I always let mine sit out for about 30 minutes before I start.
I recommend using an electric mixer. It makes the job quicker and easier. Hand mixing is fine, but it takes more effort. You want a creamy texture without any lumps.
Perfecting the Chocolate Coating
To avoid clumping, make sure your chocolate is fully melted. Heat it in short bursts in the microwave. Stir well between each heating. This keeps the texture smooth and easy to dip.
For a glossy finish, add coconut oil if you like. It helps the chocolate shine. Also, dip quickly but carefully. Allow excess chocolate to drip off before placing it back on the tray.
Presentation Ideas
A decorative platter makes your truffles stand out. Arrange them in neat rows or circles. For added flair, sprinkle some cinnamon or pumpkin pie spice on top.
You can also use festive pumpkin candies as a garnish. Place them around the truffles or on top for color. These little touches make your truffles look just as good as they taste!
Variations
Flavor Variations
You can switch up the flavors in these truffles. Try adding spices like cinnamon or nutmeg for extra warmth. A dash of nutmeg can bring a nice twist. You can also mix in chopped nuts or toffee bits for crunch. Nuts like walnuts or pecans add a great texture. Toffee adds a sweet surprise in every bite. Each flavor choice gives a new spin to your truffles.
Chocolate Coating Options
When it comes to coating your truffles, you have choices. Dark chocolate offers a rich, bold flavor. Milk chocolate brings a sweeter taste to the mix. If you want to avoid white chocolate, you can look for other options like yogurt melts. Each chocolate type can change the whole feel of your truffles. Choose based on your mood or taste preference.
Dietary Modifications
If you need gluten-free options, look for gluten-free graham crackers. Many brands offer great alternatives that work well. For those wanting a vegan twist, use plant-based cream cheese. This keeps the truffles creamy and delicious without dairy. With these simple swaps, everyone can enjoy these tasty treats!
Storage Info
Storing Truffles
To keep your Pumpkin Cheesecake Truffles fresh, you have two good options: the refrigerator and the freezer.
– Refrigerator: Store truffles in an airtight container. They last about 5-7 days this way.
– Freezer: For longer storage, place truffles in a freezer-safe bag. They can stay fresh for 2-3 months.
Freezing keeps their taste and texture. Just remember to let them thaw in the fridge before you enjoy them again.
Reheating or Refreshing
If your truffles are chilled and need a refresh, here are some easy tips:
– Let them sit at room temperature for 10-15 minutes. This helps soften the chocolate and brings back the creamy taste.
– If the chocolate looks dull, don’t worry. This often happens after freezing. Just warm them gently in your hands to restore a nice shine.
Enjoy your truffles fresh, and they will always taste delightful!
FAQs
Can I use fresh pumpkin instead of canned?
Yes, you can use fresh pumpkin. Fresh pumpkin can provide a bright, rich flavor. However, it requires more work. You must cook and puree the pumpkin before mixing. This process adds time but can be worth it for freshness. Just ensure your puree is thick. Excess water can change the texture of your truffles. If you want a quick option, canned pumpkin is perfect. It’s already cooked and ready to use, saving you time.
How do I know when the truffles are set?
You can tell when the truffles are set by their texture. They should feel firm to the touch. If they are still soft or sticky, they need more time in the freezer. A good rule is to freeze them for about one hour. After that, they should hold their shape well. The chocolate coating should also feel firm and not soft. If you tap the truffle gently, it should not give in.
Can I make these truffles ahead of time?
Yes, you can make these truffles ahead of time. I recommend preparing them a day or two before your event. After making them, store them in an airtight container. Keep them in the fridge to stay fresh. If you want to make them even earlier, freeze them instead. They can last up to a month in the freezer. Just let them thaw in the fridge before serving. This way, they will be ready when you need them!
This blog outlined a simple way to make pumpkin cheesecake truffles. You learned about the key ingredients and steps needed for great results. We explored helpful tips for smooth mixtures and perfect chocolate coatings. You can also try fun variations to suit your taste. Remember to store your truffles properly so they stay fresh. With these insights, you can impress friends and family with a tasty treat. Enjoy making your pumpkin truffles!


