
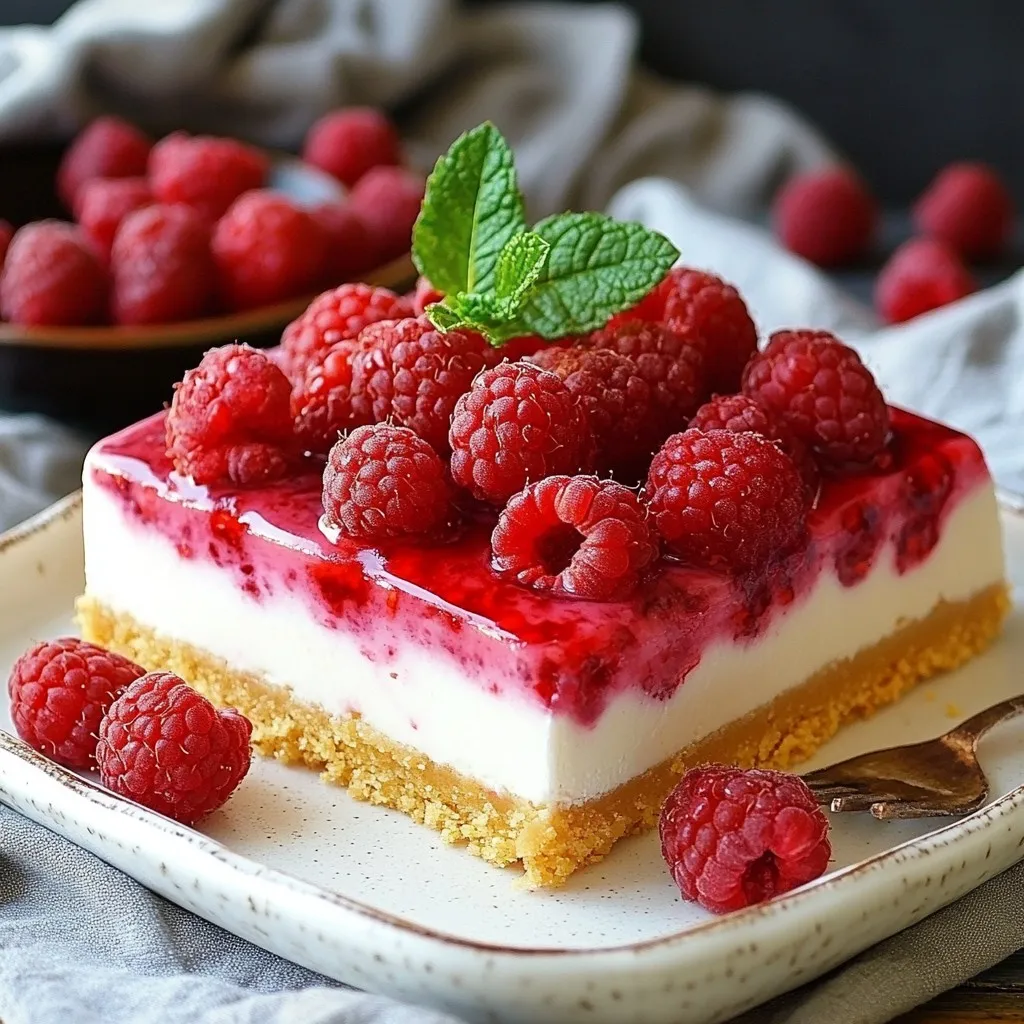
Do you crave a sweet treat that’s easy to make and bursting with flavor? These No-Bake Raspberry Cheesecake Bars are just for you! With simple ingredients, no baking required, and delightful fruity layers, these bars will wow your taste buds. Join me as I share step-by-step instructions, tips for perfect texture, and fun variations to make this dessert yours. Let’s dive into this delightful dessert that everyone will love!
Why I Love This Recipe
- Easy Preparation: This no-bake recipe requires minimal effort, making it perfect for busy days or last-minute gatherings.
- Refreshing Flavor: The combination of fresh raspberries and creamy cheesecake creates a delightful balance of tartness and sweetness.
- Perfect for Any Occasion: These cheesecake bars are versatile and can be served at parties, picnics, or simply as a sweet treat at home.
- Beautiful Presentation: With vibrant raspberry toppings, these bars look stunning on any dessert table, impressing your guests effortlessly.
Ingredients
Key Ingredients for the Cheesecake Bars
– 1 cup graham cracker crumbs
– 1/4 cup unsalted butter, melted
– 16 oz cream cheese, softened at room temperature
– 1 cup heavy whipping cream
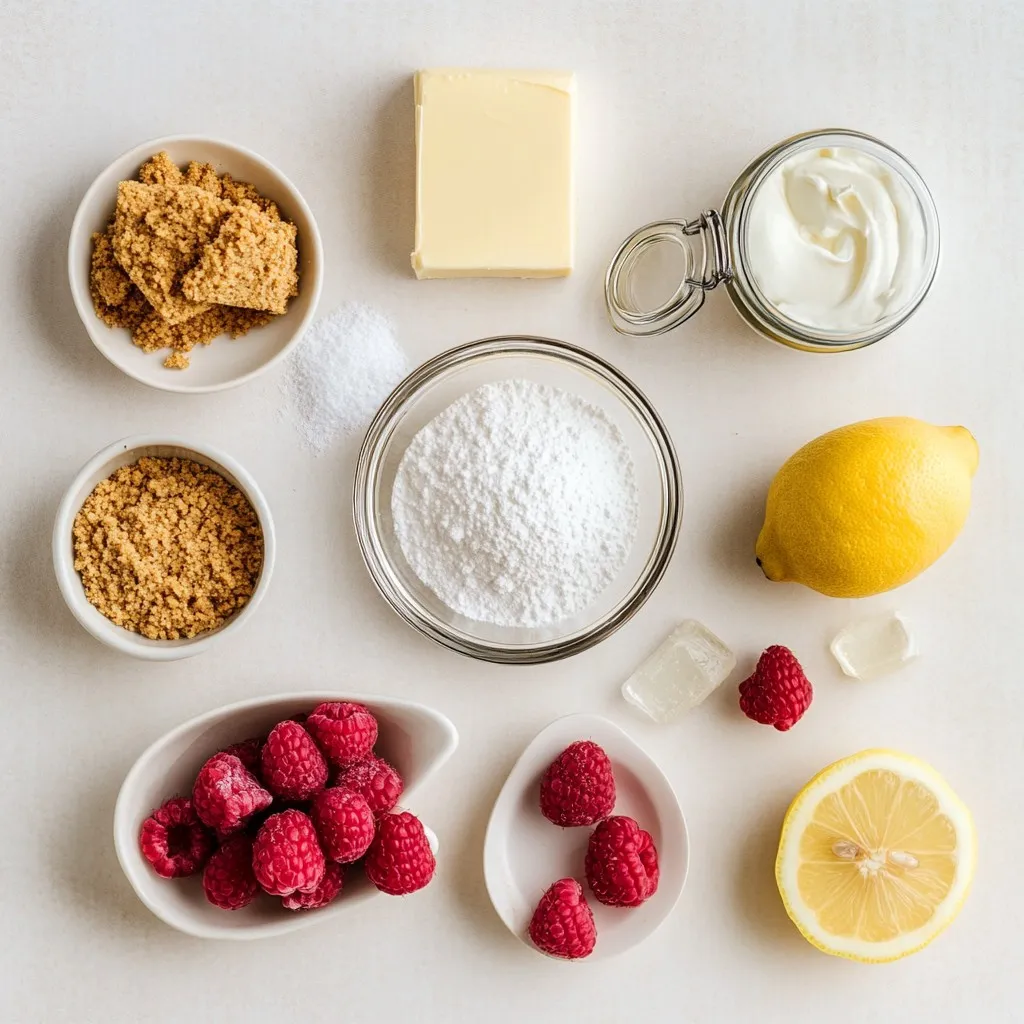
To make no-bake raspberry cheesecake bars, you need some key ingredients. First, graham cracker crumbs form a sweet and crunchy crust. You will melt the unsalted butter to hold the crust together. Cream cheese gives the bars their rich and creamy filling. Finally, heavy whipping cream adds the lightness that makes these bars so special.
Optional Toppings
– Fresh raspberries
– Mint sprigs
– Powdered sugar
You can dress up your bars with optional toppings. Fresh raspberries add color and flavor. Mint sprigs give a refreshing touch. A sprinkle of powdered sugar looks lovely and adds sweetness.
Equipment Needed
– Mixing bowls
– Electric mixer
– 9×9-inch baking dish
For this recipe, you will need a few essential tools. Mixing bowls help you combine the ingredients. An electric mixer makes it easy to beat the cream cheese. Finally, a 9×9-inch baking dish is perfect for setting your bars.
Step-by-Step Instructions
Prepare the Crust
Start by mixing the graham cracker crumbs, melted butter, and granulated sugar. Use a medium bowl for this. Stir until the mix looks like damp sand. It should hold together when you press it. Next, take a 9×9-inch baking dish and firmly press the crust into the bottom. I find that using the bottom of a measuring cup helps make it even. This will give you a smooth base for your cheesecake bars.
Make the Cheesecake Filling
In a large mixing bowl, beat the softened cream cheese and powdered sugar together. Use an electric mixer on medium speed. Keep mixing until it is smooth and creamy. There should be no lumps. Add in the pure vanilla extract, lemon juice, and a pinch of salt. Mix until everything is well combined. This step is key for a tasty filling.
Whip the Cream and Combine
In another bowl, whip the heavy cream until it forms stiff peaks. This means it should stand tall when you lift the mixer. Now, gently fold the whipped cream into the cream cheese mix. Do this in batches. Mix lightly until no white streaks show. This folding keeps the filling light and fluffy.
Tips & Tricks
Achieving the Perfect Texture
To make great no-bake raspberry cheesecake bars, start with softened cream cheese. Softening helps it blend smoothly. Leave it out for about an hour. This step makes a big difference in the filling’s texture.
Whipping cream is key for a light, fluffy filling. Use heavy whipping cream for the best results. When whipping, start on low speed to avoid splatters. Gradually increase to high until stiff peaks form. This means the cream holds its shape well. Gently fold this whipped cream into your filling. This keeps it airy and light.
Presentation Tips
For serving, cut the cheesecake bars into generous squares. Arrange them on a fancy platter for a nice touch. To make it pop, garnish each bar with fresh raspberries on top. Add a sprig of mint for a dash of color. Dust with powdered sugar for an elegant finish. This will impress your guests and make your dessert look stunning.
Troubleshooting Common Issues
Sometimes, a filling may turn out runny. If this happens, try adding a bit more whipped cream. This can help thicken the mixture. You can also chill it longer to firm up.
If your crust sticks to the dish, use a sharp knife to carefully cut around the edges. This helps release it from the sides. You can also line the dish with parchment paper before adding the crust. This prevents sticking and makes removal easier.
Pro Tips
- Use Cold Ingredients: Ensure your cream cheese is at room temperature for easy mixing, but keep your heavy cream cold for the best whipped texture.
- Don’t Overmix: When folding in the whipped cream, be gentle to maintain the light, airy texture of the cheesecake filling.
- Chill Longer for Best Results: Allowing the cheesecake bars to set overnight in the fridge will enhance the flavors and improve the texture.
- Garnish Creatively: Experiment with different toppings like edible flowers or a drizzle of chocolate for a unique presentation.
Variations
Flavor Swaps
You can easily change the flavor of these cheesecake bars. Use strawberries or blueberries for a fruity twist. Both fruits blend well with the cream cheese. You can also try a chocolate version. Just mix melted chocolate into the filling for rich flavor. For a caramel twist, swirl caramel sauce into the cheesecake. Both options create a fun dessert change.
Dietary Adjustments
If you need gluten-free options, you can use gluten-free graham crackers for the crust. This simple swap makes the bars safe for those with gluten allergies. For vegan alternatives, use dairy-free cream cheese and coconut cream. Both will keep the creamy texture while being plant-based. These adjustments let everyone enjoy a slice.
Serving Styles
You can serve these cheesecake bars in fun ways. Try making mini cheesecake bars using a muffin tin. Just press the crust into the bottom and fill each cup with the cheesecake mixture. This makes for cute, bite-sized treats. You can also use individual serving cups for a more elegant look. Layer the crust and filling in clear cups for beautiful presentations. Your guests will love these creative serving styles.
Storage Info
Refrigeration Guidelines
To keep your no-bake raspberry cheesecake bars fresh, store them in the fridge. Place them in an airtight container. This helps prevent moisture loss and keeps them tasty. They stay good for about 3 to 5 days. If you want the best taste, enjoy them within the first couple of days. The bars may lose some texture and flavor after a week.
Freezing Instructions
You can freeze these cheesecake bars for longer storage. First, cut them into squares. Wrap each piece in plastic wrap. Then, place the wrapped bars in a freezer-safe container. They freeze well for up to 2 months. When you want to enjoy them, take them out of the freezer. Thaw them in the fridge for a few hours or overnight. This keeps them creamy and fresh. Avoid thawing them at room temperature, as this can change the texture.
FAQs
How long do No-Bake Raspberry Cheesecake Bars last?
No-Bake Raspberry Cheesecake Bars stay fresh for about 4 to 5 days in the fridge. Store them in an airtight container to keep them from drying out. If you want to enjoy them longer, freeze them. Wrap each bar tightly in plastic wrap, then place in a freezer-safe bag. They can last up to 2 months in the freezer.
Can I use frozen raspberries instead of fresh?
Yes, you can use frozen raspberries, but the texture may change. Frozen raspberries can be softer when thawed, so the bars may be a bit mushy. The flavor will still be good, but fresh raspberries give a better bite and look. If using frozen, try to fold them in gently to avoid too much juice.
What should I do if my cheesecake doesn’t set?
If your cheesecake doesn’t set, it may need more chilling time. Make sure it has been in the fridge for at least 4 hours. If it still feels soft, you can try freezing it for a short time. If you follow the recipe but still have issues, check if the cream cheese was well-softened. This helps it mix smoothly.
These cheesecake bars are simple and tasty. We covered key ingredients like graham crackers, cream cheese, and whipping cream. You learned to create the perfect crust and filling. Tips helped you achieve the right texture and presentation. Variations let you explore flavors and diets. Remember to store them well for lasting freshness.
Now, you can impress friends and family with your cheesecake bars. Enjoy your delicious trea


