
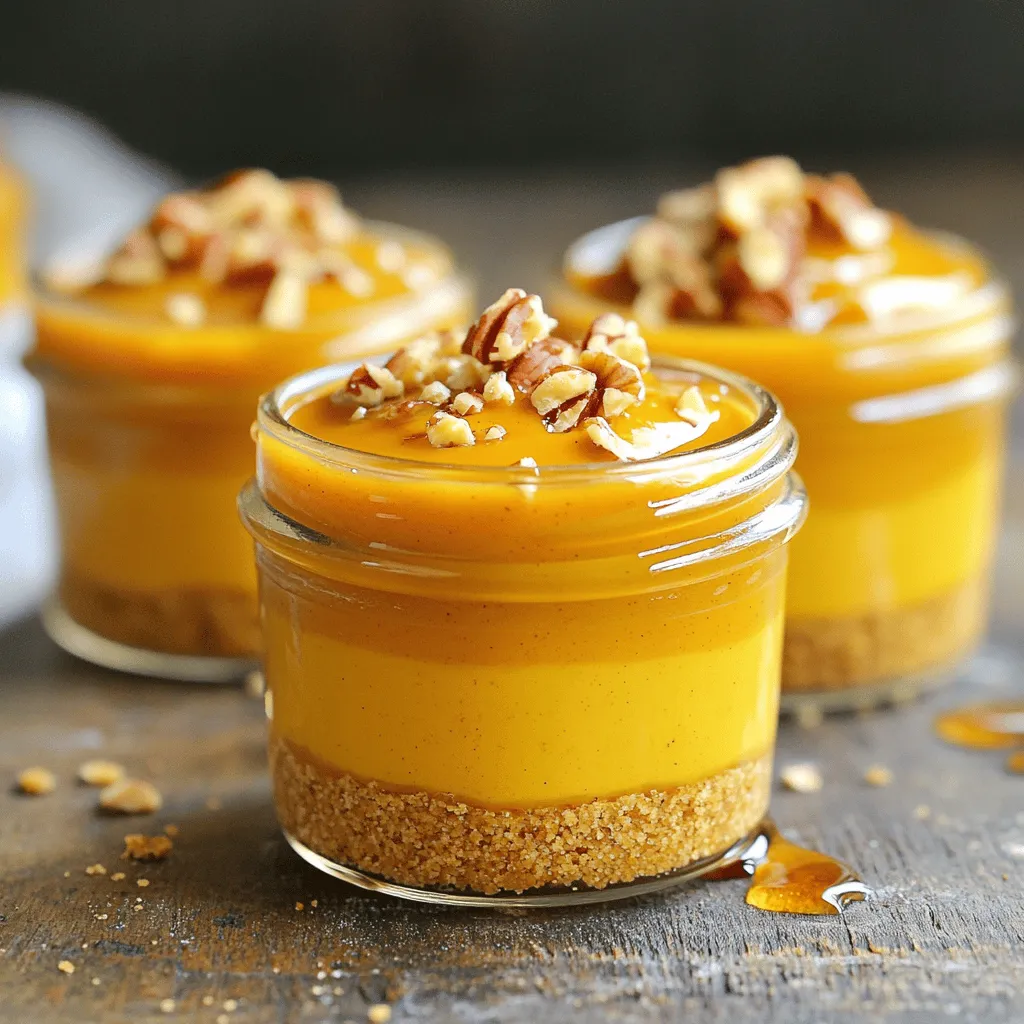
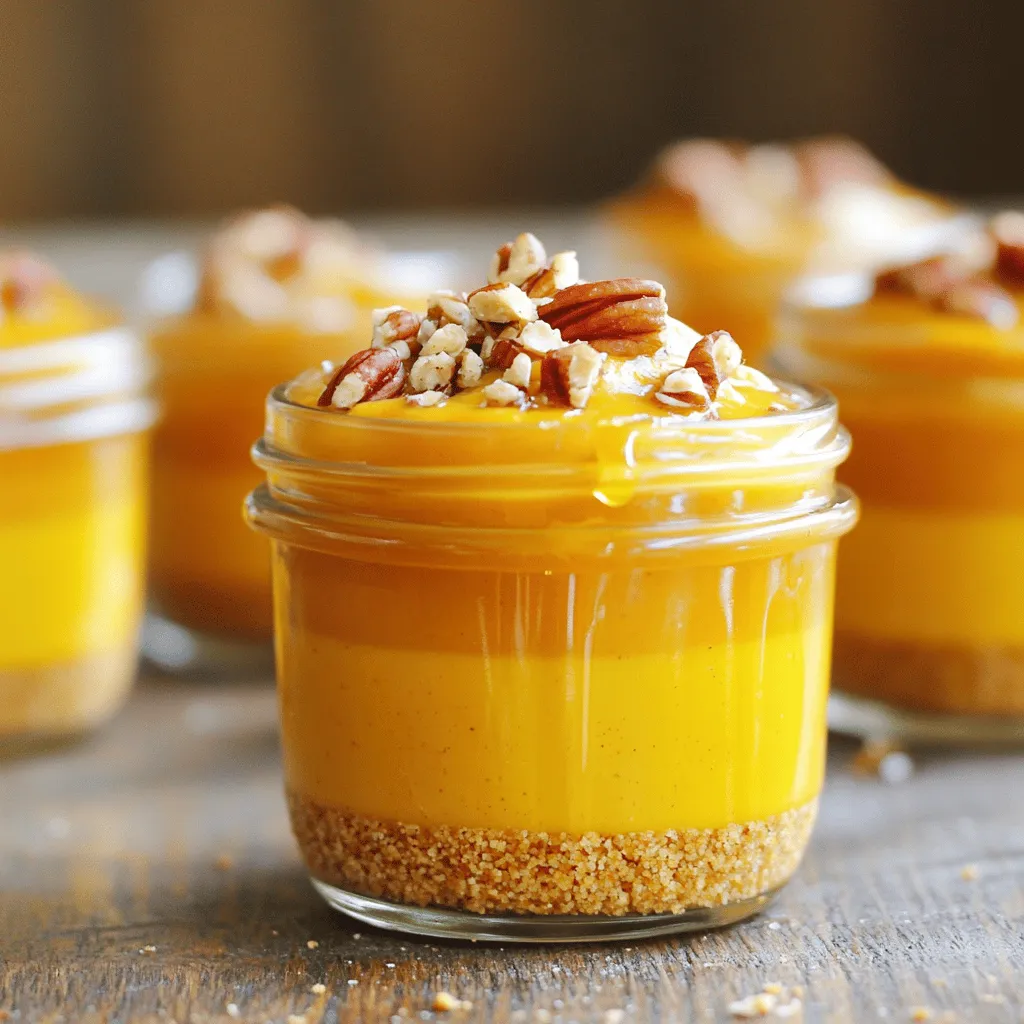
Fall flavors are just a bite away with these No-Bake Pumpkin Pie Cups! This simple treat combines creamy pumpkin filling with a crunchy graham cracker base, making it perfect for any occasion. You’ll love how easy they are to prepare. Plus, they’re customizable to suit your taste. Grab your ingredients, and let’s dive into this no-bake delight that’s sure to impress family and friends alike!
Ingredients
List of Ingredients
– 1 cup pumpkin puree
– 1/2 cup cream cheese, softened to room temperature
– 1/2 cup whipped topping (store-bought or homemade)
– 1/3 cup pure maple syrup
– 1 teaspoon vanilla extract
– 1 teaspoon pumpkin pie spice
– 1/2 teaspoon ground cinnamon
– 1 cup graham cracker crumbs
– 1/4 cup unsalted butter, melted
– 1/4 cup crushed pecans
Ingredient Substitutions
You can make some simple swaps to fit your needs:
– Alternative sweeteners: Use honey or agave syrup instead of maple syrup.
– Non-dairy options for cream cheese: Try a cashew-based cream cheese or silken tofu.
– Gluten-free graham cracker alternatives: Look for gluten-free graham crackers or use ground almonds.
These swaps help keep the recipe fun and flexible. You can enjoy it your way!
Step-by-Step Instructions
Mixing the Pumpkin Filling
To start, grab a medium bowl. Combine 1 cup of pumpkin puree and 1/2 cup of softened cream cheese. Use a whisk to mix them well. Add in 1/3 cup of maple syrup, 1 teaspoon of vanilla extract, 1 teaspoon of pumpkin pie spice, and 1/2 teaspoon of ground cinnamon. Keep whisking until the mixture is smooth and creamy. Make sure there are no lumps from the cream cheese. Gently fold in 1/2 cup of whipped topping with a spatula. This makes the filling light and fluffy. Set this aside.
Preparing the Graham Cracker Base
Now, in another bowl, mix 1 cup of graham cracker crumbs with 1/4 cup of melted unsalted butter. Stir until the crumbs are evenly coated. This step helps the base hold together. Next, take small dessert cups or mini mason jars. Place about 2 tablespoons of the graham cracker mixture at the bottom of each cup. Press it down slightly to form a solid base.
Assembling the Pumpkin Pie Cups
Time to build your cups! Spoon the pumpkin filling over the graham cracker base. Fill each cup about three-quarters full. If you have larger cups, you can add another layer. Just repeat the graham cracker mixture and then more pumpkin filling. Finally, sprinkle 1/4 cup of crushed pecans on top of each cup. This adds a nice crunch and flavor. Cover the cups with plastic wrap or lids. Refrigerate them for at least 2 hours. This lets the flavors mix and the filling set. Serve these cool and enjoy the creamy, delicious dessert!
Tips & Tricks
Achieving the Perfect Consistency
To make your pumpkin filling smooth, whip the cream cheese well. Start with softened cream cheese at room temperature. Whisk it until you have a creamy base with no lumps. This step is key for a great texture.
When you add the whipped topping, do it gently. Use a spatula to fold it in. Be careful not to mix too hard. This keeps the filling light and fluffy.
Chilling for Maximum Flavor
Letting your pie cups chill is important. Aim for at least 2 hours in the fridge. This time allows flavors to blend and the filling to set. For covering, use plastic wrap or lids. This helps keep the cups fresh and tasty.
Presentation Techniques
For a pretty finish, consider garnishing each cup. A dollop of whipped topping adds a nice touch. You can also sprinkle a bit of cinnamon on top.
Choose clear, small cups or mini mason jars for serving. This way, guests can see the layers. It makes the dessert look inviting and fun!
Variations
Seasonal Flavors
You can easily change the flavor of your No-Bake Pumpkin Pie Cups. Adding chocolate or caramel gives a sweet twist. Just drizzle melted chocolate or caramel sauce over the top. This adds a rich layer of taste that pairs well with pumpkin. You can also add chocolate chips to the filling for extra indulgence.
Spiced variations can also enhance the filling. Try adding a pinch of nutmeg or ginger for a warm kick. You can even mix in some apple pie spice for a fun twist. These small changes create a unique dessert for every occasion.
Dietary Adjustments
Making your pumpkin cups vegan is simple. Swap cream cheese for a non-dairy version, like cashew cream. Use coconut whipped cream instead of regular whipped topping. Replace maple syrup with agave nectar for a vegan sweetener. These swaps keep the taste while meeting dietary needs.
If you’re looking for low-sugar options, you can use sugar substitutes. Stevia or monk fruit sweetener works well in this recipe. Just adjust the amount to match your taste. This way, you maintain the sweet flavor without the extra sugar.
Serving Suggestions
Pairing drinks with your cups can enhance the dessert experience. A warm chai tea or spiced cider complements the flavors well. If you prefer something colder, a vanilla-flavored soda works too.
For plating ideas, consider using clear dessert cups to show off the layers. You can also add a cinnamon stick for decoration. This gives a festive look to your gathering. Using colorful napkins or plates can make your dessert stand out even more.
Storage Info
Short-Term Storage
To keep your No-Bake Pumpkin Pie Cups fresh, store them in the refrigerator. Place the cups in an airtight container or cover them with plastic wrap. They stay good for about 3 to 5 days. Make sure to keep them chilled until you are ready to serve. This helps maintain their creamy texture and flavor.
Long-Term Storage
If you want to save some for later, you can freeze the pumpkin pie cups. First, cover each cup tightly with plastic wrap or foil. Then, place them in a freezer-safe bag or container. They can last up to 2 months in the freezer. When you’re ready to eat them, move the cups to the fridge to thaw overnight.
Reheating Guidelines
These cups are best served cold. If you want to enjoy them slightly warmer, let them sit out for about 10 minutes before serving. This way, they soften a bit, but don’t heat them in the microwave. That might change their texture and taste. Enjoy them straight from the fridge for the best flavor!
FAQs
How long do No-Bake Pumpkin Pie Cups last in the fridge?
No-Bake Pumpkin Pie Cups last about 3 to 5 days in the fridge. Store them in an airtight container. This keeps them fresh and tasty for when you want a quick treat.
Can I make these pumpkin cups ahead of time?
Yes, you can make these cups ahead of time. They taste even better after chilling for a few hours. You can prepare them a day before serving. Just cover them well in the fridge.
What can I use instead of graham crackers for the base?
If you don’t have graham crackers, you can use crushed cookies or oats. Some people like to use vanilla wafers or even gluten-free options. Just mix them with melted butter to form a base.
Can I use fresh pumpkin instead of canned puree?
Yes, you can use fresh pumpkin. Just cook and puree it until smooth. Be sure to drain any excess water. Canned pumpkin is often easier and saves time, but fresh can add a special taste.
How can I make these cups healthier?
To make these cups healthier, use less maple syrup or a sugar substitute. You can also swap cream cheese for a low-fat version. Consider adding yogurt instead of whipped topping for a lighter touch.
The blog post covered all you need for delicious No-Bake Pumpkin Pie Cups. We explored essential ingredients and helpful substitutes. Step-by-step instructions made the process easy to follow. Key tips ensured the perfect consistency and tasty results. We looked at fun variations and smart storage options.
In conclusion, these Pumpkin Pie Cups are not just simple to make; they are flexible and tasty. Try your own spin, and enjoy this treat throughout the season!


