
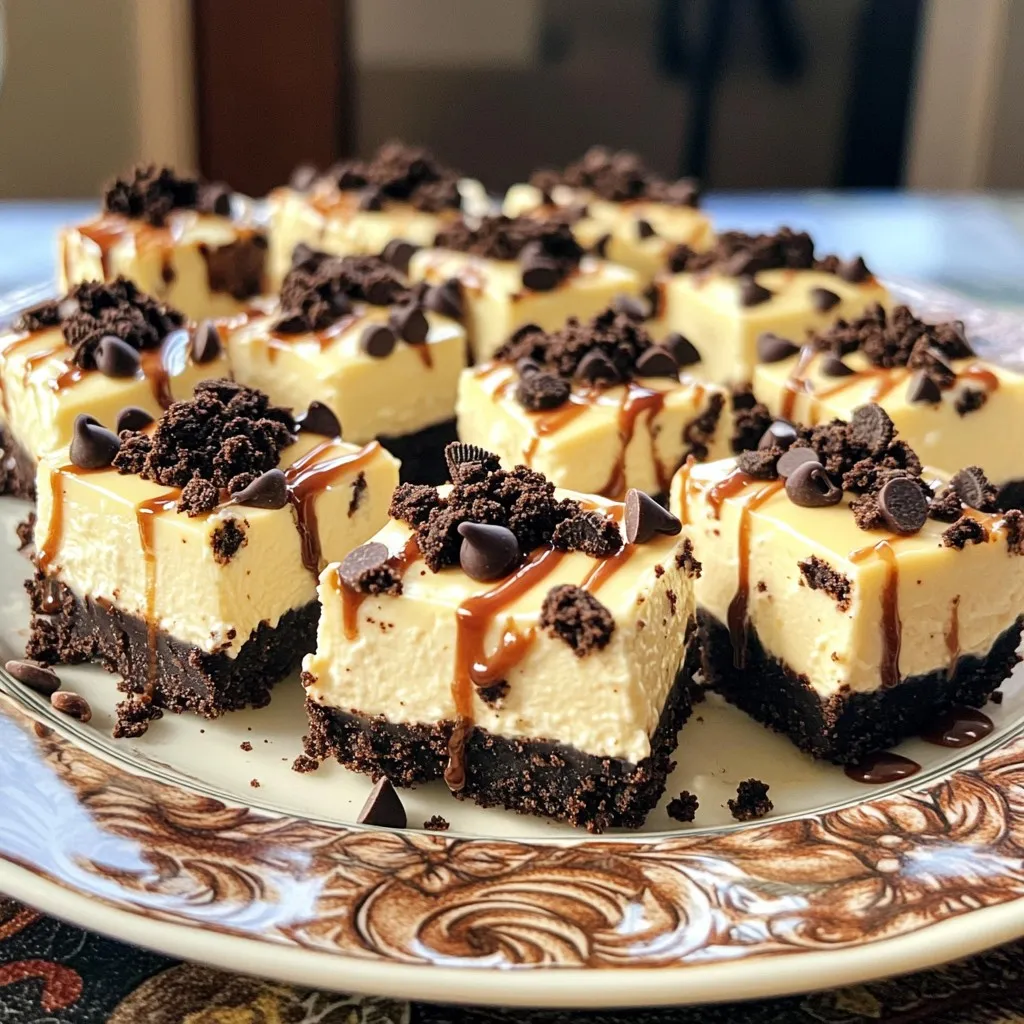
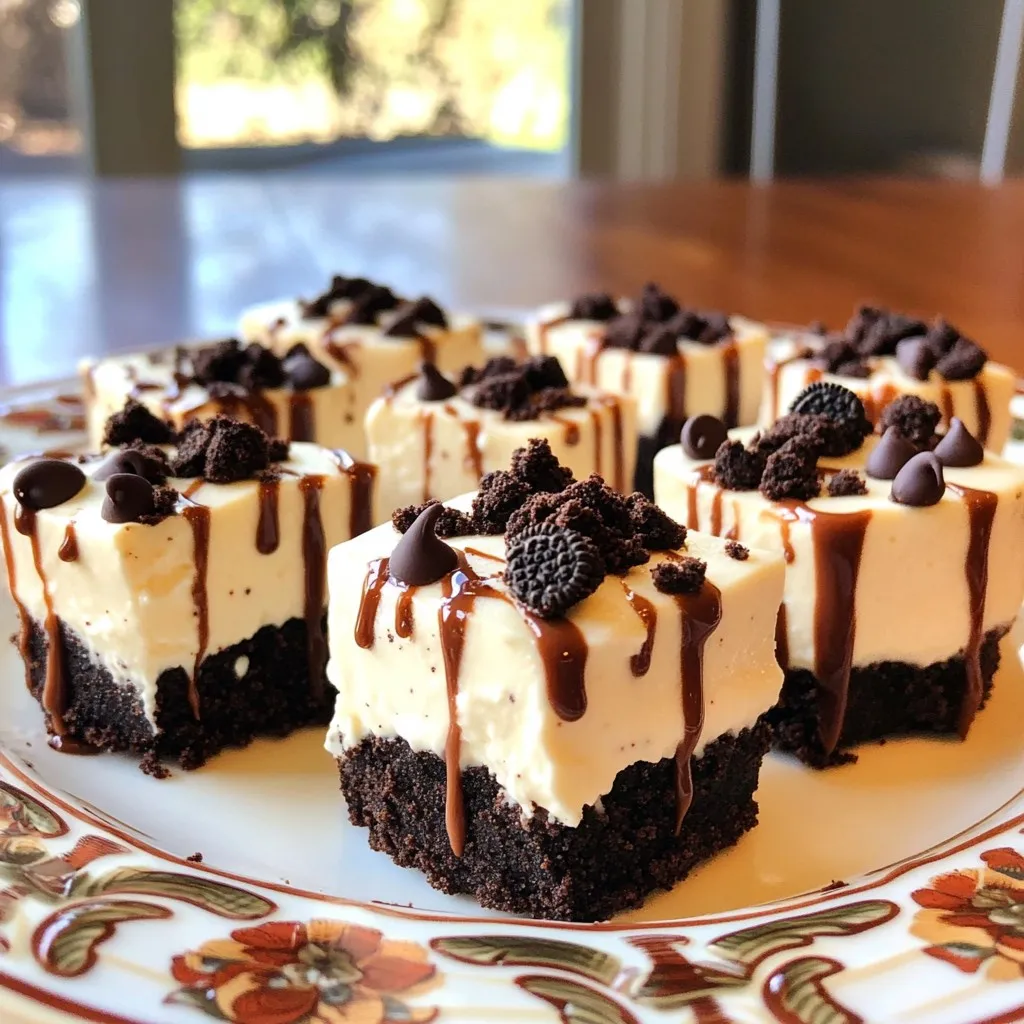
Craving something sweet that requires no baking? These No-Bake Oreo Cheesecake Bites are the perfect solution! They’re quick to make and packed with delicious Oreo flavor. With just a few simple ingredients, you can whip up a tasty treat to impress your family and friends. Follow my easy step-by-step guide, and you’ll be savoring these delightful bites in no time. Let’s dive into making this simple yet impressive dessert!
Ingredients
List of Ingredients
– 1 package (14 Oreos)
– 6 additional Oreos for decoration
– 8 oz cream cheese (room temperature)
– 1/3 cup granulated sugar
– 1 tsp pure vanilla extract
– 1 cup whipped topping (e.g., Cool Whip)
– 1/2 cup mini chocolate chips (optional)
– 1/4 cup unsalted butter (melted)
Gathering the right ingredients is key to making tasty No-Bake Oreo Cheesecake Bites. Start with one package of Oreos. You will need 14 Oreos for the crust and 6 more for decoration. The cream cheese must be at room temperature for easy mixing. Use 8 ounces for a creamy texture.
Next, add 1/3 cup of granulated sugar. This will sweeten the filling. Then, include 1 teaspoon of pure vanilla extract for flavor. The whipped topping, which is 1 cup, gives the bites a light and fluffy feel. If you like chocolate, add 1/2 cup of mini chocolate chips. This is optional but adds a nice crunch. Lastly, have 1/4 cup of melted unsalted butter to help bind the crust.
By keeping these ingredients in mind, you will create a delightful treat. Each bite delivers a rich flavor that everyone loves. Enjoy making these simple, tasty treats!
Step-by-Step Instructions
Prepare the Oreo Crust
First, gather your Oreos. You need 14 for the crust. Use a food processor to crush them. Pulse until they turn into fine crumbs. Then, in a bowl, mix the crumbs with the melted butter. Stir well until the butter coats all the crumbs. This step is key for a tasty crust.
Form the Crust in Mini Muffin Tins
Next, grab your mini muffin tin. Line each cup with paper liners. This makes it easy to remove the bites later. Take a teaspoon of the Oreo mixture and scoop it into each cup. Use your fingers or a spoon to press down hard. You want a firm base that holds together well.
Create the Cheesecake Filling
Now, let’s make the filling. In a large bowl, beat the cream cheese with an electric mixer until it’s smooth. This takes about 2 minutes. Slowly add the granulated sugar and vanilla extract while mixing. Keep going until everything blends into a fluffy mixture.
Incorporate the Whipped Topping
Next, it’s time for the whipped topping. Take your spatula and gently fold it into the cream cheese mix. Do this slowly to keep the mixture light and fluffy. If you like chocolate chips, stir them in now. They add a fun crunch to each bite.
Fill the Muffin Cups
Use a spoon to fill each muffin cup with the cheesecake mix. Be careful to fill them close to the top. Leave a tiny space at the top to avoid overflow. This ensures a nice, neat bite when you serve them later.
Add Topping and Chill
Finally, take the 6 extra Oreos and crush them. Sprinkle these crumbs on top of each cheesecake bite. This adds a nice finish. Place the muffin tin in the fridge. Chill for at least 2 hours. This helps the bites set up and firm nicely.
Tips & Tricks
Presentation Tips
To make these cheesecake bites shine, focus on how you serve them. Place the bites on a nice plate. This small change makes them look fancy. You can drizzle chocolate syrup over the top for a sweet touch. This adds flair and makes them even more tempting. A few mint leaves can add a pop of color too.
Common Mistakes to Avoid
Mixing too much can ruin the texture. You want a smooth filling, so fold gently. Overmixing can make the cheesecake gritty. Make sure to pack the crust firmly. If the crust is loose, the bites may fall apart. Use your fingers or a spoon to press down hard. A good crust holds everything together.
Adaptations for Flavor
Feel free to get creative with toppings. You can add fresh fruit, like strawberries or raspberries, for a fresh twist. Try different cookies as well. Chocolate cookies can add an extra chocolatey taste. Even graham crackers can work for a different flavor. Mix and match to find your favorite!
Variations
Flavor Variations
You can switch up the flavors of your cheesecake bites. For a chocolate-lovers version, use dark chocolate and cocoa. This makes your bites even richer and more decadent. If you want a fruit-infused version, try adding strawberry puree or blueberry. These fruits add a fresh taste and bright color.
Dietary Variations
If you need gluten-free options, use gluten-free Oreos. They taste great and keep the same texture. For vegan adaptations, swap cream cheese for plant-based cream cheese. Use coconut whipped cream instead of regular whipped topping. These changes make the bites suitable for everyone.
Serving Size Variations
You can adjust the recipe for larger gatherings. Simply double the ingredients and use a larger muffin tin. For smaller portions, use a mini muffin tin. This way, you can serve just the right size for each guest.
Storage Info
Short-Term Storage
To keep your No-Bake Oreo Cheesecake Bites fresh, store them in the fridge. Place them in an airtight container. This helps to stop moisture from getting in. If you don’t have one, use plastic wrap over the muffin tin. This works well too.
Freezing Instructions
For longer storage, you can freeze the cheesecake bites. First, place them in a single layer on a baking sheet. Freeze them until solid. Then, transfer them to a freezer-safe container or a zip-top bag. This helps save space in your freezer. To thaw, place the bites in the fridge overnight. This keeps their texture nice and creamy.
Shelf Life
These cheesecake bites last about five days in the fridge. After that, they may start to spoil. Look for signs like an off smell or a change in texture. If they look dry or have a weird color, it’s best to toss them. Enjoy your treats while they are still fresh!
FAQs
How long do No-Bake Oreo Cheesecake Bites last in the fridge?
No-Bake Oreo Cheesecake Bites last about 4 to 5 days in the fridge. They stay fresh if stored in an airtight container. Keep them cool to maintain their taste and texture. After a few days, they may lose some flavor and firmness.
Can I use low-fat cream cheese for this recipe?
Yes, you can use low-fat cream cheese. It will still work well in this recipe. The bites may be slightly less rich, but they will still taste great. Just make sure the cream cheese is soft before mixing for easy blending.
Can I make these cheesecake bites ahead of time?
Absolutely! You can make these cheesecake bites a day or two ahead. This makes them perfect for parties or gatherings. Just store them in the fridge until you are ready to serve. They will taste even better after sitting for a while.
What can I substitute for whipped topping?
If you don’t have whipped topping, you can use heavy cream. Just whip the cream until it forms stiff peaks, then fold it in gently. You can also use homemade whipped cream for a fresher taste. Both options work well in this recipe.
Are there any nut-free alternatives for this recipe?
Yes, this recipe is naturally nut-free. The main ingredients do not contain nuts. However, if you use nut-free whipped topping and chocolate chips, you can keep it safe for those with nut allergies. Always check labels to be sure.
These No-Bake Oreo Cheesecake Bites are easy and fun to make. You learned how to prepare a tasty Oreo crust, mix a creamy filling, and chill them for best taste. Remember to get creative with toppings and flavors. You can also adapt this recipe for different diets. With proper storage, your cheesecake bites will stay fresh for days. Enjoy your delightful treats, and share them with friends and family! Happy baking!


