
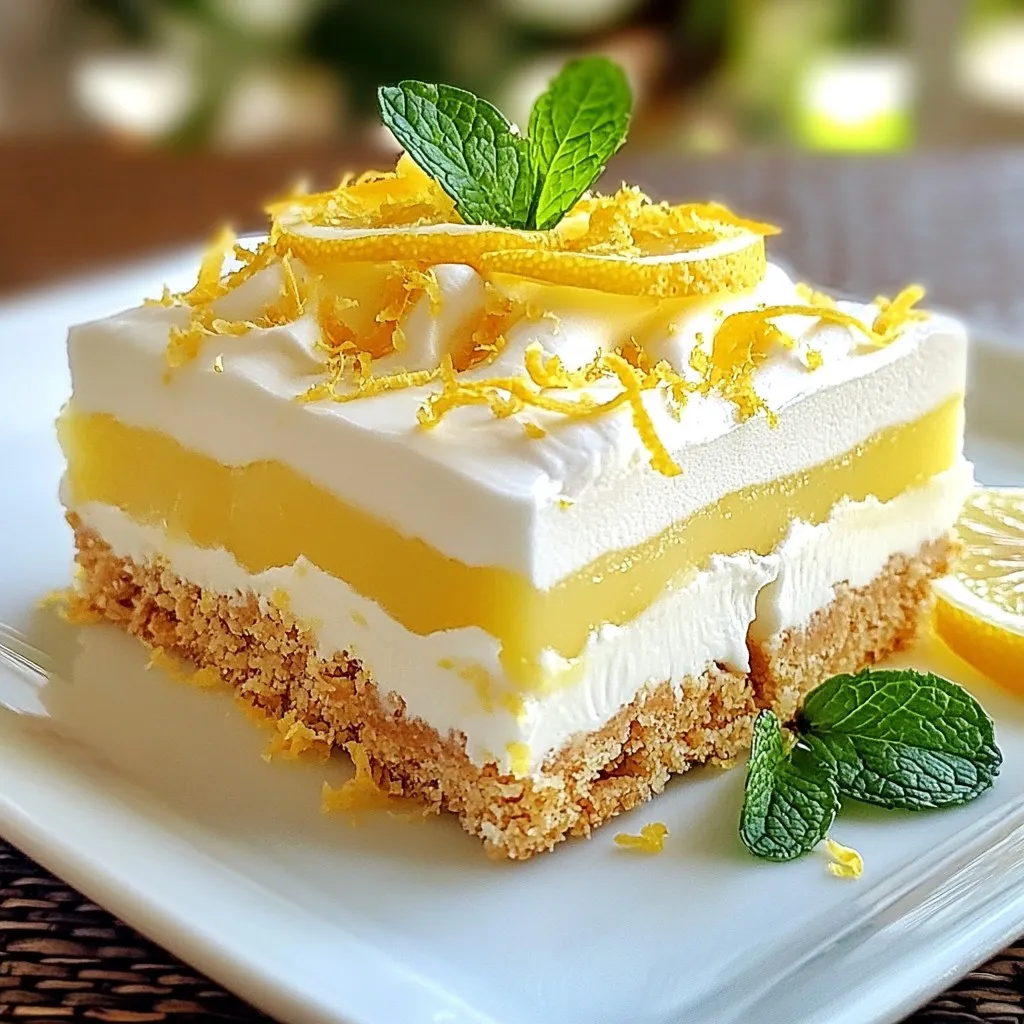
Are you craving a light and zesty dessert? Look no further! My No-Bake Lemon Icebox Bars are the perfect treat for summer. With minimal effort, you get a delightful mix of graham cracker crust, fluffy lemon filling, and creamy whipped cream. Whether you’re hosting a barbecue or just treating yourself, these bars will be a hit. Let’s dive into how to create this refreshing dessert!
Why I Love This Recipe
- Refreshing Flavor: The bright citrus notes of fresh lemon juice and zest make every bite of these bars a refreshing treat, perfect for warm days.
- No-Bake Convenience: With no baking required, these bars are an easy dessert option that saves time and energy in the kitchen.
- Creamy Texture: The whipped cream folded into the lemon filling creates a light and luscious texture that complements the crunchy crust beautifully.
- Beautiful Presentation: They look as good as they taste! Garnishing with mint and lemon slices elevates the visual appeal for any occasion.
Ingredients
List of Ingredients
– 1 ½ cups graham cracker crumbs
– ½ cup unsweetened shredded coconut
– ½ cup unsalted butter, melted
– 1 (14 oz) can sweetened condensed milk
– ¾ cup fresh lemon juice (approximately 3-4 lemons)
– Zest of 2 lemons
– 1 teaspoon vanilla extract
– 1 cup heavy whipping cream
– 2 tablespoons powdered sugar
– Fresh mint leaves for garnish (optional)
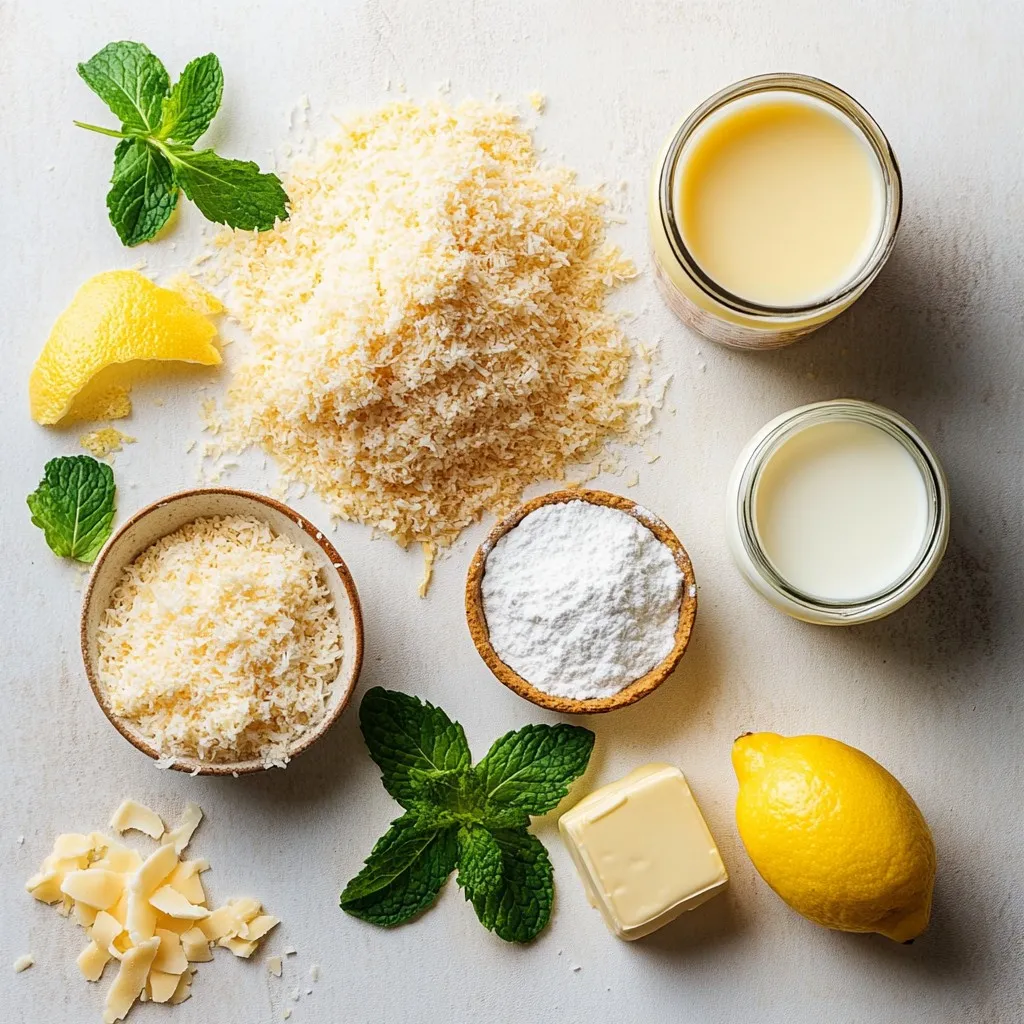
To make No-Bake Lemon Icebox Bars, you need simple, fresh ingredients. Each one plays an important role. The graham cracker crumbs form the base, giving the bars a crunchy texture. Shredded coconut adds a hint of sweetness and a chewy bite. Melted butter binds these crumbs together, creating a firm crust.
The filling is where the magic happens. Sweetened condensed milk brings creaminess and sweetness. Fresh lemon juice adds bright, zesty flavor. The lemon zest enhances this flavor, giving a fragrant kick. Vanilla extract rounds out the taste, making it rich and smooth.
Heavy whipping cream is essential for a light, airy texture. When whipped, it becomes fluffy and adds volume to the filling. Finally, powdered sugar sweetens the cream without making it gritty.
For a touch of freshness, consider garnishing with mint leaves. This adds color and a refreshing aroma. Each ingredient combines to create a dessert that is both refreshing and delightful.
Step-by-Step Instructions
Preparing the Crust
To start, grab a medium bowl. Mix together 1 ½ cups of graham cracker crumbs and ½ cup of unsweetened shredded coconut. This mix adds a nice texture. Next, pour in ½ cup of melted unsalted butter. Stir well until all the crumbs get coated.
Now, take this mixture and transfer it into a greased 9×9 inch baking dish. Use the back of a measuring cup or your fingers to press the crumbs down firmly. You want a nice, even crust. After this, place the dish in the fridge to chill while you make the lemon filling.
Making the Lemon Filling
In another large bowl, it’s time to make the lemon filling. Whisk together one can of sweetened condensed milk, ¾ cup of fresh lemon juice, the zest of 2 lemons, and 1 teaspoon of vanilla extract. Mix until it’s smooth.
For the next step, grab a separate bowl to whip 1 cup of heavy whipping cream. Start on low speed and slowly increase to medium-high. Keep going until you see soft peaks. While whipping, add 2 tablespoons of powdered sugar. Continue until stiff peaks form.
Now, gently fold the whipped cream into the lemon mix. Do this in small batches to keep the cream fluffy. Fold until everything is combined and creamy.
Assembling and Setting the Bars
Pour the luscious lemon filling over the chilled crust. Spread it evenly across the surface using a spatula. Cover the dish tightly with plastic wrap and place it back in the fridge. Let it chill for at least 4 hours. This time helps the filling set properly.
Once the bars are firm, take them out of the fridge. Cut them into squares or bars. Serve chilled for a delightful treat!
Tips & Tricks
Perfecting Your Lemon Icebox Bars
To get the best texture with whipped cream, start with cold cream. Cold cream whips up better. Use a clean bowl and beaters to prevent any fat from ruining your texture. Whip on low speed first, then increase to medium-high. Aim for stiff peaks; this means the cream holds its shape.
For pressing the crust evenly, use a measuring cup or your hands. Start in the center and work your way to the edges. Press firmly to create a solid base. If the crust is uneven, it can affect the filling. A level crust ensures every bite tastes great.
Serving Suggestions
Garnish your bars with fresh mint leaves and lemon slices. This adds color and flavor. Place the mint leaves on top of the bars or around the platter. Thin lemon slices can be placed on each bar for a bright look.
For a delightful dessert display, arrange the bars neatly on a beautiful platter. Use a spatula to cut clean lines. This makes for a stunning presentation that will impress your guests. Consider using a colorful plate to make the lemon bars pop!
Pro Tips
- Chill the Bowl: Before whipping the cream, chill the mixing bowl and beaters in the freezer for about 15 minutes. This helps achieve a better volume and fluffiness in your whipped cream.
- Use Fresh Lemons: Freshly squeezed lemon juice and zest will provide a vibrant flavor that bottled alternatives cannot match, ensuring your bars are zesty and delicious.
- Don’t Rush the Setting: Allow the bars to set in the refrigerator for the full time suggested. This ensures a firm and creamy texture that holds together beautifully when sliced.
- Perfect Serving Size: For cleaner cuts, run your knife under hot water before slicing the bars. Wipe it dry before each cut to maintain pristine edges.
Variations
Adding Flavor Twists
You can easily mix things up with this recipe. Try adding different citrus fruits for fun. Lime or orange juice can give a fresh twist to the lemon flavor. Just swap out some lemon juice for your choice of citrus.
You can also add toppings to make it more special. Fresh berries like strawberries or blueberries can add color and taste. A drizzle of chocolate on top can make it feel even more like dessert. Just melt some chocolate and pour it over your bars before serving.
Gluten-Free Options
If you need gluten-free bars, you can still enjoy this treat. Use gluten-free graham crackers to make the crust. They taste great and work just as well. You can also try using a nut crust made from almonds or pecans. Just grind them up and mix with melted butter.
No matter the choice, you will still have a refreshing dessert to enjoy. These options let everyone join in on the fun!
Storage Info
Storing Your No-Bake Lemon Icebox Bars
To keep your no-bake lemon icebox bars fresh, store them in the fridge. Use an airtight container or cover the dish with plastic wrap. This helps prevent the bars from drying out and keeps their zesty flavor. If you have leftovers, make sure to place them in the fridge right after serving.
For long-term storage, you can freeze the bars. First, cut them into squares. Then, wrap each square in plastic wrap. Place the wrapped bars in a freezer-safe container. They will stay fresh for up to two months in the freezer.
Shelf Life
In the fridge, your no-bake lemon icebox bars stay fresh for about one week. After that, they may lose their taste and texture.
Look for signs of spoilage, such as changes in color or a sour smell. If the bars feel slimy or have mold, it’s best to throw them away. Always trust your senses to keep your dessert safe and tasty!
FAQs
Can I use bottled lemon juice?
Yes, you can use bottled lemon juice. However, fresh lemon juice gives the best flavor. Fresh juice is bright and zesty. It makes the bars taste more vibrant. If you choose bottled juice, select a high-quality brand.
How do I ensure my bars set properly?
To help the bars set well, chill the crust before adding the lemon filling. Make sure to refrigerate the bars for at least four hours. This allows the filling to firm up. If the filling is not firm, it may not hold its shape. You can also check if the whipped cream is whipped to stiff peaks. This helps keep the bars light and airy.
Can I make these lemon icebox bars in advance?
Yes, you can make these bars in advance. They store well in the fridge for up to four days. Just cover them tightly with plastic wrap. This keeps them fresh. If you want to make them even earlier, you can freeze them. Just ensure they are well-wrapped. They can last up to three months in the freezer.
You’ve learned how to make delicious no-bake lemon icebox bars. We covered the key ingredients, easy steps, and tips for perfecting your treat. Adding fun twists keeps it fresh and exciting. Store them well to enjoy later.
Now, get ready to impress with a lemony dessert that’s both refreshing and simple. Your friends and family will love these bars—just like you! Enjoy making and serving this delightful trea


