No-Bake Chocolate Coconut Energy Bars Easy Recipe

WANT TO SAVE THIS RECIPE?

Looking for a quick and tasty snack? You can make No-Bake Chocolate Coconut Energy Bars in no time! With just a few simple ingredients, this easy recipe packs a big flavor punch. Whether you’re after a boost before gym time or a sweet treat after a long day, these bars fit the bill. Let’s dive into how you can whip up these delicious energy bars and enjoy a guilt-free snack!

Ingredients

Essential Ingredients for No-Bake Chocolate Coconut Energy Bars

To make these tasty energy bars, you need a few key ingredients. Here’s what you will need:

– 1 cup rolled oats

– ½ cup almond butter (or your favorite nut butter)

– ½ cup honey or maple syrup

– ½ cup unsweetened cocoa powder

– 1 cup shredded unsweetened coconut

– ½ cup dark chocolate chips

– 1 teaspoon vanilla extract

– A pinch of salt

These ingredients blend together to create a delicious, chewy treat. The rolled oats provide fiber, while almond butter offers healthy fats and protein. Honey or maple syrup adds natural sweetness.

Possible Substitutions for Allergies or Preferences

You can change some ingredients if you have allergies or different tastes. Here are some easy swaps:

– Use sunflower seed butter instead of almond butter for nut-free options.

– Swap honey with agave syrup for a vegan choice.

– If cocoa powder isn’t for you, try carob powder for a different flavor.

– You can replace dark chocolate chips with white chocolate or dried fruits for variety.

These substitutions let you enjoy the bars while keeping them safe and tasty.

Nutritional Information Breakdown

Knowing the nutrition facts helps you make smart choices. Here is a simple breakdown per bar (based on 12 servings):

– Calories: 200

– Protein: 4 grams

– Carbohydrates: 24 grams

– Fat: 10 grams

– Fiber: 3 grams

These bars are great for a quick snack or energy boost. They pack a good mix of nutrients, making them a healthy option for busy days.

Step-by-Step Instructions

Preparation of Dry Ingredients

First, gather your dry ingredients. You need rolled oats, cocoa powder, shredded coconut, and a pinch of salt. In a large mixing bowl, combine these ingredients. Stir them well until everything mixes nicely. This step is key for even flavor. The oats provide texture, while the cocoa gives a rich taste.

Mixing Wet Ingredients

Now, let’s move on to the wet ingredients. Grab a separate medium bowl. Add almond butter, honey (or maple syrup), and vanilla extract. Mix these together until they turn smooth and creamy. This mixture will help bind the dry ingredients. You want it to be well combined to ensure every bar tastes great.

Combining and Pressing the Mixture

Pour the wet mixture into the bowl with the dry ingredients. Use a spatula or a wooden spoon to mix everything together. Stir until no dry bits are left. Then, gently fold in the dark chocolate chips. This adds a nice chocolatey bite to each bar.

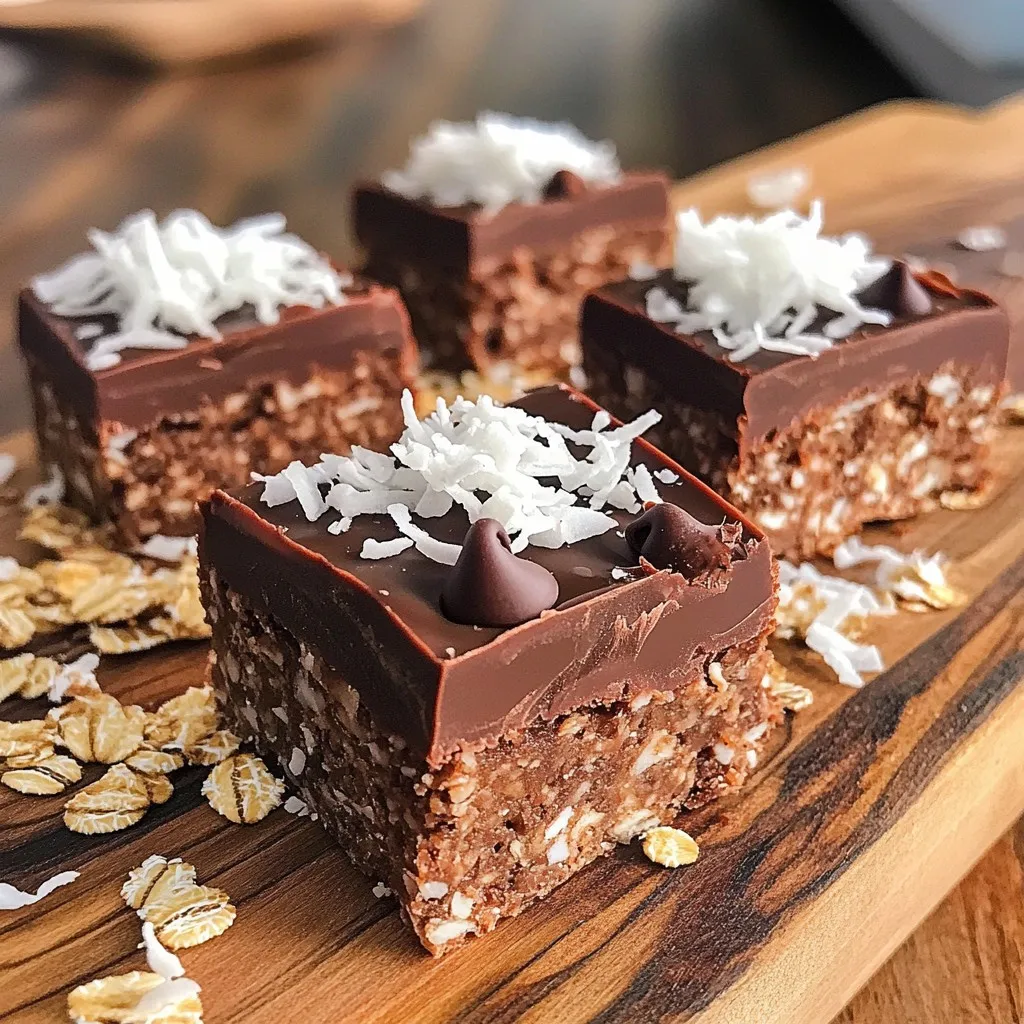
Next, prepare an 8×8-inch baking dish. Line it with parchment paper, leaving some paper overhanging. This makes it easy to lift the bars out later. Now, transfer the mixture into the lined dish. Press it down firmly and evenly using a spatula or your hands. Make sure it’s compact. Cover the dish with plastic wrap and refrigerate for at least 2 hours. Once firm, lift the bars out and cut them into squares or rectangles. Enjoy your tasty energy bars!

Tips & Tricks

How to Ensure Perfect Consistency

To get the right texture, mix the dry ingredients well. This means combining the oats, cocoa powder, shredded coconut, and salt until they are evenly blended. When adding the wet mix, make sure it’s creamy. This ensures that every bar will hold together nicely. Press the mixture firmly into the baking dish. It should feel compact and not crumbly.

Best Practices for Cooling and Setting

Once you press the mixture into the dish, cover it tightly with plastic wrap. Chill it in the fridge for at least two hours. This step is key. It helps the bars firm up so they slice easily later. If you want them to set faster, try slicing after one hour. But I find two hours gives the best result.

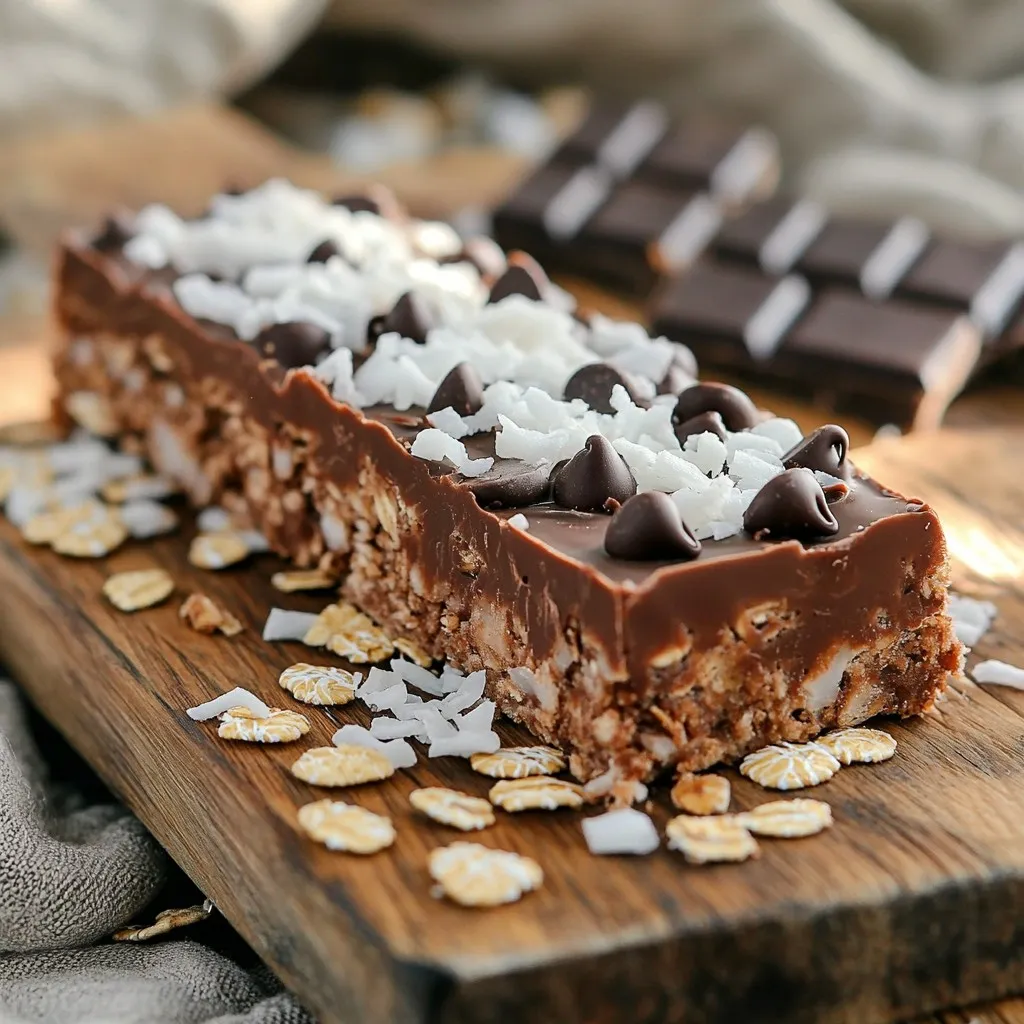
Presentation Ideas for Serving

For a beautiful display, use a rustic wooden board. Place the bars neatly and sprinkle shredded coconut on top. It adds a nice touch. If you want a cute, grab-and-go option, wrap each bar in parchment paper. Tie it with twine for a charming look. This way, they are perfect for snacks or lunchboxes.

Variations

Adding Different Nut Butters or Sweeteners

You can change the nut butter to fit your taste. Try peanut butter or cashew butter. Each nut butter adds a unique flavor. For sweeteners, you can use agave syrup or brown rice syrup. These swaps can change the sweetness and texture. Experiment to find your favorite mix.

Mix-Ins for Extra Flavor

Mix-ins can make your energy bars more exciting. You can add dried fruits like cranberries, raisins, or apricots. Seeds such as pumpkin or sunflower seeds work well too. These add crunch and extra nutrition. Just make sure to keep the total mix-ins under one cup. This way, the bars will hold together better.

Altering the Chocolate Type for Different Taste

You can switch the chocolate chips for different flavors. Use milk chocolate, white chocolate, or even carob chips. Each type brings its own taste to the bars. Dark chocolate has a rich flavor, while milk chocolate is sweeter. Choose what you like best for a fun twist!

Storage Info

How to Store No-Bake Energy Bars

You can store your no-bake energy bars in the fridge. Place them in an airtight container to keep them fresh. If you want to enjoy them later, they can also go in the freezer. Just cut them first into bars. This makes for easy snacking later. Wrap each bar in plastic wrap for best results.

Best Containers for Freshness

For best freshness, use a glass or plastic container with a tight lid. A zip-top bag works well too, just remove as much air as you can. You want to keep moisture out and flavor in. If freezing, use freezer bags or containers that are safe for freezing.

Shelf Life and Freezing Tips

In the fridge, energy bars last about a week. If you freeze them, they can last up to three months. When ready to eat, simply take them out and let them thaw. Do not refreeze once thawed. Enjoy them cold or at room temperature for the best taste!

FAQs

Can I use different types of oats?

Yes, you can use other oats. Quick oats work well in this recipe. They help the bars hold together. Steel-cut oats are not ideal since they are too hard. They require cooking before eating. Rolled oats give a chewy texture that is perfect for energy bars.

How long do the energy bars last in the fridge?

These energy bars last up to two weeks in the fridge. Be sure to store them in an airtight container. This keeps them fresh and tasty. If you want to keep them longer, you can freeze them. They will stay good for about three months in the freezer.

Can I make these vegan-friendly?

Yes, you can make these bars vegan. Simply replace honey with maple syrup. This switch keeps the bars sweet and plant-based. Also, check that your chocolate chips are dairy-free. Many brands offer delicious vegan chocolate options.

In this blog, we explored how to make no-bake chocolate coconut energy bars. We covered essential ingredients and tasty substitutions for allergies. You learned step-by-step instructions, useful tips for best results, and variations to suit your taste. We also discussed storage methods to keep the bars fresh.

Remember, these energy bars are flexible and fun to customize. Enjoy making your own unique snacks that fit your needs!

To make these tasty energy bars, you need a few key ingredients. Here’s what you will need: - 1 cup rolled oats - ½ cup almond butter (or your favorite nut butter) - ½ cup honey or maple syrup - ½ cup unsweetened cocoa powder - 1 cup shredded unsweetened coconut - ½ cup dark chocolate chips - 1 teaspoon vanilla extract - A pinch of salt These ingredients blend together to create a delicious, chewy treat. The rolled oats provide fiber, while almond butter offers healthy fats and protein. Honey or maple syrup adds natural sweetness. You can change some ingredients if you have allergies or different tastes. Here are some easy swaps: - Use sunflower seed butter instead of almond butter for nut-free options. - Swap honey with agave syrup for a vegan choice. - If cocoa powder isn’t for you, try carob powder for a different flavor. - You can replace dark chocolate chips with white chocolate or dried fruits for variety. These substitutions let you enjoy the bars while keeping them safe and tasty. Knowing the nutrition facts helps you make smart choices. Here is a simple breakdown per bar (based on 12 servings): - Calories: 200 - Protein: 4 grams - Carbohydrates: 24 grams - Fat: 10 grams - Fiber: 3 grams These bars are great for a quick snack or energy boost. They pack a good mix of nutrients, making them a healthy option for busy days. First, gather your dry ingredients. You need rolled oats, cocoa powder, shredded coconut, and a pinch of salt. In a large mixing bowl, combine these ingredients. Stir them well until everything mixes nicely. This step is key for even flavor. The oats provide texture, while the cocoa gives a rich taste. Now, let’s move on to the wet ingredients. Grab a separate medium bowl. Add almond butter, honey (or maple syrup), and vanilla extract. Mix these together until they turn smooth and creamy. This mixture will help bind the dry ingredients. You want it to be well combined to ensure every bar tastes great. Pour the wet mixture into the bowl with the dry ingredients. Use a spatula or a wooden spoon to mix everything together. Stir until no dry bits are left. Then, gently fold in the dark chocolate chips. This adds a nice chocolatey bite to each bar. Next, prepare an 8x8-inch baking dish. Line it with parchment paper, leaving some paper overhanging. This makes it easy to lift the bars out later. Now, transfer the mixture into the lined dish. Press it down firmly and evenly using a spatula or your hands. Make sure it’s compact. Cover the dish with plastic wrap and refrigerate for at least 2 hours. Once firm, lift the bars out and cut them into squares or rectangles. Enjoy your tasty energy bars! To get the right texture, mix the dry ingredients well. This means combining the oats, cocoa powder, shredded coconut, and salt until they are evenly blended. When adding the wet mix, make sure it’s creamy. This ensures that every bar will hold together nicely. Press the mixture firmly into the baking dish. It should feel compact and not crumbly. Once you press the mixture into the dish, cover it tightly with plastic wrap. Chill it in the fridge for at least two hours. This step is key. It helps the bars firm up so they slice easily later. If you want them to set faster, try slicing after one hour. But I find two hours gives the best result. For a beautiful display, use a rustic wooden board. Place the bars neatly and sprinkle shredded coconut on top. It adds a nice touch. If you want a cute, grab-and-go option, wrap each bar in parchment paper. Tie it with twine for a charming look. This way, they are perfect for snacks or lunchboxes. {{image_4}} You can change the nut butter to fit your taste. Try peanut butter or cashew butter. Each nut butter adds a unique flavor. For sweeteners, you can use agave syrup or brown rice syrup. These swaps can change the sweetness and texture. Experiment to find your favorite mix. Mix-ins can make your energy bars more exciting. You can add dried fruits like cranberries, raisins, or apricots. Seeds such as pumpkin or sunflower seeds work well too. These add crunch and extra nutrition. Just make sure to keep the total mix-ins under one cup. This way, the bars will hold together better. You can switch the chocolate chips for different flavors. Use milk chocolate, white chocolate, or even carob chips. Each type brings its own taste to the bars. Dark chocolate has a rich flavor, while milk chocolate is sweeter. Choose what you like best for a fun twist! You can store your no-bake energy bars in the fridge. Place them in an airtight container to keep them fresh. If you want to enjoy them later, they can also go in the freezer. Just cut them first into bars. This makes for easy snacking later. Wrap each bar in plastic wrap for best results. For best freshness, use a glass or plastic container with a tight lid. A zip-top bag works well too, just remove as much air as you can. You want to keep moisture out and flavor in. If freezing, use freezer bags or containers that are safe for freezing. In the fridge, energy bars last about a week. If you freeze them, they can last up to three months. When ready to eat, simply take them out and let them thaw. Do not refreeze once thawed. Enjoy them cold or at room temperature for the best taste! Yes, you can use other oats. Quick oats work well in this recipe. They help the bars hold together. Steel-cut oats are not ideal since they are too hard. They require cooking before eating. Rolled oats give a chewy texture that is perfect for energy bars. These energy bars last up to two weeks in the fridge. Be sure to store them in an airtight container. This keeps them fresh and tasty. If you want to keep them longer, you can freeze them. They will stay good for about three months in the freezer. Yes, you can make these bars vegan. Simply replace honey with maple syrup. This switch keeps the bars sweet and plant-based. Also, check that your chocolate chips are dairy-free. Many brands offer delicious vegan chocolate options. In this blog, we explored how to make no-bake chocolate coconut energy bars. We covered essential ingredients and tasty substitutions for allergies. You learned step-by-step instructions, useful tips for best results, and variations to suit your taste. We also discussed storage methods to keep the bars fresh. Remember, these energy bars are flexible and fun to customize. Enjoy making your own unique snacks that fit your needs!

No-Bake Chocolate Coconut Energy Bars

Delight in the goodness of No-Bake Chocolate Coconut Energy Bars that are not only easy to make but packed with flavor! With just rolled oats, almond butter, cocoa powder, and coconut, you can whip up a healthy snack in minutes. Perfect for a quick boost of energy or a nutritious treat, these bars are sure to please. Click to explore the full recipe and bring this delicious energy boost to your kitchen today!

Ingredients
  

1 cup rolled oats

½ cup almond butter (or your favorite nut butter)

½ cup honey or maple syrup

½ cup unsweetened cocoa powder

1 cup shredded unsweetened coconut

½ cup dark chocolate chips

1 teaspoon vanilla extract

A pinch of salt

Instructions
 

In a large mixing bowl, combine the rolled oats, cocoa powder, shredded coconut, and a pinch of salt. Stir the dry ingredients together thoroughly until all components are well mixed.

    In a separate medium bowl, blend the almond butter with the honey (or maple syrup) and vanilla extract until the mixture is smooth and creamy.

      Pour the wet mixture into the bowl with the dry ingredients. Use a spatula or wooden spoon to stir until everything is evenly combined and no dry bits remain.

        Gently fold in the dark chocolate chips, ensuring they are evenly distributed throughout the mixture for a delightful chocolatey bite in each bar.

          Prepare an 8x8-inch baking dish by lining it with parchment paper, allowing some paper to overhang on the sides—this will make it easier to lift the bars out later.

            Transfer the energy bar mixture into the lined baking dish. Use a spatula or your hands to press it down firmly and evenly, creating a compact layer.

              Cover the dish with plastic wrap and refrigerate for a minimum of 2 hours, or until the bars are firm to the touch.

                Once set, lift the energy bars out of the baking dish using the overhanging parchment paper. Cut into squares or rectangles of your desired size for serving.

                  Prep Time: 15 minutes | Total Time: 2 hours 15 minutes | Servings: 12

                    - Presentation Tips: Arrange the energy bars on a rustic wooden board and garnish with a sprinkle of shredded coconut on top for an appealing touch. For on-the-go convenience, individually wrap each bar in parchment paper and tie with twine for a charming snack option!

                      WANT TO SAVE THIS RECIPE?