
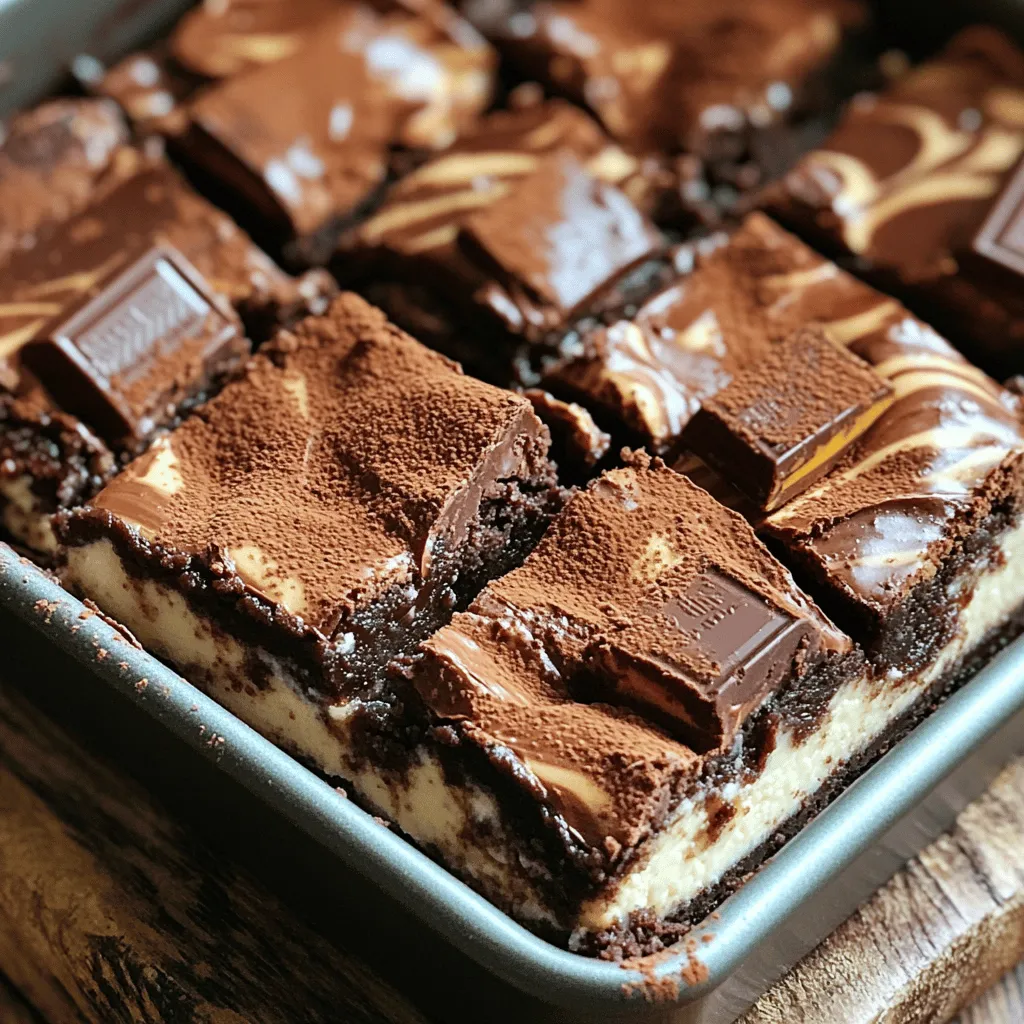
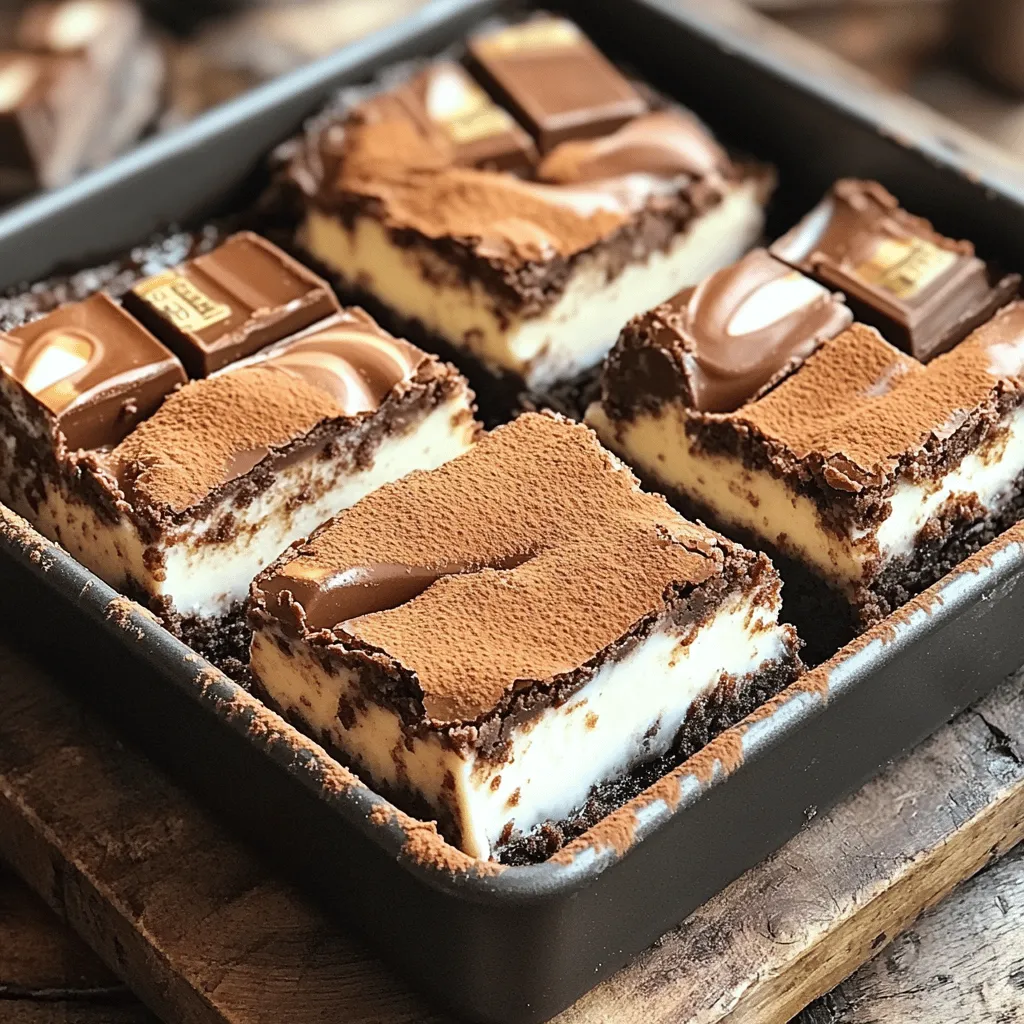
Craving something sweet? Let me introduce you to Milky Way Cheesecake Brownies! These rich, chewy brownies are layered with a creamy, dreamy cheesecake that features real Milky Way candy bars. They’re perfect for parties or a cozy night in. Follow my easy recipe, and you’ll impress everyone with this irresistible dessert treat. Ready to dive in? Let’s make magic happen in your kitchen!
Ingredients
Brownie Ingredients
– 1 cup unsalted butter, melted
– 1 cup granulated sugar
– 1 cup brown sugar, packed
– 4 large eggs
– 1 teaspoon vanilla extract
– 1 cup all-purpose flour
– 1/2 cup unsweetened cocoa powder
– 1/2 teaspoon baking powder
– 1/4 teaspoon salt
– 4 Milky Way bars, coarsely chopped
Cheesecake Layer Ingredients
– 16 oz cream cheese, softened to room temperature
– 1/2 cup granulated sugar
– 1 teaspoon vanilla extract
– 2 large eggs
– 2 Milky Way bars, finely chopped
The key to making Milky Way cheesecake brownies lies in using the right ingredients. You want the best flavors to shine through. Start with unsalted butter. It gives control over the saltiness. Use both granulated and brown sugars for sweetness and richness. The eggs add structure and moisture to the brownies.
The vanilla extract enhances the overall flavor. For the dry mix, all-purpose flour, cocoa powder, baking powder, and salt are essential. The cocoa powder brings in that rich chocolate taste, while the baking powder gives the brownies a lift. Don’t forget the Milky Way bars! They add a sweet, caramel flavor.
For the cheesecake layer, you need cream cheese. It brings a creamy texture. The sugar and vanilla extract sweeten it, while the eggs help bind it. The finely chopped Milky Way bars in the cheesecake layer add a nice surprise.
Gather all these ingredients, and you’re set to create a delicious dessert!
Step-by-Step Instructions
Preparation Steps
– Preheat the oven to 350°F (175°C).
– Grease or line a 9×13 inch baking pan.
Making the Brownie Base
– Combine melted butter with sugars.
– Mix in eggs and vanilla.
– Add dry ingredients and Milky Way chunks.
Creating the Cheesecake Layer
– Beat cream cheese until smooth.
– Incorporate sugar, vanilla, and eggs.
– Fold in finely chopped Milky Way bars.
Layering and Baking
– Layer brownie batter and cheesecake mixture.
– Swirl the two layers together.
– Bake for 35-40 minutes.
Cooling and Serving
– Cool in the pan for 30 minutes.
– Chill in the refrigerator for 2-3 hours.
– Cut into squares and serve.
Tips & Tricks
Perfecting the Brownie Texture
– Avoid overmixing the brownie batter. This keeps them fudgy and rich.
– Use room temperature ingredients for even mixing. Cold eggs or butter can cause lumps.
Cheesecake Layer Tips
– Make sure cream cheese is properly softened. This helps it blend smoothly.
– Chill the cheesecake layer longer for better firmness. A firm layer holds up well.
Presentation Ideas
– Dust with cocoa powder or powdered sugar. This adds a nice touch.
– Drizzle with chocolate sauce and sprinkle Milky Way pieces. This makes it look amazing!
Variations
Nutty Additions
You can add a nice crunch by using nuts. I love to use walnuts or pecans. Just chop them coarsely and fold them into the brownie batter. They will add great texture and flavor. The nuts work well with the creamy cheesecake layer. Plus, they bring a bit of healthy fat to the dessert.
Swap Candies
Don’t be afraid to mix things up! You can swap out Milky Way bars for other candy bars. Try Snickers for a nutty twist or Twix for a caramel kick. Each candy will give a new flavor to your brownies. You can even mix in some Reese’s Peanut Butter Cups for a fun, sweet surprise.
Gluten-Free Option
If you need a gluten-free treat, this recipe can easily adapt. Just switch the all-purpose flour with a gluten-free flour blend. Make sure to check the blend for a good texture. The brownies will still turn out rich and delicious. Everyone can enjoy them, no matter their dietary needs!
Storage Info
Proper Storage Techniques
To keep your Milky Way cheesecake brownies fresh, store them in an airtight container. This will lock in the moisture and keep them soft. Place a piece of parchment paper between layers to avoid sticking.
Shelf Life
These brownies last about a week in the fridge. Just make sure the container is sealed tight. For longer storage, you can freeze them. They will stay fresh for up to three months in the freezer. Just wrap them well in plastic wrap before placing them in a freezer-safe bag.
Reheating Instructions
To enjoy these brownies warm, reheat them in the microwave. Heat them for about 10-15 seconds. This will help keep the cheesecake layer creamy. If you prefer a crispy edge, put them in the oven at 350°F for 5-10 minutes. Enjoy the gooey goodness!
FAQs
Can I use other types of chocolate?
Yes, you can use other types of chocolate. Dark chocolate or milk chocolate can work well. Just keep in mind the sweetness level. If you use a sweeter chocolate, reduce the sugar in the recipe slightly. You can also try chocolate chips for a fun twist. They add great texture and melt beautifully.
How do I know when the brownies are done?
To check if the brownies are done, look for these signs:
– The edges will pull away from the pan.
– The top will look set and slightly shiny.
– Insert a toothpick in the center. It should come out with moist crumbs, not wet batter.
If you see wet batter, bake them a few more minutes.
Can I make these brownies ahead of time?
Yes, you can make these brownies ahead of time! They keep well in the fridge for up to a week. Just make sure to store them in an airtight container. For best results, chill them overnight before serving. This helps the flavors meld and the cheesecake layer firm up nicely. You can also freeze them for longer storage. Just cut them into squares and wrap them well.
This blog post covered how to make rich Milky Way brownies with a cheesecake layer. We discussed ingredients, step-by-step instructions, and helpful tips. Each layer brings a unique taste and texture that delights everyone. Remember to store them properly for the best flavor. With these easy steps, you can impress your friends and family. Now, get baking and enjoy your delicious treats!


