
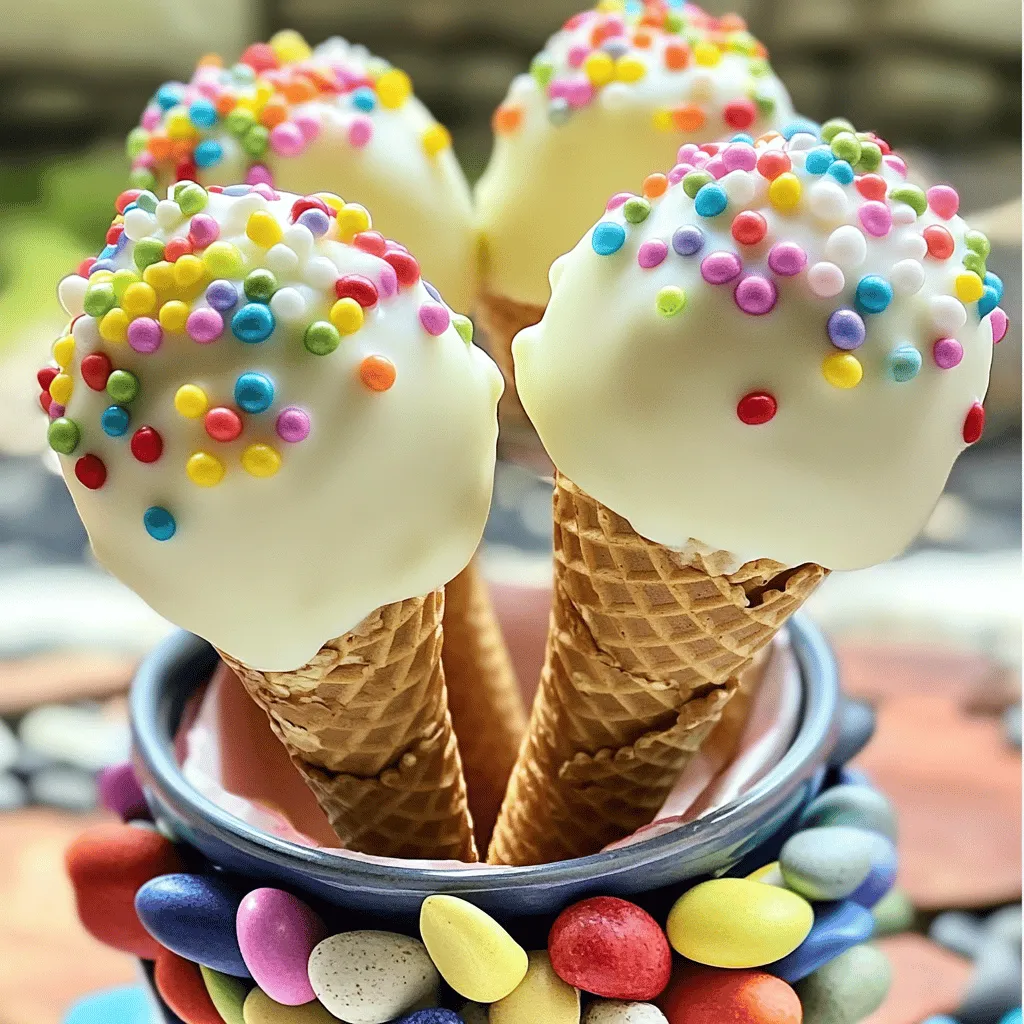
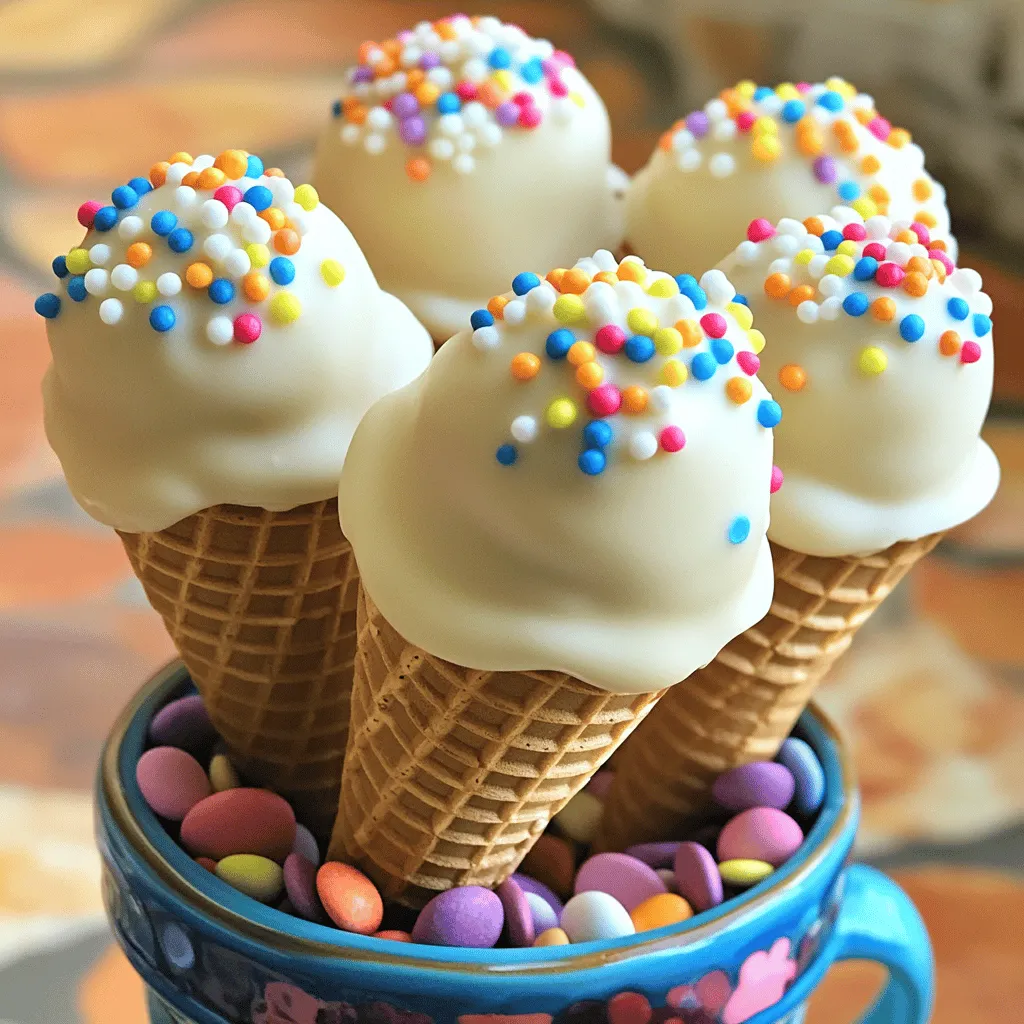
Looking for a fun and tasty treat? Ice cream cone cake pops are the perfect snack! These mini delights combine the joy of cake with the whimsy of ice cream cones, making them a hit for parties and family gatherings. In this guide, I’ll walk you through easy steps to create these sweet wonders. Get ready to dive into a world of delicious fun and impress your friends!
Ingredients
List of Ingredients
– 1 box of vanilla cake mix
– 3 large eggs
– 1/2 cup vegetable oil
– 1 cup water
– 1/2 cup frosting
– 12 mini ice cream cones
– 1 cup white chocolate chips
– 2 tablespoons coconut oil
– Optional: sprinkles for decoration
When you make Ice Cream Cone Cake Pops, you need simple ingredients. First, grab a box of vanilla cake mix. This mix gives a sweet base. Next, add three large eggs to bind everything. A half cup of vegetable oil keeps the cake moist. For hydration, use one cup of water.
Frosting is key for flavor. I suggest a half cup of vanilla frosting. You’ll also need twelve mini ice cream cones. These cones serve as fun holders for your cake pops. For the coating, gather one cup of white chocolate chips. To make it smooth, add two tablespoons of coconut oil.
If you want to jazz them up, sprinkles make a great decoration. You can find all these items at your local store. Having everything ready makes cooking more fun!
Step-by-Step Instructions
Preparing the Cake Base
– Step 1: Preheat your oven to 350°F (175°C). Line a muffin tin with paper liners.
– Step 2: In a large bowl, combine the vanilla cake mix, eggs, vegetable oil, and water. Mix until smooth.
– Step 3: Pour the batter into the lined muffin cups, filling them halfway. Bake for 15-18 minutes. Cool the cupcakes in the pan for 5 minutes before moving them to a wire rack.
Forming Cake Pops
– Step 4: Once the cupcakes cool, crumble them into a large mixing bowl. Break them down until they are fine crumbs.
– Step 5: Add the frosting to the crumbled cupcakes. Mix well until the frosting is evenly spread and moist.
– Step 6: Roll the mixture into 1-inch balls. Place them on a baking sheet lined with parchment paper. Freeze for 30 minutes.
Coating and Assembling
– Step 7: While the cake balls freeze, melt the white chocolate chips in a microwave-safe bowl. Heat in 20-second intervals, stirring in between.
– Step 8: After freezing, gently insert a mini ice cream cone into each cake ball. Dip the cake pops into the melted chocolate.
– Step 9: Allow any excess chocolate to drip off. Sprinkle colorful sprinkles on top before the chocolate hardens. Place the cake pops upright in a block of floral foam or a tall glass until set.
For the complete recipe, check out the [Full Recipe].
Tips & Tricks
Achieving the Perfect Texture
Cooling your cupcakes is key. If you skip this step, they may crumble too much. After baking, let them cool for about 5 minutes in the tin. Then move them to a wire rack. This helps them cool completely. When they are cool, you can crumble them evenly. For best results, break them into small pieces. Use your hands or a fork to get fine crumbs. This makes mixing easier.
Melting Chocolate Smoothly
Melting chocolate can be tricky. To avoid burning, use a microwave-safe bowl. Heat the chocolate chips in 20-second intervals. Stir after each interval until it’s smooth. For a shiny finish, add coconut oil. It helps the chocolate coat better and makes it glossy. If you don’t have coconut oil, use shortening. Both will help you get that perfect dip.
Decorating Ideas
Get creative with your sprinkles! Use different colors and shapes. You can mix and match them for fun designs. If you want to use white chocolate, you can add food coloring. Dip the cake pops in white chocolate first, before adding sprinkles. This way, the colors will stick better. Let your imagination run wild with your cake pop designs!
Variations
Flavor Variations
You can change up the flavor of your cake pops easily. Instead of vanilla, try using chocolate cake mix. This adds a rich and delightful taste. You can also switch up the frosting flavors. Think about using chocolate, strawberry, or cream cheese for a unique twist. Each flavor adds its own charm and fun.
Alternative Coatings
Coating your cake pops doesn’t have to be plain white chocolate. Colored candy melts make your pops pop! They come in many colors. You can mix and match for a beautiful look. Sprinkles and nuts are great alternatives too. They add crunch and color, making each bite exciting.
Presentation Variations
Presentation can make your cake pops shine at any event. Try arranging them in a fun display. Use a cute cup filled with colorful edible rocks or sprinkles. This makes a great centerpiece for parties. You can also theme them for seasons. For Halloween, use orange and black sprinkles. For Christmas, think red and green. The options are endless!
Be sure to check out the Full Recipe for specific instructions!
Storage Info
How to Store Cake Pops
You can store your cake pops at room temperature. Keep them in an airtight container. This helps keep them fresh for a few days. If you want them to last longer, place them in the fridge. Just make sure they are in a sealed container to avoid drying out.
Shelf Life
These cake pops can stay fresh for about five days at room temperature. In the fridge, they can last up to a week. If you want to freeze them, wrap each cake pop in plastic wrap. Then, place them in a freezer bag. When ready to eat, let them thaw at room temperature.
Reheating Tips
If your cake pops need a refresh, you can warm them slightly. Use a microwave for about 10 seconds. This helps soften the chocolate. Avoid melting it completely. Be careful not to overheat them as this can ruin their shape. Enjoy your tasty treats!
FAQs
Can I use gluten-free cake mix?
Yes, you can use a gluten-free cake mix. This makes the recipe accessible to those with gluten sensitivities. Just choose a brand you like, and follow the same steps as the regular cake mix. It will taste just as great!
How far in advance can I make these?
You can make these ice cream cone cake pops two days ahead of time. Store them in an airtight container at room temperature. This allows the flavors to meld, making them even more tasty when served.
Can children help make these cake pops?
Yes, kids can help with this fun recipe! They can mix the cake batter and roll the cake balls. Just keep an eye on them when using the oven and the melting chocolate. Safety first!
What is the best way to transport cake pops?
To transport cake pops, place them in a sturdy box. Use a piece of foam or a small container to hold them upright. This keeps them from tipping over. You want them to stay looking cute for your event!
In this post, I covered how to make fun cake pops using simple ingredients. You learned to prepare the cake base and form, coat, and assemble the pops. I shared helpful tips for texture and melting chocolate. You also discovered variations and storage tips to keep your treats fresh.
Making cake pops is a fun way to get creative in the kitchen. Enjoy your baking!


