
Are you ready to enjoy a sweet treat that’s both delicious and healthy? These Healthy Greek Yogurt Brownies are easy to make and packed with flavor! I’ll guide you through the simple steps to whip up these fudgy delights, while also sharing the health benefits of each ingredient. Whether you want a gluten-free or vegan option, I’ve got you covered. Let’s dive into the world of guilt-free baking!
Why I Love This Recipe
- Healthier Indulgence: These brownies use Greek yogurt instead of butter, making them a lighter alternative without sacrificing flavor.
- Easy to Make: With simple ingredients and straightforward steps, these brownies can be whipped up in no time, perfect for a quick dessert.
- Customizable: You can easily adapt the recipe by adding your favorite nuts, chocolate chips, or even a dash of espresso for an extra kick.
- Deliciously Satisfying: The rich cocoa flavor combined with the moist texture will satisfy any chocolate craving while keeping it healthy.
Ingredients
List of Ingredients
– 1 cup whole wheat flour
– 1/2 cup unsweetened cocoa powder
– 1 teaspoon baking powder
– 1/2 teaspoon salt
– 1/2 cup Greek yogurt (plain, non-fat or low-fat)
– 1/2 cup honey or maple syrup
– 1/4 cup coconut oil, melted
– 2 large eggs
– 1 teaspoon vanilla extract
– 1/2 cup dark chocolate chips (optional)
– Chopped walnuts or pecans for topping (optional)
Health Benefits of Each Ingredient
– Whole wheat flour: This flour is full of fiber. It helps with digestion and keeps you full longer.
– Unsweetened cocoa powder: Rich in antioxidants, cocoa can boost heart health and improve mood.
– Baking powder: It helps the brownies rise. It keeps them light and fluffy.
– Salt: Just a pinch enhances flavor. It balances the sweetness in the brownies.
– Greek yogurt: Packed with protein, Greek yogurt adds moisture. It replaces oil and eggs, making brownies lower in fat.
– Honey or maple syrup: These natural sweeteners provide sweetness without refined sugars. They also add minerals.
– Coconut oil: This oil contains healthy fats. It helps with heart health and adds richness to the brownies.
– Eggs: They bind the ingredients. Eggs add moisture and protein, making brownies richer.
– Vanilla extract: This adds a warm, sweet flavor. It enhances the overall taste of the brownies.
– Dark chocolate chips: Optional, but they give a decadent touch. Dark chocolate can also boost heart health.
– Nuts (walnuts or pecans): These add crunch and healthy fats. They also provide extra protein and fiber.
Potential Substitutions
– Whole wheat flour: You can use almond flour or gluten-free flour for a gluten-free option.
– Honey or maple syrup: Agave nectar works well for a vegan choice.
– Coconut oil: You can replace it with unsweetened applesauce for a lower-fat option.
– Greek yogurt: Silken tofu can work as a vegan alternative for a creamy texture.
– Dark chocolate chips: Use carob chips or skip them for fewer calories.

Step-by-Step Instructions
Preparation Steps
To start, preheat your oven to 350°F (175°C). This temperature helps the brownies cook evenly. Next, grease a 9×9 inch baking pan or use parchment paper. This makes it easy to remove the brownies later.
Now, grab a medium bowl. Whisk together these dry ingredients:
– 1 cup whole wheat flour
– 1/2 cup unsweetened cocoa powder
– 1 teaspoon baking powder
– 1/2 teaspoon salt
Mix well so all the dry bits blend together. In a larger bowl, mix these wet ingredients:
– 1/2 cup Greek yogurt
– 1/2 cup honey or maple syrup
– 1/4 cup melted coconut oil
– 2 large eggs
– 1 teaspoon vanilla extract
Stir until the mixture is smooth and creamy. This step is key for nice brownies.
Baking Process
Now, slowly add the dry mix to the wet mix. Stir gently until everything combines. Don’t over-mix! This keeps your brownies soft and light. If you like a chocolatey bite, fold in 1/2 cup dark chocolate chips at this stage.
Next, pour the batter into your prepared pan. Use a spatula to spread it evenly. If you want, sprinkle chopped walnuts or pecans on top for some crunch.
Bake the brownies for about 20-25 minutes. They are done when a toothpick in the center comes out with a few moist crumbs.
Cooling and Serving Tips
Once your brownies are baked, let them cool in the pan for at least 10 minutes. This step helps them set, making it easier to cut.
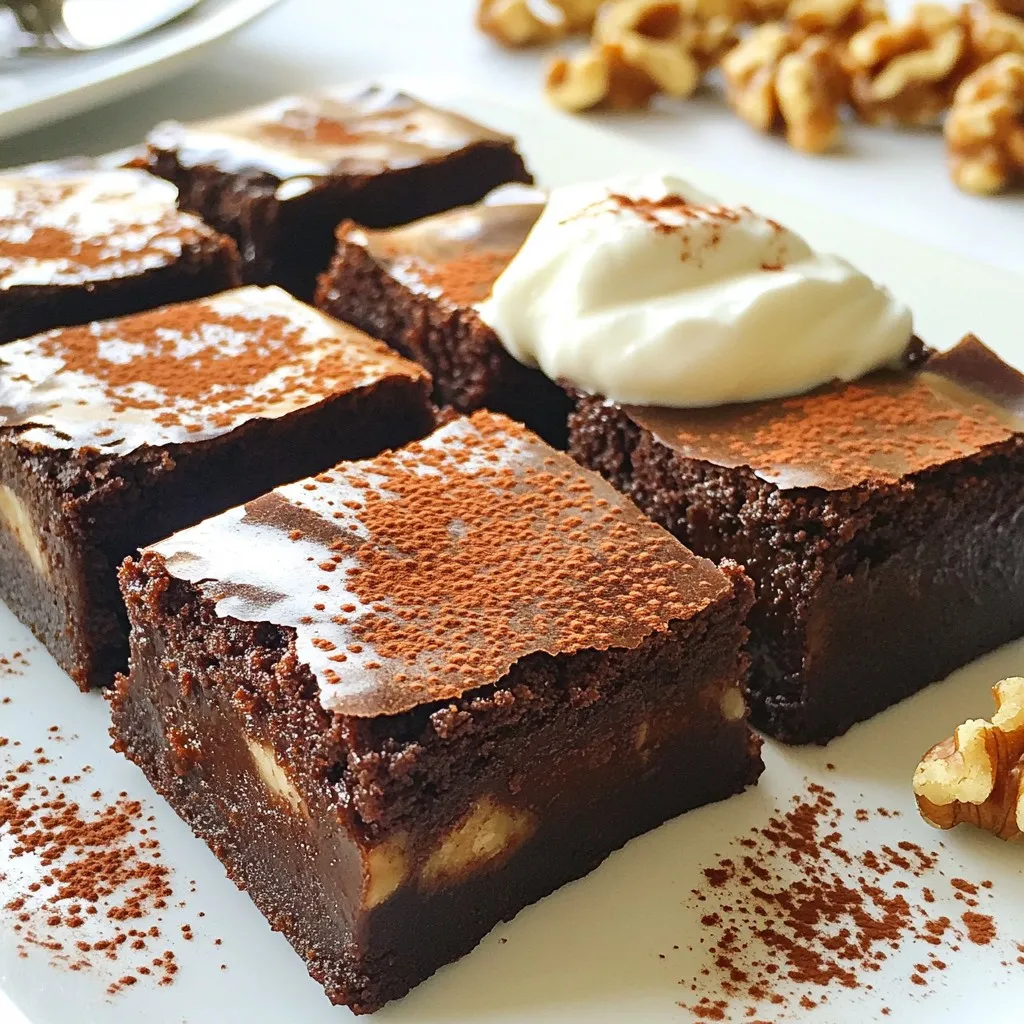
To serve, place the brownies on a wooden board for a nice look. Dust them with cocoa powder or powdered sugar. You can add a dollop of Greek yogurt on the side for extra flavor and health. Enjoy your delicious, healthy treat!
Tips & Tricks
Achieving the Perfect Texture
To get the best texture, mix your dry and wet ingredients well. You want a smooth and creamy mix. Avoid over-mixing when you combine them. This keeps the brownies light and soft. Bake them until a toothpick shows a few moist crumbs. If you bake too long, they can dry out.
Common Mistakes to Avoid
One common mistake is adding too much flour. This can make your brownies tough. Always measure flour correctly. Another mistake is skipping the resting time. Let them cool in the pan for at least 10 minutes. This helps them set and makes cutting easier.
Ingredient Variations for Different Flavors
You can switch up the flavors easily! Try adding nuts like walnuts or pecans for crunch. You can also mix in some peanut butter for a nutty twist. For a fun flavor, add a few drops of mint or orange extract. If you want a sweeter treat, add more chocolate chips. These small changes will make your brownies even more exciting!
Pro Tips
- Choose Your Sweetener Wisely: Depending on your preference, honey will provide a floral sweetness, while maple syrup adds a subtle richness. Experiment with both to find your favorite flavor profile.
- Don’t Skip the Cooling Time: Allowing the brownies to cool in the pan for at least 10 minutes helps them set, making them easier to cut into perfect squares without crumbling.
- Mix-Ins for Extra Flavor: Besides chocolate chips, consider adding nuts, dried fruits, or even a sprinkle of sea salt on top before baking for added texture and flavor contrast.
- Storage Secrets: To keep brownies fresh longer, store them in an airtight container at room temperature for up to 4 days, or refrigerate for a week. You can also freeze them for up to 3 months!
Variations
Gluten-Free Option
To make these brownies gluten-free, swap the whole wheat flour for almond flour or a gluten-free blend. Almond flour gives a rich flavor and moist texture. Just remember, gluten-free flours can behave differently, so be sure to check your baking time.
Vegan Modification
For a vegan version, replace the eggs with flax eggs. Mix one tablespoon of ground flaxseed with three tablespoons of water. Let it sit until it thickens. You can also use maple syrup as your sweetener. This keeps your brownies moist and sweet without any animal products.
Flavor Infusions (Mint, Orange, etc.)
Want to jazz up the flavor? Add a teaspoon of mint extract for a fresh twist. Or, try zesting an orange into the batter for a citrusy kick. You can even fold in some chopped nuts or dried fruit for extra texture and taste. Each option adds a unique spin to your healthy Greek yogurt brownies!
Storage Info
Best Practices for Storing Brownies
To keep your Healthy Greek Yogurt Brownies fresh, store them in an airtight container. This helps keep moisture in and prevents them from drying out. You can keep them at room temperature for up to three days. If you want them to last longer, put them in the fridge. Just make sure they are well sealed.
Freezing Tips
If you have leftovers, freezing is a great option. First, let the brownies cool completely. Then, cut them into squares. Wrap each square in plastic wrap. Place the wrapped brownies in a freezer-safe bag. They will stay good for about three months. When you’re ready to enjoy them, thaw them in the fridge overnight.
Shelf Life and Reheating Instructions
These brownies last well when stored properly. At room temperature, they last about three days. In the fridge, you can keep them for a week. If you want to reheat a brownie, place it in the microwave for about 10-15 seconds. This makes it warm and soft again. Enjoy your treat!
FAQs
Can I use non-fat Greek yogurt?
Yes, you can use non-fat Greek yogurt. It helps keep the brownies moist and adds protein. I often choose non-fat yogurt for a lower calorie option. It will not change the taste much, so feel free to use it.
How do I know when the brownies are done?
Check the brownies after 20 minutes of baking. Insert a toothpick in the center. If it comes out clean or with a few moist crumbs, they are ready. Be careful not to overbake, as this can make them dry.
What can I substitute for honey or maple syrup?
You can use agave nectar or coconut sugar as a substitute. Both options bring sweetness and work well in this recipe. Just keep in mind that using coconut sugar may change the brownie color slightly.
You learned about important ingredients and their health benefits. I shared tips for perfect brownies, including baking steps and common mistakes. You also discovered options for gluten-free and vegan variations, plus ways to store and reheat your treats.
Remember, each choice you make adds unique flavors to your brownies. Continue experimenting with new ingredients. Enjoy the process and share your delicious result


