
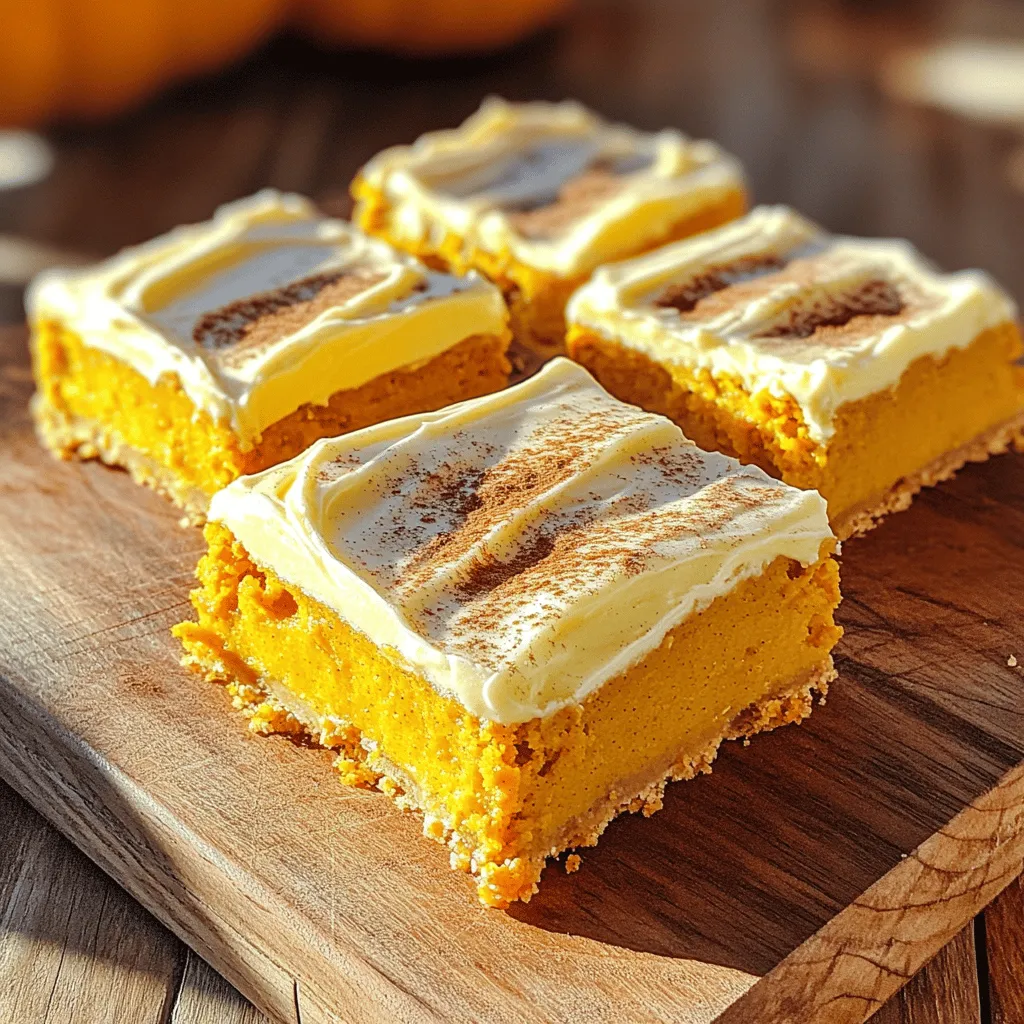
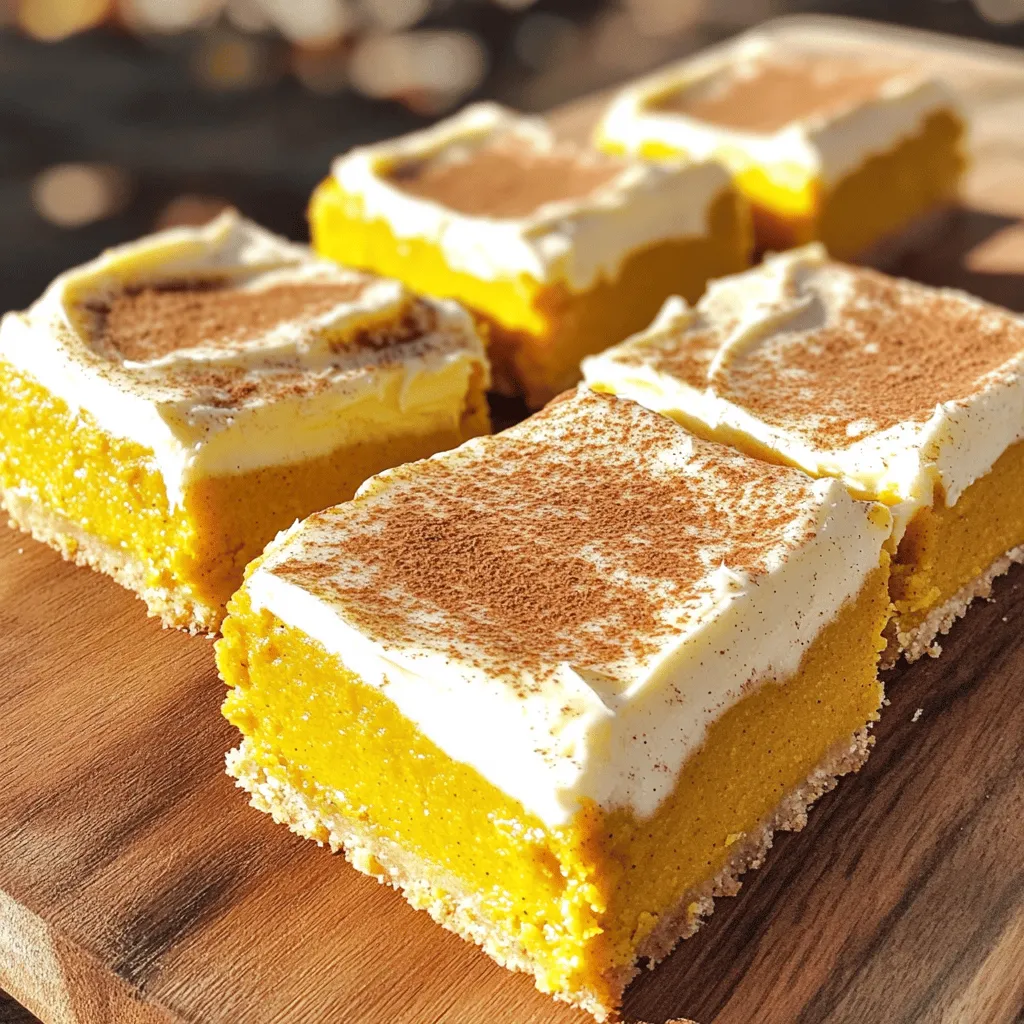
Fall is here, and it’s time for a treat that speaks to the season—Frosted Pumpkin Bars! In this blog post, I’ll guide you through making these delicious bars that burst with pumpkin flavor and a creamy frosting. With easy steps and simple ingredients, you’ll impress family and friends with this perfect dessert. Get ready to dive into the cozy vibes of autumn with a recipe that’s hard to resist!
Ingredients
Main Ingredients for Frosted Pumpkin Bars
To make these delicious pumpkin bars, gather these key ingredients:
– 1 cup canned pumpkin puree
– 1 cup granulated sugar
– 1/2 cup vegetable oil
– 2 large eggs
– 1 teaspoon vanilla extract
– 1 1/2 cups all-purpose flour
– 1 teaspoon baking powder
– 1 teaspoon baking soda
– 1 teaspoon ground cinnamon
– 1/2 teaspoon ground nutmeg
– 1/4 teaspoon ground ginger
– 1/4 teaspoon salt
These ingredients bring the warm flavors of fall to your kitchen. The pumpkin puree adds moisture and a slight sweetness. The spices create a cozy aroma that fills the air as they bake.
Ingredients for Cream Cheese Frosting
Next, you will need these ingredients for the creamy frosting:
– 6 oz cream cheese, softened
– 1/4 cup unsalted butter, softened
– 2 cups powdered sugar
– 1 teaspoon vanilla extract
– 1 tablespoon milk (or more for consistency)
This frosting gives the bars a rich and tangy touch. The cream cheese and butter blend smoothly, creating a delightful topping.
Optional Garnishes and Add-ins
For a little extra flair, consider these optional garnishes:
– Chopped nuts (like pecans or walnuts)
– Mini chocolate chips
– A sprinkle of cinnamon on top
These add-ins can elevate the bars further. They add texture and flavor, making each bite even more enjoyable. Feel free to mix and match!
Step-by-Step Instructions
Preparing the Baking Pan
Start by preheating your oven to 350°F (175°C). Take a 9×13 inch baking pan and grease it lightly. Then, line the pan with parchment paper. Make sure to leave some paper hanging over the sides. This helps you lift out the bars later.
Mixing the Wet Ingredients
In a large bowl, mix together the canned pumpkin puree, granulated sugar, and vegetable oil. Add in two large eggs and one teaspoon of vanilla extract. Use a whisk or an electric mixer to blend these until smooth. The mixture should look creamy and well combined.
Combining the Dry Ingredients
In another bowl, sift together 1 1/2 cups of all-purpose flour, one teaspoon of baking powder, and one teaspoon of baking soda. Then, add one teaspoon of ground cinnamon, 1/2 teaspoon of ground nutmeg, 1/4 teaspoon of ground ginger, and 1/4 teaspoon of salt. Sifting helps remove lumps and mixes the spices evenly.
Folding and Baking the Batter
Now, gently fold the dry ingredients into the wet mixture. Use a spatula or a wooden spoon. Stir just until combined. Avoid overmixing to keep the bars tender. Pour the batter into your prepared baking pan. Spread it evenly with the spatula.
Place the pan in your preheated oven. Bake for 25-30 minutes. To check if they are done, insert a toothpick into the center. It should come out clean or with a few moist crumbs.
Making the Cream Cheese Frosting
While the bars cool, prepare the frosting. In a mixing bowl, combine 6 oz of softened cream cheese and 1/4 cup of softened butter. Use an electric mixer to beat these until creamy and smooth. Gradually add in 2 cups of powdered sugar and one teaspoon of vanilla extract. Start mixing on low speed, then increase the speed. If your frosting is too thick, add milk a bit at a time until it reaches your desired consistency.
Frosting and Slicing the Bars
Once the pumpkin bars are cool, spread the cream cheese frosting evenly over the top. Use a spatula or a knife for this. After frosting, slice the bars into squares. Now, you can serve and enjoy these sweet treats!
Tips & Tricks
How to Ensure Perfect Texture
To get the best texture in your pumpkin bars, always use canned pumpkin puree. It has the right moisture and flavor. Make sure your eggs are at room temperature. This helps them mix better. Avoid overmixing the batter when you combine wet and dry ingredients. A few lumps are okay. This keeps the bars soft and tender.
Baking Tips for Even Cooking
When baking, preheat your oven to 350°F (175°C). This ensures your bars cook evenly. Use a light-colored pan for best results. Dark pans can cause the edges to brown too quickly. Bake your bars for 25-30 minutes, but check them early. Insert a toothpick into the center. If it comes out clean or has a few moist crumbs, they are done.
Frosting Consistency Adjustments
For the cream cheese frosting, start with softened cream cheese and butter. Beat them until creamy and smooth. Add powdered sugar slowly to avoid a mess. If your frosting is too thick, add milk, one tablespoon at a time. Mix well after each addition until you reach your desired consistency. A smooth, spreadable frosting is key for that perfect finish!
Variations
Pumpkin Spice Frosting Ideas
You can make your frosting even more special by adding pumpkin spice. Mix in a teaspoon of pumpkin pie spice for a warm, cozy flavor. You can also add a pinch of cinnamon or nutmeg for extra spice. For a sweeter touch, try a splash of maple syrup. This will give your frosting a nice fall twist.
Adding Nuts or Chocolate Chips
If you love a bit of crunch, add nuts to your batter. Chopped walnuts or pecans work great here. You can also add chocolate chips for a sweet surprise. Mix in about a half cup of either right before baking. This will make each bite even more delightful.
Gluten-Free Substitutions
If you need a gluten-free option, you can easily swap the flour. Use a 1-to-1 gluten-free baking blend instead of all-purpose flour. You can also use almond flour, but the texture may change. Just make sure to check the blend’s instructions for best results. This way, everyone can enjoy these tasty treats!
Storage Info
Best Storage Practices for Pumpkin Bars
To keep your frosted pumpkin bars fresh, start by letting them cool completely. Once cool, cover them tightly with plastic wrap or place them in an airtight container. This step helps prevent drying out and keeps the texture soft. If you use a container, place a piece of parchment paper between the bars and the lid to avoid sticking.
Freezing Options and Tips
You can also freeze these delicious pumpkin bars. First, slice them into squares. Then, wrap each piece with plastic wrap. For extra protection, place the wrapped bars in a freezer bag or container. They can last up to three months in the freezer. When you’re ready to enjoy them, simply thaw in the fridge overnight or at room temperature for a few hours.
How Long They Last in the Fridge
If stored properly in the fridge, frosted pumpkin bars can last for about five to seven days. Make sure to keep them covered to maintain moisture. Enjoy them as a sweet treat any time during the week!
FAQs
Can I use fresh pumpkin instead of canned?
Yes, you can use fresh pumpkin! Start by roasting a pumpkin until it is soft. Once it cools, scoop out the flesh and blend it until smooth. Measure one cup of this fresh puree for your recipe. It may taste even better than canned pumpkin. Just make sure to drain any excess water for the best results.
What can I substitute for cream cheese?
If you need a cream cheese substitute, try using Greek yogurt. It adds a nice tang and keeps the frosting creamy. You can also use mascarpone cheese for a richer flavor. For a dairy-free option, use a vegan cream cheese. Just keep in mind that the taste and texture might change slightly.
How do I know when the pumpkin bars are done baking?
To check if the pumpkin bars are done, insert a toothpick into the center. If it comes out clean or with just a few moist crumbs, they are ready. The edges will also pull away from the pan slightly. Keep an eye on them as they bake, usually between 25 to 30 minutes.
Frosted pumpkin bars are simple and enjoyable to make. You now know the main ingredients, step-by-step instructions, and helpful tips. Consider adding variations like nuts or gluten-free options for extra fun. Store them properly to keep them fresh.
Baking these bars can be a great way to celebrate fall flavors. With practice, you can create delicious treats every time. Enjoy your baking!


