
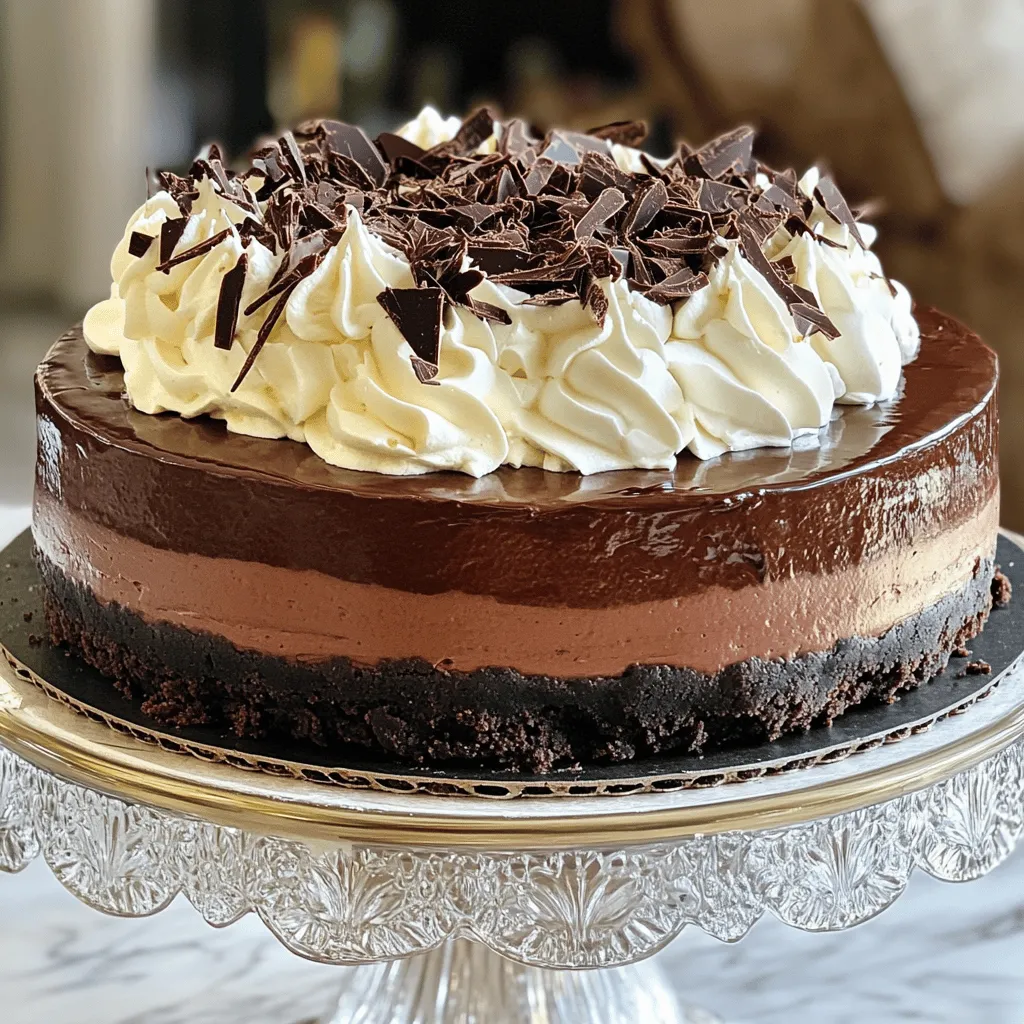
Do you love rich desserts? If so, Death by Chocolate Cheesecake will thrill your taste buds! This nice cheesecake is a treat for chocolate lovers. In this post, I’ll guide you through each step, from the crust to easy toppings. You’ll learn how to make it creamy and smooth, plus tips to avoid cracks. Let’s dive into the sweet world of chocolate cheesecake and enjoy baking together!
Ingredients
Essential Ingredients for Death by Chocolate Cheesecake
To make this rich dessert, you will need some key ingredients. Here’s the list:
– 2 cups chocolate cookie crumbs
– 1/2 cup unsalted butter, melted
– 1 cup granulated sugar
– 4 packages (8 oz each) cream cheese, softened to room temperature
– 1 cup sour cream
– 1 teaspoon pure vanilla extract
– 4 large eggs, at room temperature
– 1 cup semi-sweet chocolate chips, melted and slightly cooled
– 1/4 cup unsweetened cocoa powder
These ingredients create a creamy, chocolatey delight. Each item plays a role in giving the cheesecake its rich flavor and texture.
Optional Garnishes and Toppings
You can add some fun touches to your cheesecake. Here are some ideas:
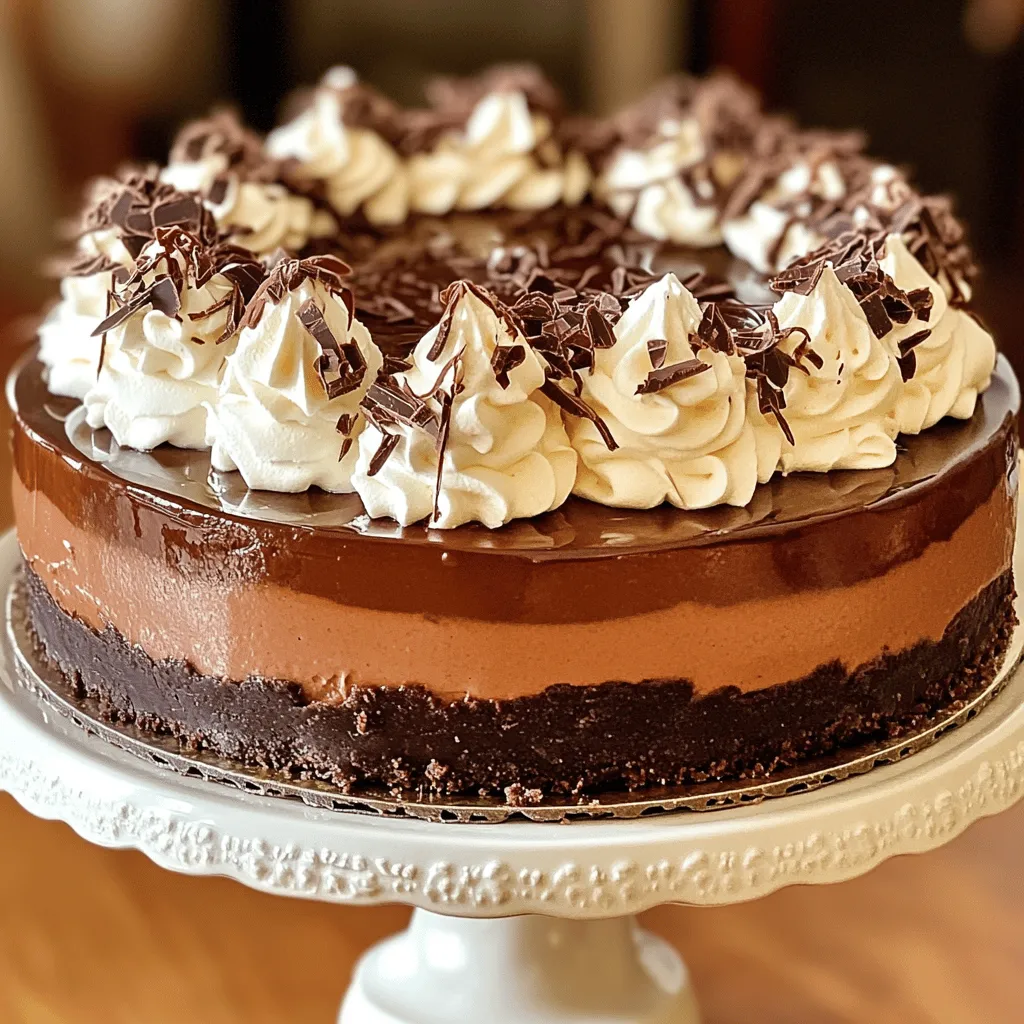
– Whipped cream (for topping)
– Chocolate shavings or curls (for garnish)
These extras not only make the cheesecake look fancy but also add to the taste. Whipped cream offers a light contrast, while chocolate shavings deepen the chocolate flavor.
Notes on Ingredient Quality
Using high-quality ingredients matters. Here are some tips:
– Choose real butter for the crust. It makes a difference in flavor.
– Use full-fat cream cheese for a creamy texture. Low-fat versions can alter the taste and consistency.
– Always opt for pure vanilla extract over imitation. It gives a better flavor.
By choosing quality ingredients, you ensure your cheesecake shines with flavor and texture. For the full recipe, you can refer to the earlier section.
Step-by-Step Instructions
Preparing the Crust
Start by preheating your oven to 325°F (160°C). In a mixing bowl, combine 2 cups of chocolate cookie crumbs with 1/2 cup of melted unsalted butter. Stir until the mixture looks like wet sand. Press this mix into the bottom of a 9-inch springform pan. Make sure it’s even and firm. Bake the crust for 10 minutes. When done, take it out and let it cool while you make the filling.
Making the Cheesecake Filling
In a large bowl, beat 4 packages of softened cream cheese with an electric mixer. Mix until it’s creamy and fluffy, which takes about 2-3 minutes. Gradually add 1 cup of granulated sugar while mixing until smooth. Next, add 1 cup of sour cream and 1 teaspoon of pure vanilla extract. Mix until combined, scraping the sides of the bowl as needed.
Now, add 4 large eggs one at a time. Beat on low speed just until each egg is mixed in. Be careful not to overmix, or the texture will suffer. Finally, fold in 1 cup of melted semi-sweet chocolate and 1/4 cup of unsweetened cocoa powder. Use a spatula to mix until there are no lumps.
Baking and Cooling the Cheesecake
Pour the cheesecake filling over your cooled crust in the springform pan. Bake in the oven for 60-70 minutes. Watch for the center to set but still jiggle a little. Once it’s done, turn off the oven and crack the door open. Let the cheesecake cool in the oven for about an hour. This helps prevent cracks. After that, transfer it to the fridge to chill for at least 4 hours, or overnight for the best taste and texture.
After chilling, run a knife around the edge of the pan before releasing the springform. Top with whipped cream and add chocolate shavings or curls for a stunning finish. For the full recipe, refer to the earlier section.
Tips & Tricks
How to Prevent Cracking in Your Cheesecake
To prevent cracks, keep the oven door closed. After baking, let the cheesecake cool slowly. I recommend leaving the oven door slightly open for an hour. This helps the temperature drop gently. Cracking often happens when the cheesecake cools too fast. It’s also wise to use room temperature ingredients. Cold cream cheese and eggs can cause issues, too.
Best Practices for Achieving Creamy Texture
For a creamy texture, beat the cream cheese well. It should be smooth and fluffy. Mix in sugar gradually to avoid lumps. Incorporate eggs one at a time, mixing gently after each. Overmixing can lead to a dense cheesecake. Also, be sure to fold in the melted chocolate carefully. This keeps the mixture light and airy.
Storing Leftovers Properly
Store your cheesecake in the fridge. Cover it tightly with plastic wrap or foil. This keeps it fresh and prevents it from drying out. If you want to keep it longer, freeze it. Slice it first for easy serving later. When you are ready to eat, let it thaw in the fridge overnight. This keeps the texture nice and creamy. For more tips, check the Full Recipe.
Variations
Add Flavors like Espresso or Mint
You can make your Death by Chocolate Cheesecake even more special. Adding espresso gives it a rich coffee flavor. This twist enhances the chocolate taste. Just add 1 tablespoon of espresso powder to the filling. Mix it well for a deeper flavor. If you prefer mint, add 1 teaspoon of mint extract. This gives a cool, refreshing taste. You can enjoy these flavor changes while keeping the base the same.
Suggested Crust Alternatives
The crust is key to a great cheesecake. While chocolate cookie crumbs work well, you can try other options. Graham crackers make a lighter crust. You can mix them with cocoa powder for a chocolatey touch. For a nutty flavor, use crushed almonds or pecans. Just combine them with melted butter and press it into the pan. Each crust choice adds its own unique flavor to your dessert.
Different Topping Ideas
Toppings can take your cheesecake to the next level. Whipped cream is classic and always a hit. You can also use fresh berries like strawberries or raspberries. Their tartness balances the rich cheesecake. For a fancy touch, drizzle chocolate sauce on top. You can even sprinkle sea salt for a sweet-salty mix. Get creative, and choose toppings that you love. Make sure they match your flavor choices.
Storage Info
How to Store Leftover Cheesecake
To keep your cheesecake fresh, cover it tightly. You can use plastic wrap or foil. Store it in the fridge for up to 5 days. Make sure to keep it in an airtight container. This helps maintain its rich flavor and creamy texture. If you have leftovers, slice the cheesecake before storing. This makes it easy to serve later.
Freezing Instructions for Long-Term Storage
If you want to save the cheesecake for later, freezing works well. First, let the cheesecake cool completely. Then, wrap it in plastic wrap. Next, place it in a freezer-safe container or a heavy-duty freezer bag. It can last up to 3 months in the freezer. For best results, avoid freezing the toppings.
Best Practices for Thawing
When you’re ready to enjoy your frozen cheesecake, thaw it slowly. Move it from the freezer to the fridge. Let it thaw overnight for the best taste and texture. Avoid using a microwave, as this can change the texture. Once thawed, feel free to add fresh toppings or whipped cream before serving.
For the full recipe, check out the detailed steps to make your own Death by Chocolate Cheesecake.
FAQs
How long does Death by Chocolate Cheesecake keep in the fridge?
Death by Chocolate Cheesecake stays fresh for about 5 to 7 days in the fridge. Keep it covered with plastic wrap or in an airtight container. This helps to lock in moisture and flavor. After a week, the taste may change. Enjoy it while it’s fresh!
Can I use low-fat cream cheese?
Yes, you can use low-fat cream cheese in this recipe. However, the texture might not be as rich and creamy. Low-fat options can lead to a lighter cheesecake. If you prefer a denser texture, stick with regular cream cheese. The choice is yours!
What should I do if my cheesecake cracks?
If your cheesecake cracks, don’t worry! It can still taste great. Here are a few tips to prevent this from happening next time:
– Bake at a lower temperature.
– Avoid overmixing the batter.
– Cool it slowly in the oven.
If you have a crack, you can cover it with whipped cream or chocolate shavings. It will still look beautiful!
The Death by Chocolate Cheesecake is a rich treat full of flavor. We covered key ingredients, easy steps, and helpful tips to make it perfect. You learned about good quality ingredients and ways to avoid cracks during baking. We even explored fun variations and storage tips for leftovers.
Now, you can impress your friends with this dessert. Enjoy making it and share your results!


