
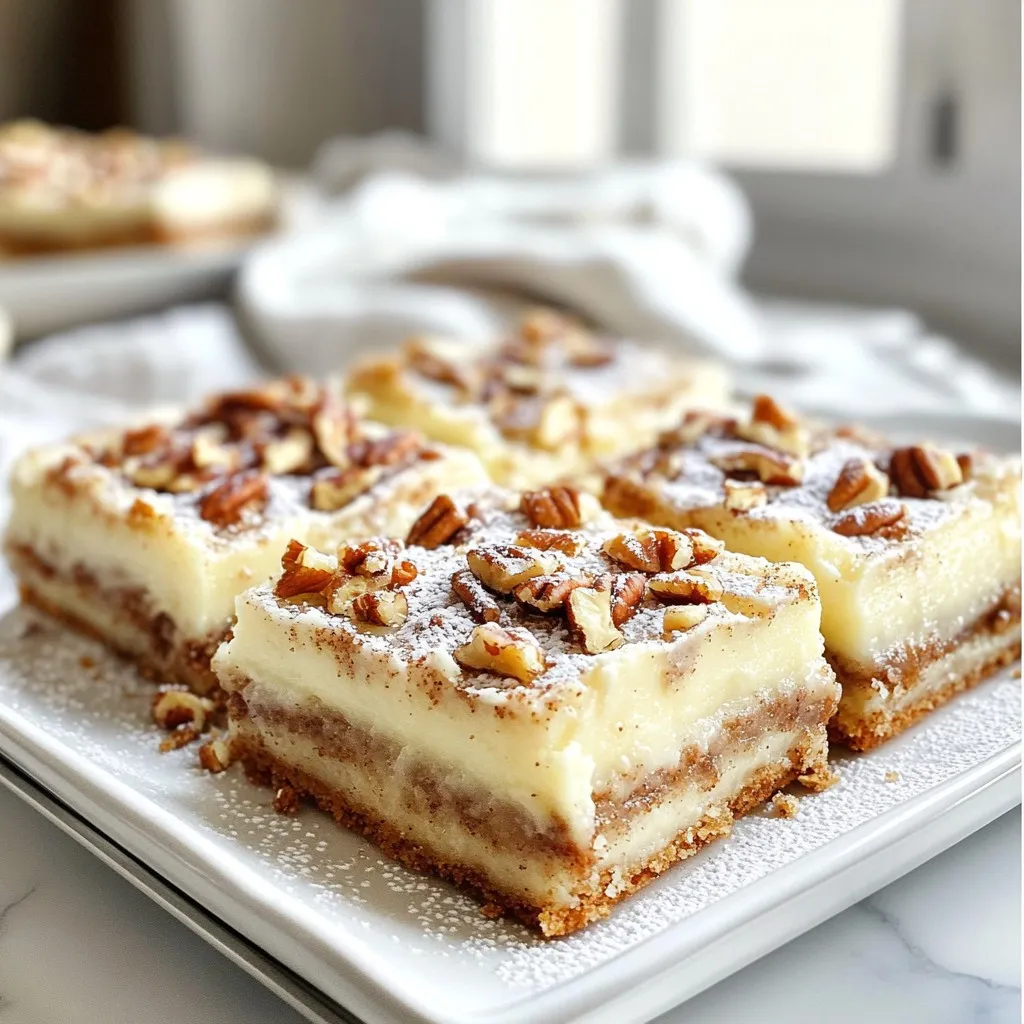
Craving something sweet and simple? Dive into my Cinnamon Roll Bliss Bars! This snack is packed with warm cinnamon flavors and topped with rich cream cheese frosting. Whether you want a treat for the kids or a cozy dessert for yourself, these bars are perfect. Let’s explore how to whip up this blissful recipe step by step, making your snack time both delicious and easy!
Why I Love This Recipe
- Irresistible Flavor: The combination of cinnamon and brown sugar creates a warm, comforting flavor that is simply irresistible.
- Easy to Make: This recipe comes together quickly and requires minimal effort, making it perfect for both novice and experienced bakers.
- Perfect for Sharing: These bliss bars are cut into perfect squares, making them ideal for sharing at gatherings or enjoying with friends and family.
- Customizable Toppings: With the option to add pecans or a drizzle of extra icing, you can easily customize these bars to your taste.
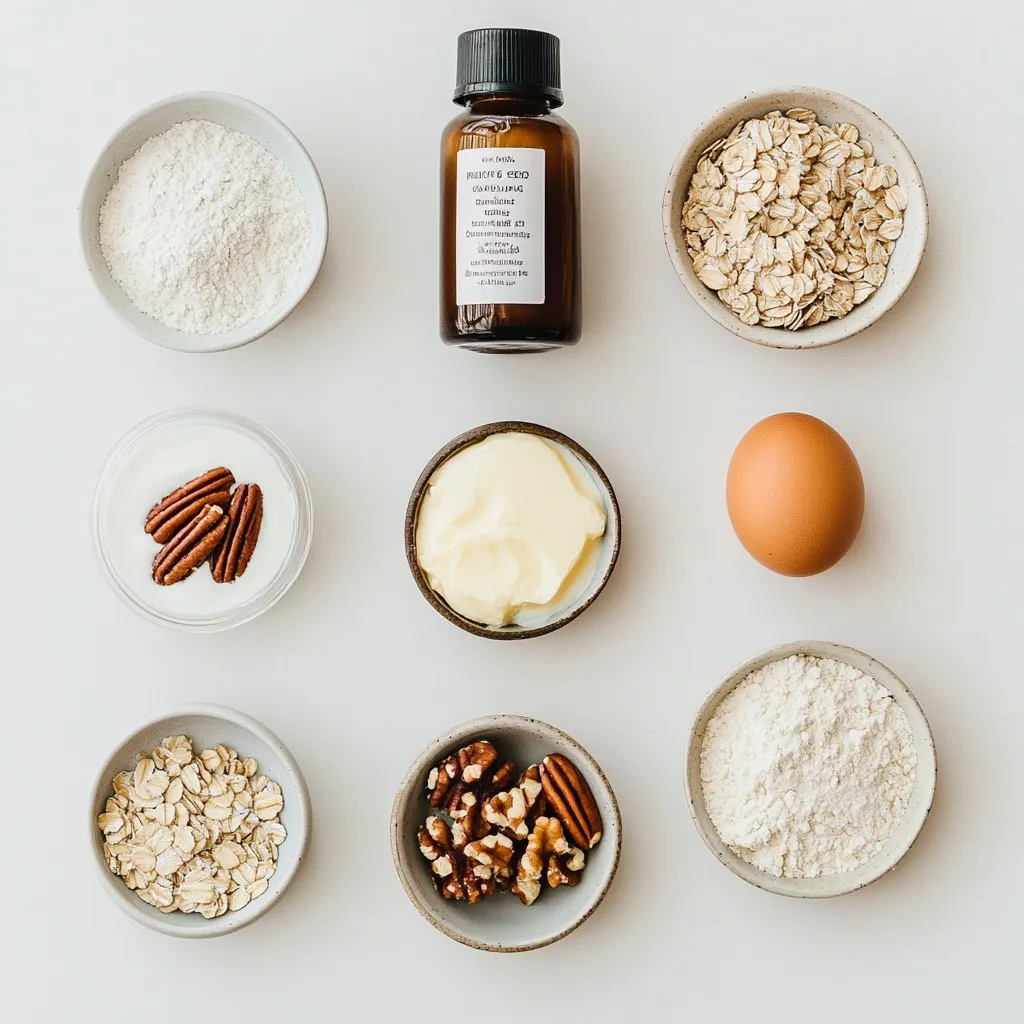
Ingredients
Dry Ingredients
– 1 cup all-purpose flour
– 1/2 cup rolled oats
– 1/2 teaspoon baking powder
– 1/4 teaspoon baking soda
– 1/4 teaspoon salt
– 1 teaspoon ground cinnamon
Wet Ingredients
– 1/2 cup brown sugar, packed
– 1/4 cup unsalted butter, melted
– 1 large egg
– 1 teaspoon vanilla extract
– 1/4 cup chopped pecans (optional)
Cream Cheese Frosting
– 1/4 cup cream cheese, softened
– 1/2 cup powdered sugar
– 1 tablespoon milk (add more as needed)
When making Cinnamon Roll Bliss Bars, the right mix of ingredients is key. Let’s break this down.
Dry Ingredients come first. The all-purpose flour forms the base. Rolled oats add texture. Baking powder and baking soda help the bars rise. Salt brings out the flavors. Ground cinnamon is what makes them taste like cinnamon rolls.
Next are the Wet Ingredients. Brown sugar gives sweetness and moisture. Melted unsalted butter adds richness. The egg binds everything. Vanilla extract enhances the flavor. If you want, toss in some chopped pecans for a nice crunch.
Finally, we have the Cream Cheese Frosting. Cream cheese makes it rich. Powdered sugar adds sweetness. Milk helps to make it smooth. You can adjust the milk until you reach the right consistency for spreading.
These ingredients work together to create a sweet and satisfying snack.
Step-by-Step Instructions
Preparing the Baking Dish
– Preheat the oven to 350°F (175°C).
– Grease or line an 8×8-inch baking dish with parchment paper.
Mixing Dry Ingredients
Combine the all-purpose flour, rolled oats, baking powder, baking soda, salt, and ground cinnamon. Use a whisk to mix until there are no lumps. This step is key for a smooth batter.
Mixing Wet Ingredients
Melt the unsalted butter in a bowl. Add the packed brown sugar, large egg, and vanilla extract. Whisk well until the mix is smooth and creamy. This creates a rich, sweet base for the bars.
Combining Mixtures
Gradually add the dry mix to the wet mix. Stir gently until just combined. If using chopped pecans, fold them in now for extra crunch. This step is where your bars start to take shape.
Baking the Bars
Pour the combined mixture into the prepared baking dish. Spread it evenly with a spatula. Bake for 20-25 minutes. The edges should turn golden brown, and a toothpick should come out clean.
Preparing the Frosting
In a clean bowl, mix the softened cream cheese, powdered sugar, and milk. Stir until the frosting is smooth. If it’s too thick, add a bit more milk. This creamy topping adds a great finish to the bars.
Tips & Tricks
Perfecting Texture
To get the best texture, mix your dry and wet ingredients well. Use a whisk for the dry mix first. This helps break up lumps. Then, when you add the wet mix, stir gently. Avoid overmixing. This keeps your bars soft and chewy.
Frosting Consistency
The frosting needs to be smooth. Start with one tablespoon of milk. Mix well and check the thickness. If it’s too thick, add more milk slowly. A good frosting should spread easily but stay on the bars.
Presentation Enhancements
A great way to make your bars look special is by garnishing. Dust the top with powdered sugar. This adds a nice touch. You can also sprinkle chopped pecans for crunch. Serve on a pretty platter with cinnamon sticks for a warm feel.
Pro Tips
- Use Fresh Ingredients: Always use fresh spices and ingredients for the best flavor. Ground cinnamon that’s been sitting in your pantry for months won’t have the same impact as freshly opened spice.
- Don’t Overmix the Batter: When combining wet and dry ingredients, mix until just combined to keep your bars tender and fluffy. Overmixing can lead to tough bars.
- Chill the Frosting: If your cream cheese frosting is too soft to spread, chill it for about 10-15 minutes. This will help it firm up and make it easier to apply on the bars.
- Experiment with Toppings: Feel free to customize your bliss bars with other toppings like walnuts, chocolate chips, or a drizzle of caramel for an extra touch of sweetness.
Variations
Flavor Additions
You can make these bars even more fun! Try adding chocolate chips or dried fruits. Chocolate brings a rich taste, while fruits like raisins or cranberries add sweetness. Just mix them into the batter before baking. This small change can take your bliss bars to new heights!
Dietary Adjustments
If you need gluten-free options, use gluten-free flour instead of all-purpose flour. This swap keeps the texture while making it safe for those with gluten allergies. For vegan fans, replace the egg with a flax egg. This mix of flaxseed and water works great as a binder. Also, swap butter for coconut oil or a vegan butter alternative. These changes keep the taste and texture yummy!
Serving Suggestions
These bars taste great with coffee or tea. The warm, sweet flavor pairs perfectly with a cup of your favorite brew. For extra fun, serve them with whipped cream or a scoop of ice cream. This makes for a delightful treat at any time of day!
Storage Info
Cooling and Cutting
To get the best results, let your Cinnamon Roll Bliss Bars cool in the pan for about 10 minutes. This short wait helps the bars set nicely. If you cut them too soon, they may fall apart. After they cool, move them to a wire rack. Let them cool completely before slicing. This step ensures you get neat squares.
Refrigeration Tips
To store the bars in the fridge, first, wait until they cool down. Place them in an airtight container. You can also cover them with plastic wrap. They will stay fresh in the fridge for about five days. If you want to enjoy them later, make sure to keep them sealed well.
Freezing Instructions
Want to save some for later? Freezing is easy! First, slice the bars into squares. Wrap each square in plastic wrap. Then, place them in a freezer-safe bag or container. They can stay in the freezer for up to three months. When you’re ready to eat, thaw the bars in the fridge overnight. For a quick treat, you can even let them sit out for a few hours to warm up.
FAQs
How long do Cinnamon Roll Bliss Bars last?
Cinnamon Roll Bliss Bars can last up to five days when stored properly. Keep them in an airtight container at room temperature. This helps maintain their soft texture and flavor. If you want them to last longer, refrigerate them for about a week.
Can I make these bars ahead of time?
Yes, you can make these bars ahead of time. They store well, so you can bake them a day or two in advance. Just remember to frost them close to when you serve them. This keeps the frosting fresh and creamy.
What can I use instead of chopped pecans?
If you don’t have chopped pecans, you can use other nuts or seeds. Chopped walnuts or almonds work great. You can also skip nuts for a nut-free version. For a different crunch, try adding chocolate chips or dried fruits.
Can I add more cinnamon for extra flavor?
Absolutely! If you love cinnamon, feel free to add more. You can increase the amount to two teaspoons for a stronger taste. Just be aware that too much can overpower other flavors, so start small and taste as you go.
You now know how to make delicious Cinnamon Roll Bliss Bars. We covered the ingredients, step-by-step instructions, and tips to master your bake. You can even try fun variations or adjust for dietary needs. Remember to store them well to keep them fresh. So, get baking and enjoy this tasty treat with family and friends. You’ll impress everyone with your skill


