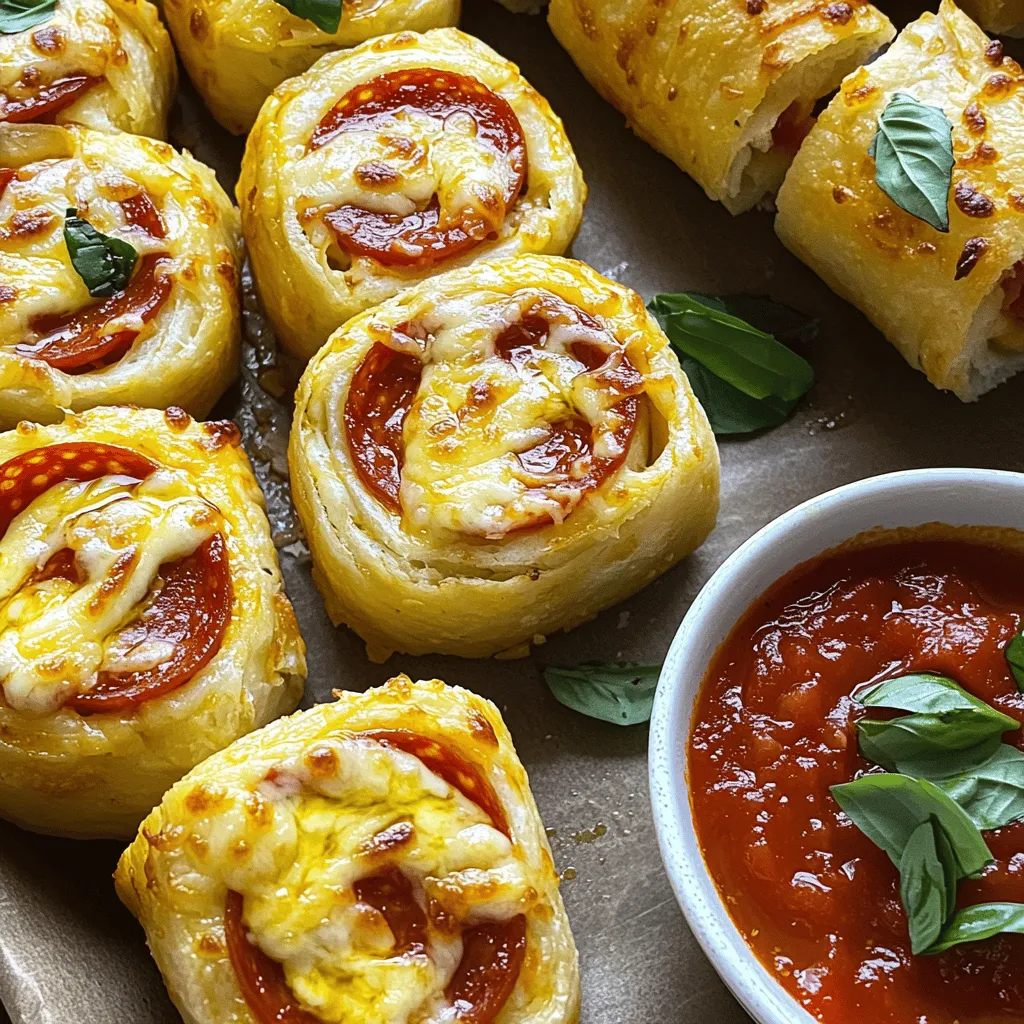
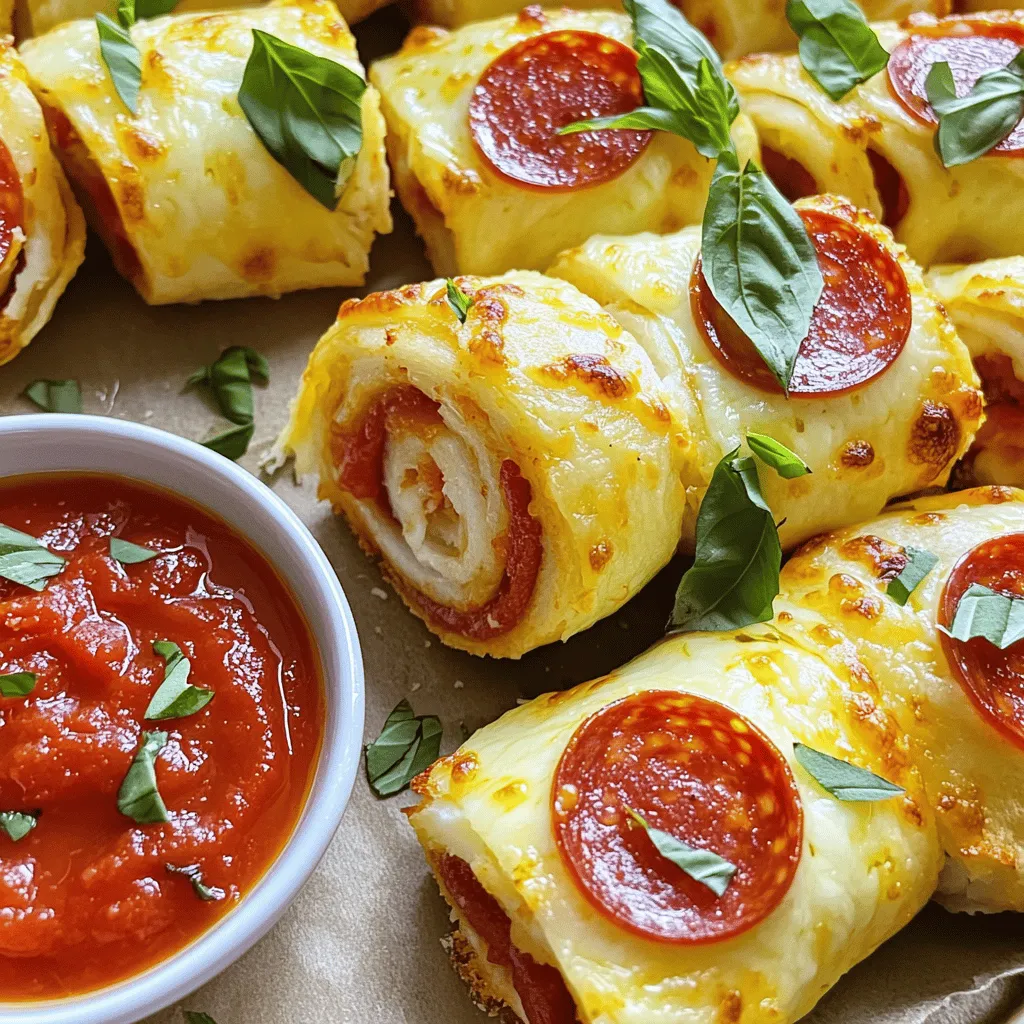
Craving a quick, tasty snack? Look no further! Cheesy Pepperoni Roll-Ups are your perfect answer. These little bites pack flavor and are easy to make. With gooey cheese, savory pepperoni, and a touch of Italian seasoning, they will please everyone. Plus, you can customize them with your favorite ingredients! Let’s dive into the simple steps to create this delightful treat that’s sure to impress.
Ingredients
Complete List of Ingredients
– 1 package of refrigerated pizza dough
– 1 cup shredded mozzarella cheese
– 1/2 cup sliced pepperoni
– 1/4 cup cream cheese, softened
– 1 teaspoon Italian seasoning
– 1 tablespoon olive oil
– 1/2 teaspoon garlic powder
– Marinara sauce for dipping (optional)
You will need a few simple items to make Cheesy Pepperoni Roll-Ups. First, grab a package of refrigerated pizza dough. This dough is easy to find and perfect for our recipe. Next, you will need shredded mozzarella cheese. It adds a gooey, cheesy taste that you will love. Sliced pepperoni gives the roll-ups a savory kick.
You’ll also want softened cream cheese. This ingredient adds a smooth richness that binds everything together. Italian seasoning brings in an herby flavor that enhances the taste. Olive oil helps to achieve a golden brown finish when baking. Lastly, garlic powder adds a nice touch of flavor. Marinara sauce is optional but great for dipping.
Nutritional Information
– Calories per roll-up: about 130
– Macronutrient breakdown: 7g protein, 9g fat, 10g carbs
– Allergen information: Contains dairy and gluten
Each roll-up contains around 130 calories. They provide a good mix of protein, fats, and carbs. Each roll-up has about 7 grams of protein, 9 grams of fat, and 10 grams of carbs. Be aware that these roll-ups contain common allergens like dairy and gluten. If you have allergies, make sure to adjust the ingredients to suit your needs. For the full recipe, check the section above.
Step-by-Step Instructions
Preparation Steps
1. Preheat the oven and prepare the baking sheet: Start by setting your oven to 400°F (200°C). This is key for a crispy finish. Next, line a baking sheet with parchment paper. This prevents sticking and makes cleanup a breeze.
2. Roll out the pizza dough: Take your refrigerated pizza dough and place it on a lightly floured surface. Roll it out into a rectangle, about 1/4 inch thick. This gives you a strong base for all the tasty fillings.
Assembling the Roll-Ups
1. Spread cream cheese and add toppings: Grab your softened cream cheese and spread it evenly over the dough. Leave about a half-inch border around the edges. This helps keep your filling inside when you roll. Next, sprinkle shredded mozzarella cheese generously on top of the cream cheese. Then, add the sliced pepperoni evenly over the cheese.
2. Sprinkle seasoning for enhanced flavor: To make each bite pop, sprinkle Italian seasoning and garlic powder over the top. This adds a nice depth of flavor that complements the cheese and pepperoni.
Baking Instructions
1. Form and slice the log: Starting from one long edge, roll the dough tightly toward the opposite edge. Make sure to pinch the seams securely to keep everything inside. Once rolled, use a sharp knife to slice the log into 1-inch thick pieces.
2. Bake and cool before serving: Arrange the slices cut-side up on your prepared baking sheet. Brush the tops with olive oil for a nice golden color. Bake in the preheated oven for 15-20 minutes. Watch for them to turn golden and for the cheese to bubble. After baking, let them cool for a few minutes. This makes them easier to handle.
For exact measurements and additional details, check out the Full Recipe.
Tips & Tricks
Perfecting the Roll-Ups
To make your Cheesy Pepperoni Roll-Ups just right, focus on your rolling technique. Start from one long edge of the dough and roll it tightly. This will help keep the filling inside. As you roll, make sure to keep the filling even. If you find some areas have too much filling, adjust as you go.
Sealing the edges is very important. After rolling, pinch the seams together firmly. This prevents the cheese and pepperoni from oozing out during baking. If you miss this step, you might end up with a messy oven and less tasty roll-ups.
Ingredient Substitutions
If you want vegan roll-ups, you can swap the cheese. Use vegan cheese made from nuts or soy. Many brands offer great flavors. For the cream cheese, look for a vegan version at your local store.
For those needing gluten-free options, there are gluten-free pizza doughs available. These doughs work well for roll-ups. Just make sure to follow the package instructions for best results.
Serving Suggestions
Pair your roll-ups with delicious dips. Marinara sauce is a classic choice. It adds a nice flavor and helps make each bite extra tasty. You can also try ranch or garlic sauce for a twist.
To make your roll-ups look great, garnish the plate. Fresh herbs like basil or parsley add color and flavor. You can sprinkle some on top or place them around the roll-ups. This will impress your guests and make your snack even more fun!
For the full recipe, check out the [Full Recipe].
Variations
Different Fillings
You can change up the fillings to suit your taste. Adding veggies like bell peppers or mushrooms gives a nice crunch and flavor. These ingredients add color and nutrition too. You can also mix different cheeses for unique flavors. Try cheddar or pepper jack for a spicy twist. Each cheese brings its own magic to the roll-ups.
Flavor Enhancements
Want to spice things up? Add jalapeños for a kick. They bring heat and a tasty zing to each bite. If you like sweet flavors, try adding pizza sauce or pesto to the mix. These options give you a fun, fresh twist on the classic recipe. You can even spread a thin layer of sauce inside before rolling.
Meal Prep Ideas
If you’re busy, meal prep is key. You can make these roll-ups ahead of time and bake them later. Just roll them up, slice, and store in the fridge. This way, they are ready when you need a quick snack. They are also freezer-friendly. You can freeze them before baking. Just thaw them in the fridge and bake when you’re ready. For the full recipe, check out the details!
Storage Info
Best Practices for Storing
To keep your leftover roll-ups fresh, refrigerate them. Place them in an airtight container. This helps lock in moisture and flavor. They stay good in the fridge for up to three days. When you want to enjoy them again, reheat gently. Use a microwave or oven. If using a microwave, heat for about 30 seconds. For the oven, set it to 350°F (175°C) and warm for 10 minutes. This method keeps the roll-ups crispy.
Freezing Instructions
You can freeze Cheesy Pepperoni Roll-Ups before or after baking. If freezing before baking, slice the roll-ups and lay them on a baking sheet. Freeze them for about an hour. Then, transfer them to a freezer-safe bag. This method prevents them from sticking together. If you bake them first, let them cool completely. Wrap each roll-up in plastic wrap and place them in a freezer bag. They can last up to three months in the freezer.
When you’re ready to eat, thaw the roll-ups overnight in the fridge. For reheating, use the oven at 350°F (175°C). Bake for about 15-20 minutes if they are cooked. If they are frozen and uncooked, bake for 25-30 minutes. This way, they will taste fresh and delicious.
FAQs
How do I know when the roll-ups are done?
You can tell the roll-ups are done when they turn golden brown. Look for the cheese to bubble up nicely. This means the insides are warm and melty. If you see a nice crust, your roll-ups are ready to eat!
Can I make Cheesy Pepperoni Roll-Ups ahead of time?
Yes, you can prepare the roll-ups in advance. You can roll them up and store them in the fridge. Just cover them tightly with plastic wrap. You can also pre-prep the ingredients. Keep the pizza dough and fillings ready, then assemble them when you want to bake.
What can I serve with Cheesy Pepperoni Roll-Ups?
These roll-ups taste great with many sides. You can serve them with marinara sauce for dipping. A side salad adds freshness and a nice crunch. For drinks, try soda, lemonade, or even a light beer. They all pair well!
In this blog post, we explored the tasty world of Cheesy Pepperoni Roll-Ups. We covered ingredients, preparation steps, and baking instructions. I shared tips for perfecting your roll-ups and offered variations to keep meals exciting.
These roll-ups are easy, fun, and great for any meal. Whether you’re prepping for busy nights or just want a snack, they fit the bill. With the right storage, you can enjoy them later too. Happy cooking, and enjoy your delicious creations!