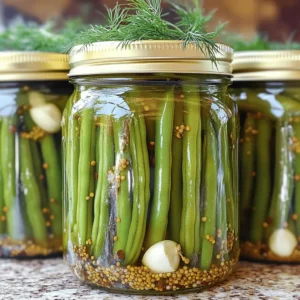
Refrigerator Dilly Beans
Discover the ultimate crunchy refrigerator dilly beans recipe that’s perfect for a refreshing side dish or appetizer! With fresh green beans and a zesty pickling liquid infused with garlic, dill, and spices, these beans pack a flavorful punch. Easy to make and ready to enjoy after just a day in the fridge, they’re a great addition to any meal. Click through to explore the full recipe and elevate your snacking game today!