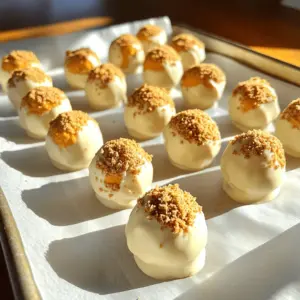
Pumpkin Cheesecake Truffles
Indulge in the flavors of fall with these delicious Pumpkin Cheesecake Truffles! Made with creamy pumpkin puree and velvety white chocolate, these bite-sized treats are perfect for your autumn gatherings. Follow our easy recipe to create 24 scrumptious truffles, ideal for sharing or enjoying on your own. Click through to explore the recipe and bring a taste of the season to your dessert table!