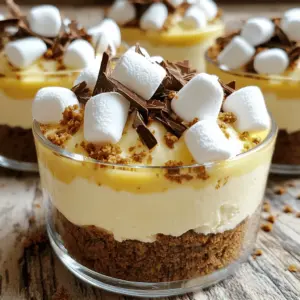
No-Bake S’mores Cheesecake Cups
Indulge in the ultimate dessert with these delightful no-bake s'mores cheesecake cups! Combining creamy cheesecake with a crunchy graham cracker crust and sweet marshmallows, these treats are a simple yet impressive way to satisfy your sweet tooth. Perfect for parties or a cozy night in, they're easy to make and even easier to enjoy. Click through to explore the full recipe and create your sweet masterpiece today!