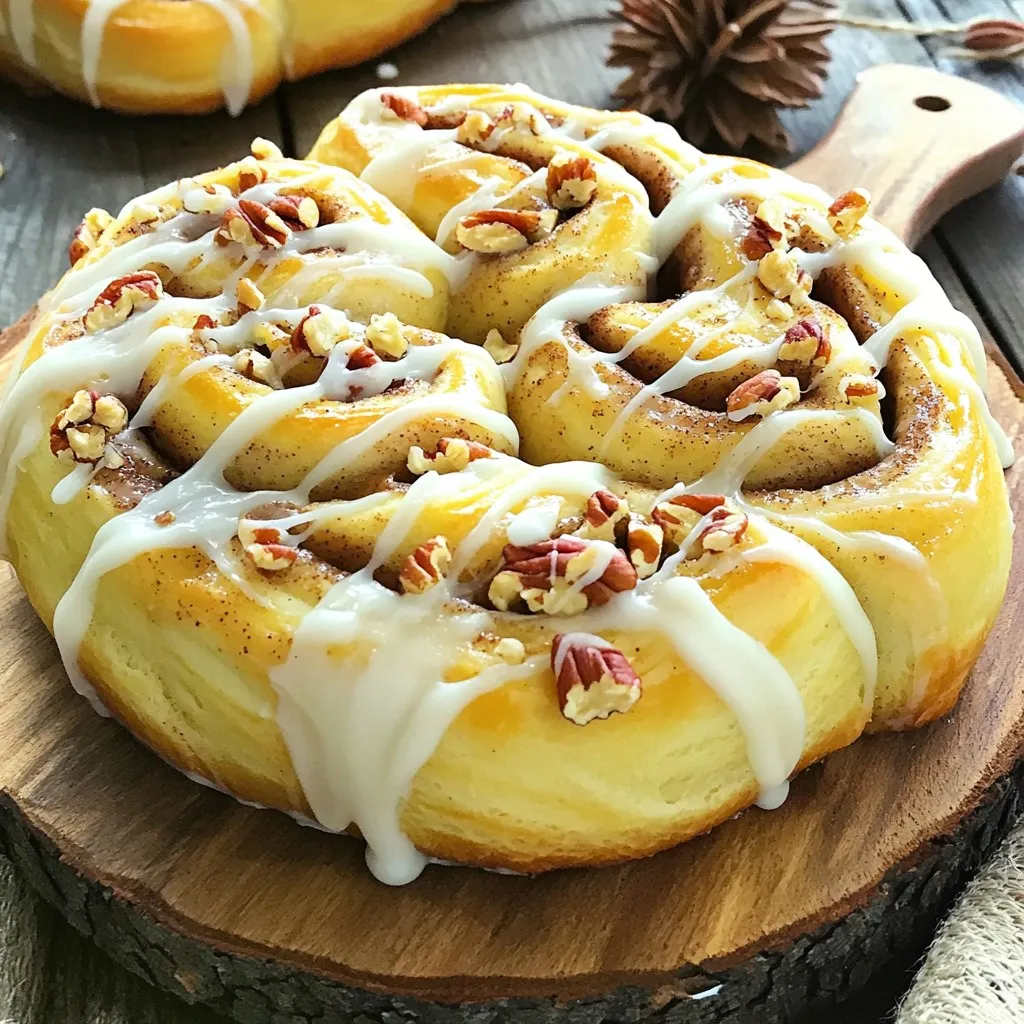
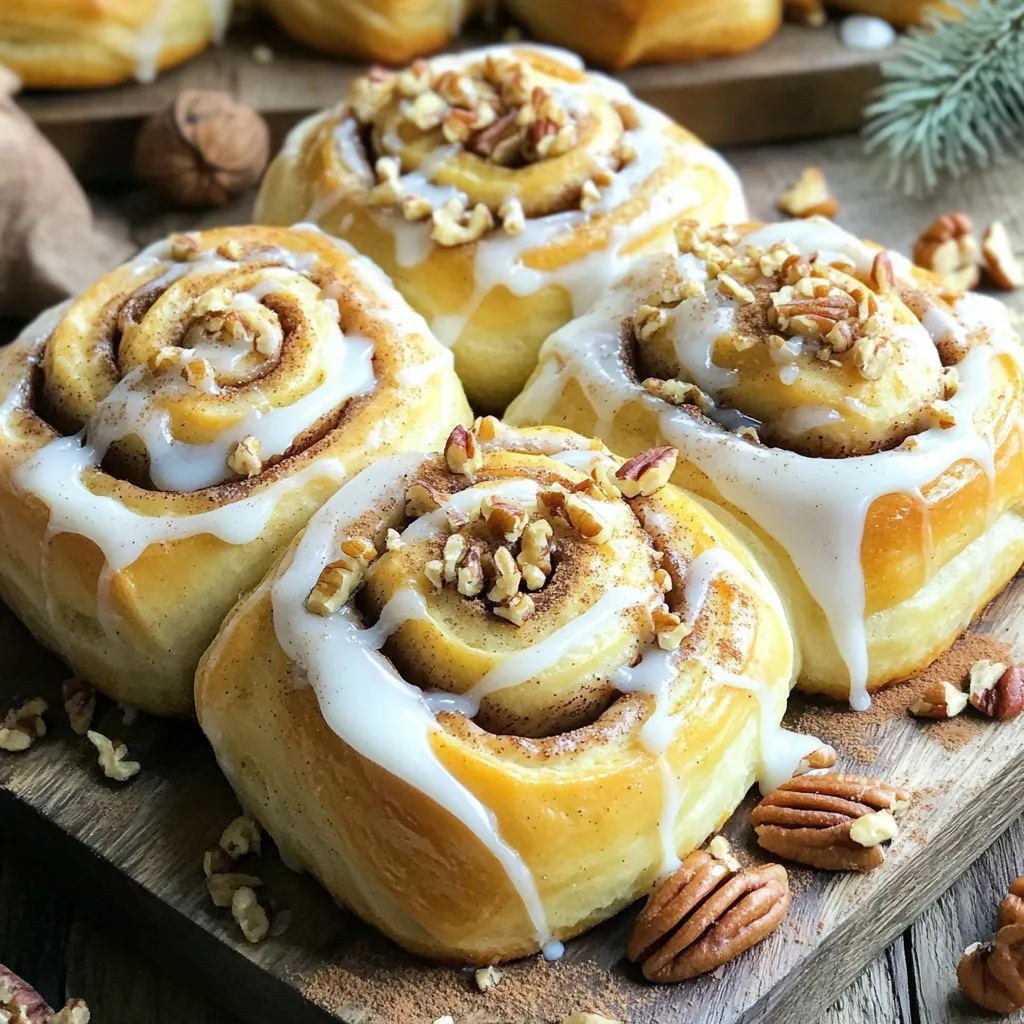
If you crave warm, gooey cinnamon rolls, you’re in the right place! This Ultimate Cinnamon Rolls recipe makes breakfast a treat. With easy steps and simple ingredients, you can whip up a batch that’s perfect for any morning. Imagine biting into a soft roll, drizzled in sweet icing. Ready to make your kitchen smell amazing? Let’s dive into this easy-to-follow guide that guarantees irresistibly delicious cinnamon rolls!
Ingredients
Dry Ingredients
– 4 cups all-purpose flour
– 1/4 cup granulated sugar
– 1 packet (2 1/4 tsp) active dry yeast
– 1 teaspoon salt
For the dry mix, I use all-purpose flour for its perfect texture. The granulated sugar adds just the right sweetness. Active dry yeast helps the rolls rise, while salt enhances the flavor.
Wet Ingredients
– 1 cup whole milk, warmed to about 110°F (43°C)
– 1/3 cup unsalted butter, melted and slightly cooled
– 2 large eggs, at room temperature
– 1 tablespoon vanilla extract
In this part, I warm the whole milk to activate the yeast. Melted butter adds richness, while room temperature eggs help the dough rise. The vanilla extract gives a lovely aroma.
Filling & Icing Ingredients
– 1 tablespoon ground cinnamon
– 1/2 cup dark brown sugar, packed tightly
– 1/3 cup unsalted butter, softened (for filling)
– 1 1/2 cups powdered sugar (for icing)
– 1/4 cup cream cheese, softened (for icing)
– 2 tablespoons milk (more may be needed for desired icing consistency)
– Optional: 1/2 cup chopped pecans or walnuts for added crunch
For the filling, I mix ground cinnamon and dark brown sugar with softened butter. This creates a thick, sweet paste. For the icing, I blend powdered sugar and cream cheese for a creamy finish. If you like crunch, add nuts to the filling or topping.
Step-by-Step Instructions
Preparing the Dough
Activate the yeast
To start, warm the milk until it’s about 110°F. In a bowl, mix the warm milk, granulated sugar, and yeast. Let it sit for 5 minutes. You will see bubbles on top. This shows the yeast is ready.
Mix dry ingredients
In a large bowl, whisk together 3 cups of flour and salt. Make a well in the center. This well will hold the wet ingredients.
Combine wet and dry ingredients
Pour the yeast mix into the well. Add melted butter, eggs, and vanilla. Stir everything together. Gradually add the rest of the flour until you have a soft dough. It should feel slightly sticky.
Kneading and Rising
Knead the dough
Flour a clean surface lightly. Place the dough on it. Knead the dough with your hands for 5 to 7 minutes. You want it to feel smooth and elastic.
First rise
Put the kneaded dough in a greased bowl. Cover it with a clean towel. Let it rise in a warm place for 1 hour. It should double in size.
Preparing the Filling and Shaping
Prepare the filling
While the dough rises, mix the softened butter, dark brown sugar, and cinnamon in a bowl. This will create a thick paste for spreading.
Roll out the dough
After the first rise, turn the dough onto a floured surface. Roll it into a big rectangle, about 16×24 inches.
Spread the filling and form the rolls
Spread the filling mixture evenly on the dough. Leave a 1/2-inch border. If you want, add chopped nuts for crunch. Roll the dough tightly from one long edge. Pinch the seams to seal. Slice the log into 12 equal pieces.
Second Rise and Baking
Second rise
Place the rolls in a greased baking dish. Cover with a towel and let them rise for 30 minutes. They should look puffy.
Preheat oven
During the last 10 minutes of rising, preheat your oven to 350°F.
Bake the rolls
Bake the rolls for 25-30 minutes. They should turn golden brown and be cooked through.
Preparing and Drizzling Icing
Make the icing
While baking, prepare the icing. Whisk together powdered sugar, cream cheese, and milk in a bowl. Adjust milk for the right thickness.
Ice the rolls
After baking, let the rolls cool for 10 minutes. Drizzle the warm icing generously over the rolls. Enjoy every bite!
Tips & Tricks
Achieving Perfect Texture
– Proper dough consistency: The dough should be soft and slightly sticky. Avoid adding too much flour. It should hold together but still feel tender.
– Tips for kneading: Knead the dough on a floured surface. Use your palms to push the dough away, then fold it back. Knead for 5 to 7 minutes until smooth and elastic.
Flavor Enhancements
– Spice variations: Try adding nutmeg or cardamom for a twist. These spices complement cinnamon well and add depth.
– Additional filling options: Besides the classic filling, consider using chocolate chips or dried fruits. These add a sweet surprise in every bite.
Icing Tips
– Perfecting icing consistency: Aim for a smooth, pourable icing. If it’s too thick, add a bit more milk. If it’s too thin, add more powdered sugar.
– Alternative icing flavors: Experiment with vanilla or almond extract in your icing. This small change can elevate the flavor profile of your rolls.
Variations
Nutty Cinnamon Rolls
To make nutty cinnamon rolls, add nuts to the filling and topping. You can use pecans or walnuts for great crunch. Simply mix chopped nuts into the filling paste. You can also sprinkle them on top after icing. The nuts add texture and a rich flavor.
Fruity Cinnamon Rolls
For fruity cinnamon rolls, incorporate fruit fillings like apples or berries. Start by cooking the fruit down with a bit of sugar and cinnamon. Spread this mixture over the rolled dough before adding the cinnamon filling. This variation gives a fresh twist to the classic roll.
Alternative Flavors
Try alternative flavors like pumpkin spice or chocolate cinnamon rolls for a fun change. For pumpkin spice, mix pumpkin puree with spices like nutmeg and cinnamon. Spread this mix in place of the traditional filling. For chocolate cinnamon rolls, add cocoa powder to the filling for a deep, rich taste. Both options delight the taste buds and keep your cinnamon rolls exciting!
Storage Info
Storing Leftovers
Room temperature storage
You can store leftover cinnamon rolls at room temperature. Place them in an airtight container. This keeps them fresh for about 2 days. If you leave them out longer, they may dry out.
Refrigeration
If you want to keep them longer, refrigerate the rolls. They can last up to a week in the fridge. Be sure to wrap them tightly in plastic wrap or place them in a sealed container to stop them from getting hard.
Freezing Instructions
How to freeze cinnamon rolls
To freeze your cinnamon rolls, let them cool completely. Then, wrap each roll in plastic wrap. After that, place the wrapped rolls in a freezer bag. They can stay frozen for up to 3 months. When you want to enjoy them, just thaw them in the fridge overnight.
Reheating Tips
Best methods for reheating
For the best taste, reheat cinnamon rolls in the oven. Preheat it to 350°F (175°C). Place the rolls on a baking sheet and cover them with foil. Heat for about 10-15 minutes. This warms them up nicely without drying them out. You can also use a microwave, but be careful. Heat them in short bursts of 10-15 seconds, so they stay soft.
FAQs
How do I know when the rolls are done baking?
You can tell the rolls are done by looking for a golden brown color. If you tap the bottom of a roll, it should sound hollow. The rolls should feel light and spring back when pressed gently. A food thermometer can help too. They should reach 190°F (88°C) in the center.
Can I make the dough ahead of time?
Yes, you can make the dough ahead of time. After kneading, cover it well and refrigerate. Let it rise in the fridge overnight. This slow rise adds more flavor. In the morning, bring it back to room temperature. Then shape and bake as usual.
What can I substitute for cream cheese?
If you need a substitute for cream cheese, use sour cream or Greek yogurt. Both will add creaminess. You can also use mascarpone cheese for a rich flavor. Adjust the sugar in the icing to balance the tanginess.
This blog post detailed how to make delicious cinnamon rolls. You learned about the key ingredients, including dry and wet components. I shared step-by-step instructions for dough preparation, filling, and baking. Tips improved your rolls’ texture and flavor. I discussed fun variations and how to store your treats.
Remember, baking takes practice, but the results are worth it. Enjoy these rolls warm with your favorite icing. Baking can be fun, so experiment and make it your own!
