If you love a tangy crunch, you’ll adore this Quick Refrigerator Pickled Okra recipe. I’ll guide you through making a zesty brine and packing fresh okra in no time. This simple and flavorful treat is perfect for snacking or adding to meals. Plus, you’ll learn tips, tricks, and variations to make it your own. Let’s dive into the fresh taste of homemade pickled okra!
Ingredients
Fresh Okra
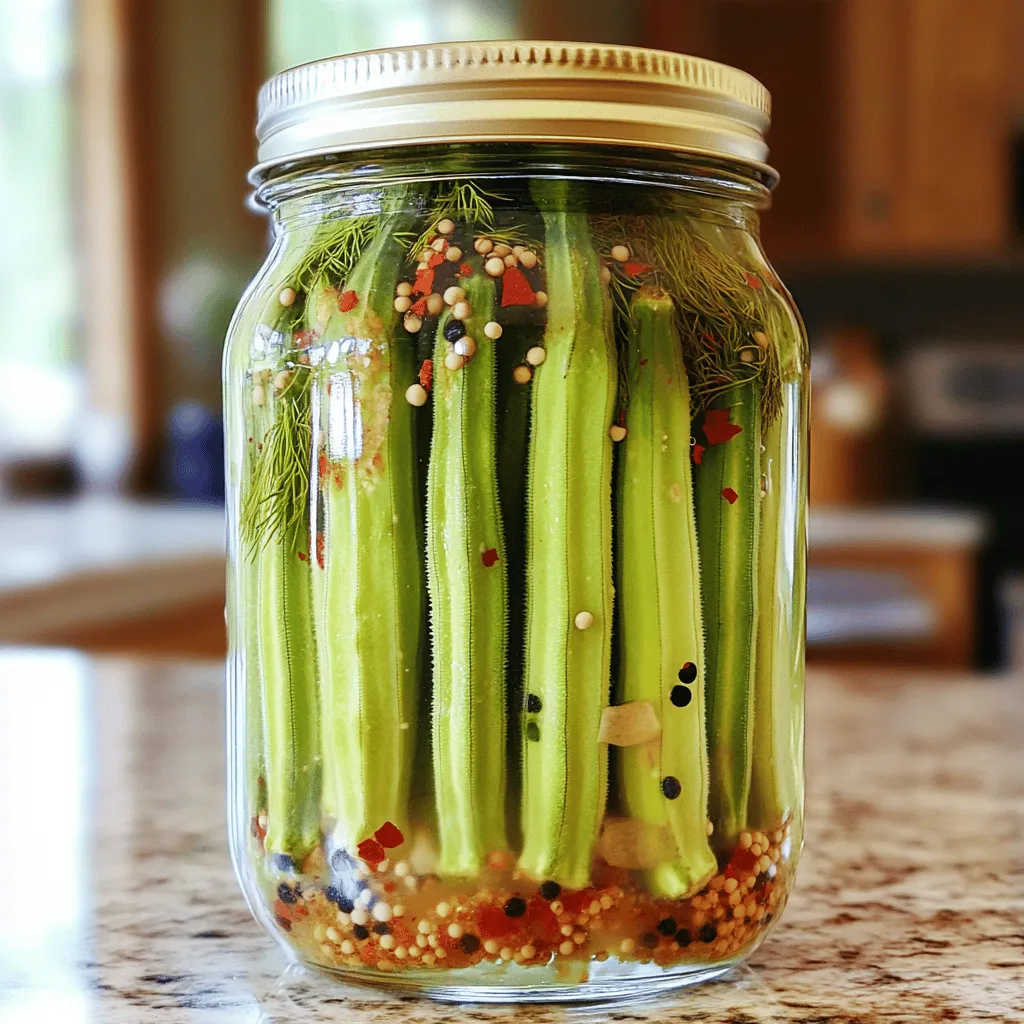
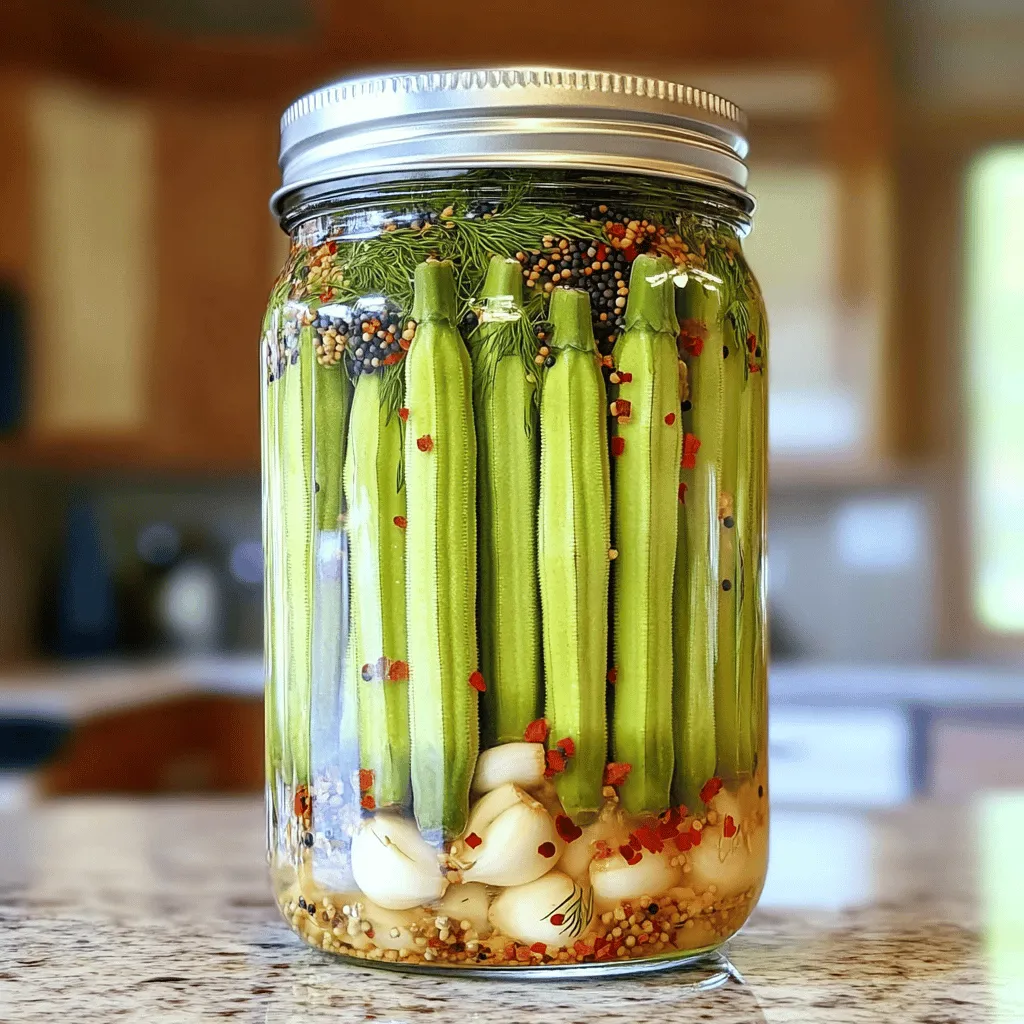
For this recipe, you need 1 pound of fresh okra. Look for firm, bright green pods. Trim the stems for a neat look. Fresh okra adds crunch and color. It also absorbs the brine very well.
Brine Components
The brine is key to great pickles. You need 1 cup of white vinegar and 1 cup of water. This mix gives the pickles a nice tang. You also need 2 tablespoons of sea salt. Salt helps to preserve the okra and boosts flavor. Add 1 tablespoon of sugar to balance the acidity. This sweet touch makes each bite tasty.
Spices & Seasonings
Spices make your pickled okra special. Use 4 cloves of garlic, peeled and crushed. Garlic adds a strong, savory taste. For extra flavor, add 1 teaspoon of black mustard seeds and 1 teaspoon of dill seeds. These spices bring warmth and depth. If you like heat, include 1 teaspoon of red pepper flakes. Adjust this to match your spice level. Lastly, add 1 bay leaf for an earthy aroma. These spices create a complex taste that you’ll love.
For the full recipe, check out the details above.
Step-by-Step Instructions
Preparing the Jars
To start, pick a clean jar. Make sure it has a tight lid. You can use one big jar or several small ones. Sterilize the jars by boiling them in water for a few minutes. This helps keep your pickles safe and fresh.
Making the Brine
Next, grab a medium saucepan. Pour in 1 cup of white vinegar and 1 cup of water. Add 2 tablespoons of sea salt and 1 tablespoon of sugar. Heat this mix over medium heat until it boils gently. Stir the brine well to dissolve the salt and sugar. Once they dissolve, take the saucepan off the heat. Let the brine cool for about 5 to 10 minutes.
Packing the Okra
Now it’s time for the okra! Take 1 pound of fresh okra with trimmed stems. Pack the okra into your prepared jar(s) upright. This makes them look nice. Next, sprinkle 4 crushed garlic cloves, 1 teaspoon of black mustard seeds, 1 teaspoon of dill seeds, 1 teaspoon of red pepper flakes, and 1 bay leaf over the okra. Pour the warm brine over the okra. Make sure all the pieces are fully submerged. If needed, add a bit more vinegar or water. Seal the jar tightly with its lid. Let it cool to room temperature before placing it in the fridge.
For the best flavor, let the okra pickle for at least 24 hours. They will taste great even after a few hours if you can’t wait! For the full recipe, check out the Full Recipe section.
Tips & Tricks
Selecting the Best Okra
When picking okra, look for bright green pods. They should be firm and smooth. Avoid any with dark spots or wrinkles. Smaller pods tend to have a better taste and texture. Aim for okra about 3 to 4 inches long for the best crunch.
Adjusting Spice Levels
To change the heat, simply add or reduce red pepper flakes. If you want more flavor, try adding whole red chilies or jalapeño slices. For a milder taste, cut the flakes in half or leave them out completely. Taste your brine before pouring it over the okra for a quick check.
Ensuring Proper Storage
Store your pickled okra in a clean, sealed jar. Keep it in the fridge to maintain freshness. For the best flavor, eat them within three weeks. Before using, make sure to check for any signs of spoilage. If they look or smell off, it’s best to toss them.
For the complete process, check out the Full Recipe.
Variations
Additions and Substitutions
You can change the recipe to suit your taste. If you want a bit of heat, add sliced jalapeños or more red pepper flakes. For a tangy twist, try adding lemon slices or lime juice. You can also swap out white vinegar for apple cider vinegar. This gives the pickles a sweeter flavor.
Different Flavor Profiles
Experimenting with spices can change the whole taste of your pickled okra. Try adding coriander seeds for a fresh taste. If you love bold flavors, throw in some black peppercorns. For a herbaceous note, consider adding fresh dill or thyme to the jar. Each change can create a unique flavor experience.
Other Vegetables to Pickle
Don’t limit yourself to just okra! You can pickle a variety of vegetables. Green beans, carrots, and radishes make great choices. Slice cucumbers into spears for classic pickles. You can even try pickling cauliflower or bell peppers. Each vegetable will bring its own charm to the jar, making your pickled creations deliciously diverse.
For the full recipe, check out the Quick and Zesty Refrigerator Pickled Okra section. Enjoy exploring these variations!
Storage Info
Refrigerator Storage Guidelines
Store your Quick Refrigerator Pickled Okra in a clean jar with a tight lid. Keep the jar in the fridge. Always ensure the okra is submerged in the brine. This helps keep them fresh and flavorful. If you notice any pieces sticking out, press them down gently. This will help them stay crisp.
Shelf Life of Pickled Okra
The pickled okra will stay good for about 1 to 2 months in the fridge. After that, the taste may change. You can tell they are still fresh by looking for their bright color. If they start to fade, it’s time to toss them.
Signs of Spoilage
Watch for any changes in smell or color. If you notice a sour or off smell, it’s best to throw them away. Also, check for any mold on the surface. If you see mold, do not eat the okra. Always trust your senses when it comes to food safety. Eating spoiled food can make you sick.
For the full recipe, check out the complete details above!
FAQs
How long do I need to let the okra pickle?
You should let the okra pickle for at least 24 hours. This time allows the okra to soak up the flavors. If you are in a hurry, you can enjoy them after just a few hours. They will still taste good, but the flavor will be stronger after a full day.
Can I use frozen okra for pickling?
I recommend using fresh okra for the best taste and texture. Frozen okra tends to become soft when thawed. If you only have frozen okra, you can still use it. Just remember it may not have the same crunch as fresh okra.
What to do if the okra floats in the brine?
If your okra floats in the brine, don’t worry! This happens sometimes. You can gently press the okra down to ensure it stays submerged. If it still floats, add a small weight like a clean stone or a small jar filled with water. This will help keep your okra in the brine. For more detailed instructions, check out the Full Recipe.
To recap, we explored how to pickle okra, starting with ingredients: fresh okra, brine components, and spices. I laid out clear steps for preparing jars, making the brine, and packing the okra. Helpful tips on choosing okra, adjusting spice levels, and storage followed. We discussed fun variations and storage guidelines to keep your pickled okra fresh.
Pickling okra is simple and rewarding. With practice, you can create your own tasty jars. Enjoy the process and make it yours!