
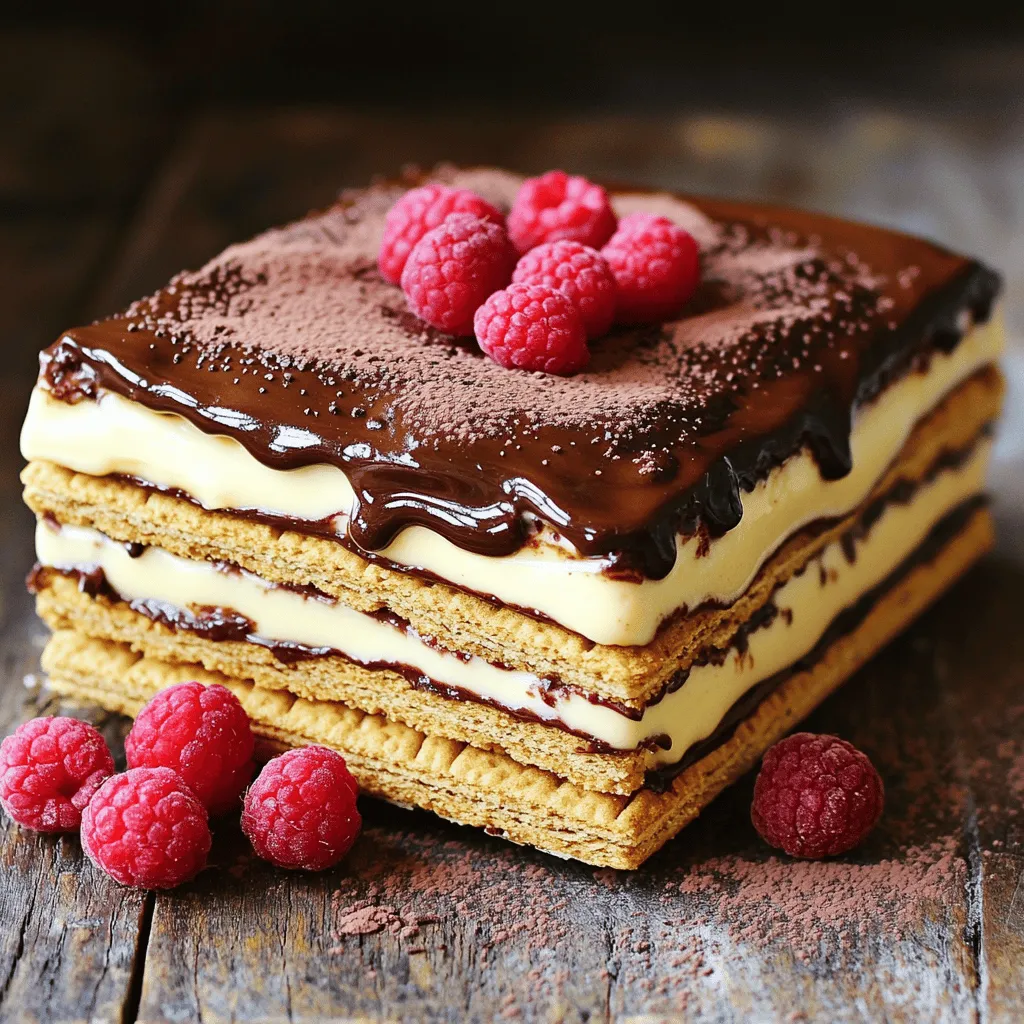
Are you ready to indulge in a dessert that has all the creamy goodness of chocolate eclairs? I’m excited to share my No Bake Chocolate Eclair Icebox Cake recipe! This easy and delicious treat is perfect for any occasion. With layers of creamy pudding and whipped cream, it’s a delight for both kids and adults. Let’s dive into the simple steps and tasty tips that will make you the dessert hero at your next gathering.
Ingredients
Essential Ingredients for No Bake Chocolate Eclair Icebox Cake
To make this delightful dessert, you need the following ingredients:
– 2 cups heavy whipping cream
– 1 cup powdered sugar
– 1 teaspoon vanilla extract
– 1 box (14 oz) graham crackers
– 1 package (3.4 oz) instant vanilla pudding mix
– 2 ½ cups milk
– 1 container (8 oz) whipped topping, thawed
– 1 cup semi-sweet chocolate chips
– 2 tablespoons unsweetened cocoa powder
– 1 tablespoon butter
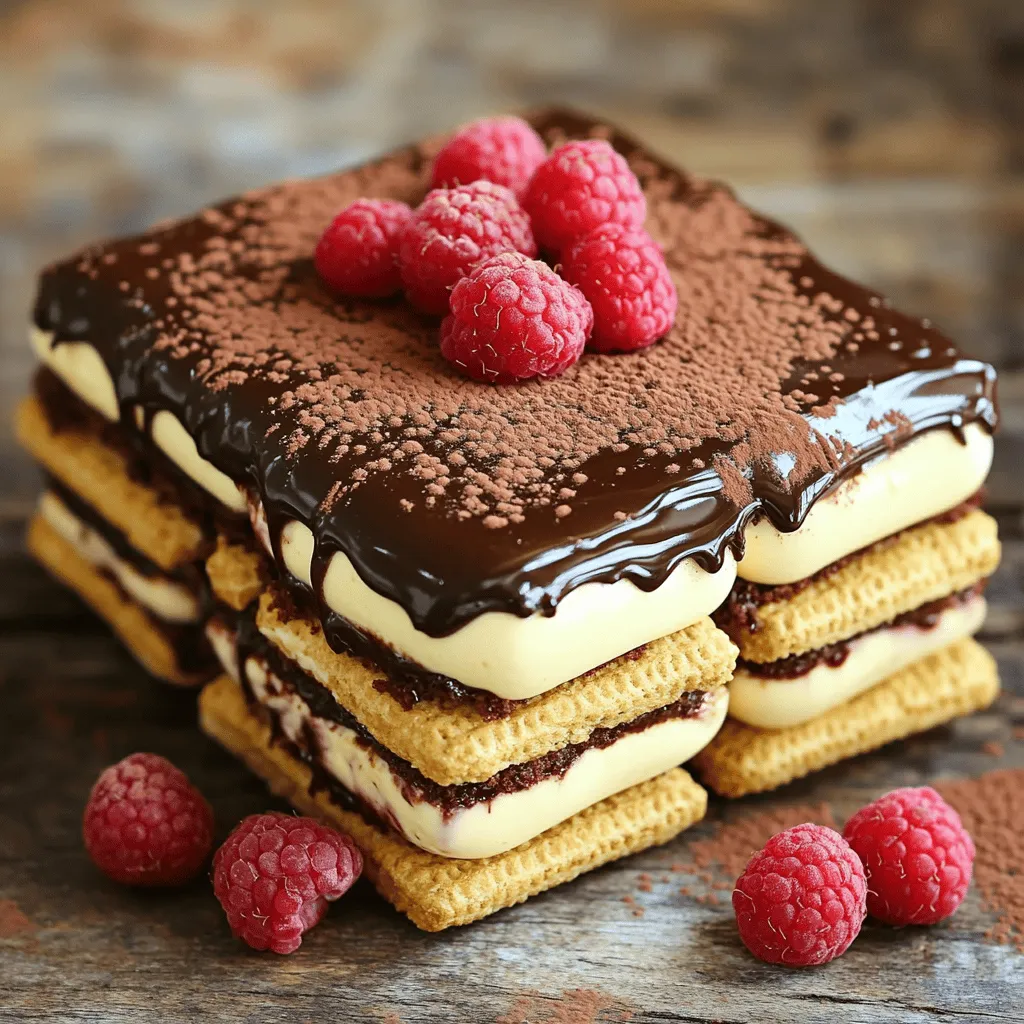
These ingredients work together to create a rich and creamy dessert. The layers of pudding and whipped cream pair perfectly with the graham crackers.
Optional Garnishes and Flavor Enhancers
You can add some extra touches for flavor and style:
– Fresh berries, like strawberries or raspberries
– A sprinkle of cocoa powder for dusting
– Chocolate shavings for a rich look
– A dollop of whipped cream on top
These garnishes add color and flavor. They also make your cake look more appealing and special.
Ingredient Substitutions
If you need to swap some ingredients, here are a few ideas:
– Use almond milk instead of regular milk for a nutty flavor.
– Swap chocolate chips with white chocolate for a sweeter taste.
– Use a dairy-free whipped topping for a vegan option.
Making these swaps can help you customize the cake to your taste. Just remember, these changes may alter the final flavor or texture slightly. For the full recipe, check out [Full Recipe].
Step-by-Step Instructions
Preparing the Whipped Cream
To start, grab a large mixing bowl. Pour in 2 cups of heavy whipping cream. Use an electric mixer on medium speed. Whip the cream until it thickens. Slowly add in 1 cup of powdered sugar and 1 teaspoon of vanilla extract. Keep whipping until firm peaks form. This will take a few minutes. Once done, set the whipped cream aside for later.
Making the Pudding Mixture
Next, take another bowl. Add a package of instant vanilla pudding mix and 2 ½ cups of milk. Whisk these together until smooth. Make sure there are no lumps. Let the pudding sit for about 5 minutes. Stir occasionally while it thickens.
Assembling the Layers of the Cake
Now it’s time to build your cake. Grab a 9×13 inch dish. Place a layer of graham crackers on the bottom. Make sure they cover the entire dish. Spoon half of the pudding mixture over the crackers. Spread it out evenly with a spatula. Next, add another layer of graham crackers on top of the pudding. Then, pour the rest of the pudding mixture over these crackers. Finally, finish with a last layer of graham crackers. Cover the dish tightly with plastic wrap and refrigerate for at least 4 hours. Overnight is best to let it set completely.
For the chocolate ganache, melt 1 tablespoon of butter in a small saucepan over medium heat. Once melted, stir in 1 cup of semi-sweet chocolate chips. Keep stirring until it is smooth. Remove from heat and whisk in 2 tablespoons of cocoa powder. Let the ganache cool slightly. After chilling the cake, pour the ganache over the top and spread it evenly. Return the cake to the fridge for 30 more minutes. Now you are ready to slice and serve!
For more details, check the Full Recipe.
Tips & Tricks
Ensuring the Perfect Whipped Cream
To make the best whipped cream, start with cold heavy whipping cream. Cold cream whips better. Use a large bowl and an electric mixer. Whip until soft peaks start to form. Then, slowly add powdered sugar and vanilla extract. Continue whipping until you see firm peaks. Don’t over-whip or it will turn grainy.
Techniques for Layering and Assembly
Layering is key for this cake. Begin with a single layer of graham crackers. Press them down to make sure they stay in place. Next, spread half of the pudding mix on top. Make it even with a spatula. Then, repeat the process with more graham crackers and pudding. End with another layer of crackers on top. Cover it tightly and refrigerate. This helps the flavors blend well.
Common Mistakes to Avoid
Avoid using warm ingredients when making the whipped cream. Warm cream does not whip well. Another mistake is not letting the cake chill long enough. This cake needs time to set, so aim for at least four hours. Don’t skip the ganache; it adds a delicious chocolate layer. Lastly, be careful not to over-mix when combining the whipped topping and pudding. Gentle folding keeps the light texture.
Variations
Flavor Variations for the Pudding
You can easily switch up the flavor of the pudding. Try using chocolate pudding instead of vanilla for a rich taste. You can even mix in some peanut butter for a nutty twist. If you want a fruity flavor, use banana pudding. Each option adds a fun spin to the cake.
Alternative Toppings for Customization
Toppings can change the whole look and flavor of your cake. Instead of chocolate ganache, try a simple whipped cream topping. You can also add fresh fruit like strawberries or blueberries for a burst of color. Nuts or crushed cookies can add a nice crunch too. Get creative and make it your own!
Adjusting for Dietary Restrictions
If you have dietary needs, don’t worry. You can make this cake gluten-free. Just use gluten-free graham crackers. For a dairy-free option, use coconut cream instead of heavy whipping cream. Swap the pudding mix for a dairy-free version too. This cake can fit many diets with a few easy changes.
Storage Info
Best Practices for Refrigeration
To keep your No Bake Chocolate Eclair Icebox Cake fresh, store it in the fridge. Cover it with plastic wrap or a lid. This keeps it from drying out and absorbing other odors. Always make sure it is well sealed.
How Long the Cake Lasts
This cake stays fresh for about 4 to 5 days in the fridge. After this time, it may lose some flavor and texture. The graham crackers can become soft, so enjoy it while it’s fresh!
Freezing Instructions
You can freeze this cake for longer storage. Slice it into pieces and wrap each slice tightly in plastic wrap. Then, place the slices in a freezer bag. When ready to eat, thaw in the fridge overnight. Enjoy your cake with all its delightful flavors!
FAQs
How to make No Bake Chocolate Eclair Icebox Cake gluten-free?
To make this cake gluten-free, use gluten-free graham crackers. Many brands offer tasty options. You can find these in most grocery stores. This swap keeps the same great flavor while catering to your needs.
Can I use different flavors of pudding?
Yes! You can use any flavor of pudding you like. Chocolate, butterscotch, or even strawberry can work well. Mixing flavors can add fun twists. Just make sure to follow the same steps in the recipe.
What if I don’t have heavy whipping cream?
If you don’t have heavy whipping cream, you can use chilled coconut cream. It whips up nicely and adds a slight coconut flavor. You can also use whipped topping as a substitute for a quicker option.
How to prevent the cake from becoming soggy?
To keep the cake from getting soggy, layer the graham crackers quickly. Don’t let them sit in the pudding too long. Refrigerate for the recommended time to let layers set without becoming mushy.
Can I make this dessert in advance?
Absolutely! This dessert is great for making ahead. You can prepare it a day or two in advance. Just store it in the fridge. The flavors will blend beautifully, making it even tastier when served!
You now know the key steps to make a No Bake Chocolate Eclair Icebox Cake. We covered each essential ingredient, from whipped cream to pudding. You learned tips to avoid common mistakes and how to customize your cake to fit your taste. Remember to store it properly for the best results. With the right techniques, you can impress your friends and family. Enjoy the process and make this delightful dessert your own!


