
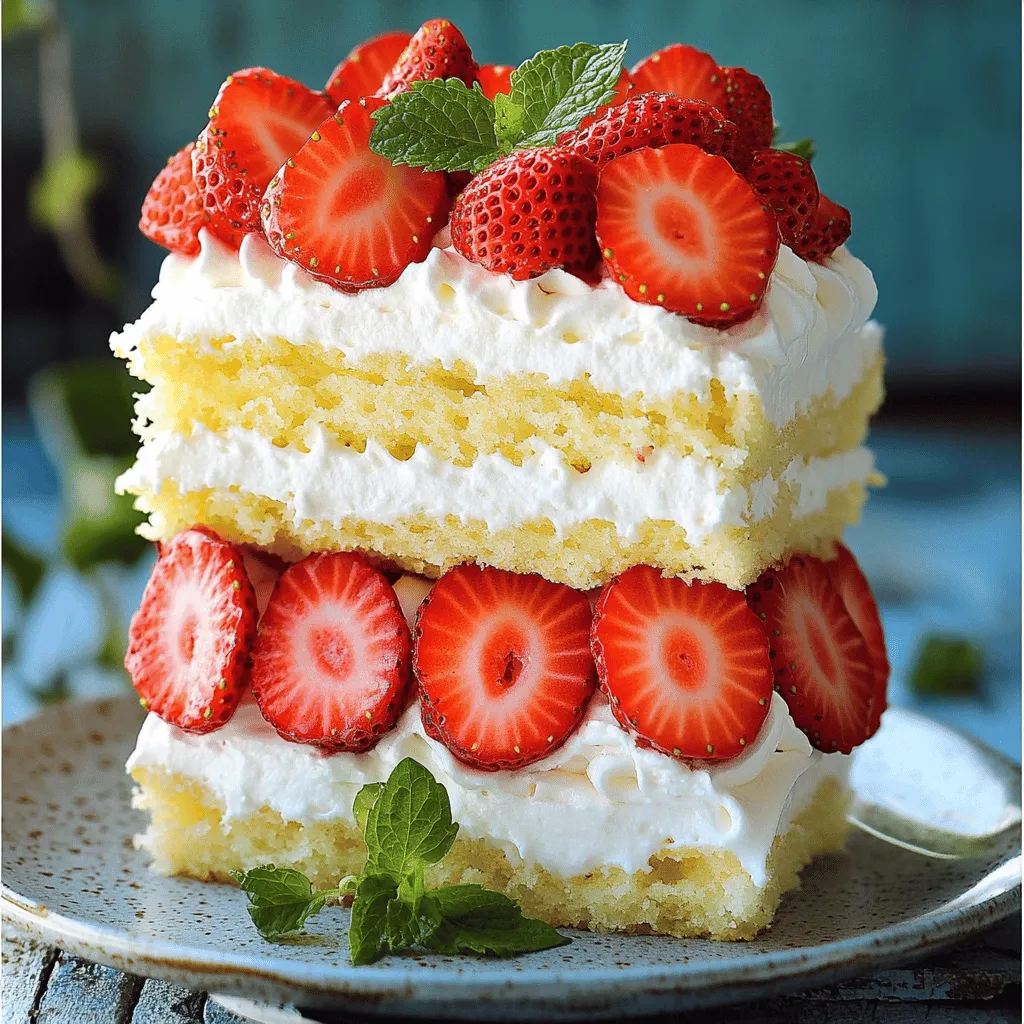
Are you ready to impress your family and friends with a stunning dessert? Japanese Strawberry Shortcake is fluffy, sweet, and delightful, making it perfect for any occasion. In this article, I’ll share a simple yet delicious recipe, complete with tips, tricks, and storage advice. You’ll find everything you need to create this showstopper in your own kitchen. Let’s dive into the world of light sponge cake and fresh strawberries!
Ingredients
Key Ingredients for Japanese Strawberry Shortcake
– Fresh strawberries
– 2 cups cake flour
– 1 ½ teaspoons baking powder
– ½ teaspoon baking soda
– ½ teaspoon salt
– 1 cup granulated sugar, divided
– 4 large eggs
– ½ cup whole milk
– ½ cup unsalted butter, melted
– 1 teaspoon vanilla extract
– 2 cups heavy whipping cream
– 2 tablespoons powdered sugar
Fresh strawberries are the star of this cake. They add a sweet and tangy flavor. Use ripe berries for the best taste. Cake flour gives the cake a light, fluffy texture. Baking powder and baking soda help the cake rise. The sugar sweetens the batter and the whipped cream. Eggs bind the ingredients and help the cake stay moist. Milk keeps the cake tender. Butter adds richness and flavor. Finally, vanilla extract enhances all the tastes in this cake.
Essential Tools Needed
– Mixing bowls
– Cake pans
– Electric mixer
You need a few simple tools to make this cake. Mixing bowls help you combine the ingredients. Use two 8-inch round cake pans for baking. An electric mixer makes whipping cream easy and fast. This setup helps you create a light and airy cake.
Optional Flavor Enhancers
– Vanilla extract
– Citrus zest
For a twist, add vanilla extract or citrus zest. Vanilla gives a warm, sweet flavor. Citrus zest adds brightness and freshness to each bite. You can mix and match to find your favorite taste!
Step-by-Step Instructions
Preparation Phase
– Preheat the Oven and Prepare Cake Pans
Start by preheating your oven to 350°F (175°C). Next, take two 8-inch round cake pans. Grease them with butter and dust with flour. This helps the cakes release easily.
– Sift and Combine Dry Ingredients
In a medium bowl, sift together the cake flour, baking powder, baking soda, and salt. Sifting ensures the dry mix is light and fluffy. Set this mixture aside for later.
Creating the Cake Batter
– Whisking Sugar and Eggs
In a large bowl, add ¾ cup of granulated sugar and four large eggs. Use a whisk to beat them together for about 5 minutes. You want the mix to be pale and thick. This step adds air and makes your cake light.
– Incorporating Wet Ingredients
Now, add ½ cup of whole milk, ½ cup of melted unsalted butter, and 1 teaspoon of vanilla extract to the egg mix. Whisk everything until it is fully combined and smooth. This mix brings a rich flavor.
Baking Process
– Distributing Batter and Baking Cakes
Gradually add the sifted dry mix to your wet ingredients. Use a spatula to gently fold it in until no flour pockets are visible. Then, evenly distribute the batter between your prepared pans. Smooth the tops with a spatula. Bake for 25-30 minutes. A toothpick should come out clean when inserted into the center.
– Cooling and Layering Cakes
Once baked, take the cakes out of the oven. Let them cool in the pans for 10 minutes. After that, carefully transfer them to a wire rack to cool completely. Once cool, you can cut each cake in half to create four layers. Now you’re ready to assemble your delightful creation!
For a complete guide, check out the [Full Recipe].
Tips & Tricks
Achieving the Perfect Sponge Cake
To make a great sponge cake, room temperature ingredients are crucial. Eggs and milk mix better when they are warm. This helps the batter rise well, giving your cake that light texture. Remember, cold ingredients can lead to dense cakes.
For whipping cream, use a chilled bowl and beaters. This keeps the cream cold and helps it whip faster. Start at a low speed to avoid splatters, then increase the speed. Watch for soft peaks before adding powdered sugar. This sugar sweetens and stabilizes the cream.
Common Mistakes to Avoid
One common mistake is overmixing the batter. Mixing too much can create tough cake. Always mix gently, just until the flour disappears. This keeps the cake light and fluffy.
Timing and temperature are also key. Make sure to bake your cakes at the right temperature and for the correct time. Opening the oven door too early can cause cakes to sink. Use a toothpick to check for doneness.
Presentation and Serving Advice
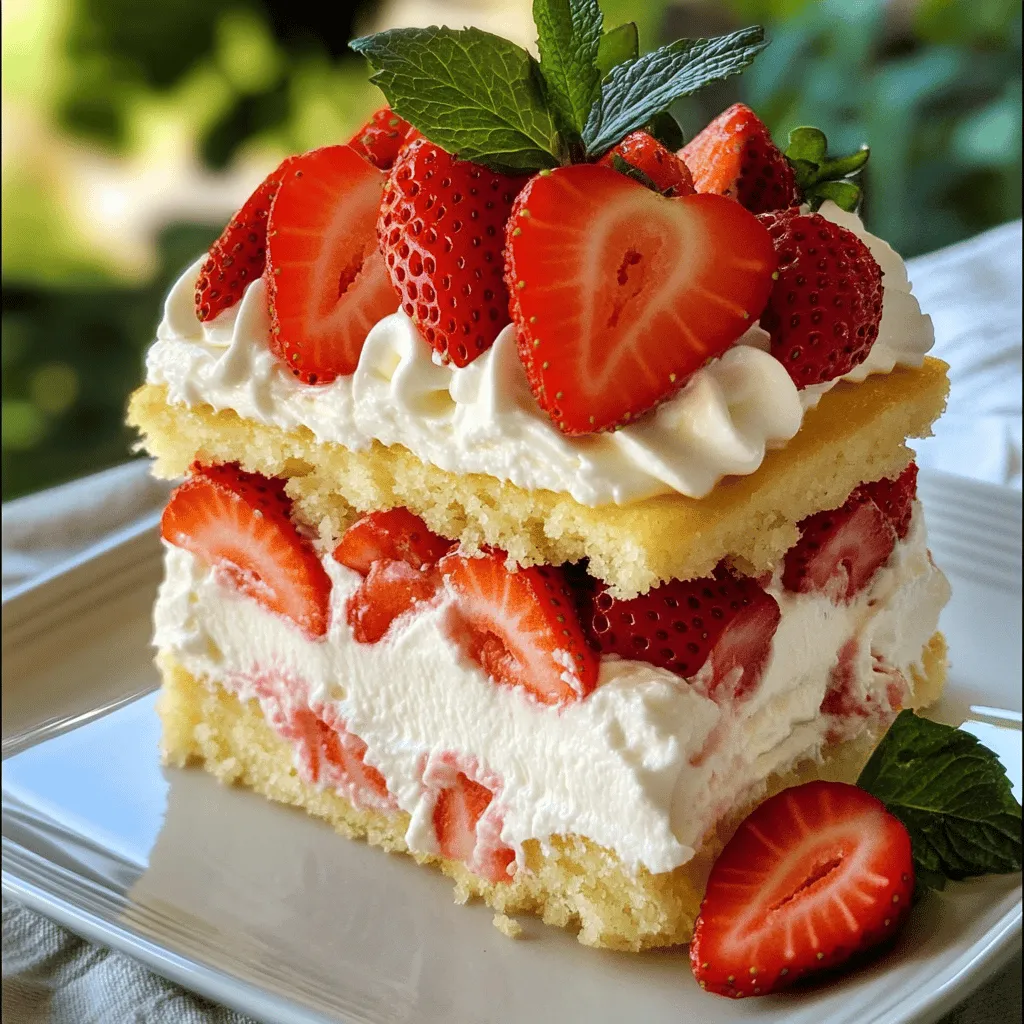
Assembling the cake is fun! Start with a cake layer on your plate. Spread whipped cream and add sliced strawberries. Repeat until you stack all layers.
For garnishing, use fresh strawberries on top. You can also add mint leaves for a pop of color. A dusting of powdered sugar adds a nice touch too. Serve the cake chilled for the best taste. This makes each slice refreshing and delightful.
For the complete recipe, check out the Full Recipe section.
Variations
Flavor Variations
Adding Matcha for a Unique Twist
You can mix matcha powder into the cake batter. It gives a lovely green color and a nice earthy taste. Use about one tablespoon of matcha for a hint of flavor. This twist enhances the cake and adds a fun visual.
Incorporating Citrus Flavors
Adding citrus zest can brighten up the cake. Try using lemon or orange zest in the batter. This small change brings a fresh taste to every bite. It pairs well with strawberries and adds a zing that makes the cake pop.
Dietary Alternatives
Gluten-Free Options using Almond Flour
If you need a gluten-free cake, almond flour is a great choice. Substitute the cake flour with almond flour in equal parts. This change makes the cake moist and adds a nutty flavor. Just be aware that the texture will be denser.
Vegan Alternatives for Cream and Eggs
To make a vegan version, use plant-based cream and eggs. You can whip coconut cream instead of heavy cream. For eggs, use flaxseed meal mixed with water. This switch keeps the cake light and fluffy while being friendly to vegans.
Seasonal Variations
Using Other Berries like Blueberries or Raspberries
Feel free to swap strawberries with other berries. Blueberries or raspberries can add a fun change. Each berry gives its unique taste and color. Mix and match for a delightful berry medley in your cake.
Incorporating Seasonal Fruits for Decoration
You can decorate the cake with seasonal fruits. Consider using peaches in summer or pomegranates in winter. This not only enhances the look but also adds extra flavor. Go wild with your fruit choices for a stunning display.
For the full recipe, check out the [Full Recipe].
Storage Info
How to Store Leftover Cake
To keep your Japanese strawberry shortcake fresh, place it in the fridge. Use an airtight container to protect it from odors. The ideal temperature for storage is around 40°F (4°C). The cake will stay good for about 3 to 4 days in the fridge. If you want to keep it longer, consider freezing it. Wrap individual slices in plastic wrap and put them in a freezer bag. This helps maintain taste and texture. Properly stored, frozen cake can last for about 2 to 3 months.
Reheating Suggestions
If your cake is frozen, let it thaw in the fridge overnight. This method keeps it moist and soft. If you need it fast, leave it at room temperature for a couple of hours. To serve after storage, slice the cake and let it sit for about 10 minutes to warm slightly. This enhances the flavors and makes it more enjoyable.
Avoiding Common Storage Mistakes
Using an airtight container is key to avoiding dryness. Make sure the cake is completely cool before wrapping. This prevents condensation that can lead to sogginess. Avoid cutting the cake into pieces before storing, as this exposes more surface area. Keeping the cake whole helps retain its freshness longer.
FAQs
What is the origin of Japanese Strawberry Shortcake?
Japanese Strawberry Shortcake has roots in Western desserts. It gained popularity in Japan after World War II. The cake symbolizes celebration and joy. You often see it at birthdays and holidays. It is a light, fluffy cake topped with fresh strawberries and whipped cream. The balance of sweet and creamy flavors makes it beloved in Japan.
How long can I keep my Japanese Strawberry Shortcake?
You can keep your Japanese Strawberry Shortcake in the fridge for about three days. Store it in an airtight container. This keeps it fresh and moist. If you freeze the cake, it can last up to one month. Just wrap it well in plastic wrap to protect it from freezer burn.
Can I use frozen strawberries in this recipe?
Yes, you can use frozen strawberries. However, this may change the cake’s flavor and texture. Frozen strawberries can be mushy when thawed. They also may not taste as fresh. For the best results, I recommend using fresh strawberries.
How can I make my cake taller?
To make your cake taller, you can add extra layers. You can cut each cake in half, creating four layers. You can also bake three thinner layers instead of two thick ones. Just make sure to adjust the baking time. More layers mean more whipped cream and strawberries, which is always a good thing!
Is it necessary to use cake flour?
Using cake flour is best for a soft texture. It has less protein than all-purpose flour. This helps the cake rise and stay fluffy. If you don’t have cake flour, you can use all-purpose flour. Just mix it with some cornstarch to mimic the texture.
Japanese Strawberry Shortcake combines fresh strawberries, soft cake, and whipped cream. This guide covered key ingredients, essential tools, and helpful tips to make the perfect cake. Remember to avoid common mistakes for the best results. Explore fun flavor variations and dietary alternatives to suit your taste. Store leftovers properly to enjoy later. Creating this delightful dessert is simple and rewarding, and you can share it with family and friends. Now, it’s your turn to bake and have fun with this classic treat!


