
Dill Pickle Chicken Salad Easy and Tasty Recipe
A refreshing and tangy chicken salad featuring dill pickles and Greek yogurt.
30 min
4
Fresh and healthy salads
A refreshing and tangy chicken salad featuring dill pickles and Greek yogurt.
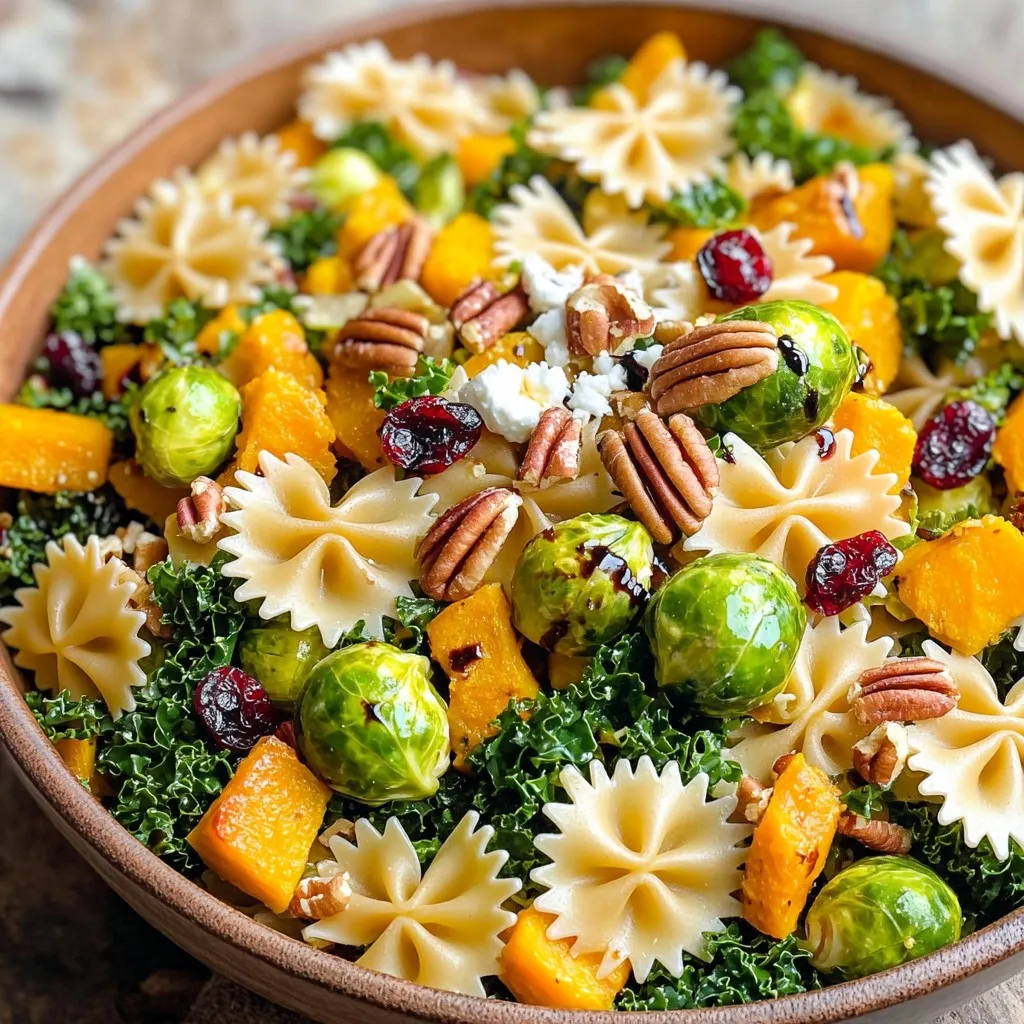
A vibrant pasta salad featuring roasted butternut squash, Brussels sprouts, and kale, dressed in a t...
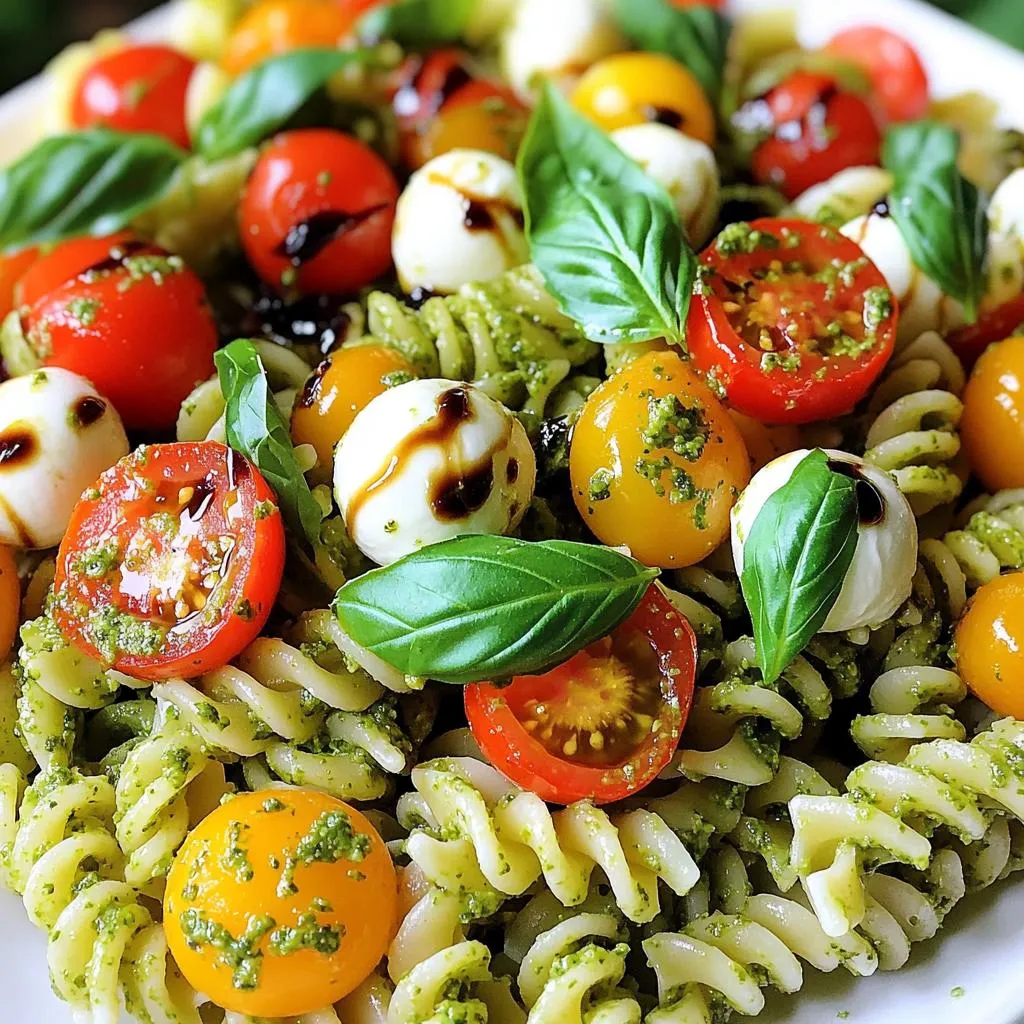
A quick and refreshing pasta salad with cherry tomatoes, mozzarella, and a flavorful basil-pesto dre...
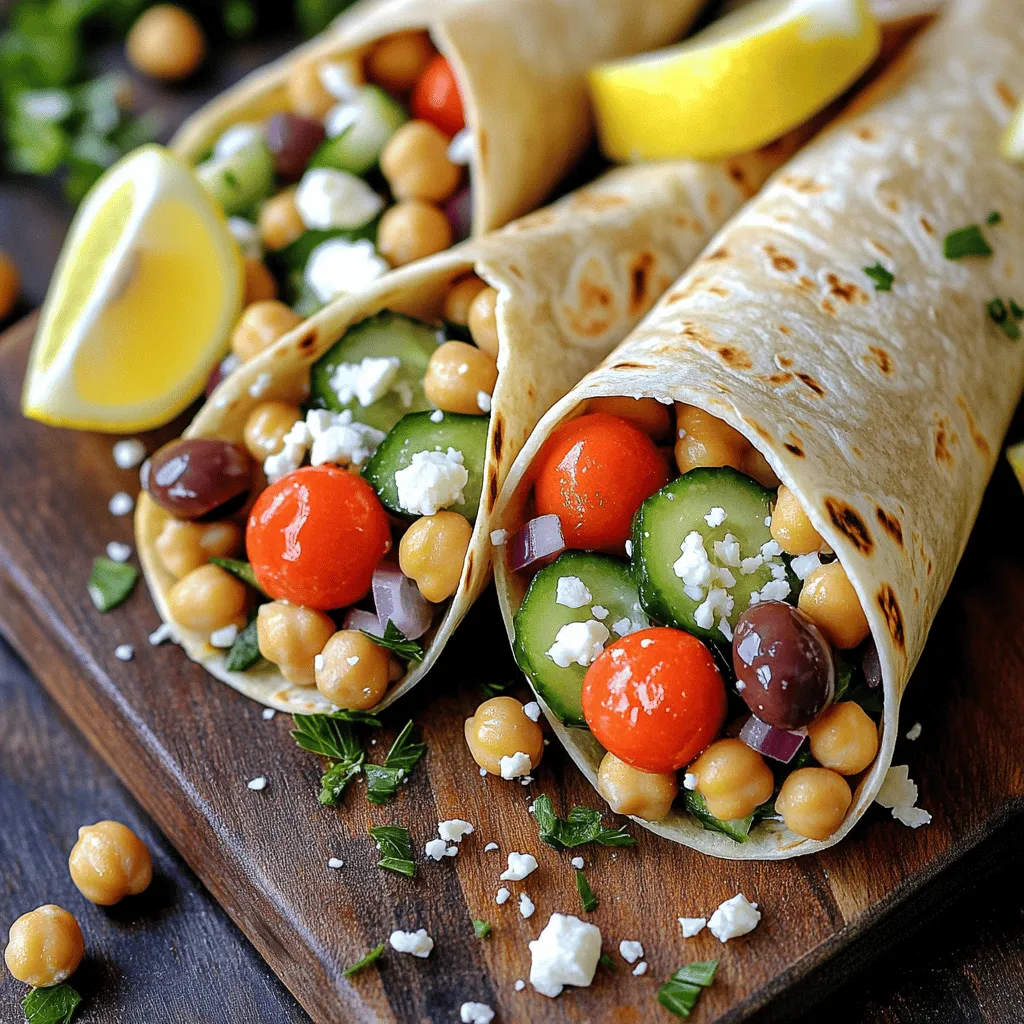
A fresh and vibrant wrap filled with chickpeas, vegetables, and feta cheese, perfect for a light mea...
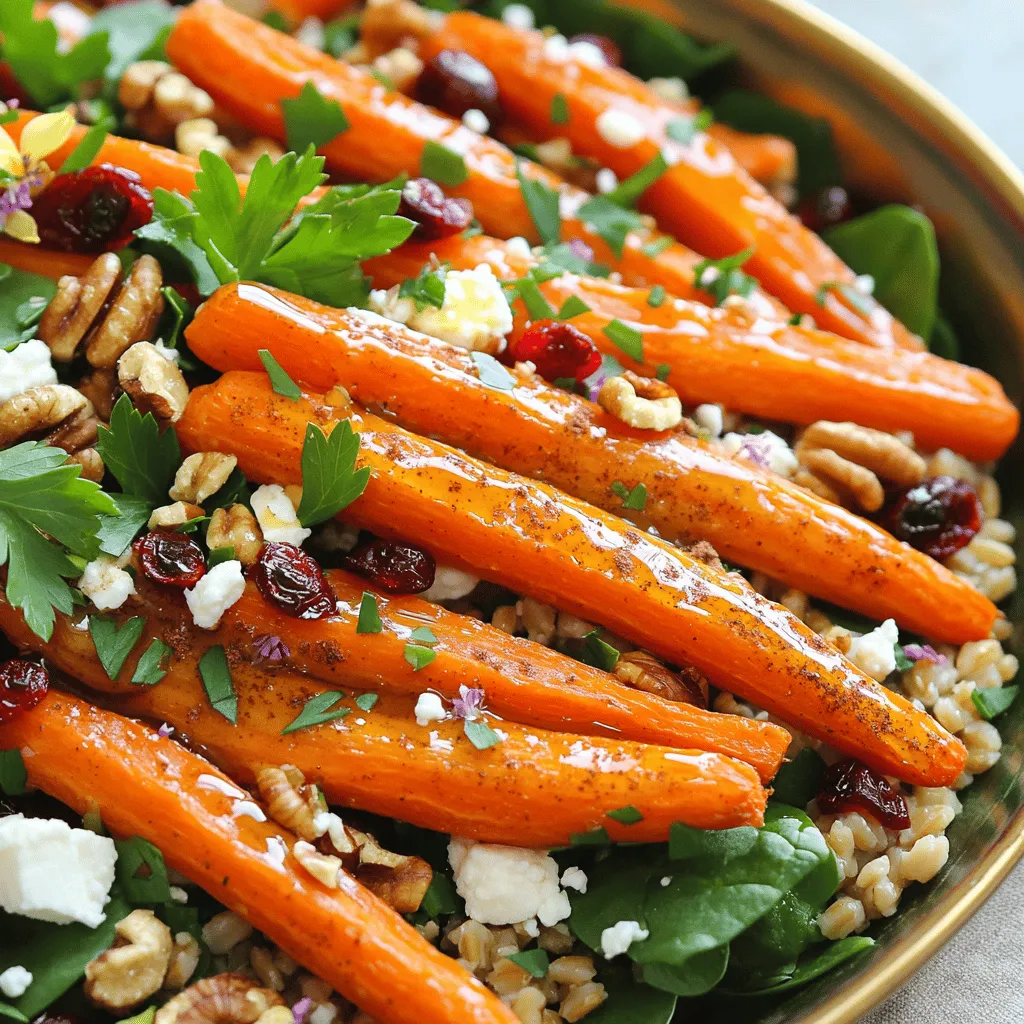
A delicious salad featuring roasted carrots, farro, and a variety of fresh ingredients, drizzled wit...
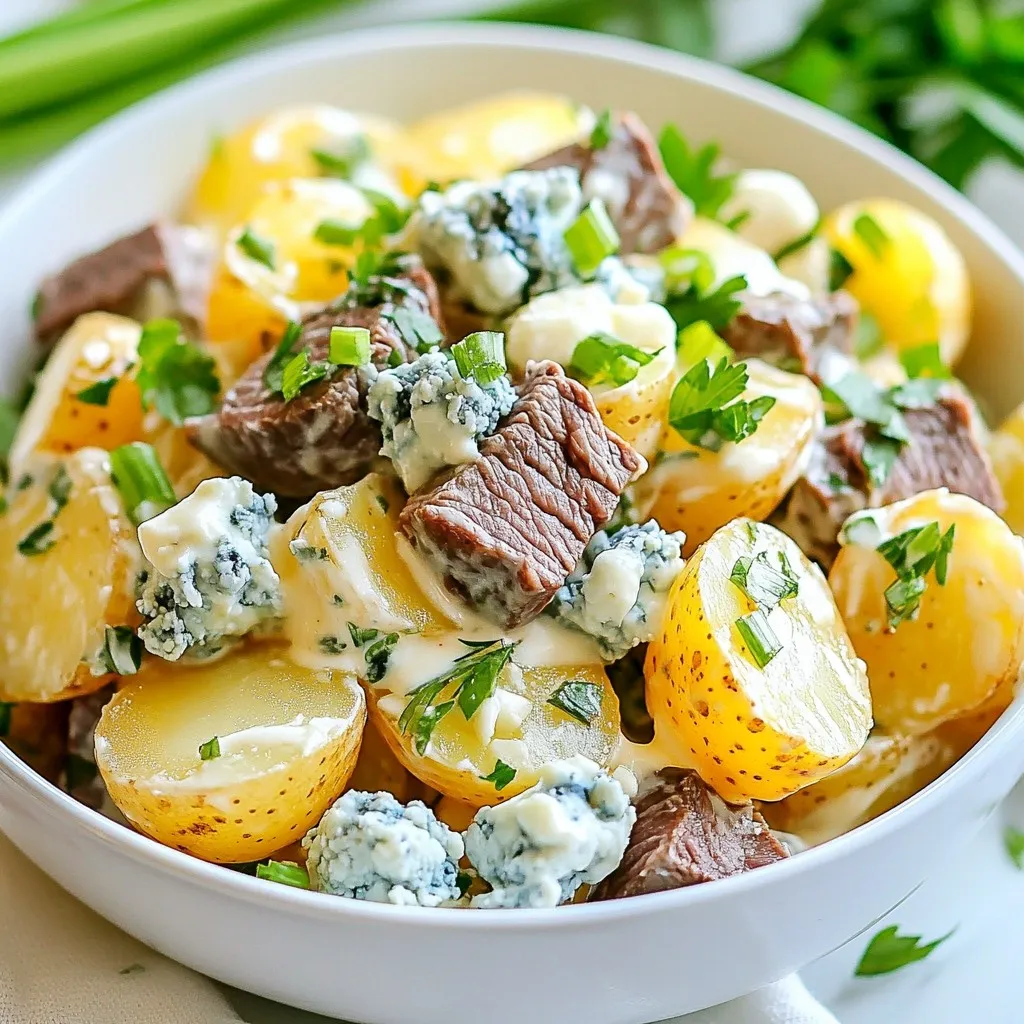
A creamy and hearty potato salad with steak and blue cheese, perfect for any gathering.
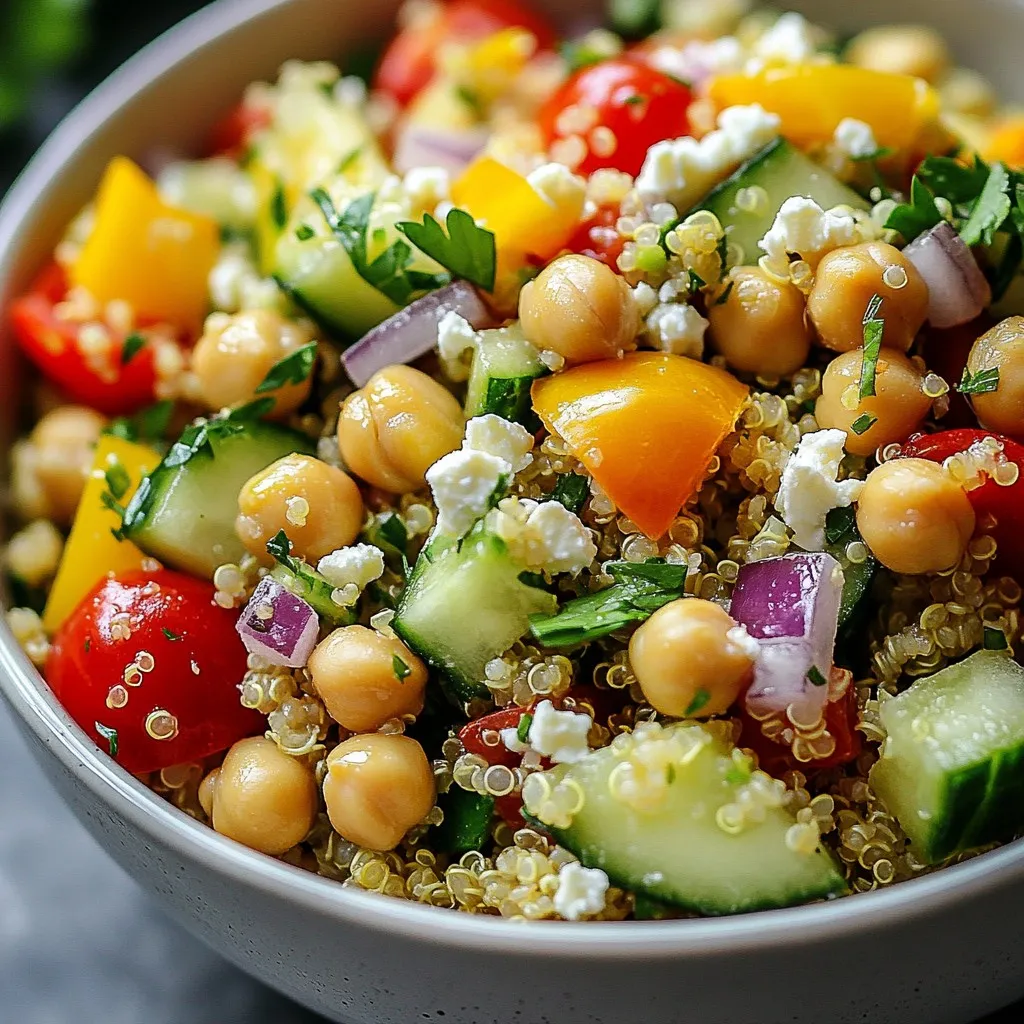
A refreshing and nutritious salad packed with protein and flavor.
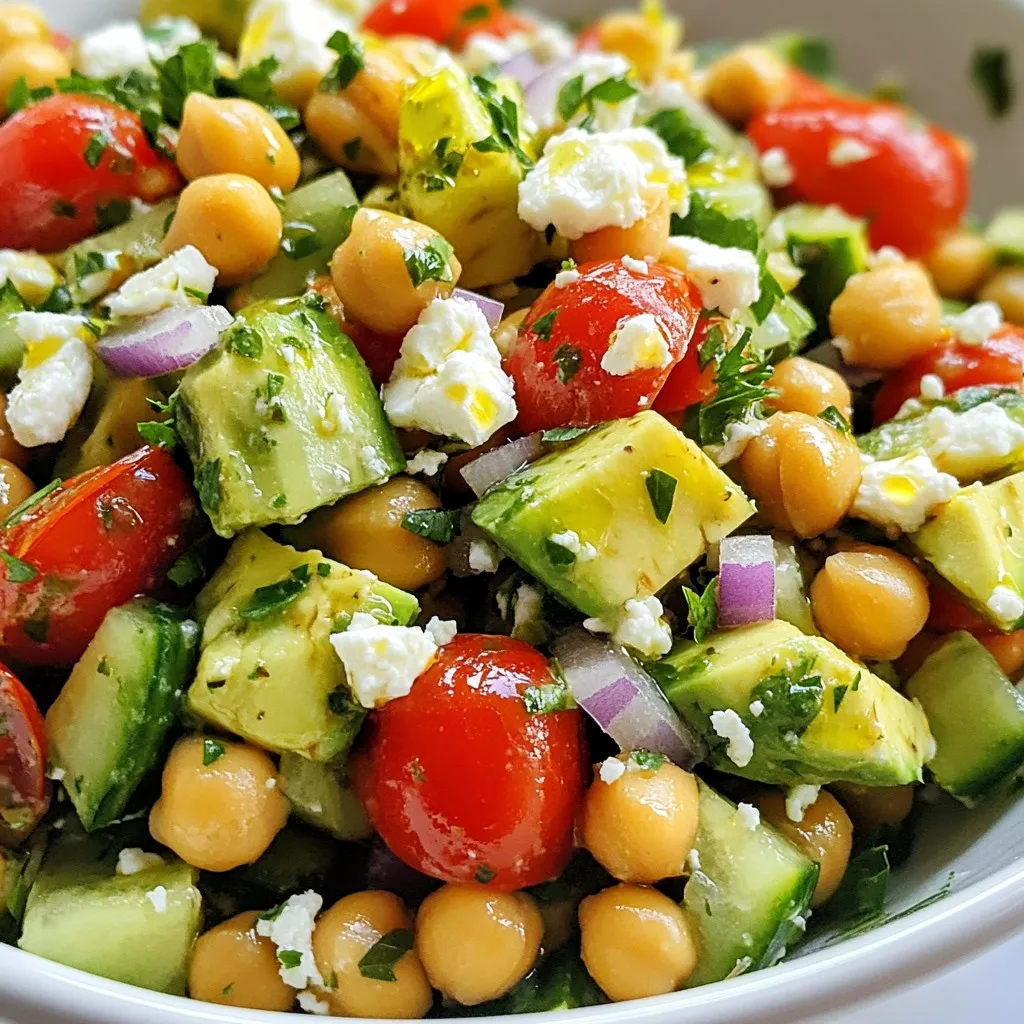
A refreshing salad packed with protein and healthy fats, perfect for a light meal or side dish.
A vibrant pasta salad featuring fresh corn, bell peppers, and a zesty dressing, perfect for summer g...
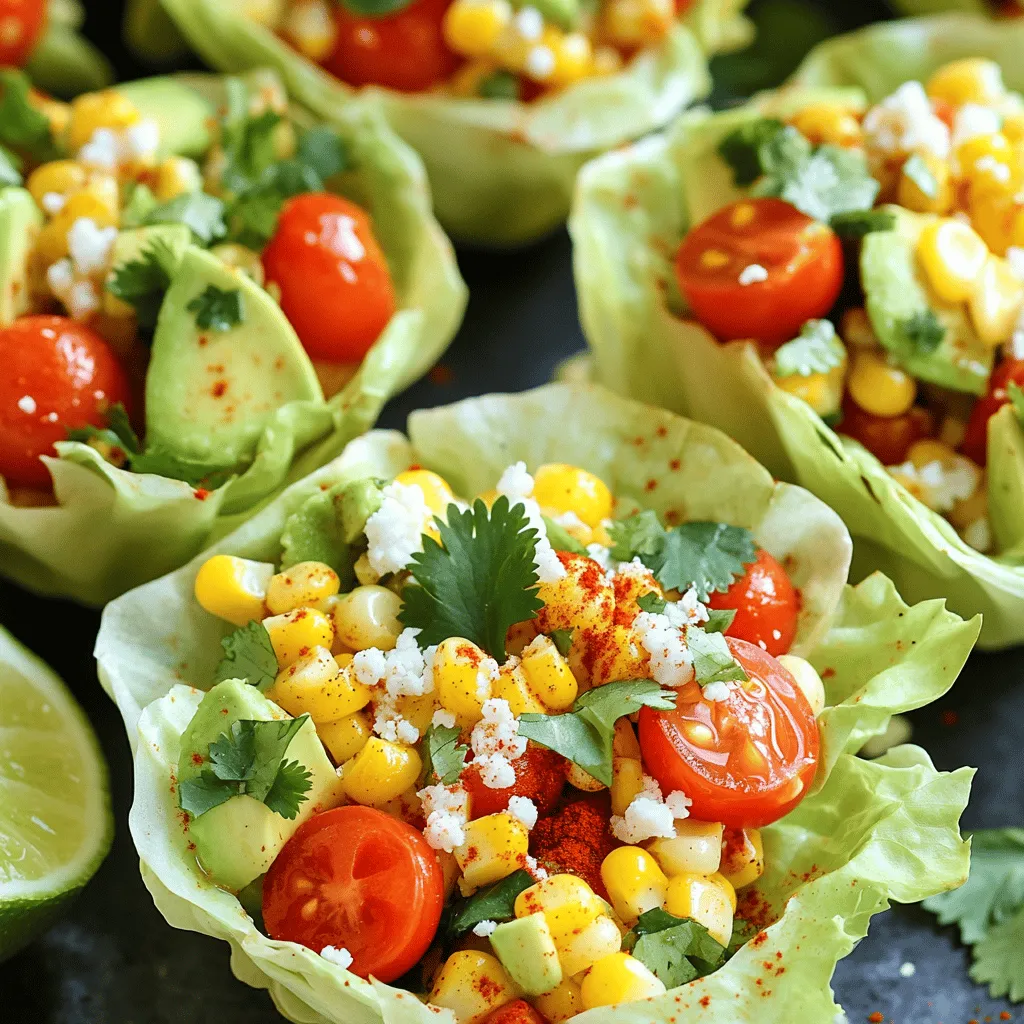
A vibrant and flavorful salad featuring grilled corn, fresh vegetables, and a zesty dressing, served...

A refreshing slaw with a zesty lime dressing, perfect as a side dish.
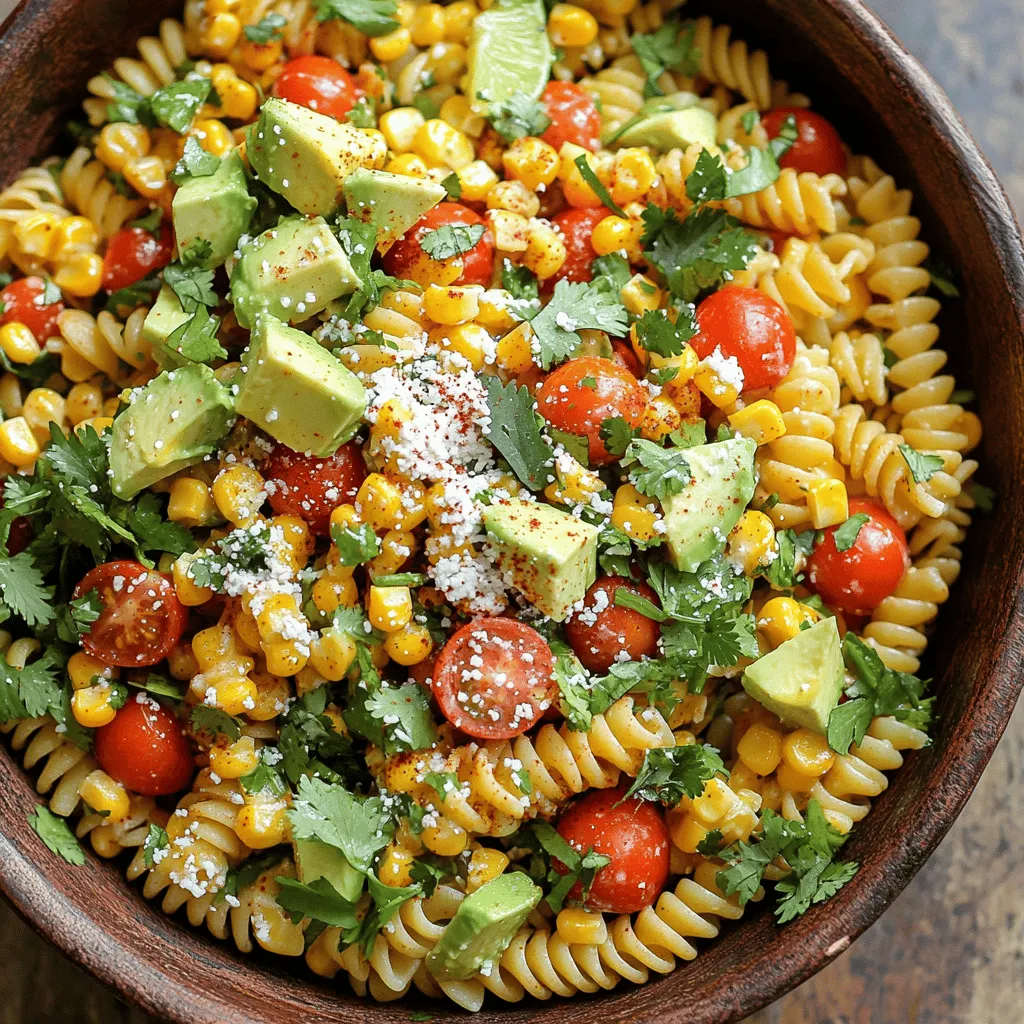
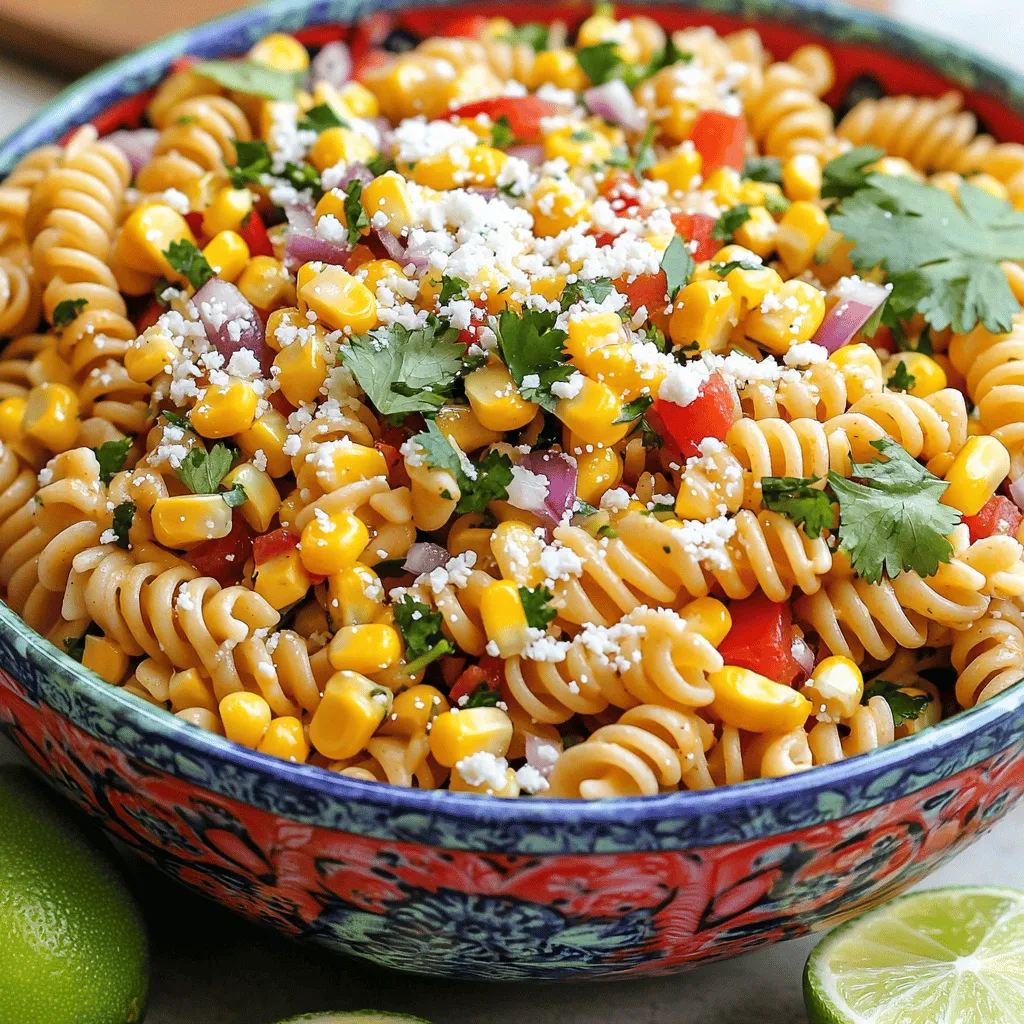
A vibrant pasta salad featuring rotini, corn, cherry tomatoes, avocado, and a zesty dressing.