Dinner
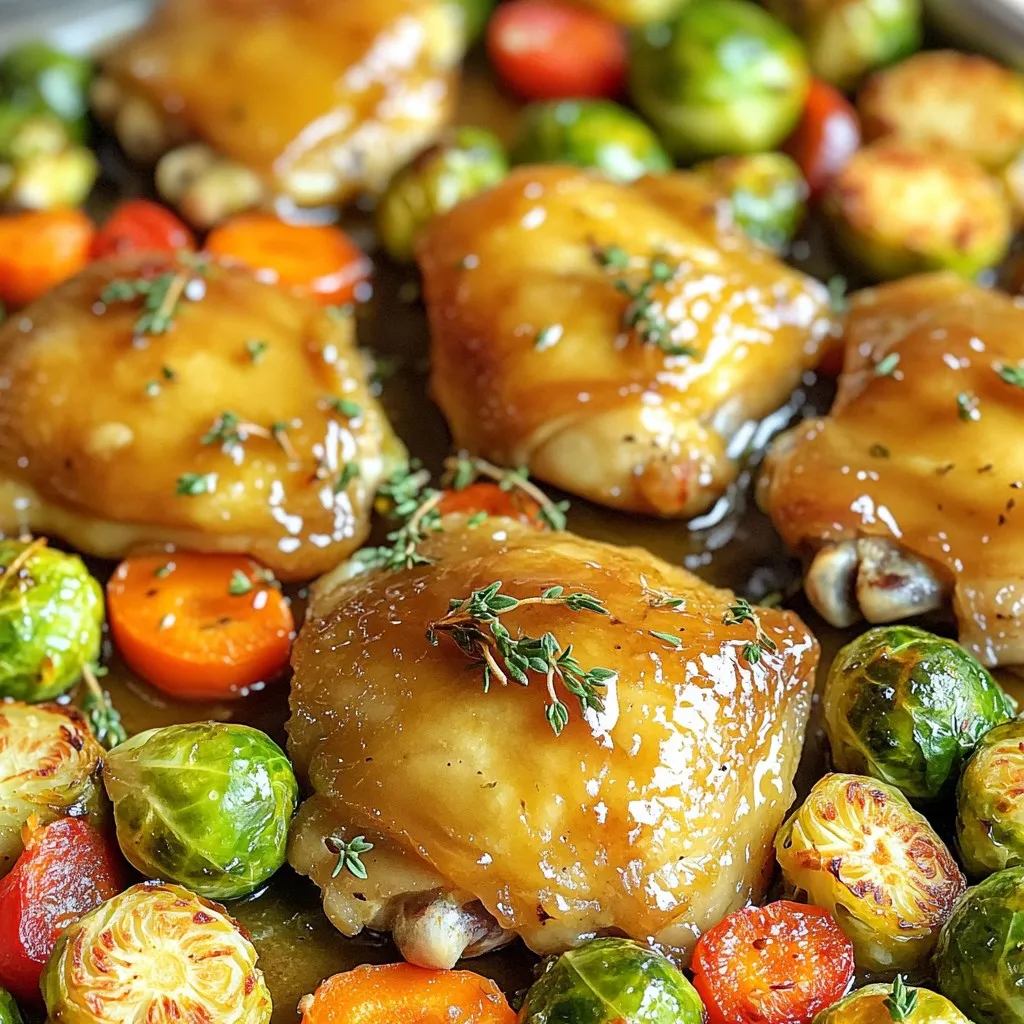
Sheet Pan Maple Dijon Chicken & Veggies Delight
If you’re looking for a quick, tasty meal, you’ll love my Sheet Pan Maple Dijon Chicken & Veggies Delight. This dish packs a punch with
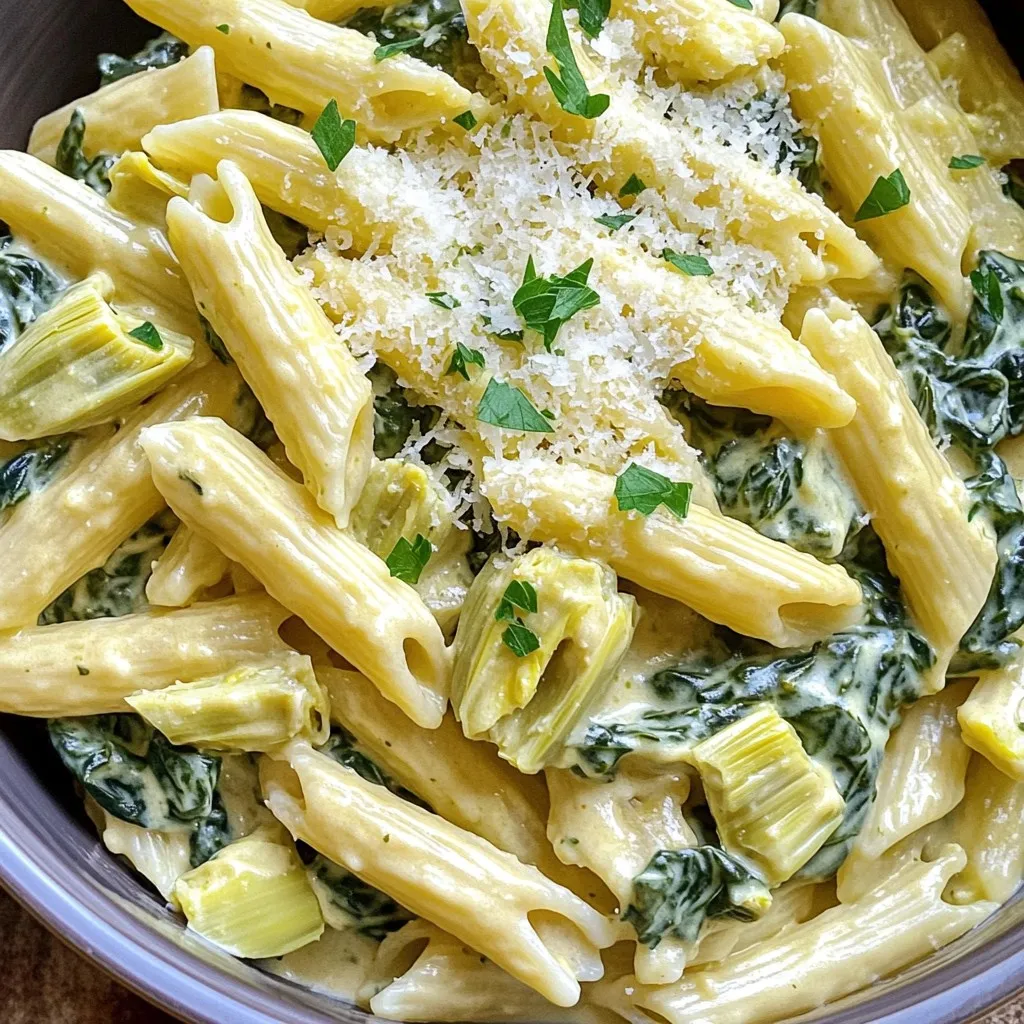
Spinach Artichoke Dip Pasta Tasty and Easy Recipe
Are you ready for a pasta dish that combines creamy goodness with bold flavors? My Spinach Artichoke Dip Pasta is not just tasty; it’s easy
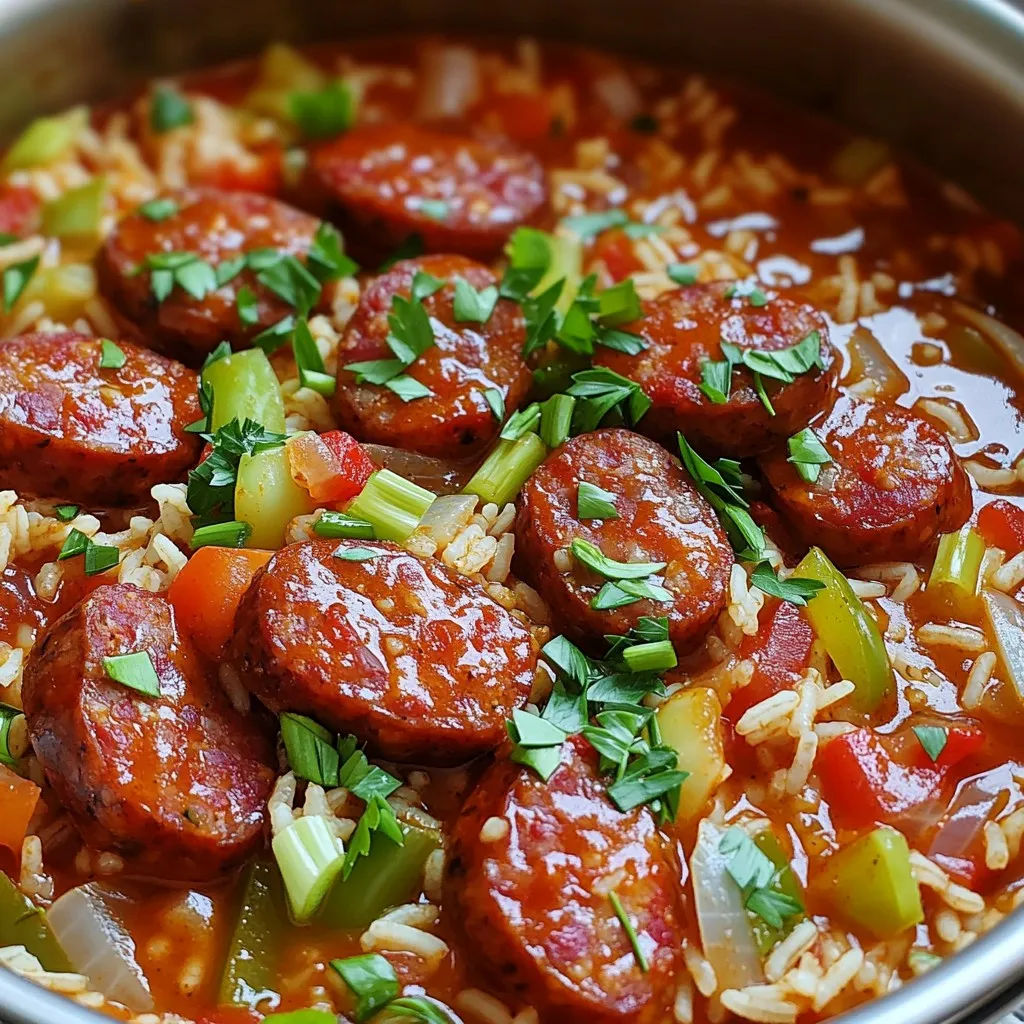
One-Pot Cajun Sausage & Rice Flavorful Home Dish
Are you ready to spice up your dinner routine? This One-Pot Cajun Sausage & Rice dish combines hearty flavors with simple steps, making it a
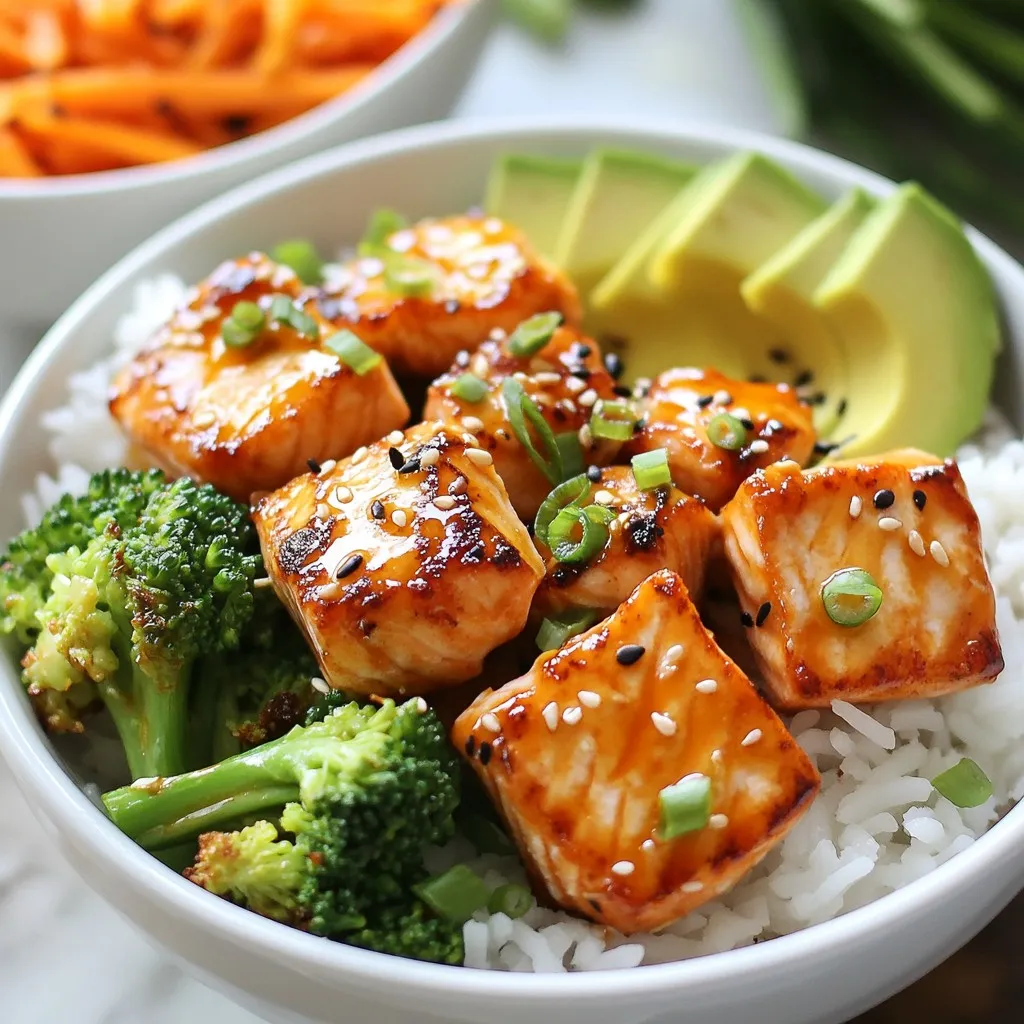
Bang Bang Salmon Bites Bowls Flavorful Meal Prep
If you’re looking for a fun and tasty meal prep idea, Bang Bang Salmon Bites Bowls are a must-try! I’ll show you how to create
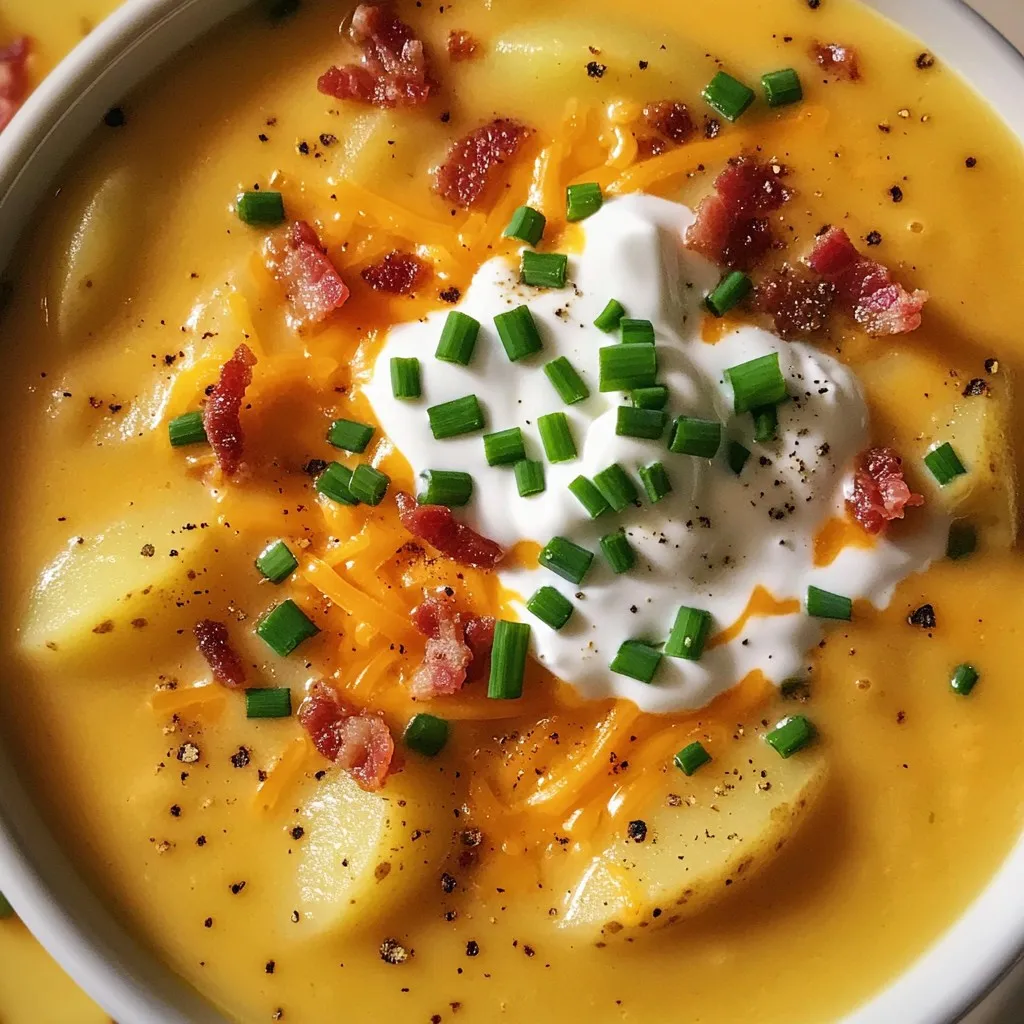
Slow Cooker Loaded Potato Soup Comforting and Easy Recipe
Want a cozy meal that’s super easy? Let’s make Slow Cooker Loaded Potato Soup! This dish is creamy, rich, and packed with flavor. I’ll guide
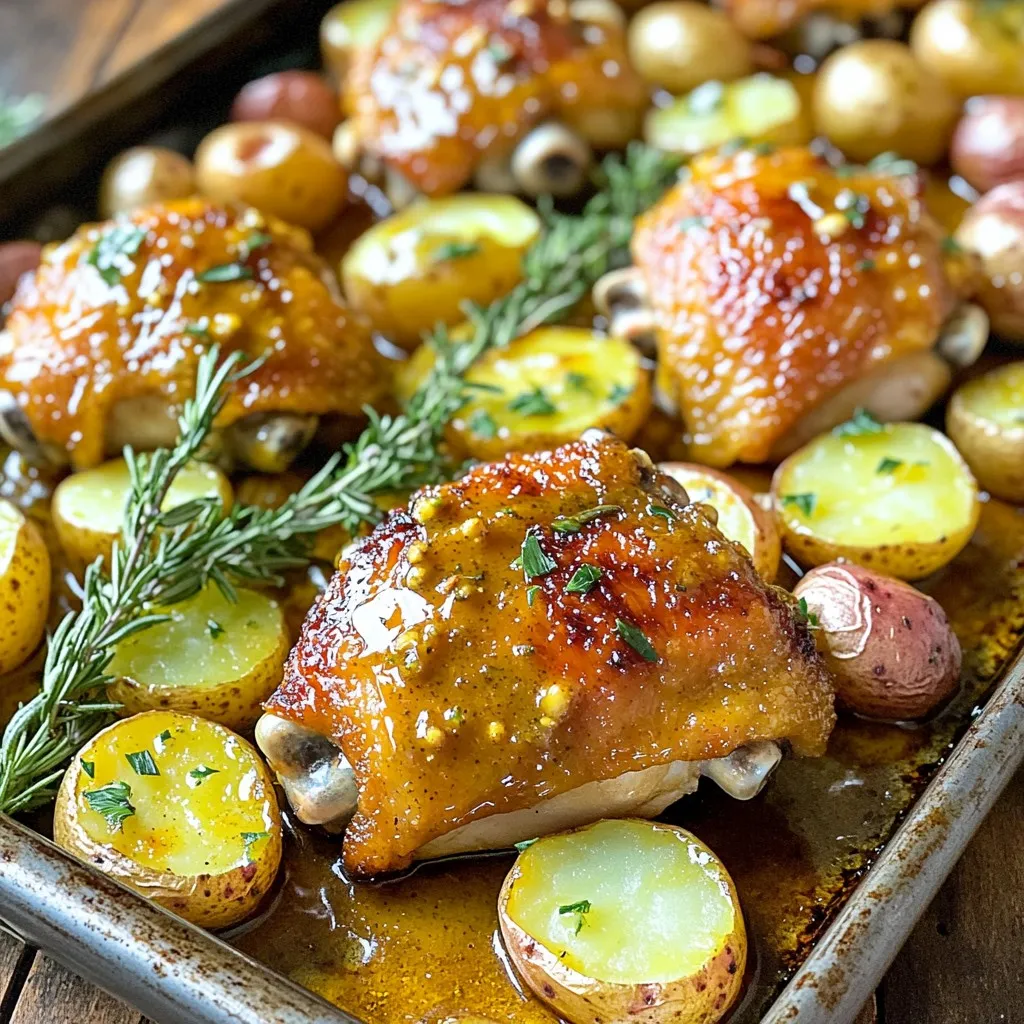
Sheet Pan Honey Mustard Chicken & Potatoes Delight
Get ready to savor a meal that’s as easy as it is tasty! My Sheet Pan Honey Mustard Chicken & Potatoes recipe combines juicy chicken

Creamy Roasted Red Pepper Pasta Easy Weeknight Meal
Looking for a quick dinner that impresses? Try my Creamy Roasted Red Pepper Pasta! This dish combines sweet, smoky roasted peppers with rich cream for
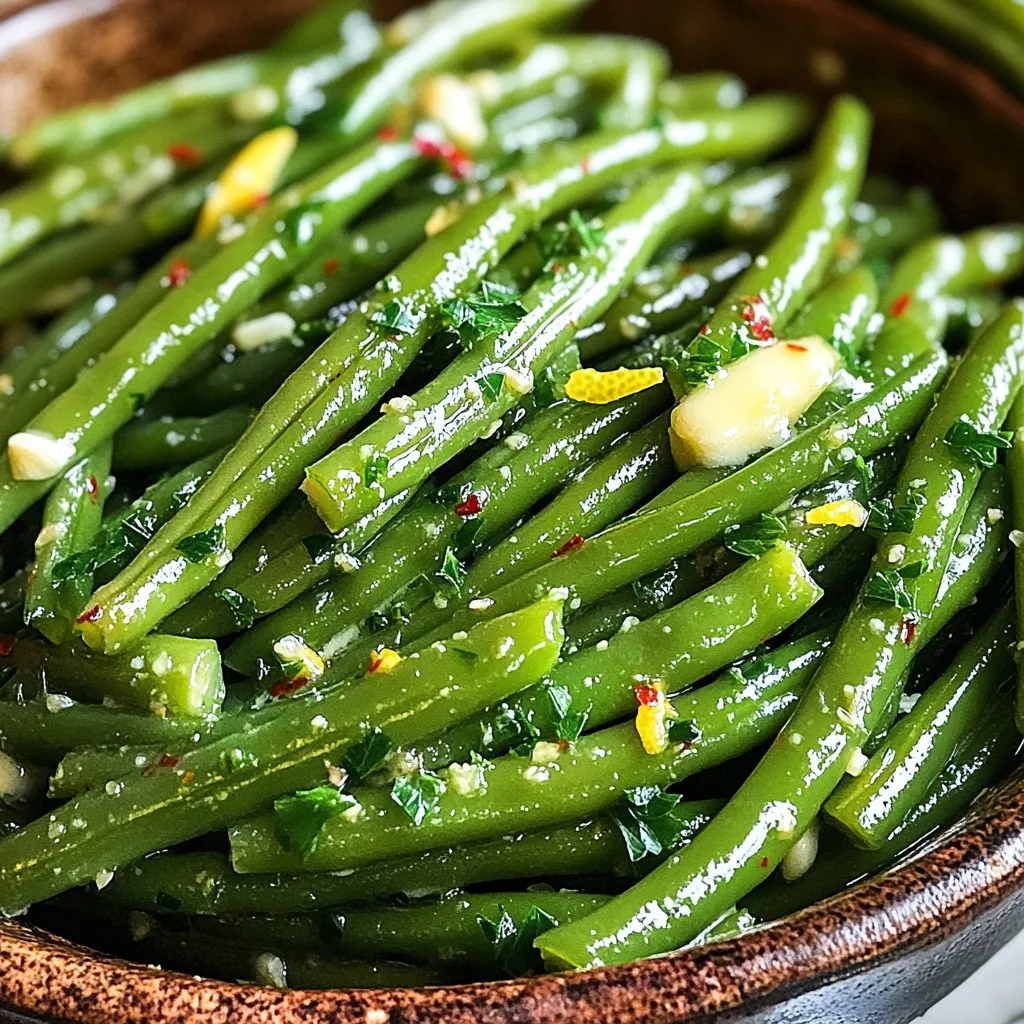
Air Fryer Garlic Butter Green Beans Crispy Delight
Are you ready for a quick side dish that’s packed with flavor? My Air Fryer Garlic Butter Green Beans are not just tasty; they’re a
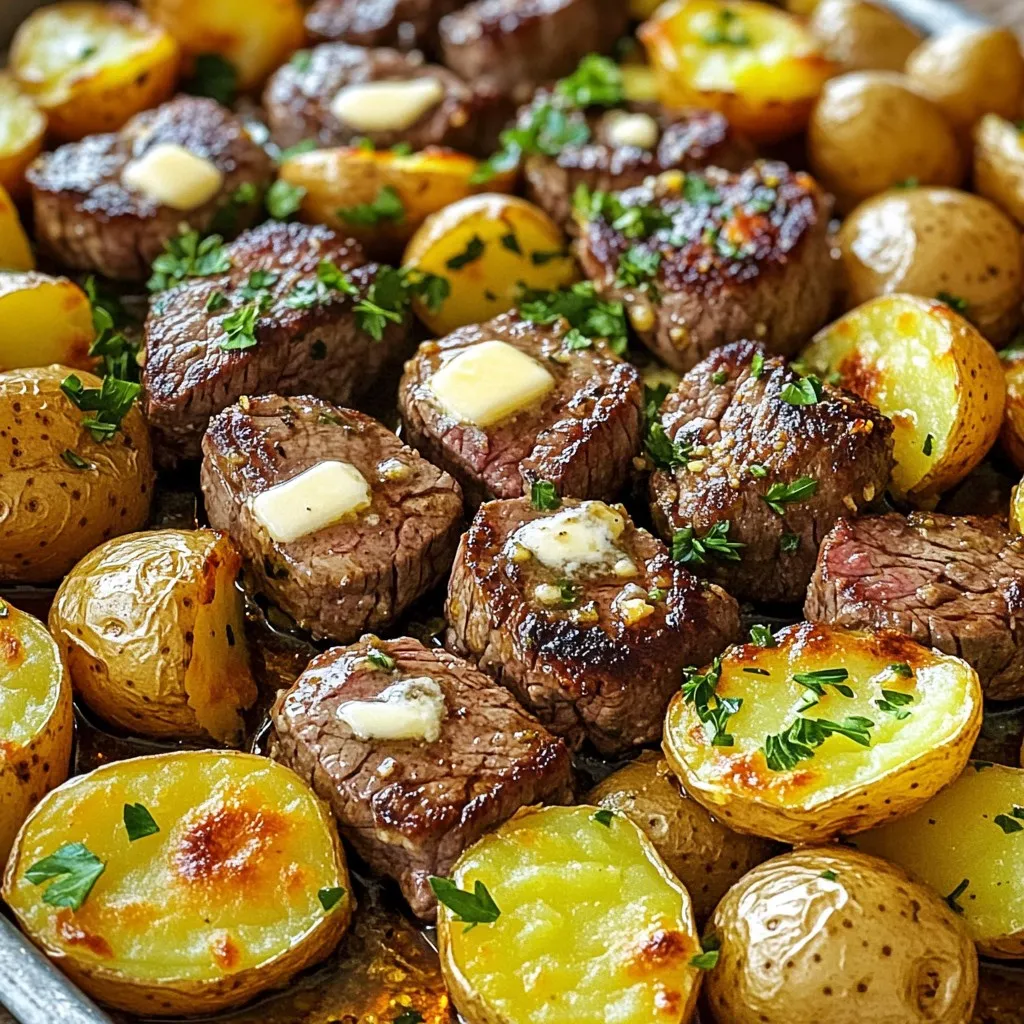
Garlic Butter Steak Bites & Potatoes Simple Recipe
Are you ready for a meal that’s quick, tasty, and satisfying? This Garlic Butter Steak Bites & Potatoes recipe is your new go-to for a

Slow Cooker White Chicken Chili Flavorful Comfort Dish
If you’re craving a warm, hearty meal, look no further than my Slow Cooker White Chicken Chili. This recipe combines tender chicken, creamy beans, and