Dinner
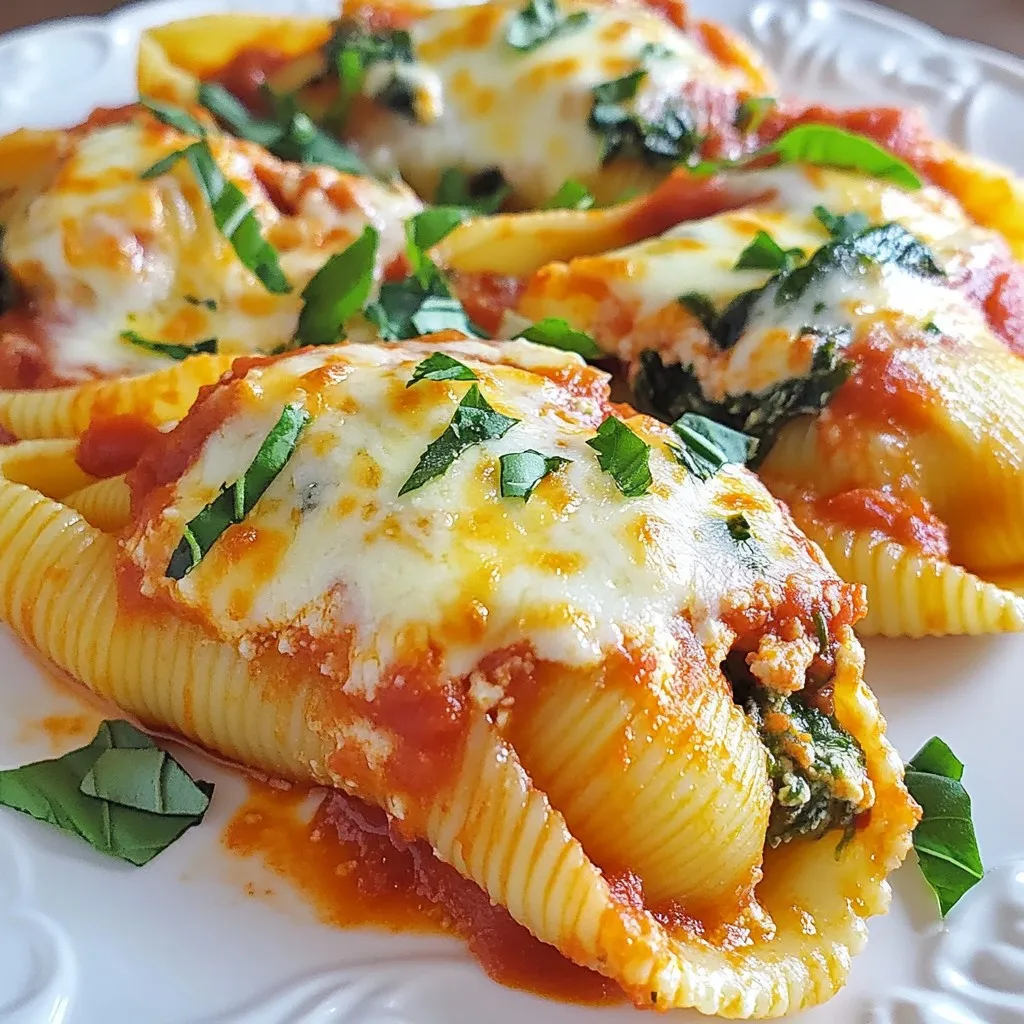
Spinach Ricotta Stuffed Shells Savory and Satisfying Dish
Craving a hearty dish that’s both savory and comforting? Look no further than Spinach Ricotta Stuffed Shells! This delightful recipe combines creamy ricotta, fresh spinach,
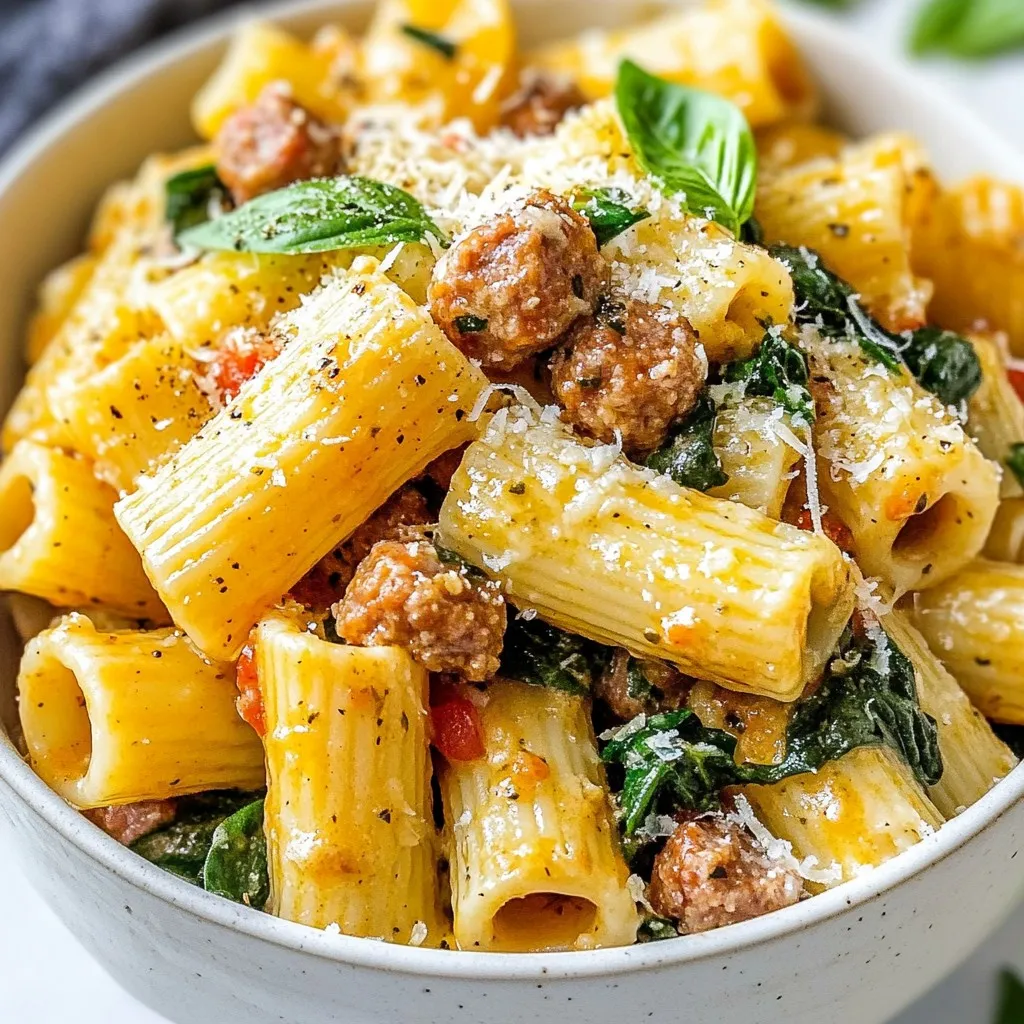
Creamy Italian Sausage Rigatoni Flavorful Comfort Meal
Looking for a tasty comfort meal? You’ve come to the right place! My Creamy Italian Sausage Rigatoni is the perfect dish for cozy nights. Creamy,
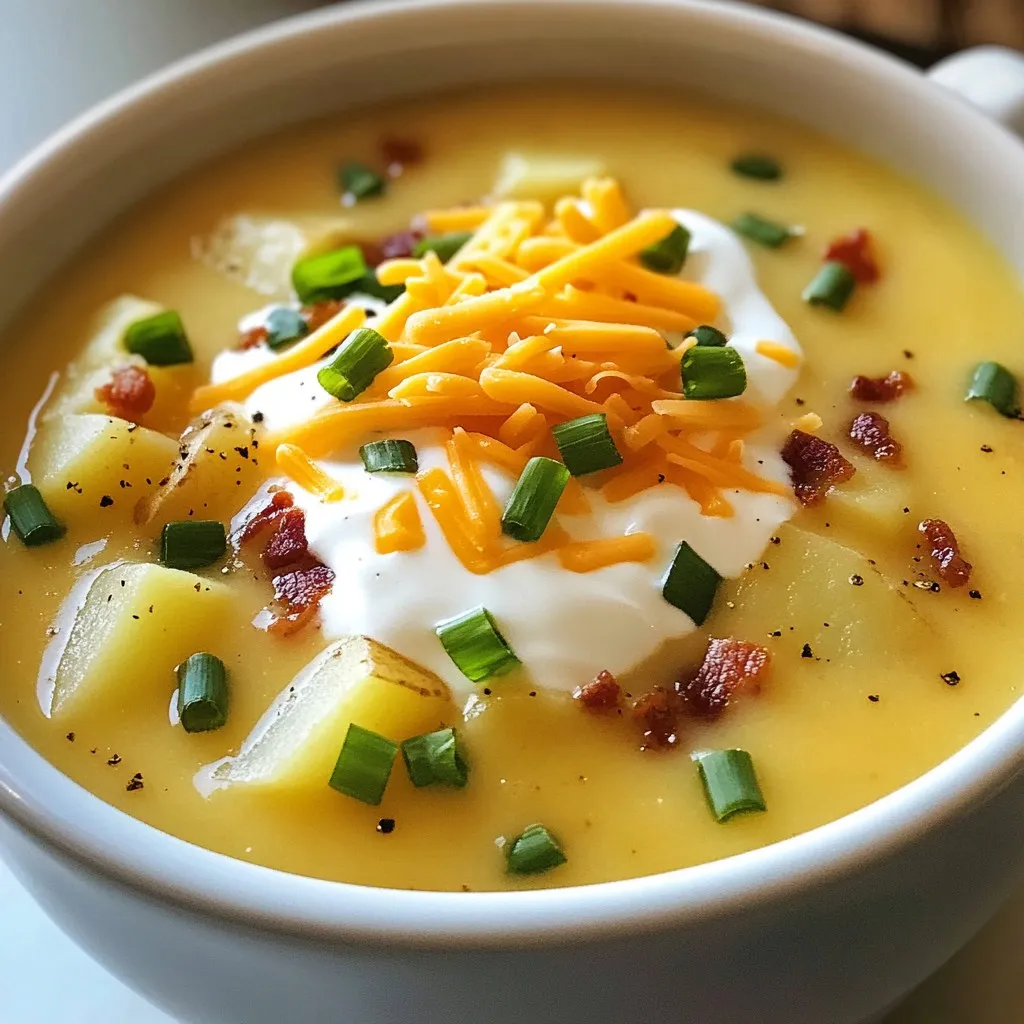
Loaded Creamy Potato Soup Flavorful and Hearty Dish
Are you ready to dive into a warm bowl of comfort? My Loaded Creamy Potato Soup is bold, rich, and extra hearty. This dish combines
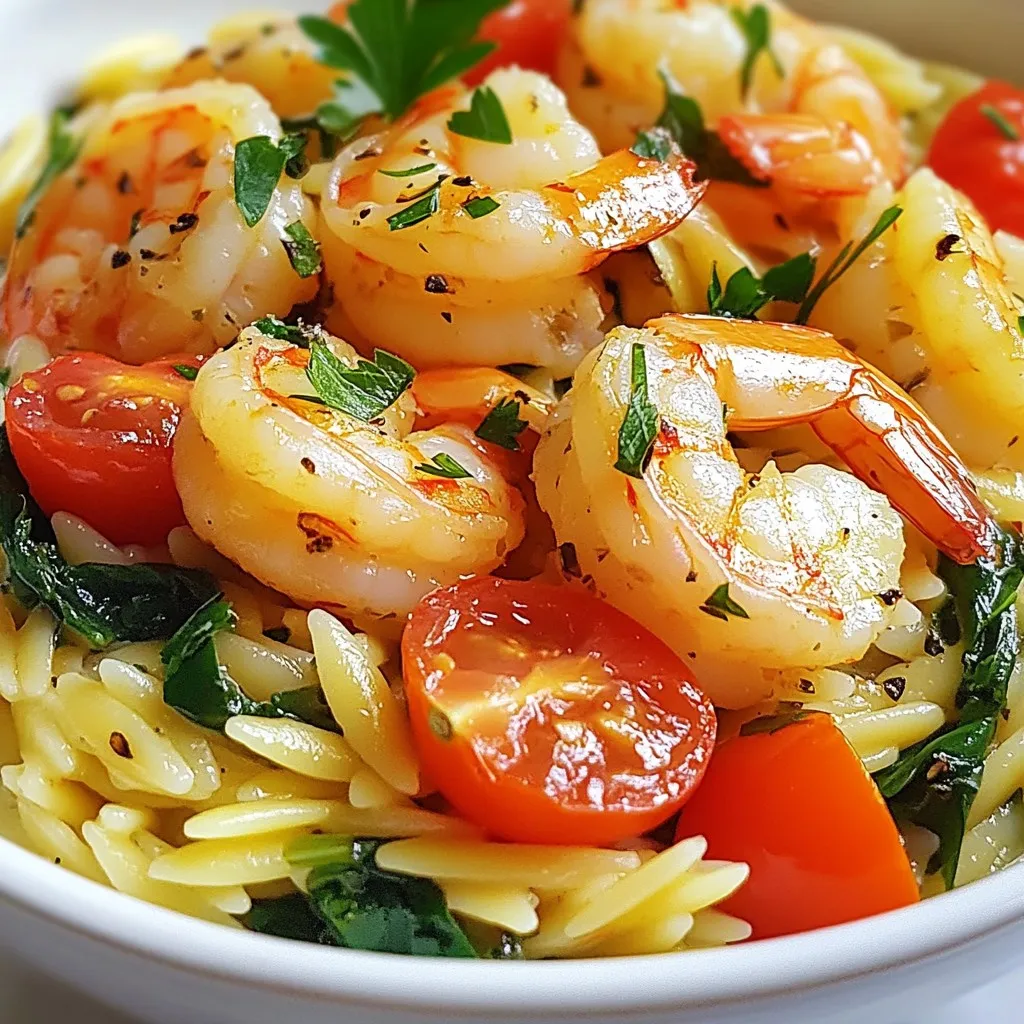
Lemon Garlic Shrimp Orzo Skillet Delightful Meal
Are you looking for a quick and tasty dinner idea? The Lemon Garlic Shrimp Orzo Skillet is perfect for you! This dish combines tender shrimp,
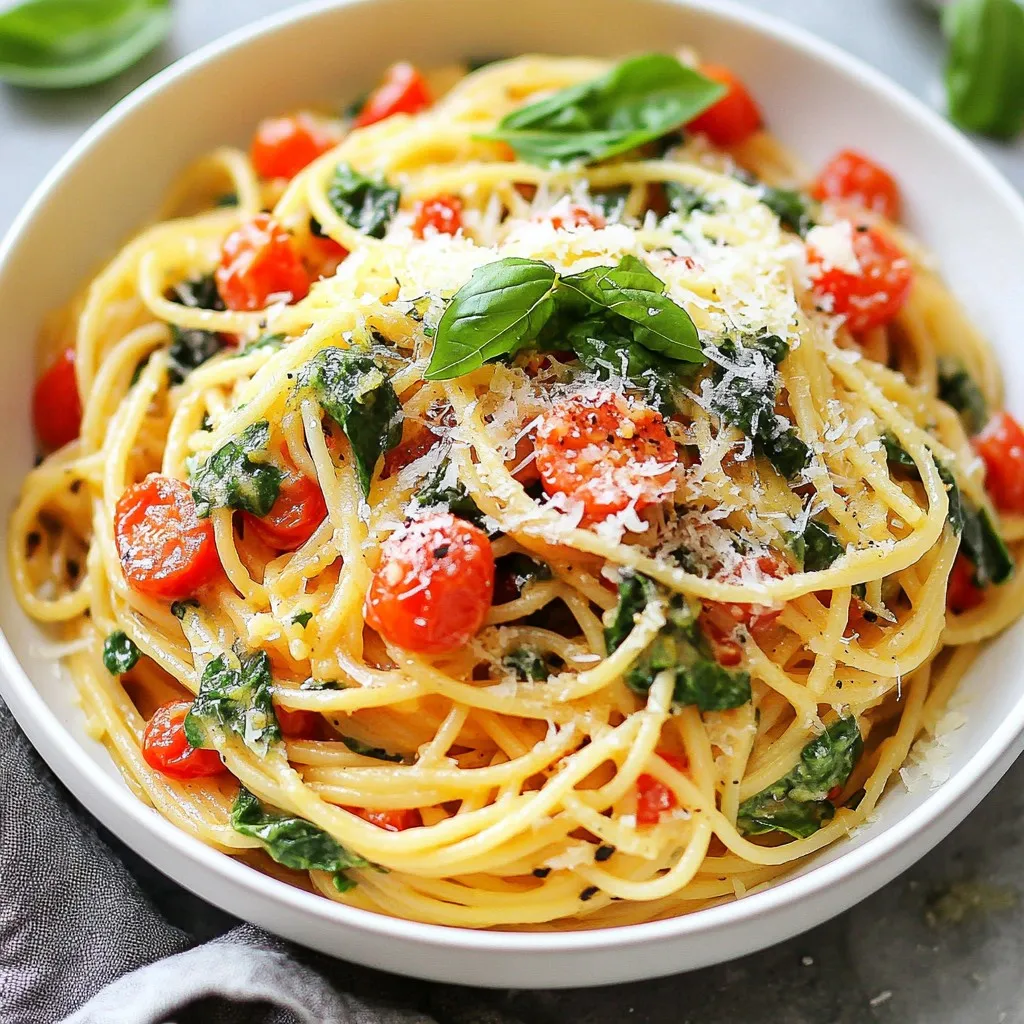
Garlicky Spinach Tomato Pasta Quick and Flavorful Meal
Looking for a quick meal that bursts with flavor? My Garlicky Spinach Tomato Pasta is the answer! In just 30 minutes, you can create a

Slow Cooker Honey Garlic Chicken Thighs Delight
Get ready to enjoy a tasty and easy meal with my Slow Cooker Honey Garlic Chicken Thighs Delight! This dish uses simple ingredients you probably
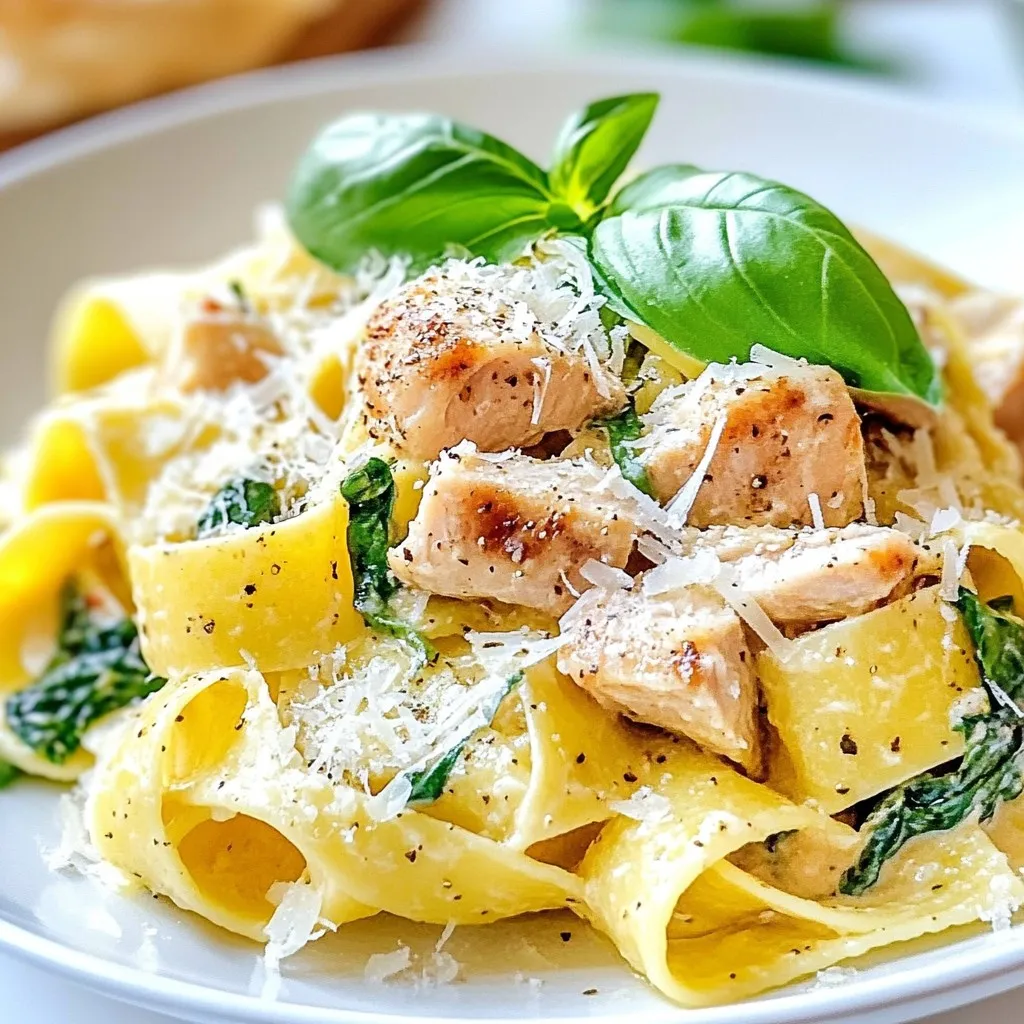
Creamy Chicken Pasta Easy and Flavorful Recipe
If you crave a dish packed with flavor and comfort, you’re in the right place. My Creamy Chicken Pasta Easy and Flavorful Recipe lets you

One Pot Creamy Cajun Sausage Pasta Delight
Craving a hearty meal that packs a flavorful punch? You’re in the right place! This One Pot Creamy Cajun Sausage Pasta Delight combines spicy sausage,
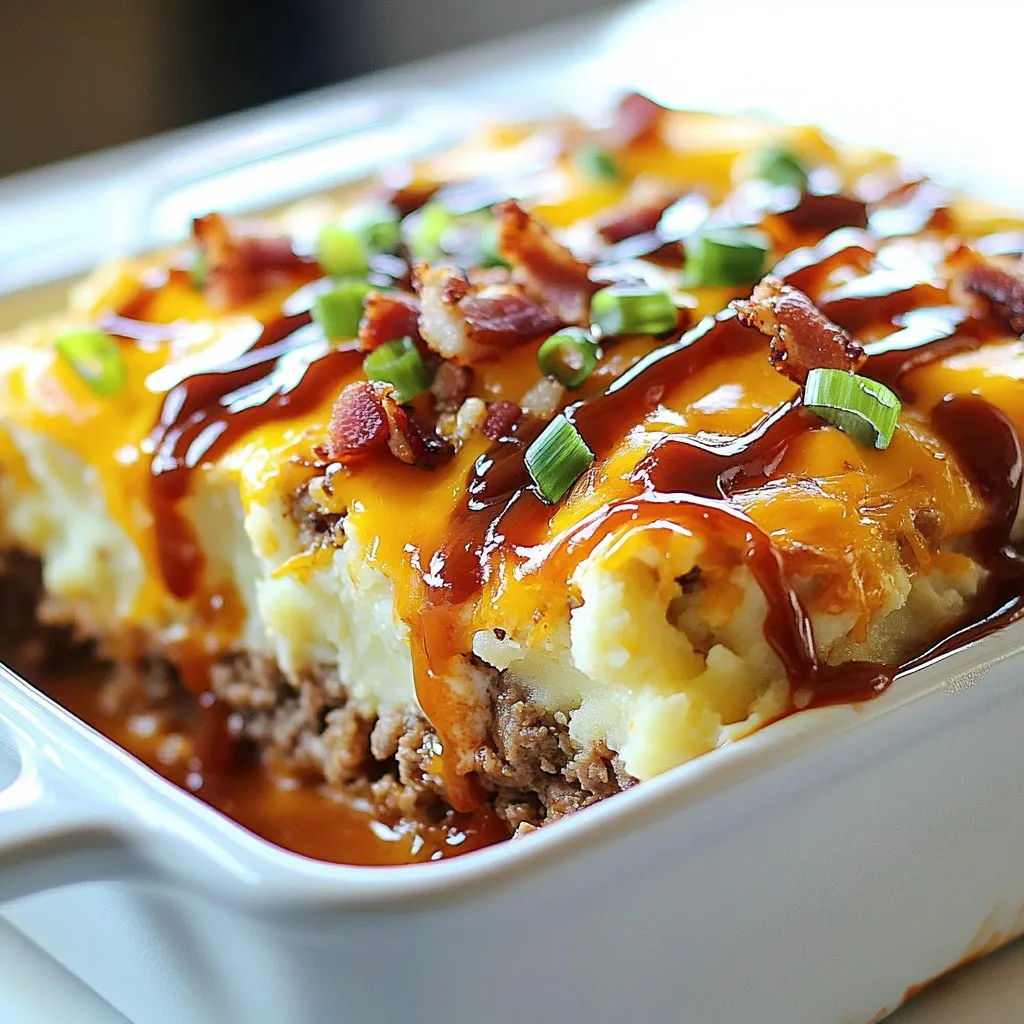
Loaded Meatloaf Mashed Potato Bake Tasty Comfort Meal
If you’re craving a comfort meal packed with flavor, look no further! My Loaded Meatloaf Mashed Potato Bake brings together all the tasty ingredients you
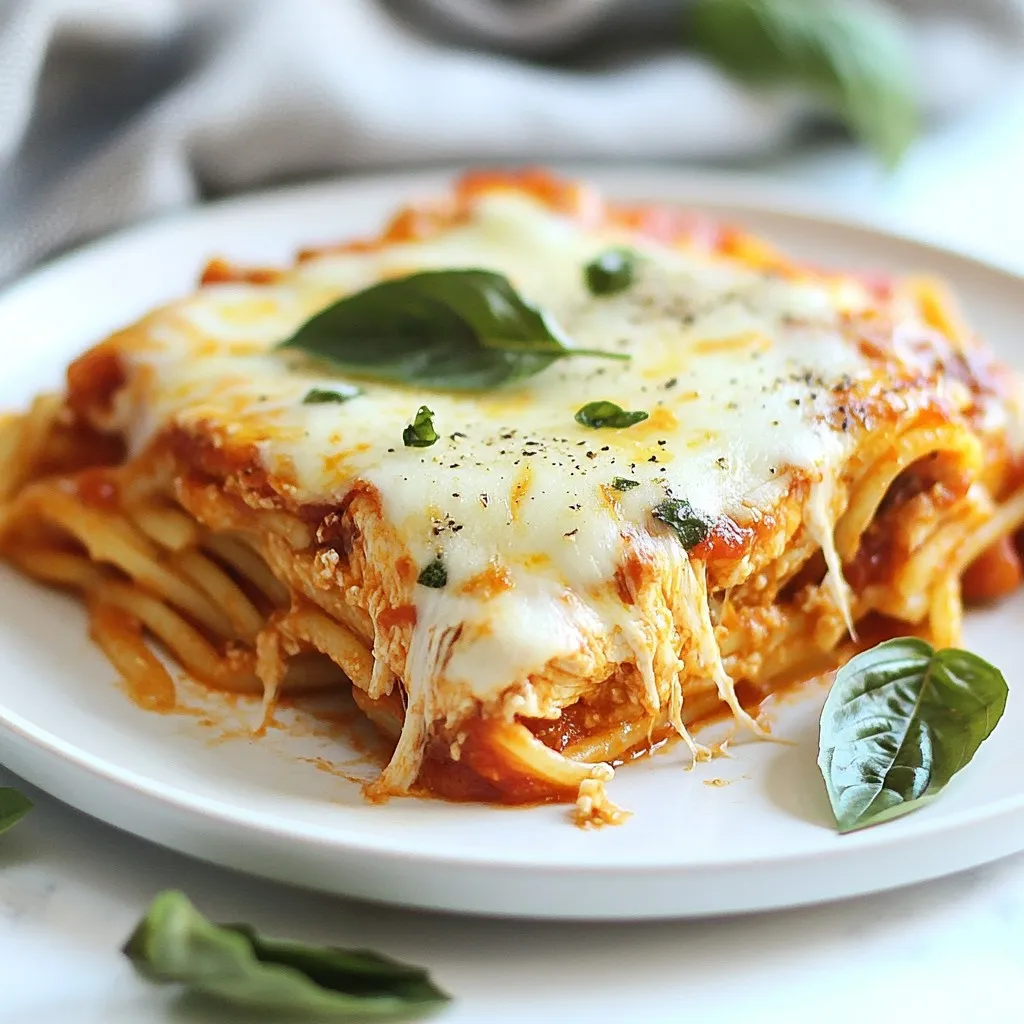
Chicken Parmesan Protein Pasta Flavorful and Healthy Meal
Are you ready to enjoy a dish that’s both tasty and wholesome? Chicken Parmesan Protein Pasta combines lean chicken, whole wheat pasta, and rich marinara