Dinner
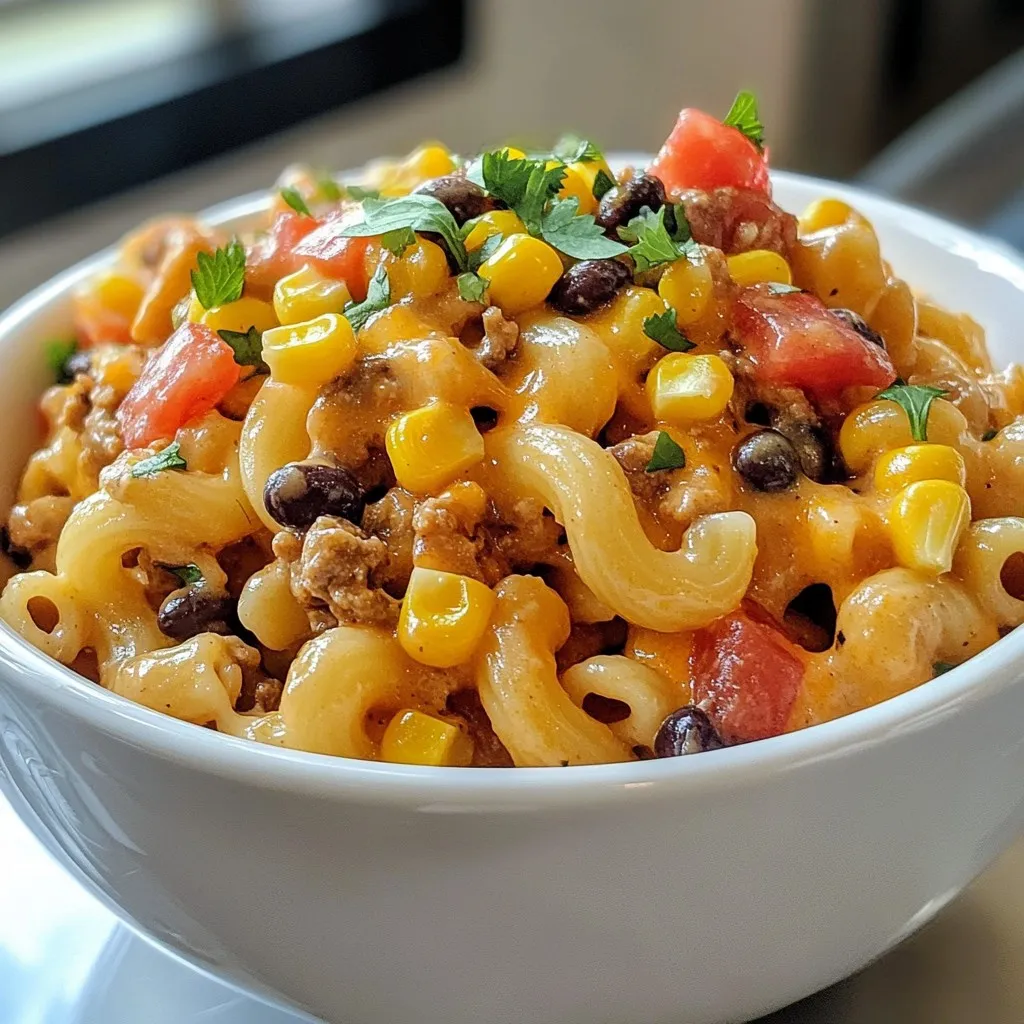
Cheesy Taco Pasta Flavorful and Easy Weeknight Meal
Are you searching for a dinner idea that’s easy, tasty, and loved by all? Look no further! My Cheesy Taco Pasta combines the comfort of

Air Fryer Fish Tacos with Slaw Quick and Tasty Meal
Ready to spice up your meal plan? These Air Fryer Fish Tacos with Slaw are quick, tasty, and perfect for any occasion! In just a

Minute Chili Crisp Egg Fried Rice Flavorful Delight
Are you ready to transform your weeknight dinner? This Minute Chili Crisp Egg Fried Rice is a quick, tasty option. Bursting with flavor, this dish
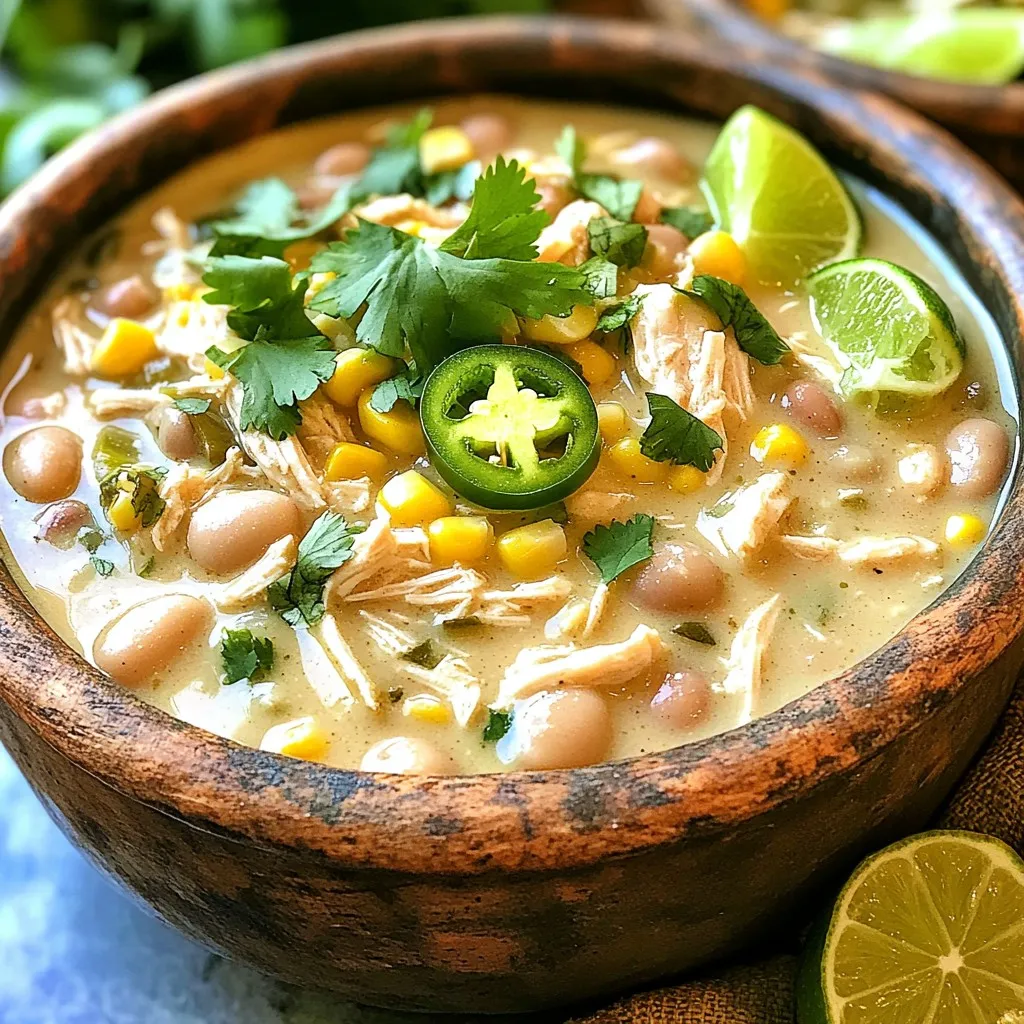
Savory Slow Cooker White Chicken Chili Simple Recipe
Looking for a comforting meal that’s easy to make? This Savory Slow Cooker White Chicken Chili recipe is your answer! With just a few simple
Sun-Dried Tomato Spinach Tortellini Flavor Boost
Looking to spice up your dinner routine? Dive into my Sun-Dried Tomato Spinach Tortellini recipe, where creamy goodness meets vibrant flavors! With just a few

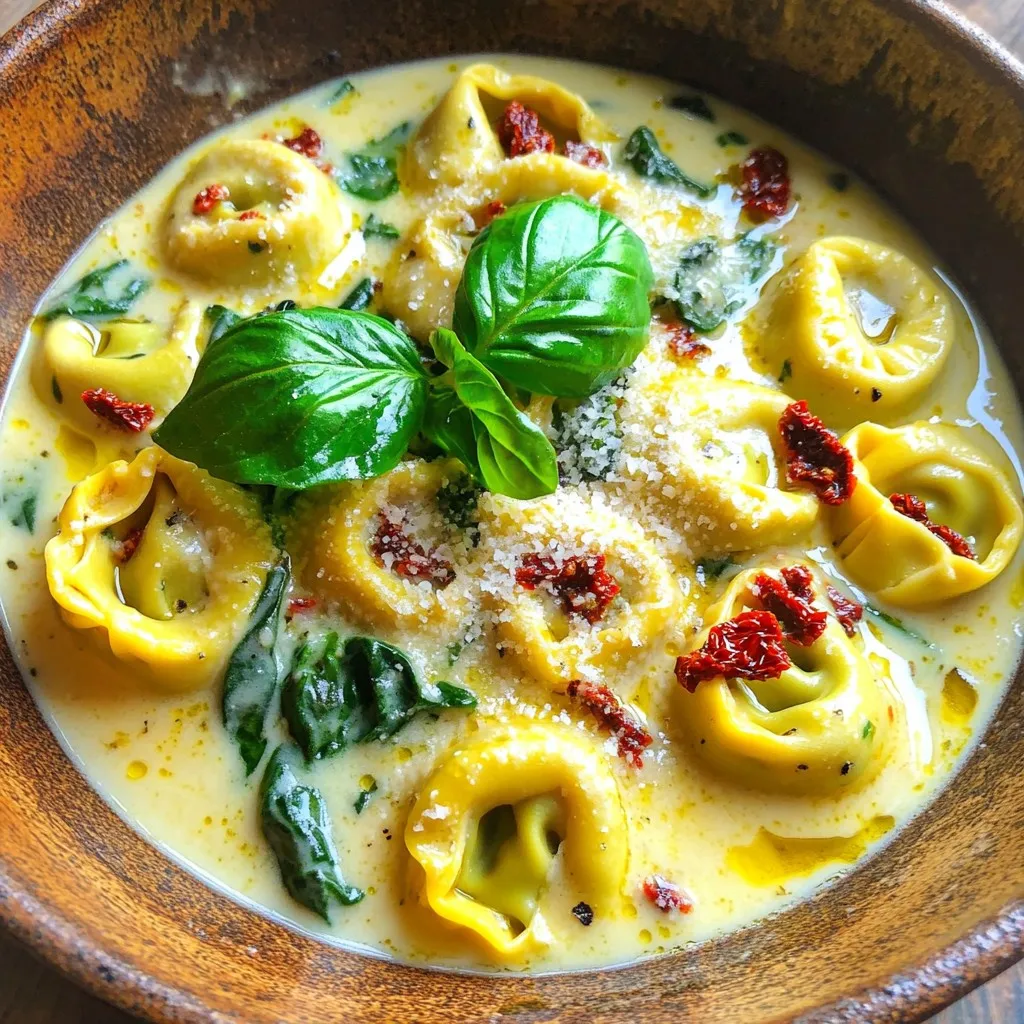
Creamy Tomato Basil Tortellini Soup Easy Comfort Meal
Are you craving a warm, hearty dish that’s both simple and satisfying? Look no further than my Creamy Tomato Basil Tortellini Soup. This easy comfort
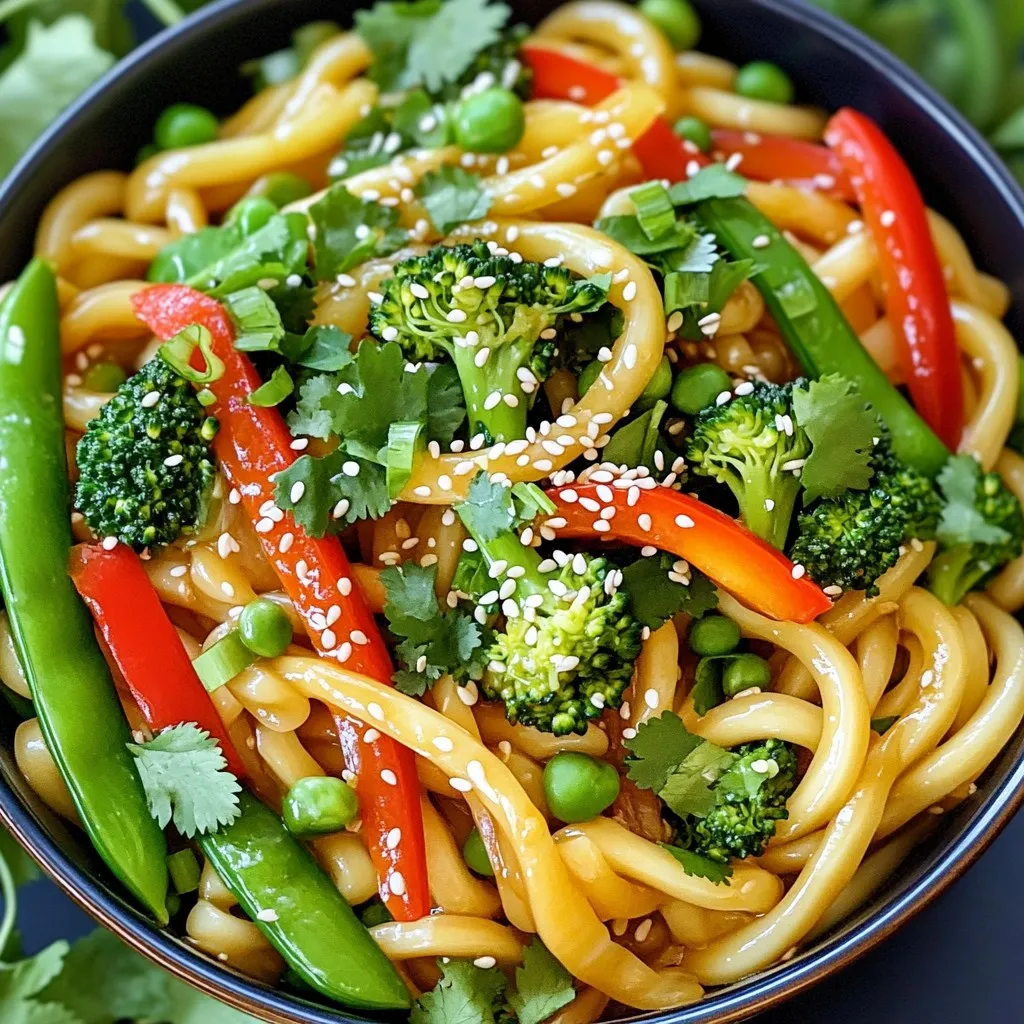
Minute Garlic Ginger Udon Stir-Fry Quick and Tasty Meal
Looking for a quick, tasty meal that’s packed with flavor? The Minute Garlic Ginger Udon Stir-Fry is your answer! With just a handful of fresh
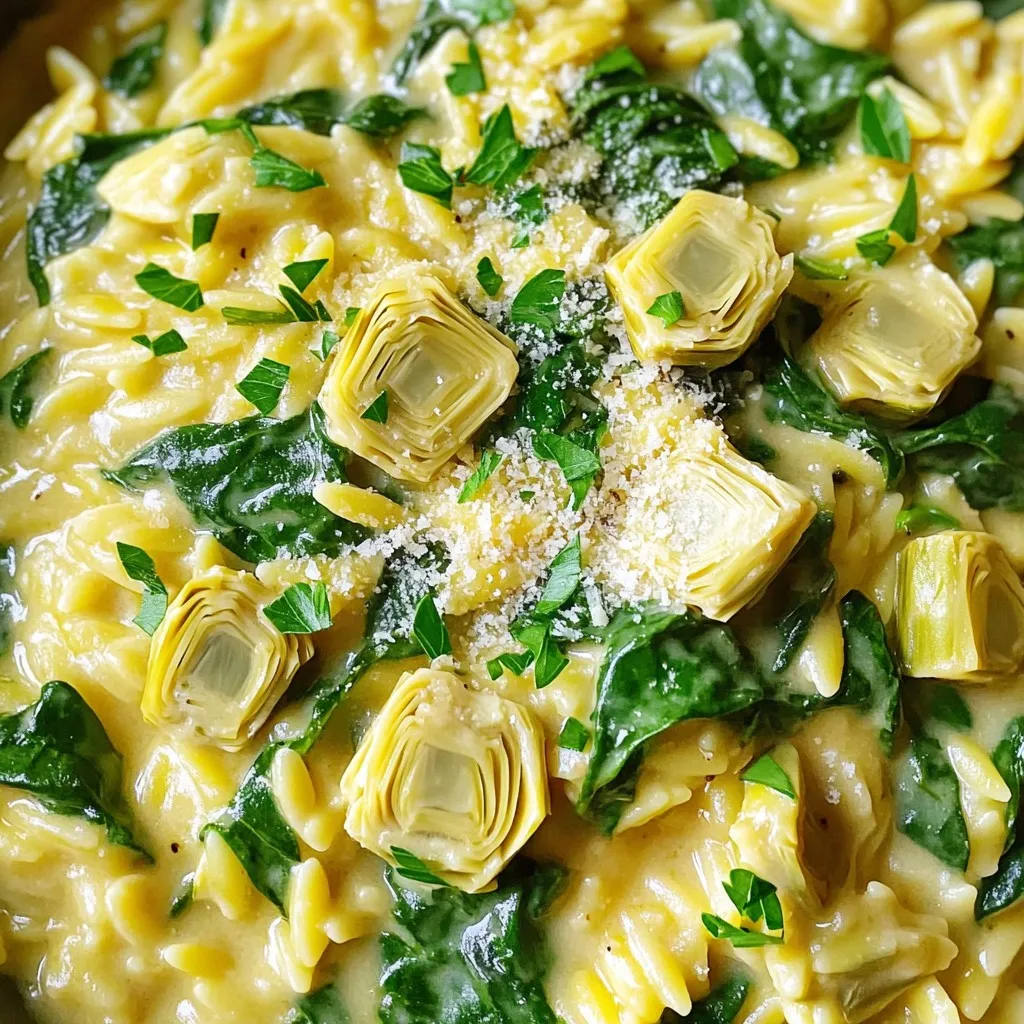
Creamy One-Pot Spinach Artichoke Orzo Delight
Are you ready to whip up a delicious dinner that’s rich and creamy? In this post, I’ll show you how to make Creamy One-Pot Spinach
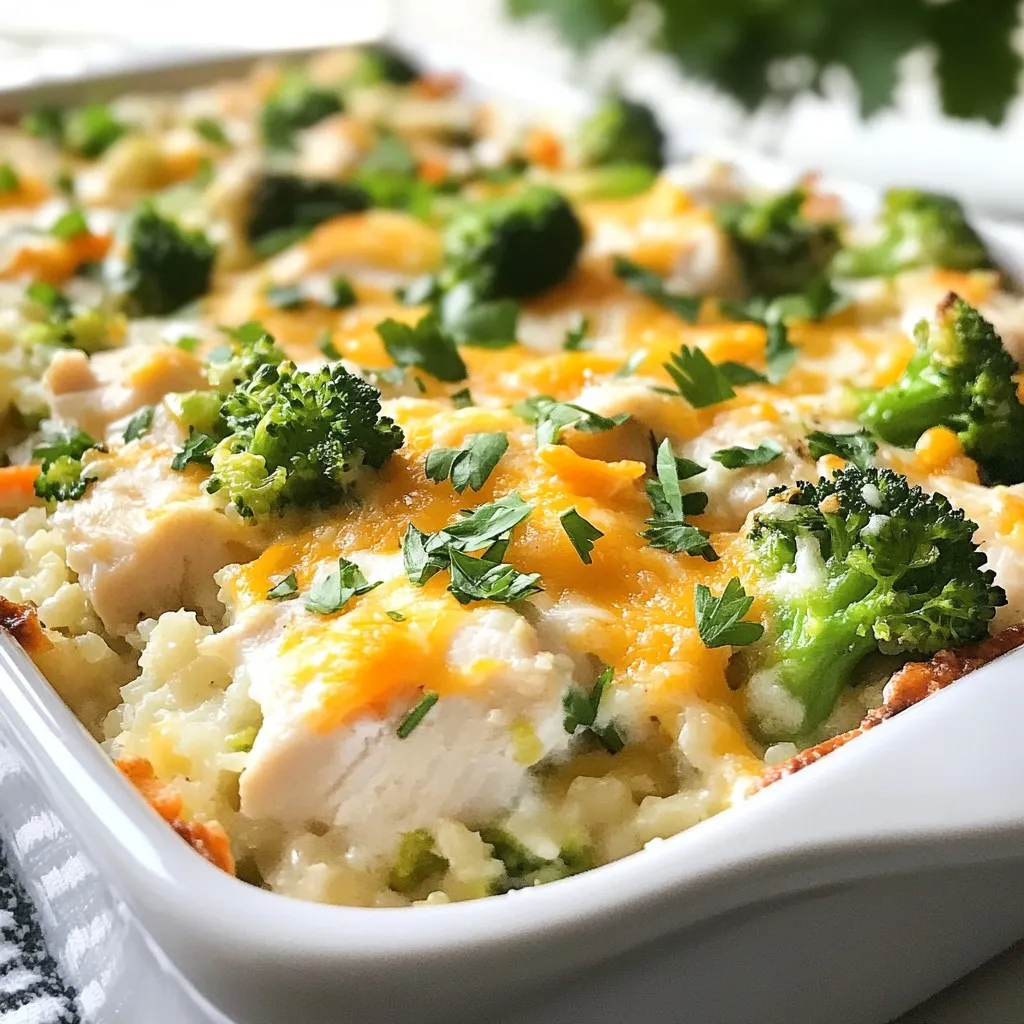
Healthy Chicken Cauliflower Rice Casserole Delight
Are you ready for a tasty and healthy meal? This Healthy Chicken Cauliflower Rice Casserole Delight is a perfect fit! Packed with lean protein and

Dairy-Free Creamy Chicken Alfredo Flavorful Delight
Welcome to a flavorful delight that’s dairy-free and sure to impress! Today, I’ll show you how to make a creamy chicken Alfredo that tastes indulgent