Dinner
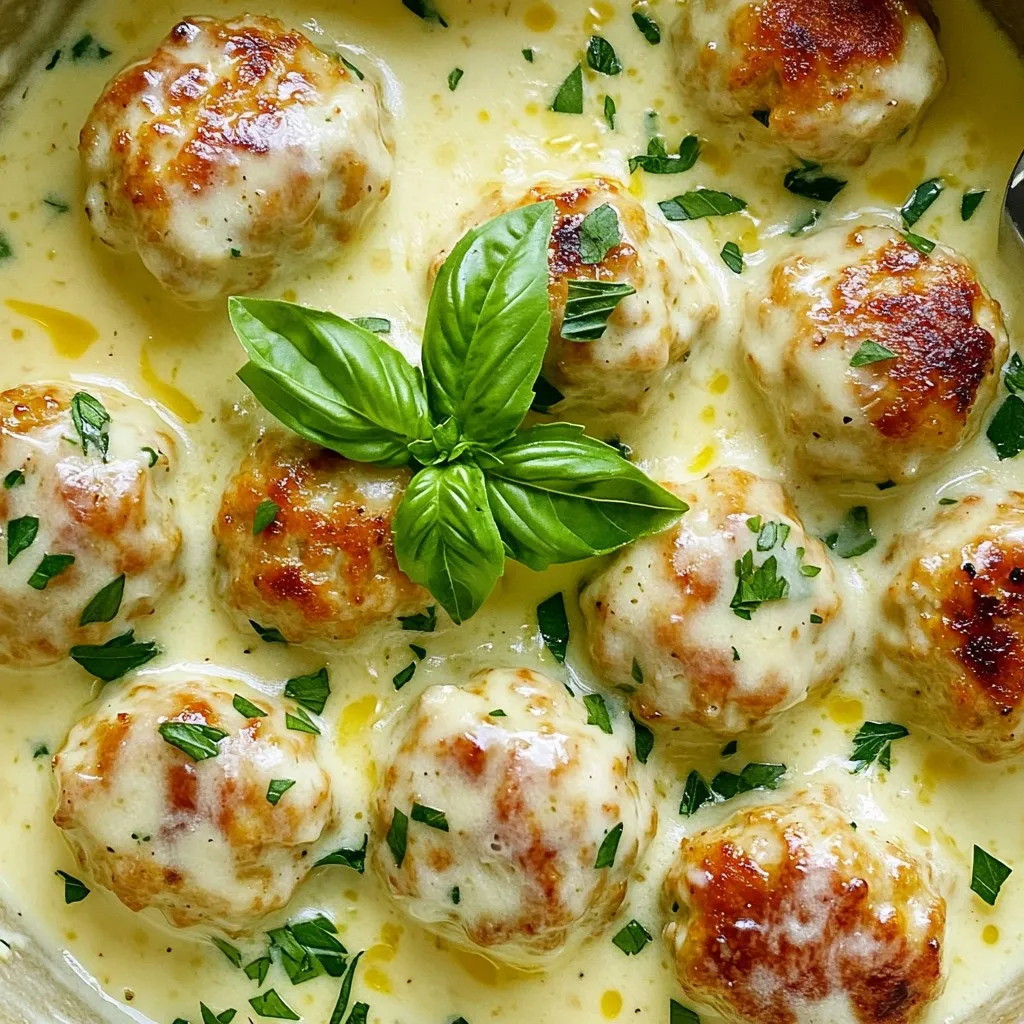
Creamy Garlic Parmesan Chicken Meatballs Delight
Get ready to taste something amazing! My Creamy Garlic Parmesan Chicken Meatballs are easy to make and full of flavor. With simple ingredients and clear
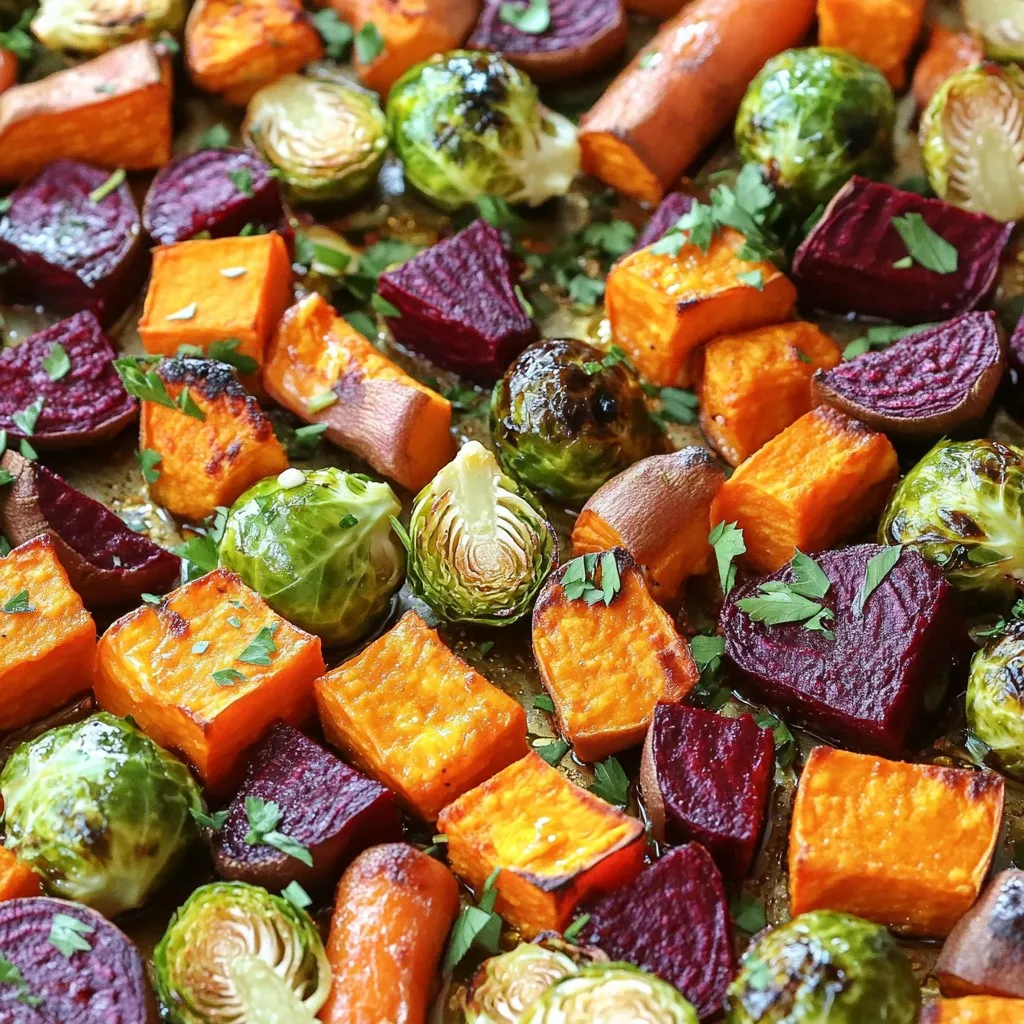
Sheet-Pan Fall Veggies with Tahini Drizzle Delight
Get ready to savor the season with my Sheet-Pan Fall Veggies with Tahini Drizzle Delight. This simple yet flavorful dish brings together sweet potatoes, beets,
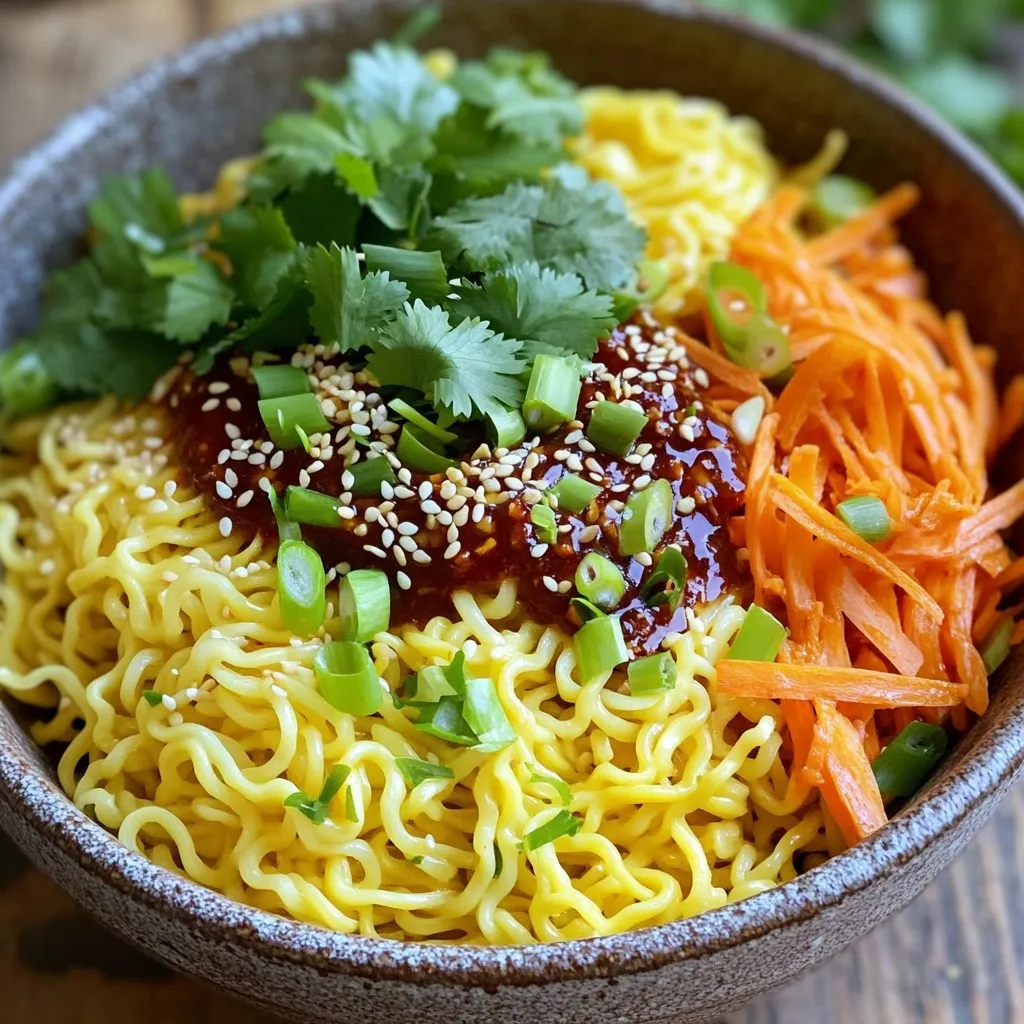
Minute Chili Crisp Egg Noodles Tasty and Quick Meal
Craving a fast and tasty meal? Minute Chili Crisp Egg Noodles are the answer! With just a few simple ingredients and a quick cooking process,
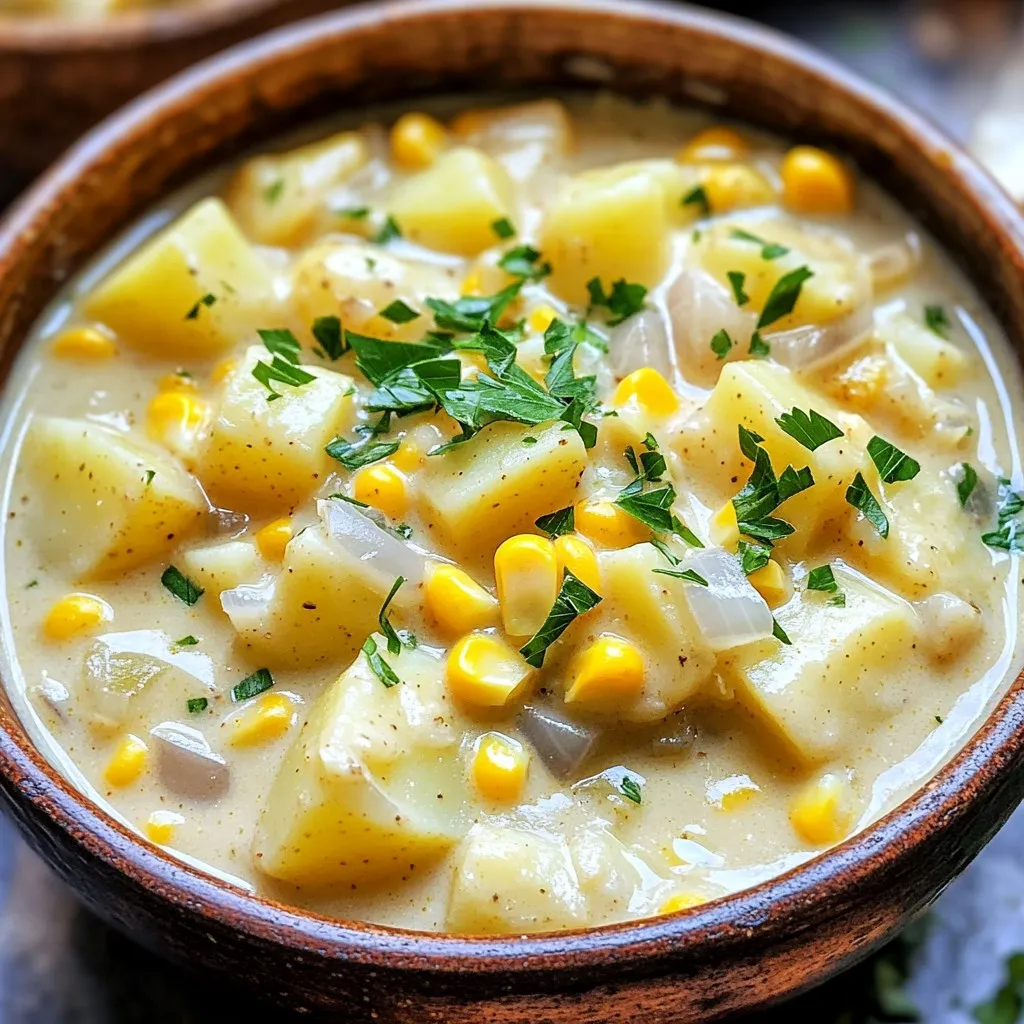
Slow Cooker Creamy Potato Corn Chowder Delightful Dish
If you’re searching for a cozy meal that warms the heart and nourishes the soul, you’ve found it! My Slow Cooker Creamy Potato Corn Chowder
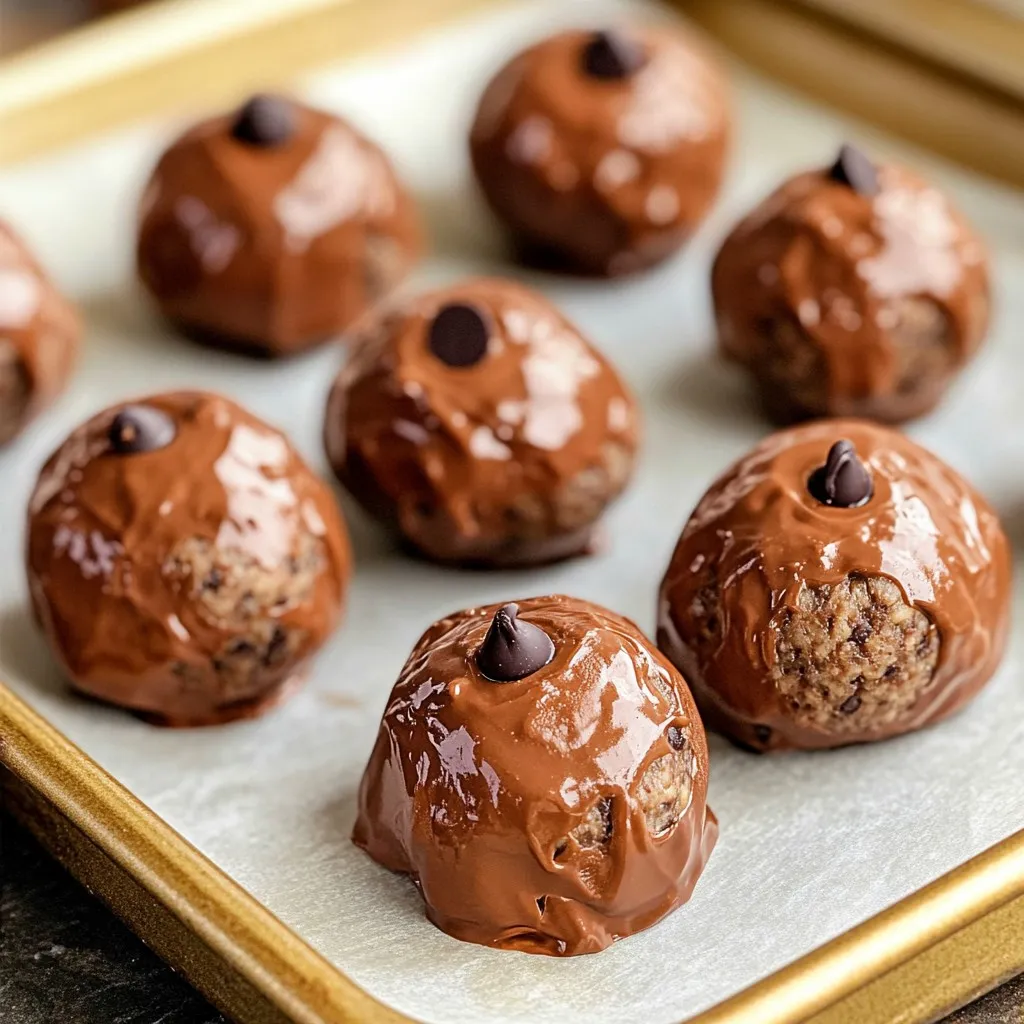
No-Bake Mocha Peanut Butter Protein Balls Delight
Craving a sweet yet healthy snack? Welcome to the world of No-Bake Mocha Peanut Butter Protein Balls! These delicious bites pack a punch with protein,

Savory Sheet-Pan BBQ Chickpea & Sweet Potato Tacos
Craving a quick and tasty meal? You’re in the right place! My Savory Sheet-Pan BBQ Chickpea & Sweet Potato Tacos will satisfy your hunger and
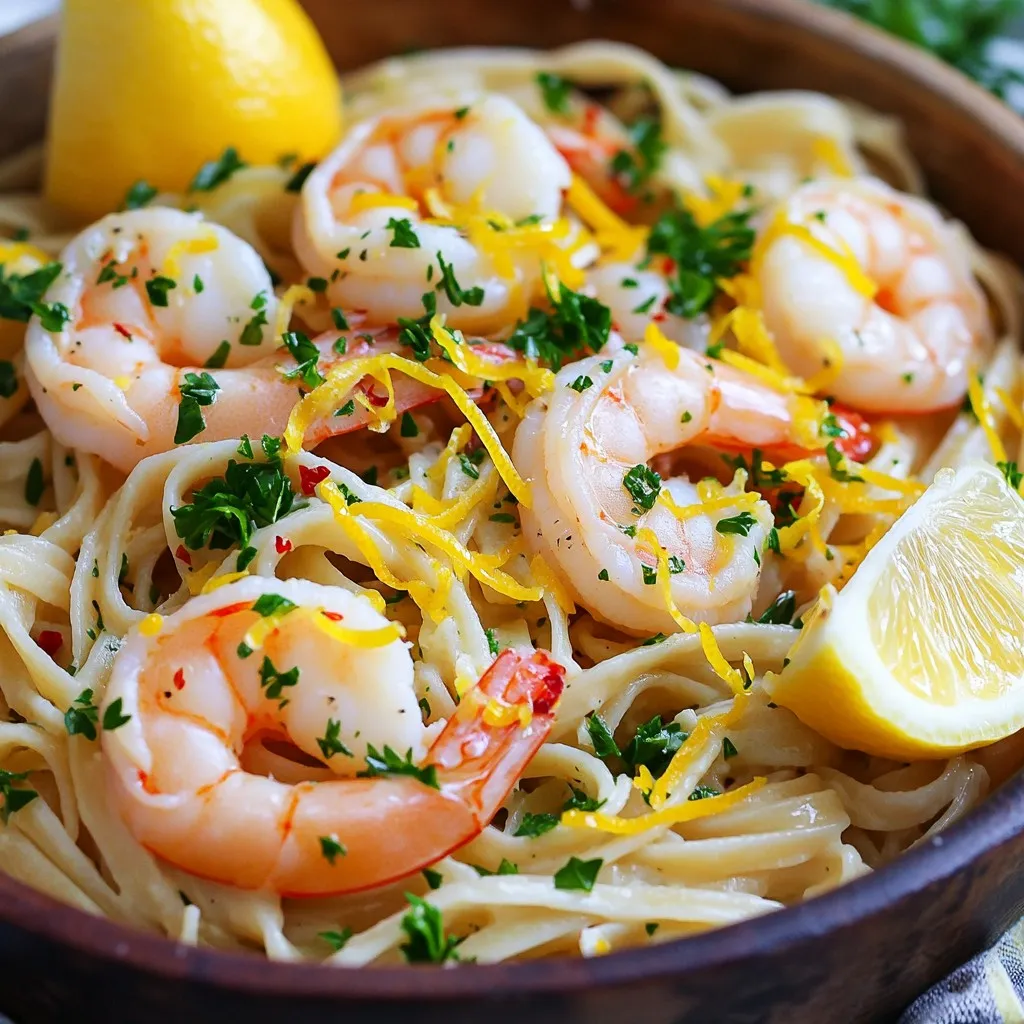
One-Pan Lemon Garlic Shrimp Scampi Flavorful Delight
Are you ready for a delicious dinner that’s easy to make? One-Pan Lemon Garlic Shrimp Scampi brings bright flavors together in no time. With just
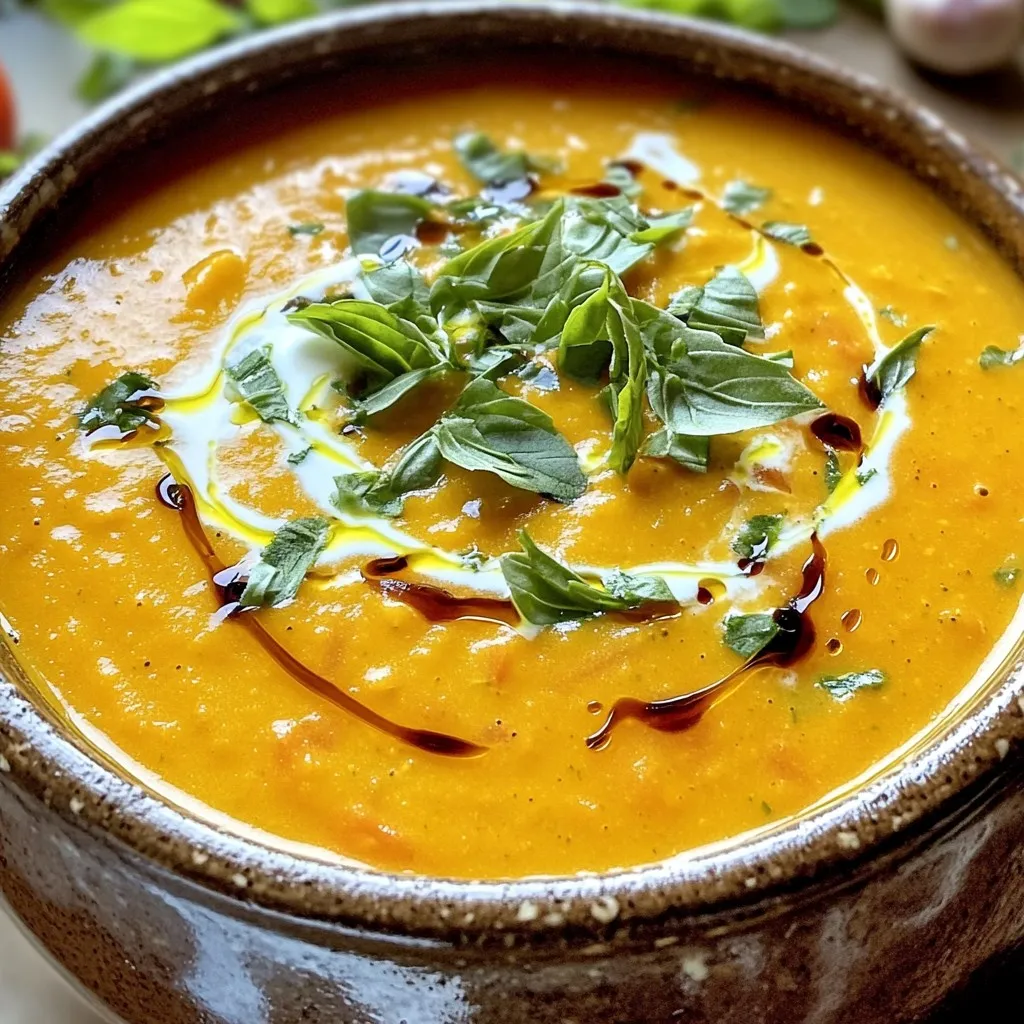
Creamy Roasted Tomato Basil Soup Rich and Flavorful Meal
Are you ready to warm up with a rich and flavorful meal? This creamy roasted tomato basil soup is a crowd-pleaser that comes together with
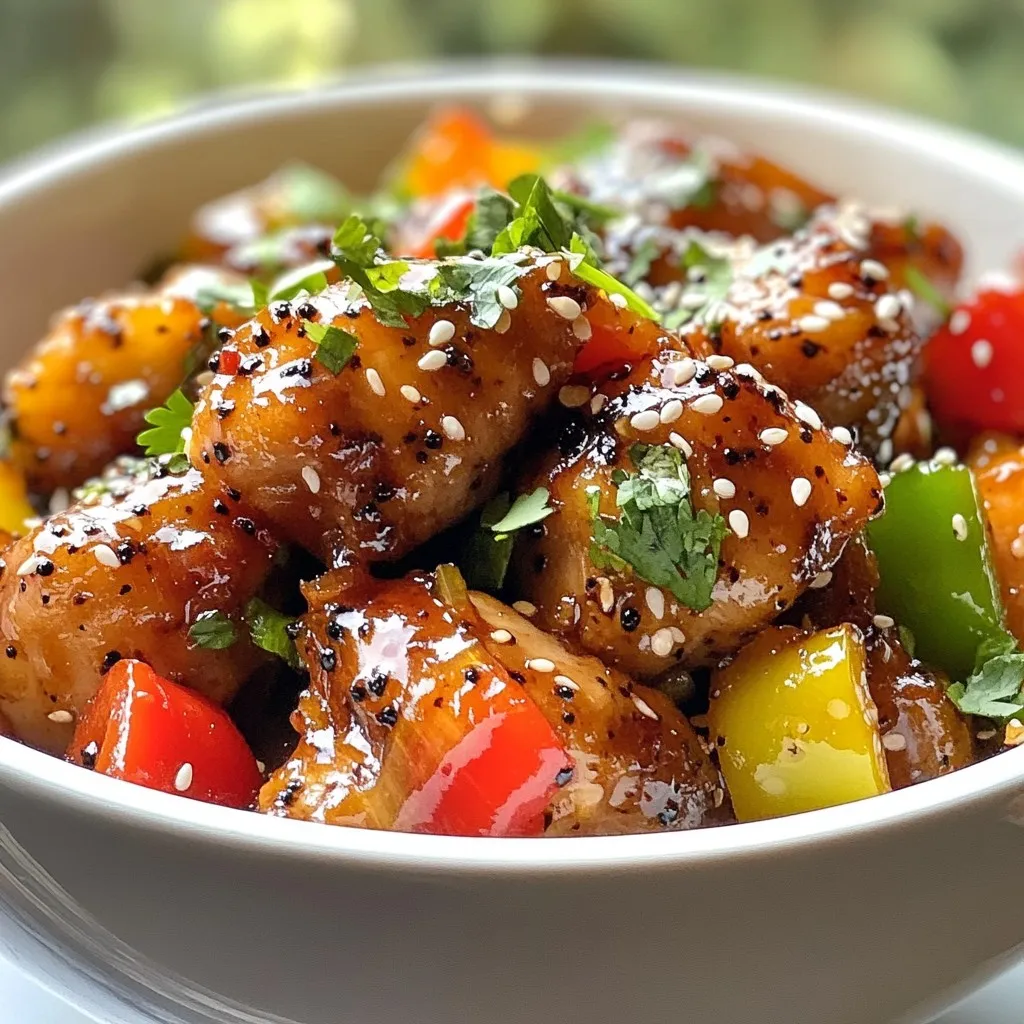
Sticky Black Pepper Chicken Flavorful Dinner Delight
Looking for a quick and tasty dinner idea? You’ll love this Sticky Black Pepper Chicken! It’s packed with rich flavors and simple to make. In
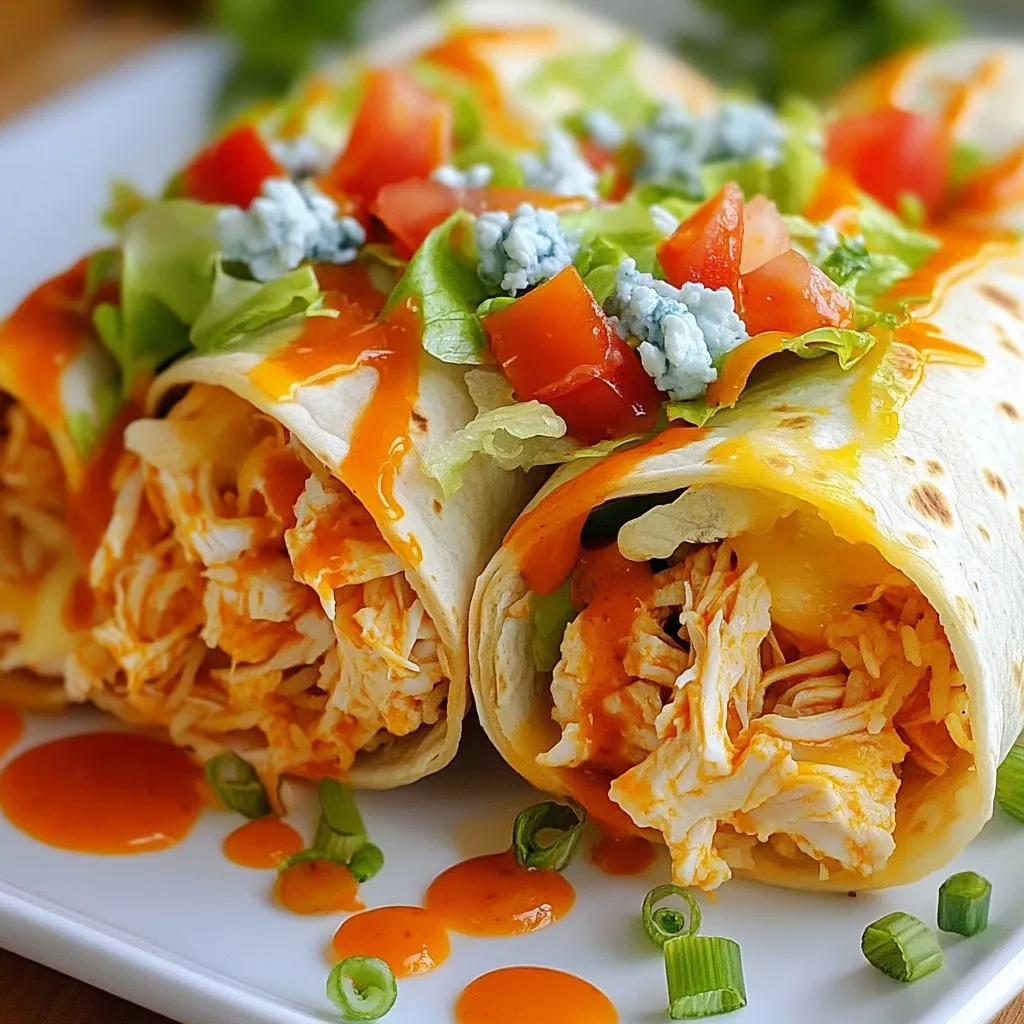
Buffalo Chicken Burritos Flavorful and Fun Meal Idea
Are you ready to make a meal that’s both fun and full of flavor? Buffalo chicken burritos are the perfect choice! Packed with spicy chicken,