Dinner
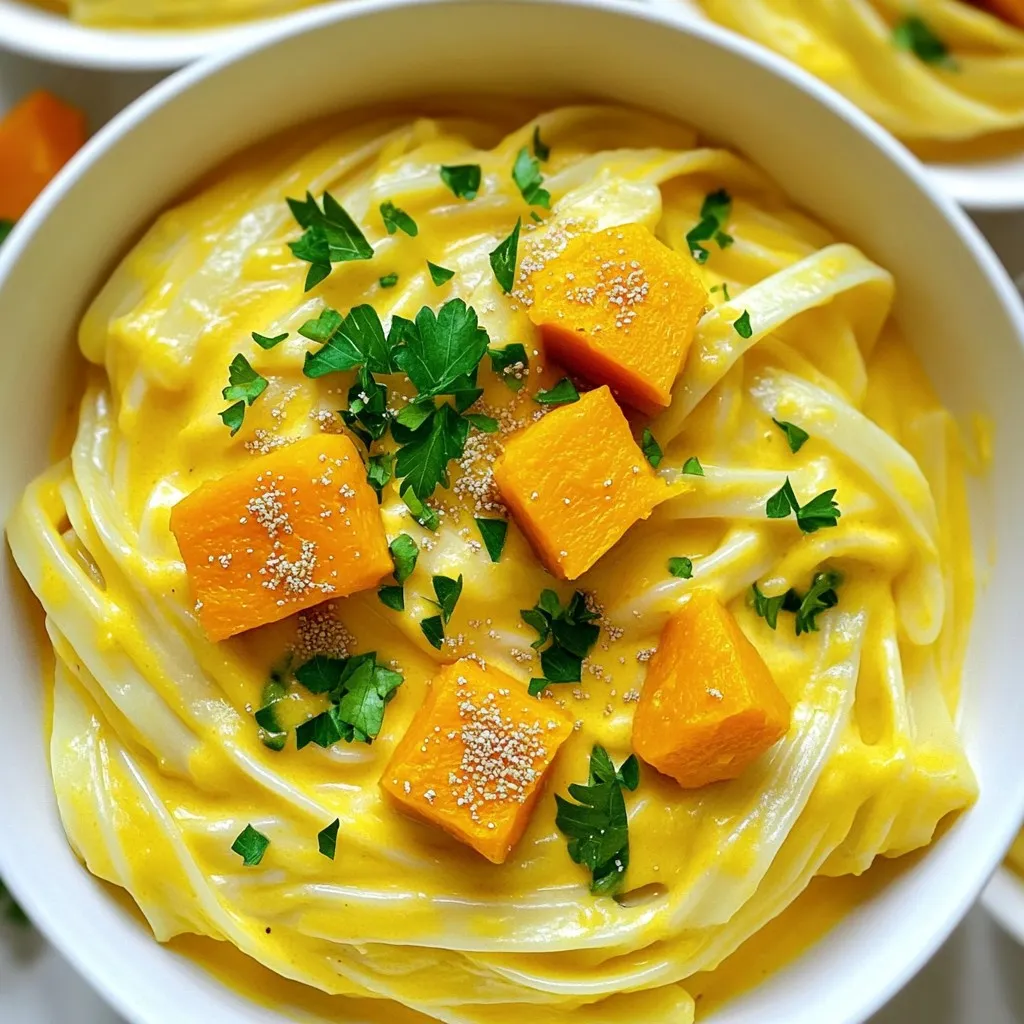
Creamy Butternut Squash Alfredo Pasta Delightfully Easy
Are you ready to indulge in a rich and creamy dish that’s both easy and delicious? This Creamy Butternut Squash Alfredo Pasta is your new

Slow Cooker Creamy Mushroom Risotto Comforting Meal
If you’re craving a warm, creamy dish that practically cooks itself, you’re in the right place! My Slow Cooker Creamy Mushroom Risotto is rich, comforting,
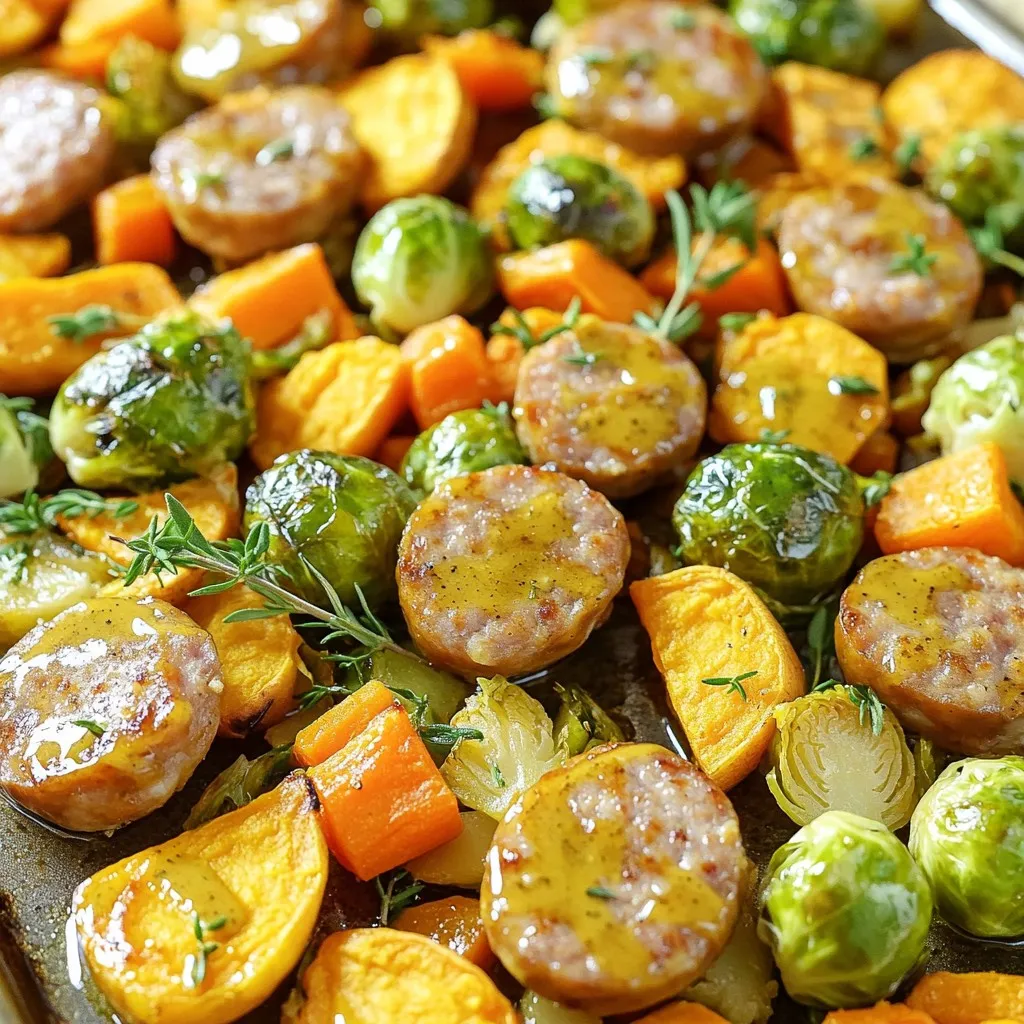
Sheet-Pan Maple Dijon Sausage & Veggies Delight
Welcome to my kitchen! Today, I’m excited to share a quick and tasty recipe: Sheet-Pan Maple Dijon Sausage & Veggies Delight. This dish is perfect
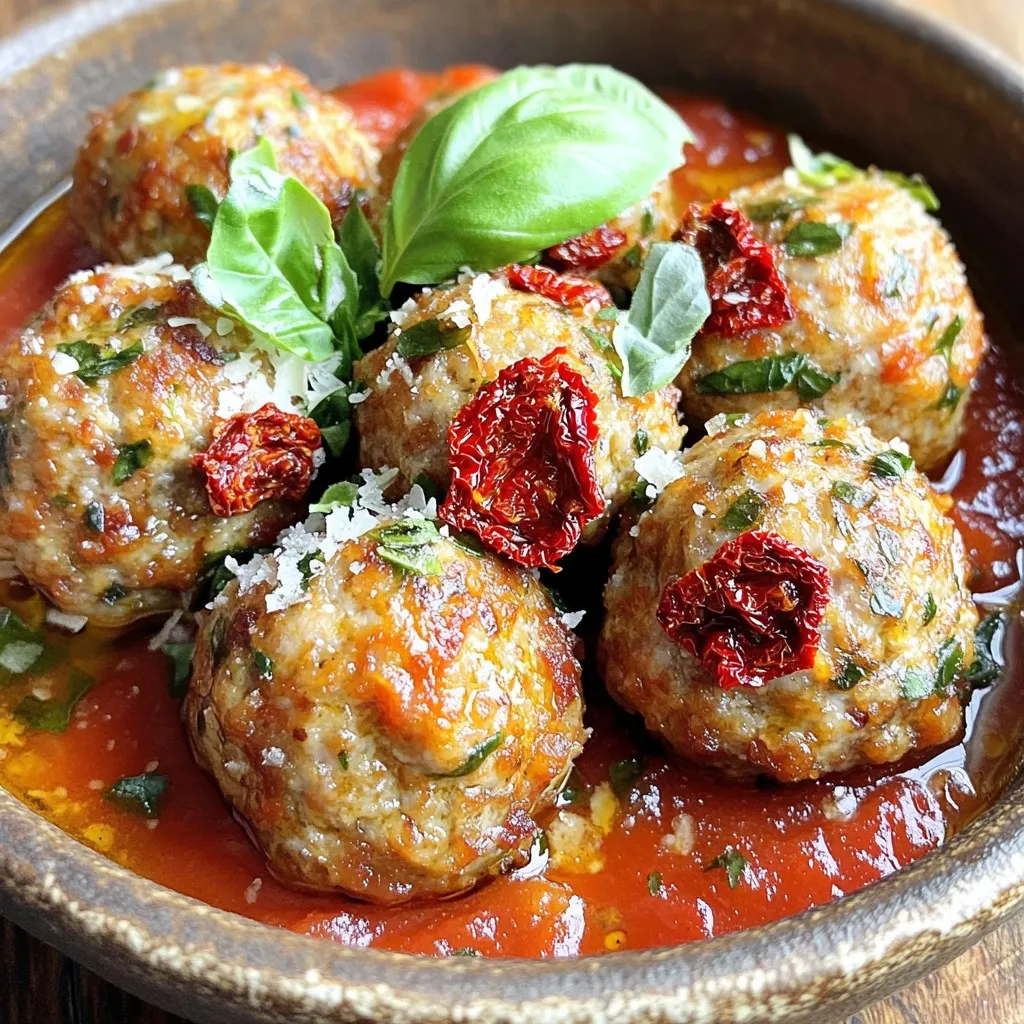
Sun-Dried Tomato Turkey Meatballs Flavorful and Easy
If you’re craving a dish that’s both tasty and simple to make, look no further. My Sun-Dried Tomato Turkey Meatballs are packed with flavor and

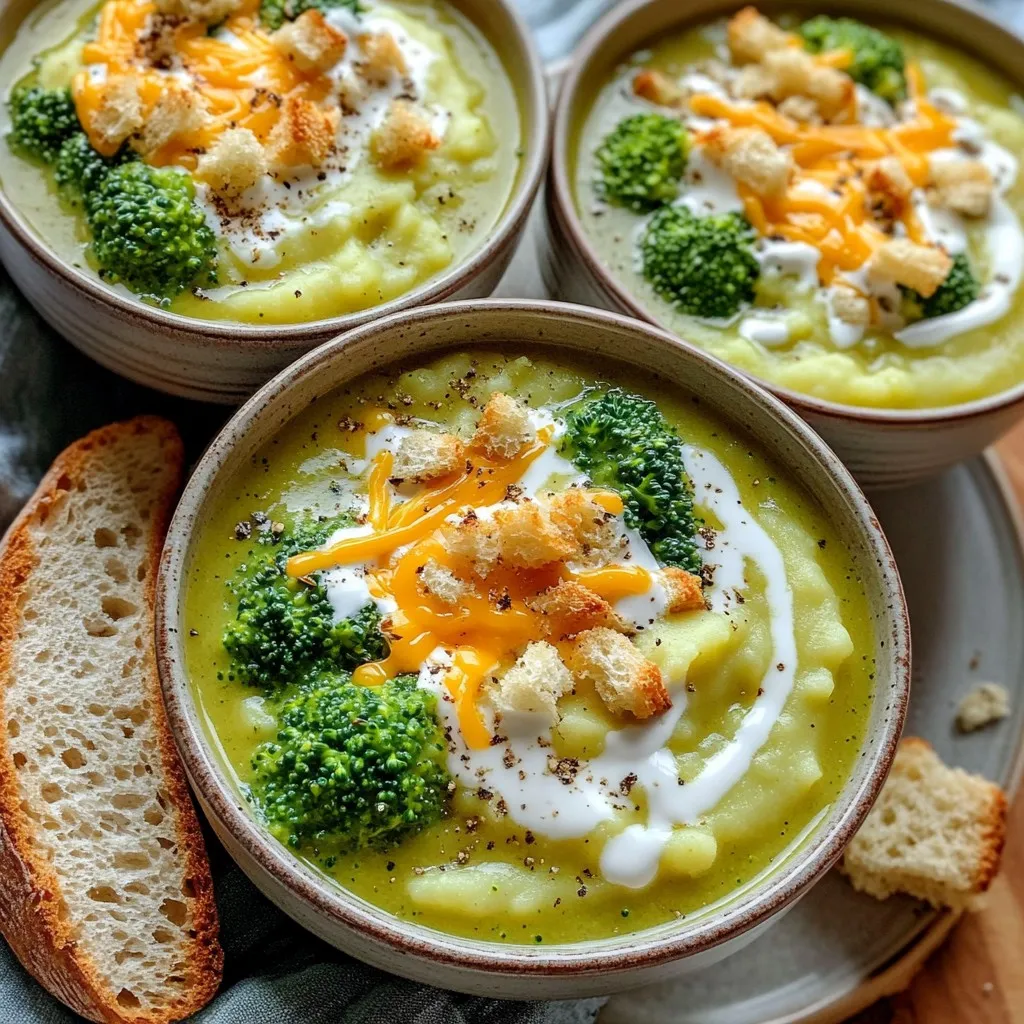
Slow Cooker Broccoli Cheddar Soup Flavorful Comfort Dish
Warm up your kitchen with my Slow Cooker Broccoli Cheddar Soup! This dish brings together fresh broccoli, rich cheddar cheese, and a few simple ingredients
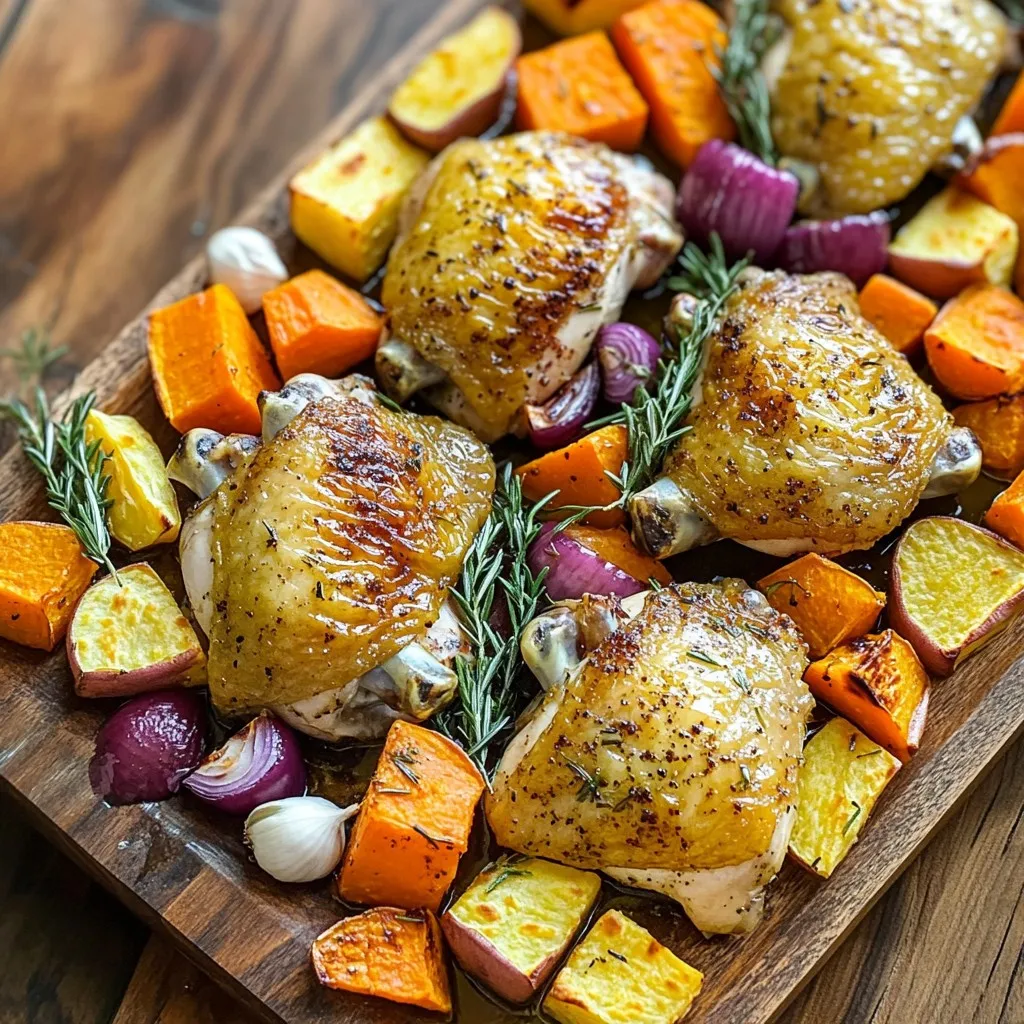
Sheet-Pan Roast Chicken & Root Veggies Easy Dinner
Looking for an easy dinner that everyone in your family will love? Try my Sheet-Pan Roast Chicken & Root Veggies! This one-pan meal is not
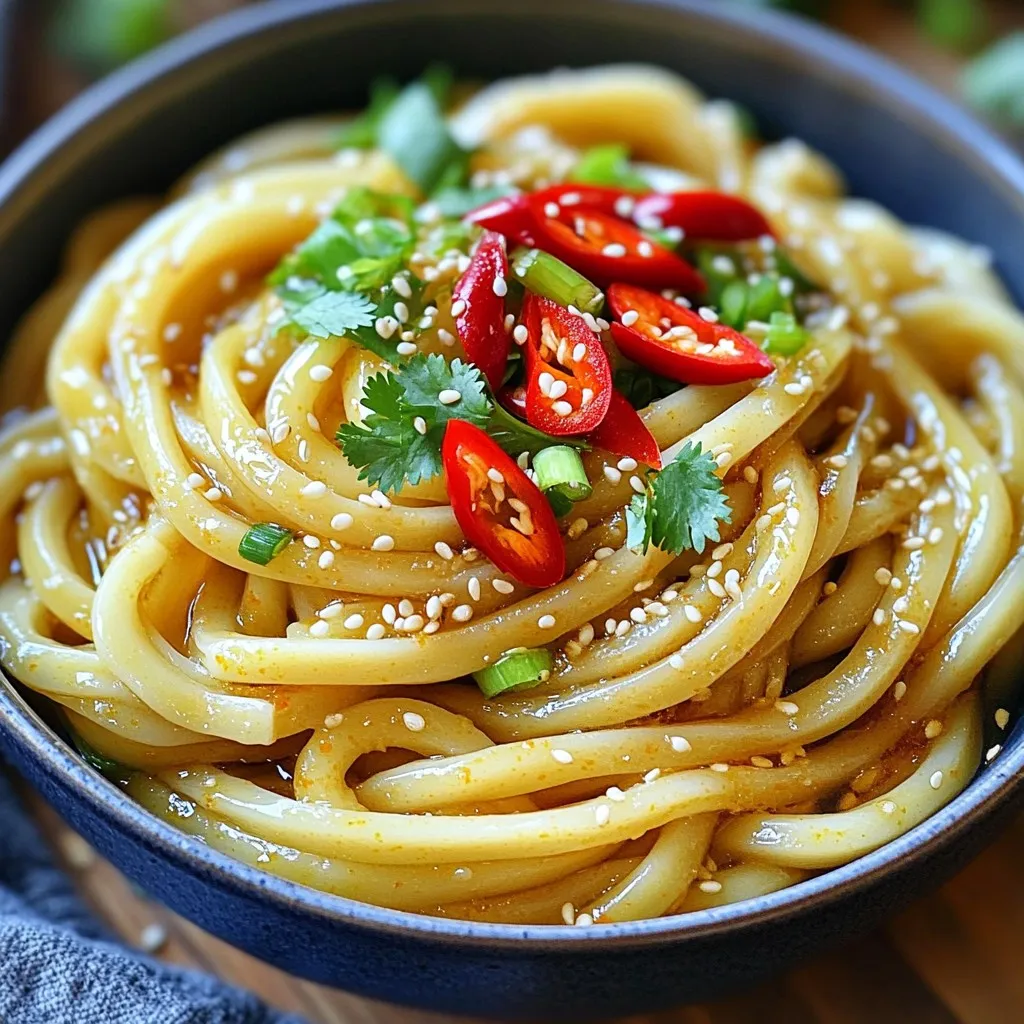
Minute Garlic Chili Udon Delightful and Simple Dish
Craving a quick, delicious meal? You’ll love Minute Garlic Chili Udon! This simple dish blends udon noodles with fragrant garlic and spicy chili, creating a

Chicken Teriyaki Noodles Tasty and Quick Meal
Looking for a quick and tasty meal? Try my Chicken Teriyaki Noodles! This dish combines tender chicken, savory sauce, and soft noodles in just 30
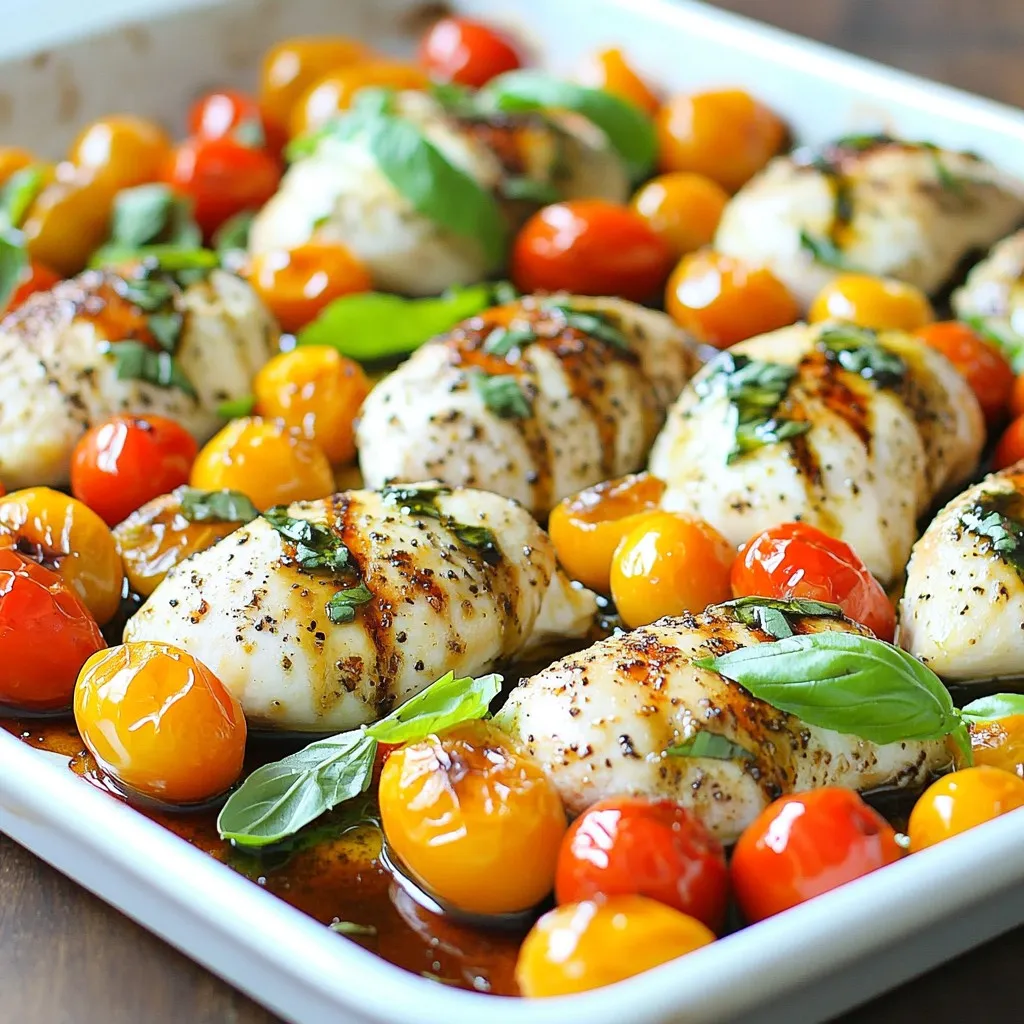
Caprese Chicken Sheet Pan Dinner Flavorful and Easy
Are you ready for an easy and tasty dinner? This Caprese Chicken Sheet Pan Dinner is your answer. You’ll love how simple it is to
Slow Cooker Cheesy Broccoli Potato Soup Comfort Dish
Warm, cozy, and oh-so-cheesy, this Slow Cooker Cheesy Broccoli Potato Soup is your new go-to comfort dish. In just a few easy steps, you can