Dinner
The Best Grilled Chicken Marinade for Flavorful Meals
Are you ready to take your grilled chicken to the next level? In this post, I’ll share the best grilled chicken marinade that’ll make your
![- Chicken and Broccoli Components - 2 boneless, skinless chicken breasts - 2 cups broccoli florets - Seasoning and Flavor Enhancers - 4 tablespoons unsalted butter, divided - 4 cloves garlic, minced - 1 teaspoon paprika - 1 teaspoon Italian seasoning - Salt and freshly cracked black pepper, to taste - 1 tablespoon freshly squeezed lemon juice - Optional Serving Suggestions - Cooked rice or quinoa (for serving, optional) Gather these ingredients for a quick and tasty meal. The chicken and broccoli create a healthy base. The butter and garlic bring rich flavors. You can add lemon juice for a fresh twist. If you want a filling side, serve it with rice or quinoa. I recommend using fresh ingredients for the best taste. This combination makes a colorful plate that looks as good as it tastes. For the full recipe, refer to the main section. - Drying and Seasoning the Chicken Start by patting the chicken breasts dry with paper towels. This step is key. Dry chicken sears better and forms a nice crust. Next, season both sides with paprika, Italian seasoning, salt, and pepper. This mix boosts the flavor of your dish. - Searing Techniques for Optimal Flavor Grab a large, deep skillet. Heat 2 tablespoons of unsalted butter over medium-high heat. Wait until the butter melts and starts to foam. Carefully add the seasoned chicken breasts. Sear them for 6-7 minutes on each side. You want rich golden brown color. Check that the internal temperature reaches 165°F (75°C). After cooking, transfer the chicken to a plate. Let it rest for a few minutes. - Sautéing Tips for Perfectly Cooked Broccoli In the same skillet, add 2 more tablespoons of butter. Next, toss in the broccoli florets. Sauté for 3-5 minutes. You want the broccoli to turn vibrant green and tender-crisp. Stir often for even cooking. - Garlic Sautéing Techniques to Avoid Bitterness Now, add minced garlic to the skillet. Sauté for about 30 seconds. Stir constantly to keep the garlic from burning. Remember, burnt garlic tastes bitter and ruins the dish. - Method to Blend Flavors Together After cooking, return the rested chicken to the skillet with broccoli. Squeeze fresh lemon juice over everything. This adds brightness and flavor. Gently toss to coat the chicken in the garlic butter. Blend the flavors well. - Final Cooking Tips for Texture and Taste Let the mixture cook for an additional minute. This warms everything through. Remove from heat, and your dish is ready to serve. You can find the full recipe details above. Enjoy your meal! - Best Practices for Searing Chicken To get great flavor, start with dry chicken. Pat it down with paper towels. Season it well with salt, pepper, and spices. Heat your skillet until it's hot. Add butter and let it melt. Place the chicken in the pan gently. Let it sear without moving it for 6-7 minutes. This forms a nice crust. Flip it over and cook the other side until golden brown. - Tips for Using Fresh Ingredients Fresh ingredients make a big difference. Choose bright green broccoli and firm chicken breasts. Fresh garlic gives the best flavor. If possible, use fresh herbs too. They add a burst of taste. Always wash your veggies to remove dirt and pesticides. - How to Ensure Chicken is Moist and Tender Moist chicken needs careful cooking. Use medium-high heat, but don’t rush it. Cook until the internal temperature is 165°F. Let it rest after cooking. This keeps the juices inside. Cutting it too soon lets them escape. - Broccoli Cooking Methods to Retain Nutrients To keep broccoli healthy, don’t overcook it. Sauté it for just 3-5 minutes. This keeps it crisp and bright. You can also steam it for 3 minutes if you prefer. This way, it stays nutritious and tasty. - Plating Tips for a Beautiful Meal For an eye-catching plate, stack the chicken nicely. Place the broccoli beside it. Use a large plate to give space. Drizzle extra garlic butter sauce over the top. This adds shine and flavor. - Garnishing Ideas for Added Visual Appeal Garnish your dish with lemon slices. Fresh herbs like parsley or basil look great too. A sprinkle of black pepper adds a nice touch. These simple additions make your meal pop. For more ideas, check the Full Recipe. {{image_4}} Substitutions for Chicken You can swap chicken breasts for chicken thighs. Thighs stay juicy and tender. You can also use turkey cutlets for a lighter option. For a vegetarian choice, try firm tofu or tempeh. Options for Different Vegetables Broccoli is great, but other veggies work too. You can use green beans, bell peppers, or asparagus. Cauliflower is another tasty choice. Just adjust cook times to keep them crisp. Spicy Garlic Butter Version Want some heat? Add red pepper flakes to the garlic butter. Start with a pinch and taste as you go. You can also mix in some sriracha for extra kick. Herbs and Seasoning Variations Feel free to play with herbs. Fresh thyme or parsley brighten the dish. You can also try rosemary or dill for a unique twist. Experimenting will lead to new favorites. Gluten-Free Adjustments This dish is already gluten-free. Just ensure your butter and seasonings are free from gluten. Serve with rice or quinoa for a gluten-free grain. Dairy-Free Options For a dairy-free version, use olive oil instead of butter. Coconut oil adds a nice flavor too. You can also try vegan butter for the same rich taste. For the full recipe, click [Full Recipe]. To store leftover garlic butter chicken and broccoli, let it cool first. Place it in an airtight container. This keeps the dish fresh and tasty. If you use a glass container, it helps you see the food inside. Store it in the fridge for up to three days. For reheating, I recommend using the stovetop. Heat it in a skillet over medium heat. Add a splash of water or broth to keep it moist. Stir gently to maintain the flavor and texture. You can also microwave it in short intervals, stirring in between. Yes, you can freeze this dish. Freezing helps preserve its flavor and nutrients. First, let the chicken and broccoli cool completely. Here are steps for successful freezing: - Cut the chicken into smaller pieces for easier thawing. - Place the chicken and broccoli in a freezer-safe container. - Label the container with the date for easy tracking. To thaw, move it to the fridge overnight. Reheat it in a skillet for the best taste. In the fridge, garlic butter chicken and broccoli lasts about three days. If frozen, it stays safe for about three months. Watch for signs of spoilage: - Look for a change in color or texture. - If it smells off or sour, it’s best to discard it. This way, you can enjoy your meal without worry! For the full recipe, check out the complete details. What’s the Best Way to Season Chicken? To season chicken well, use salt, pepper, and spices. I like paprika and Italian seasoning. They add a nice taste. Always season both sides of the chicken. This helps the flavor spread evenly. Can I Use Frozen Broccoli Instead? Yes, you can use frozen broccoli! Just thaw it first. If you cook it straight from frozen, it may become mushy. Thawed broccoli cooks fast, so watch it closely. How to Make This Recipe for a Larger Group? To serve more people, simply double or triple the recipe. Make sure you have enough chicken and broccoli. Use a larger skillet to cook everything at once. If you run out of space, cook in batches. Can I Make it in Advance for Meal Prep? You can prepare this meal in advance. Cook the chicken and broccoli, then store them in containers. They last well in the fridge for a few days. Just reheat before serving. What’s the Secret to Tender Broccoli? To keep broccoli tender, do not overcook it. Sauté it just until it turns bright green. This usually takes about 3-5 minutes. Stir it often to cook evenly. How Do I Know When the Chicken is Fully Cooked? The chicken is done when it reaches 165°F (75°C). Use a meat thermometer for accuracy. The chicken should be golden brown on the outside. If it is still pink inside, it needs more cooking. In this post, we covered how to make Garlic Butter Chicken and Broccoli. You learned about the key ingredients, step-by-step cooking methods, and tips for great flavor. We also explored variations, storage tips, and answered common questions. Enjoy experimenting with your dish. Make it your own by trying new flavors and methods. Cook with fresh ingredients for the best taste. Your meals can be easy, delicious, and healthy!](https://meltedrecipes.com/wp-content/uploads/2025/07/35d226f4-fb4e-40bb-b420-af04cd0f941a.webp)
Garlic Butter Chicken & Broccoli Flavorful Dinner Recipe
Looking for a tasty dinner idea? Garlic Butter Chicken & Broccoli is your answer! This simple recipe is packed with flavor and comes together quickly.
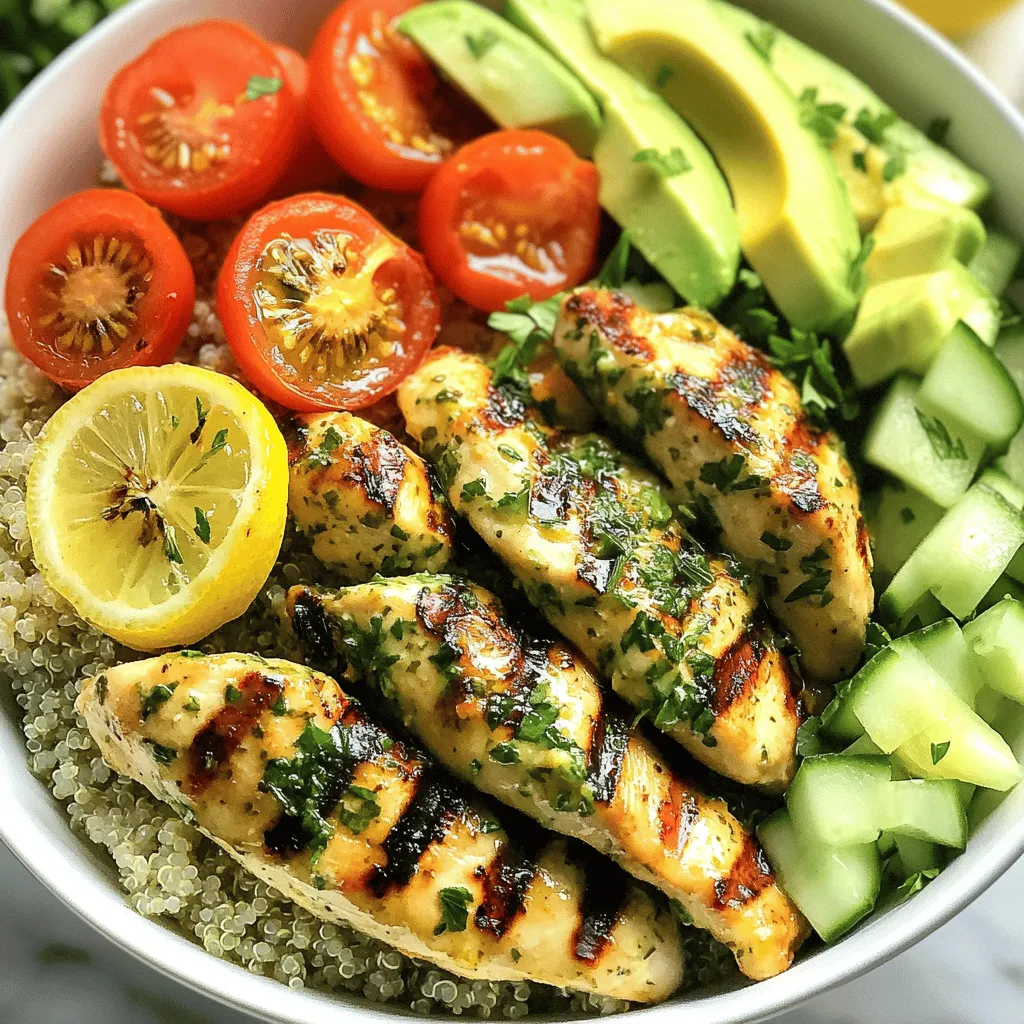
Grilled Lemon Herb Chicken Bowls Flavorful Everyday Meal
Looking for a quick and tasty meal? Try these Grilled Lemon Herb Chicken Bowls! This dish is packed with fresh flavors and is easy to

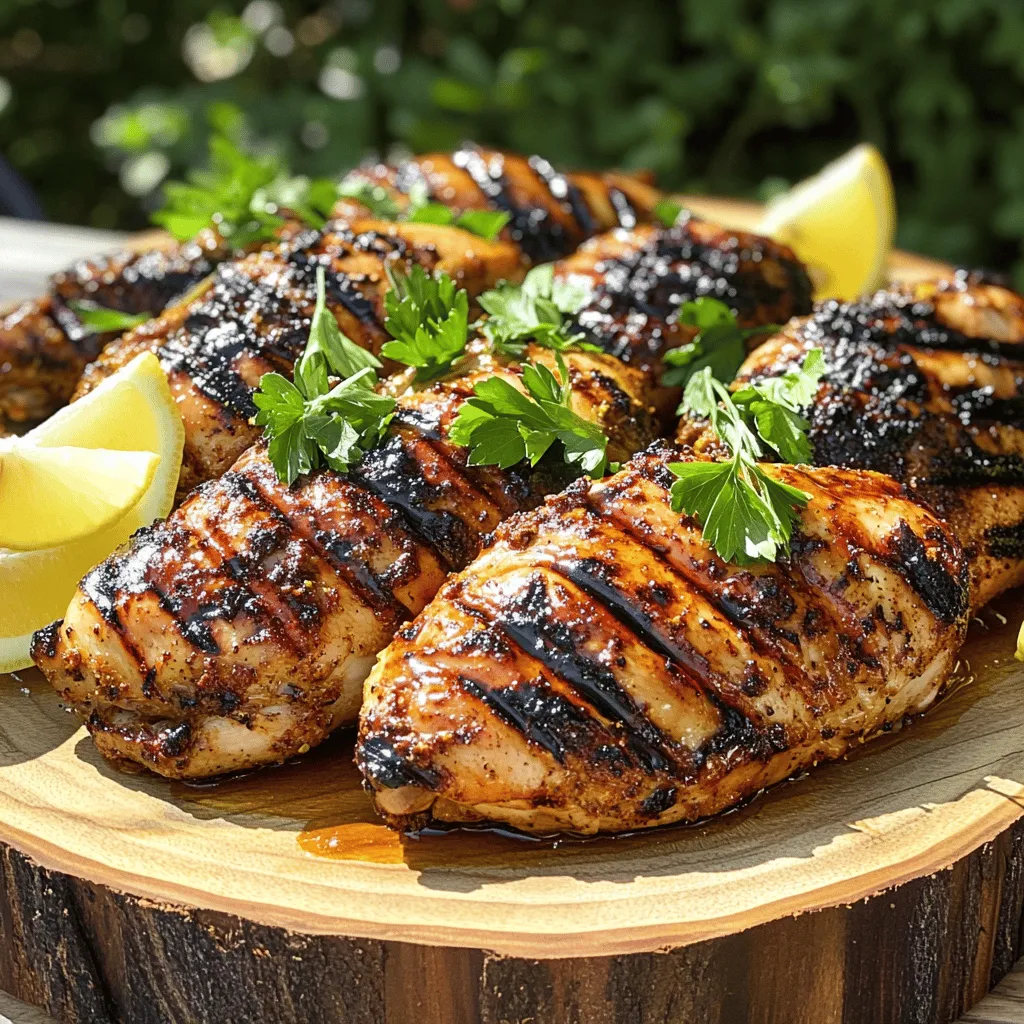
Easy Marinated Grilled Chicken Flavorful and Fresh Dish
Looking for a simple and tasty dish? My Easy Marinated Grilled Chicken recipe is just what you need! With zesty citrus, garlic, and honey, this
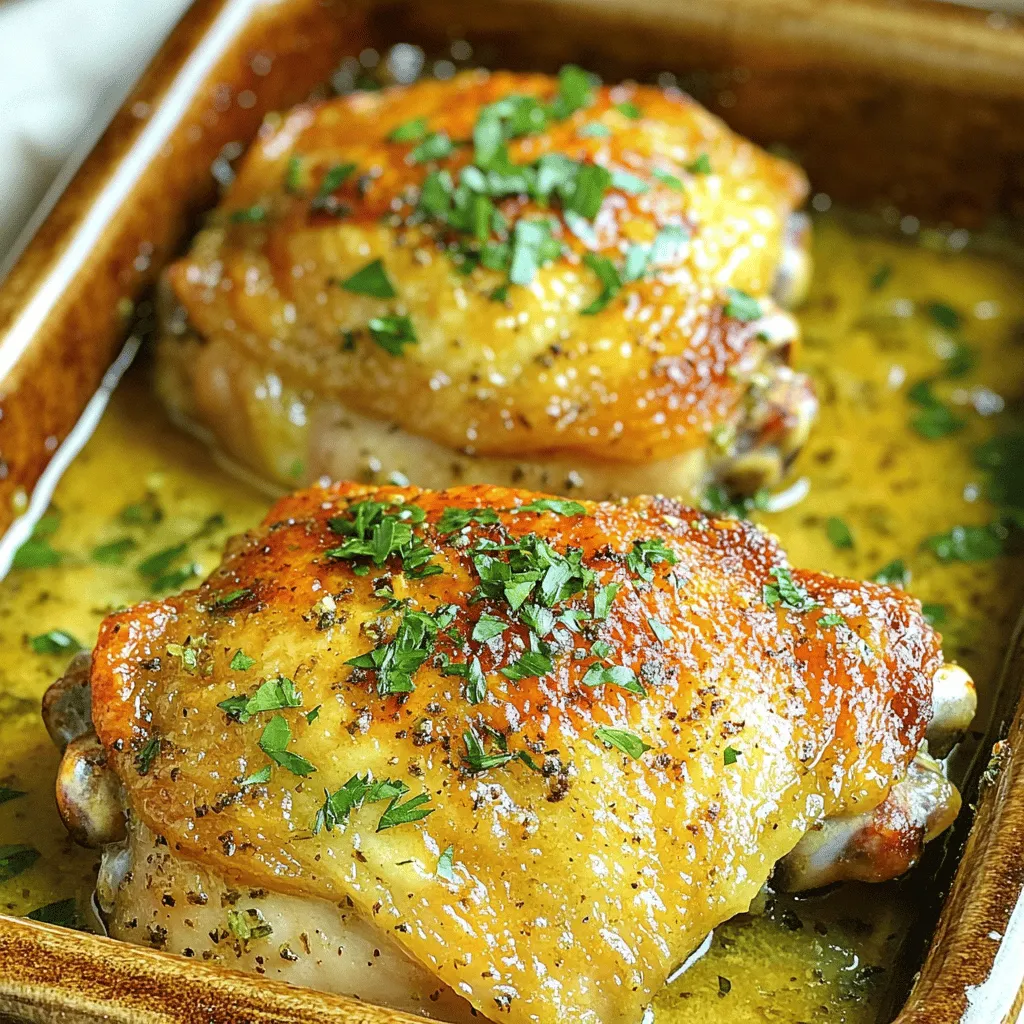
Garlic Butter Baked Chicken Flavorful and Simple Meal
Looking for a meal that’s both delicious and easy? Garlic Butter Baked Chicken is your answer! With just a few key ingredients and simple steps,
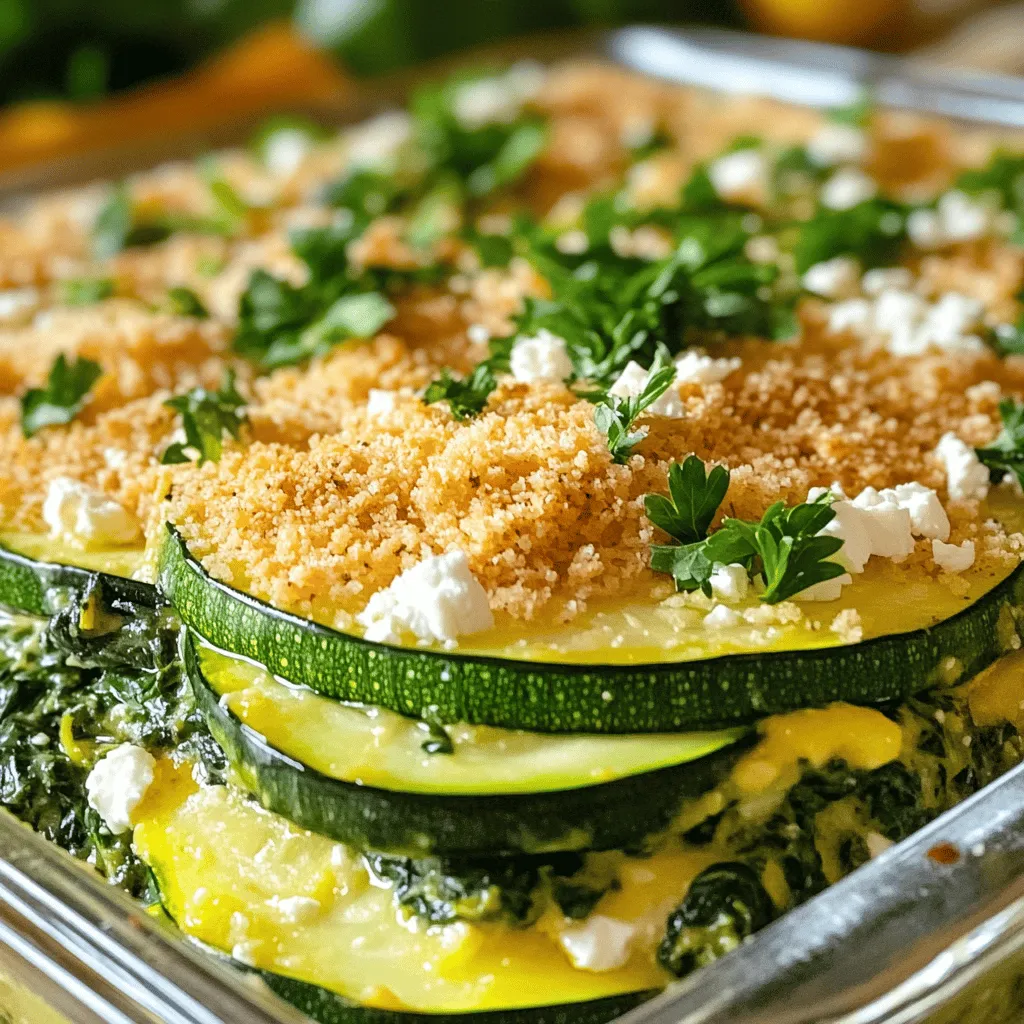
Baked Zucchini Spinach and Feta Casserole Delight
Looking for a tasty dish that’s easy to make and packed with nutrients? This Baked Zucchini Spinach and Feta Casserole Delight is just what you

Savory Summer Squash and Corn Chowder Recipe
If you’re looking for a comforting dish that captures the essence of summer, my Savory Summer Squash and Corn Chowder recipe is just what you
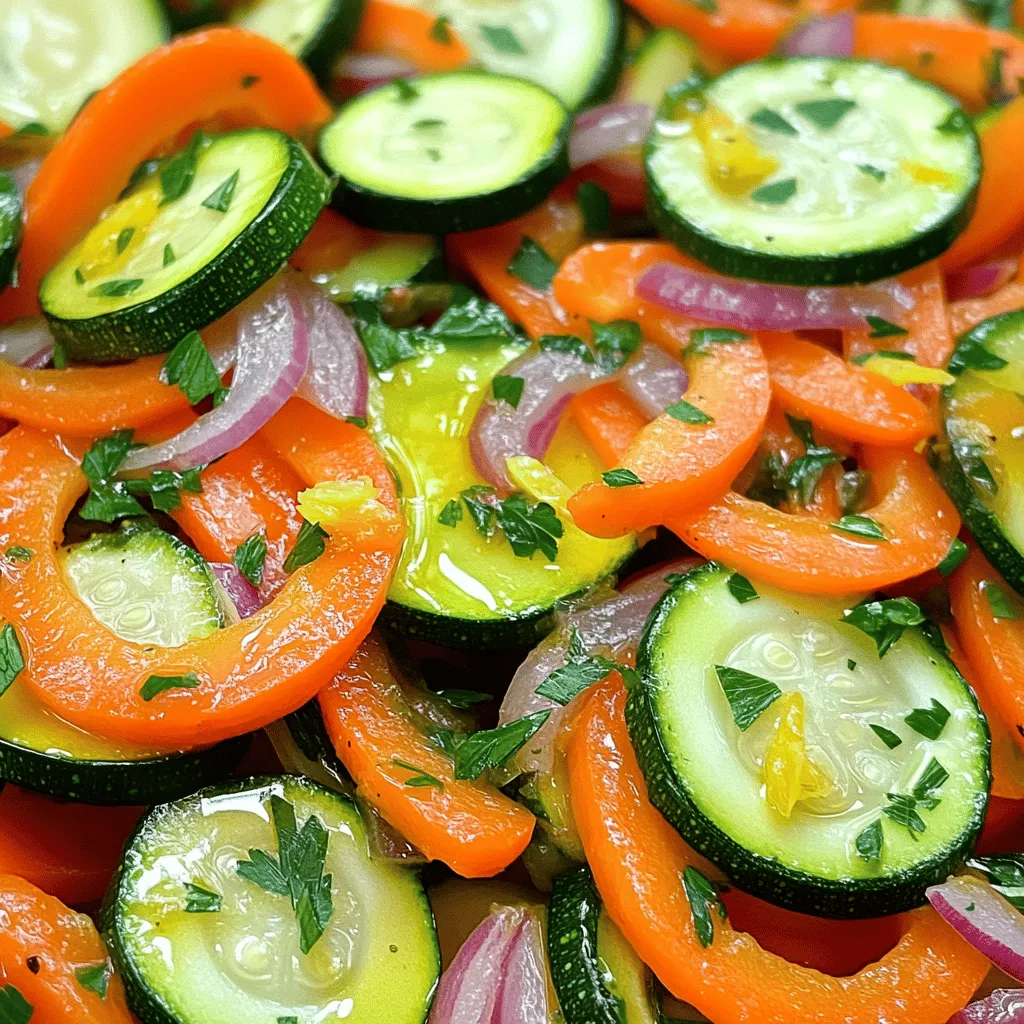
Sautéed Carrots and Zucchini Flavorful Side Dish
Looking for a tasty side dish that’s both colorful and nutritious? You’ve found it! Sautéed carrots and zucchini make for a delightful addition to any

Sautéed Zucchini and Mushrooms Flavorful Veggie Dish
If you’re looking for a tasty, healthy side dish, sautéed zucchini and mushrooms should be on your plate. This vibrant veggie recipe combines soft zucchini

Creamy Turkey Kielbasa Broccoli Skillet Delight
Welcome to the flavorful world of my Creamy Turkey Kielbasa Broccoli Skillet Delight! If you’re seeking a quick, easy, and delicious dinner option, this dish