Dinner
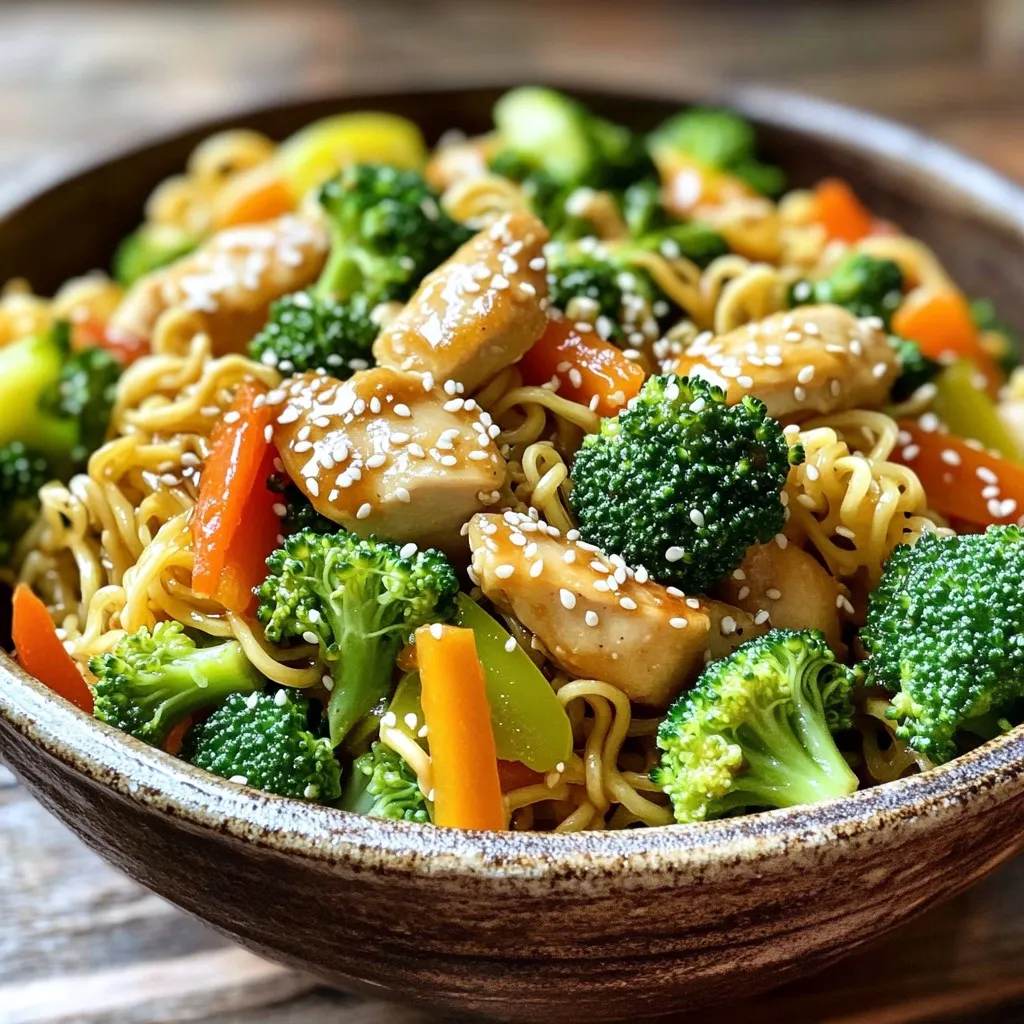
Chicken Ramen Stir Fry Tasty and Easy Meal Idea
Craving a quick and delicious meal? Look no further! This Chicken Ramen Stir Fry is your perfect solution. It combines juicy chicken, fresh veggies, and
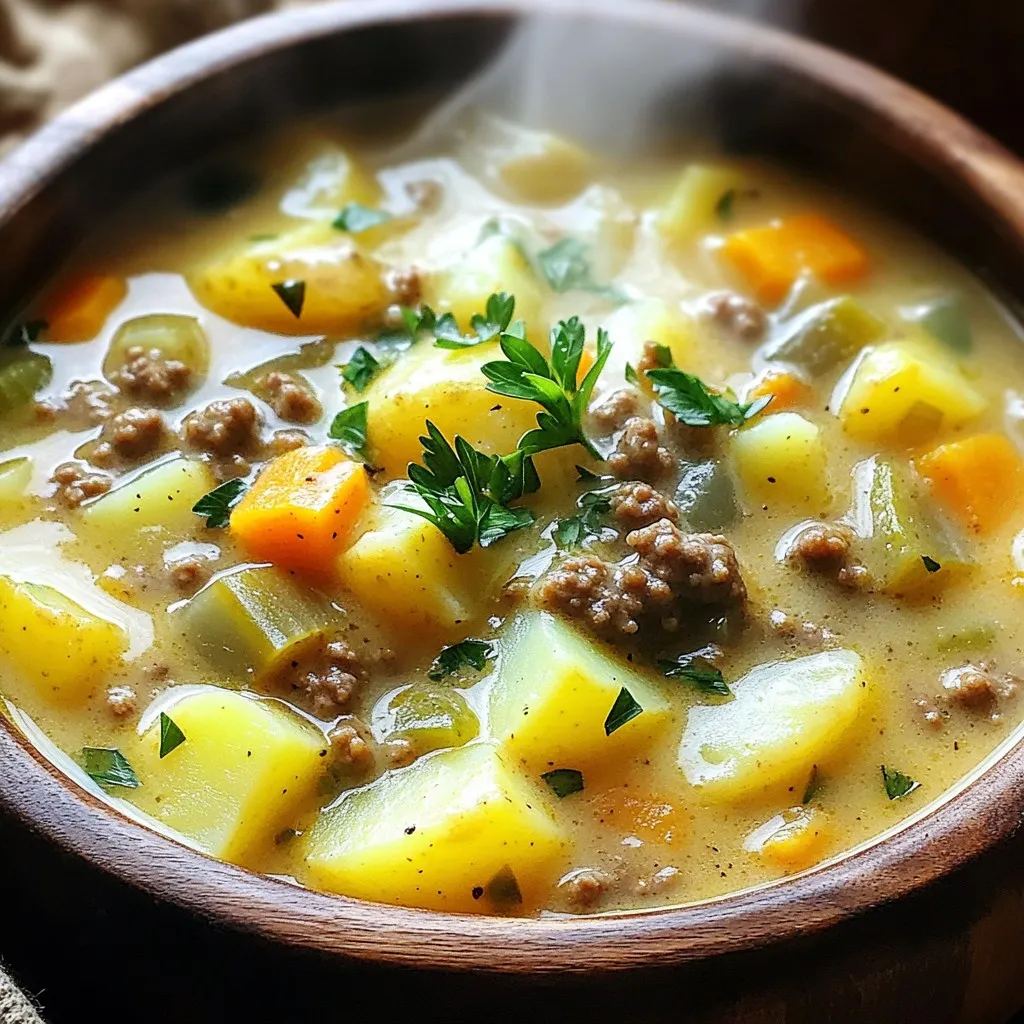
Creamy Hamburger Potato Soup Simple and Comforting Meal
Looking for a warm, hearty meal that feels like a cozy hug? You’re in the right place! This Creamy Hamburger Potato Soup is simple to
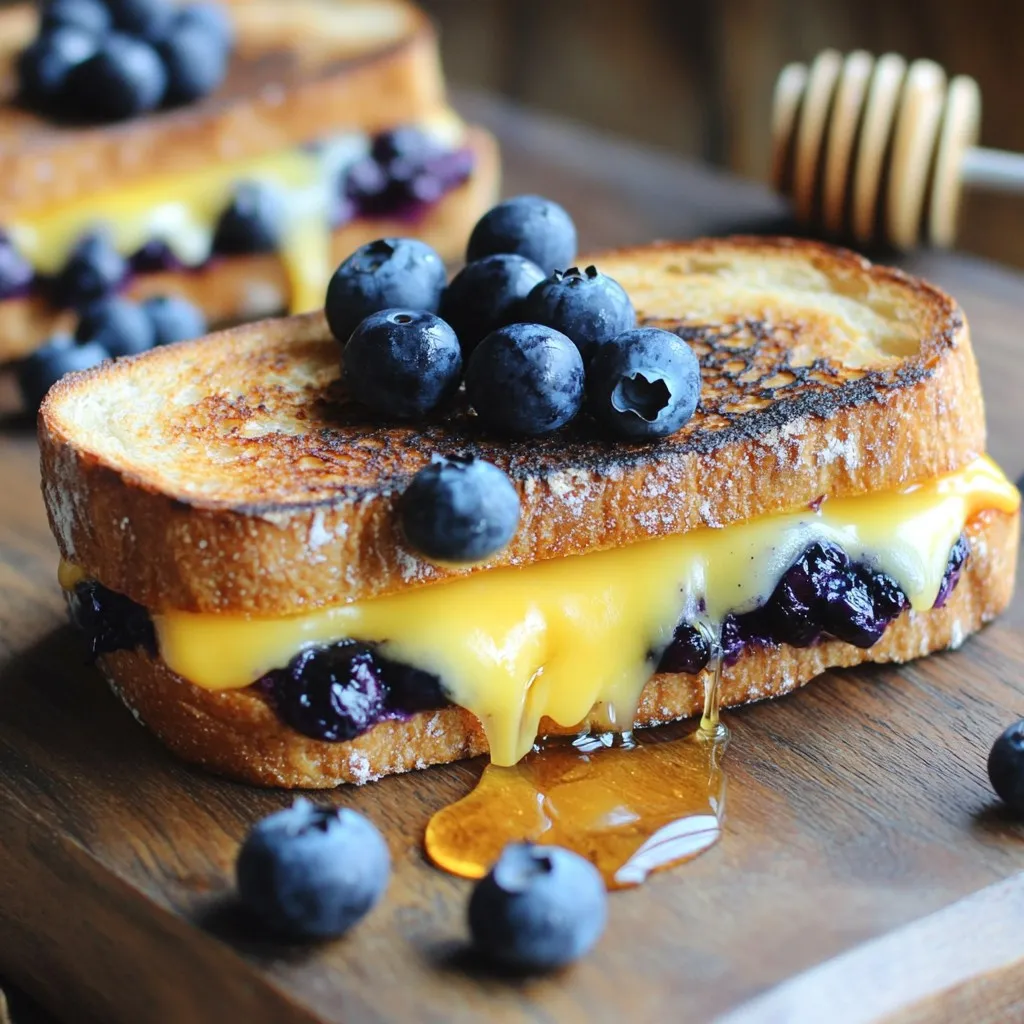
Blueberry Grilled Cheese Delightful and Simple Recipe
If you’re ready to take your taste buds on an adventure, let’s dive into the world of Blueberry Grilled Cheese! This fun twist on a
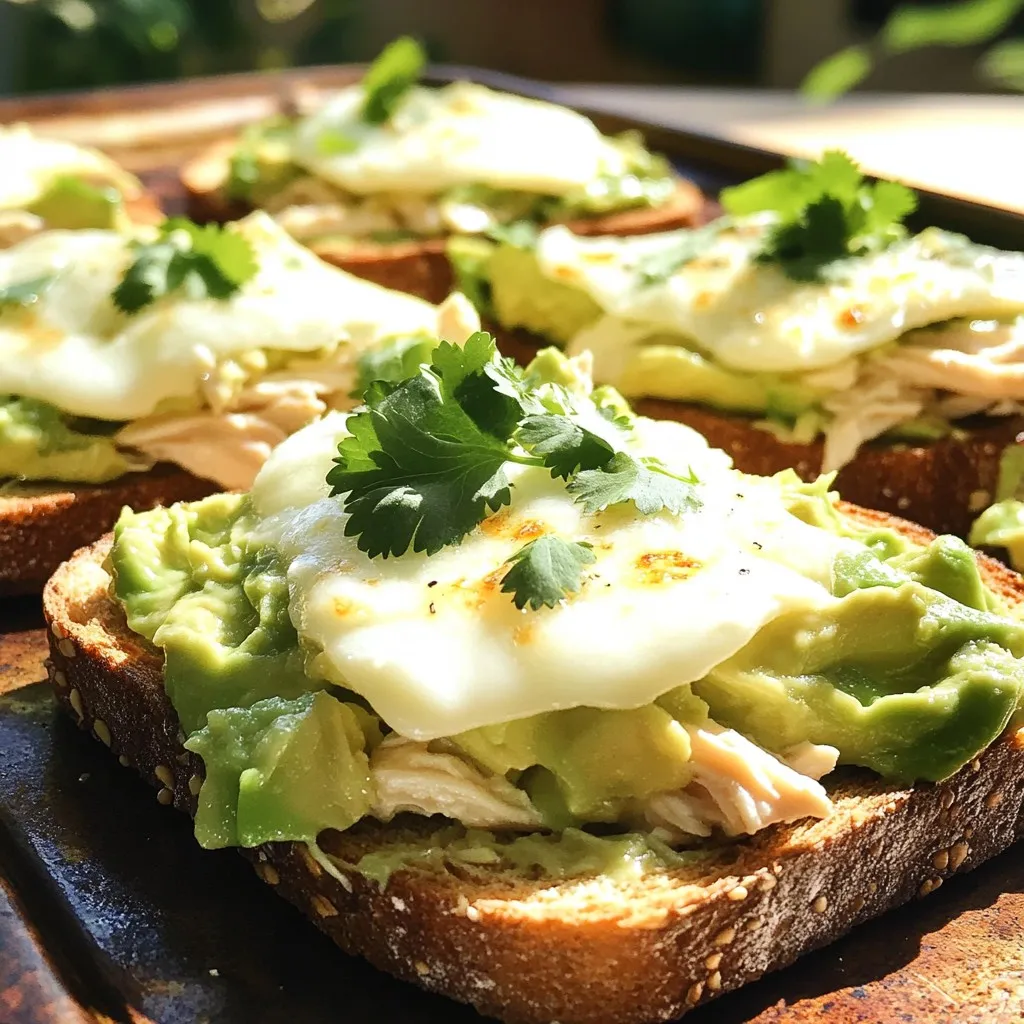
Chicken Avocado Melt Flavorful and Easy Recipe
Looking for a delicious way to upgrade your lunch? Try my Chicken Avocado Melt! This easy recipe combines juicy chicken, creamy avocado, and melty cheese

Mediterranean Chicken Gyros Flavorful and Easy Meal
Looking for a meal that bursts with flavor and is easy to make? Dive into my Mediterranean Chicken Gyros! With juicy marinated chicken and a

Pretzel Crusted Chicken with Mustard Cheddar Sauce Delight
If you’re craving a meal that’s both fun and tasty, you’ll love this Pretzel Crusted Chicken with Mustard Cheddar Sauce! Imagine juicy chicken wrapped in
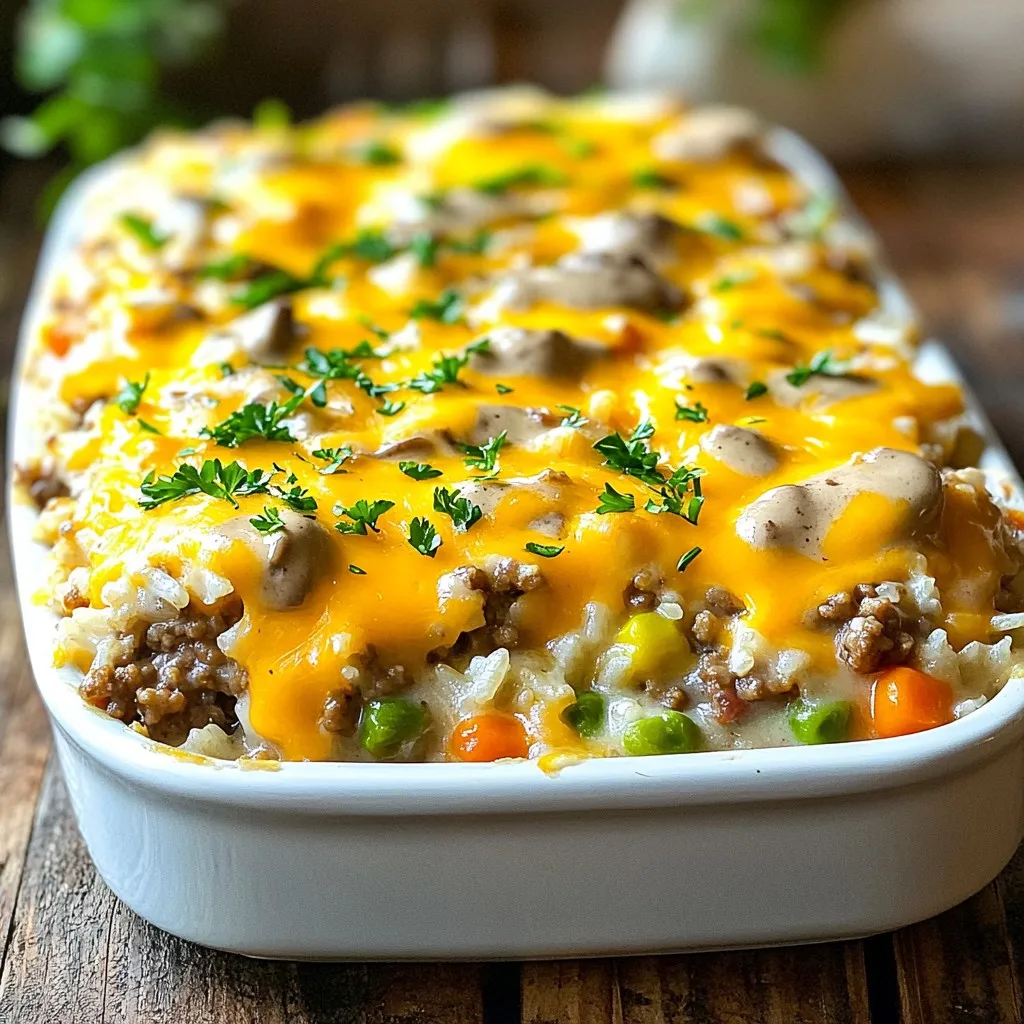
Cheesy Hamburger Rice Casserole Easy Family Meal
Looking for an easy family meal that everyone will love? You’ve found it! My Cheesy Hamburger Rice Casserole is simple to make and packed with
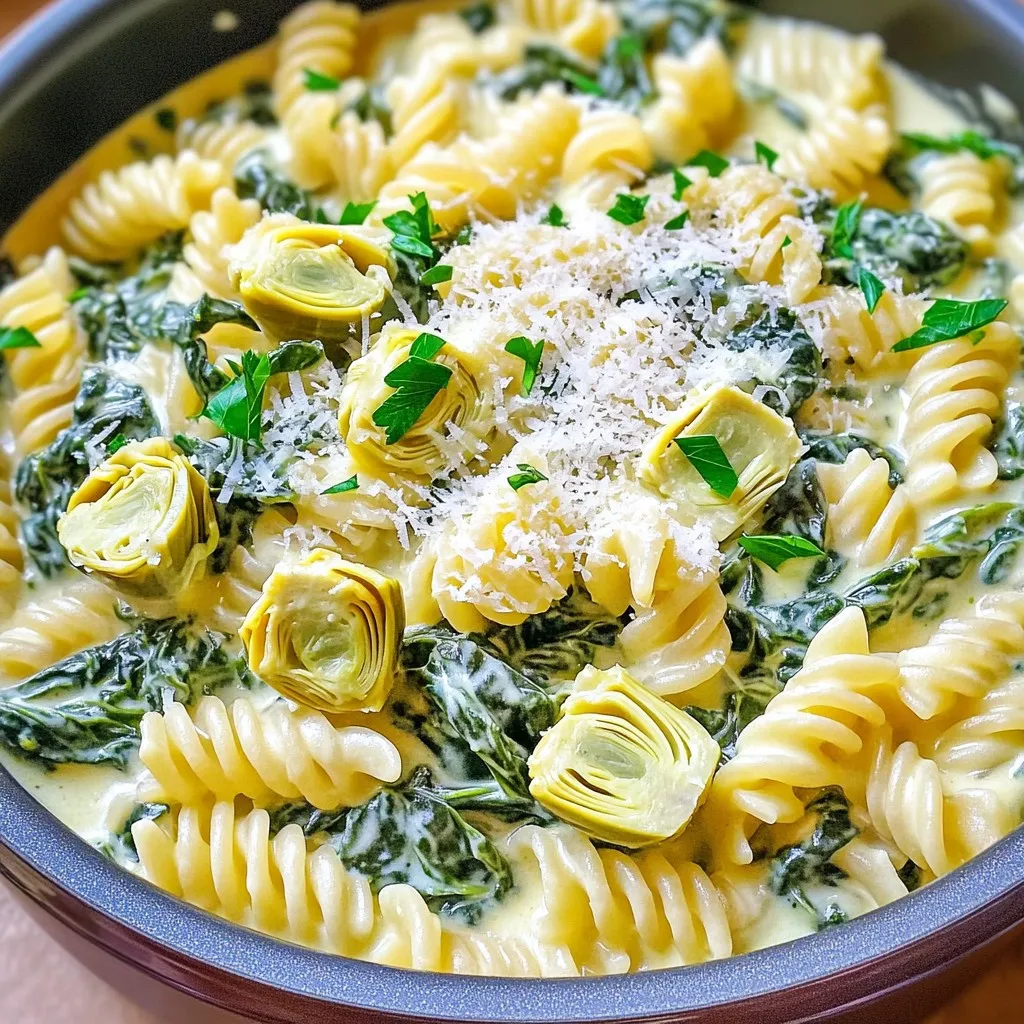
One-Pot Creamy Spinach Artichoke Pasta Delight
Are you ready to whip up a dish that combines creaminess with bold flavors? My One-Pot Creamy Spinach Artichoke Pasta Delight is simple, satisfying, and
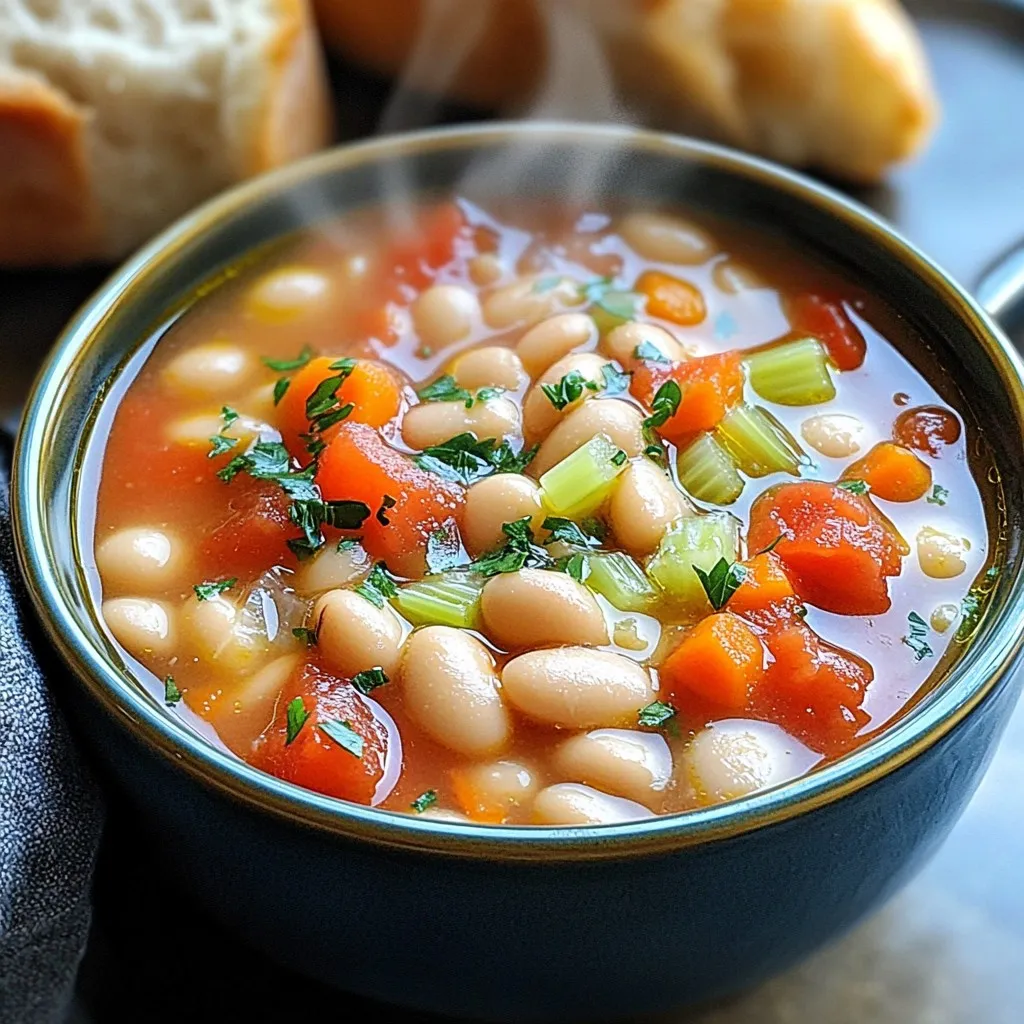
Flavorful Slow Cooker Tuscan White Bean Soup Recipe
Looking for a cozy, healthy meal? You’ve found it! My Flavorful Slow Cooker Tuscan White Bean Soup is easy to make and perfect for any
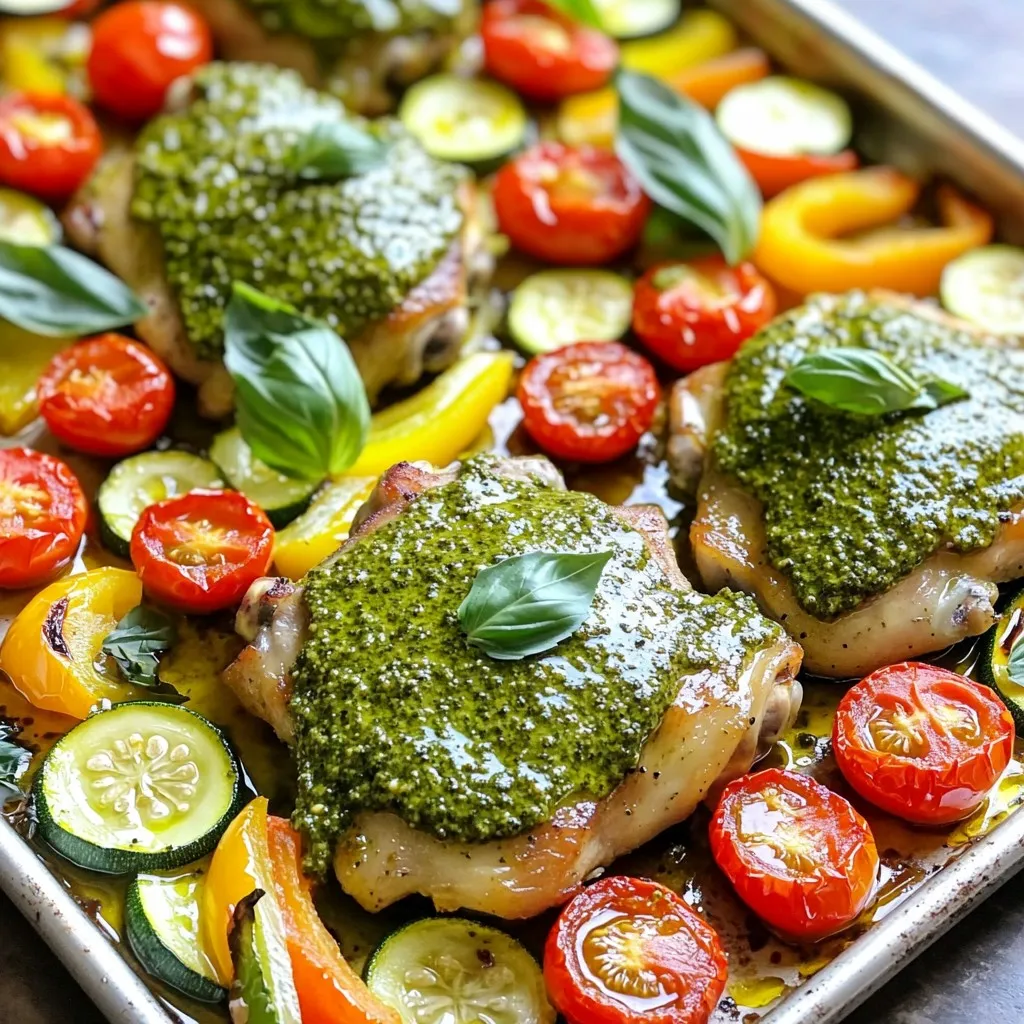
Pesto Chicken & Cherry Tomato Sheet Pan Delight
Looking for a quick and tasty dinner? Try my Pesto Chicken & Cherry Tomato Sheet Pan Delight! This one-pan meal combines juicy chicken thighs, vibrant