Dinner
![- 10 corn tortillas - 2 cups shredded cheddar cheese - 1 cup shredded Monterey Jack cheese - 1 small onion, finely chopped - 2 cloves garlic, minced - 1 teaspoon ground cumin - 1 teaspoon smoked paprika - 2 cups enchilada sauce (store-bought or homemade) - 1 tablespoon olive oil - Salt and pepper to taste - Fresh cilantro, chopped (for garnish) To make cheese enchiladas with chili gravy, you need a few key ingredients. First, the corn tortillas are the base. They hold all the cheesy goodness inside. Then, we use cheddar and Monterey Jack cheese for that rich, melty taste. Next, we add some flavor with finely chopped onion and minced garlic. These boost the taste profile. Ground cumin and smoked paprika give it a warm, earthy flavor. For the sauce, you can use store-bought or homemade enchilada sauce. This is where the magic happens. The sauce ties everything together, making the dish moist and flavorful. You'll also need olive oil to cook the aromatics, along with salt and pepper for seasoning. Finally, fresh cilantro adds a bright touch when serving, making the dish pop visually and flavor-wise. For the full recipe, check out the detailed instructions on how to prepare this delicious meal! - Preheat the Oven: Set your oven to 375°F (190°C). This step is key for even cooking. - Sauté the Aromatics: In a skillet, heat the olive oil over medium heat. Once hot, add the chopped onion. Cook for 3-4 minutes until it turns translucent. Then, add the minced garlic and sauté for one more minute. - Add Garlic and Spices: Stir in the ground cumin and smoked paprika. Let them cook for a minute, mixing well. This adds great flavor to the filling. - Combine Cheese Mixture: In a large bowl, mix the shredded cheddar and Monterey Jack cheeses. Add half of the sautéed onion mix. Season with salt and pepper to taste. This creates a rich and creamy filling. - Assemble the Enchiladas: Pour half of the enchilada sauce into a shallow dish. Take a corn tortilla, scoop some cheese mixture into the center, and roll it up. Place it seam-side down in the dish. Repeat this with all tortillas. - Top with Sauce and Cheese: Pour the remaining enchilada sauce over the rolled tortillas. Make sure each one is covered. Sprinkle the leftover cheese mixture on top for extra cheesy goodness. - Bake to Perfection: Place the dish in your preheated oven. Bake for 20-25 minutes. You want the cheese to melt and bubble, with edges turning golden. These steps make the process easy and fun. For a full recipe with all details, check out the [Full Recipe]. To prevent tortillas from breaking, heat them briefly in a skillet. This makes them soft and pliable. You can also wrap them in a damp cloth and microwave for about 30 seconds. This helps keep them from cracking when you roll them. When choosing enchilada sauce, homemade sauce has a fresher taste. You can control the spice level and ingredients. Store-bought sauce is quick and still tasty. If you choose it, look for one with simple ingredients and no added sugars. Pair your enchiladas with sides like fluffy rice, seasoned beans, or a fresh salad. These sides balance the richness of the cheese. For the best look, serve enchiladas on a colorful plate. Drizzle extra sauce on top and add a sprig of cilantro for a pop of color. Use a 9x13-inch baking dish for even cooking. A non-stick dish helps with easy removal. A large skillet makes sautéing the onion and garlic simple. You will also need a mixing bowl for the cheese filling. A spatula is handy for assembly and serving. For easy rolling, have a plate ready to hold the filled tortillas. For the full recipe, check out the detailed instructions and ingredient list. {{image_4}} You can switch up the cheese in your enchiladas. Try using Oaxaca cheese for a melty texture. Pepper Jack adds a nice kick with its spice. If you want to change the protein, you can use chicken, beef, or even beans. They all work well and add flavor. For a healthier twist, consider using whole wheat tortillas. They have more fiber and nutrients than regular ones. You might also opt for gluten-free tortillas if you need a different option. Low-fat cheese is another great swap. It still melts well and cuts some calories. To give your enchiladas a new flavor, add spices like chili powder or cumin. This can change the taste and make it more exciting. You can also make vegetarian or vegan enchiladas. Just swap cheese for a plant-based option and use more veggies. These options still taste great and are fun to make. For the full recipe, be sure to check the earlier sections. To keep your cheese enchiladas fresh, store any leftovers in the fridge. Place them in an airtight container. This helps to lock in moisture and flavor. If you don’t have a container, wrap them tightly with plastic wrap. This method also works well. If you want to save enchiladas for later, freezing is a great option. First, let them cool completely. Then, wrap each enchilada in plastic wrap. After that, place them inside a freezer bag. Remove as much air as you can before sealing. For reheating, let them thaw overnight in the fridge. Heat them in the oven at 350°F (175°C) until hot. This keeps the texture nice and cheesy. Cheese enchiladas can last in the fridge for about 3 to 4 days. If you freeze them, they can last up to 3 months. Always check for signs of spoilage. If the cheese looks moldy or the sauce smells off, it’s best to toss them out. Enjoy your enchiladas while they’re fresh for the best taste! For the complete recipe, check the Full Recipe section. How to make cheese enchiladas with chili gravy from scratch? To make cheese enchiladas with chili gravy, you need to start with the tortillas. Use corn tortillas for the best flavor. Next, fill each tortilla with a mix of shredded cheddar and Monterey Jack cheese. Roll them up tight and place them in a baking dish. Pour chili gravy over the top. Bake at 375°F (190°C) for about 20-25 minutes until bubbly. For the full steps, check the Full Recipe. Can I make enchiladas ahead of time? Yes, you can prepare enchiladas ahead of time. Assemble them, cover them with sauce, and then store in the fridge. They can sit for up to 24 hours before baking. This saves time on busy nights. What’s the best way to reheat enchiladas? The best way to reheat enchiladas is in the oven. Preheat it to 350°F (175°C). Place the enchiladas in a baking dish and cover with foil. Heat for about 15-20 minutes. This keeps them soft and cheesy. What can I use instead of corn tortillas? If you can’t find corn tortillas, you can use flour tortillas. They will change the flavor and texture a bit, but they work well. You can also try gluten-free tortillas if needed. Can I substitute chicken broth for enchilada sauce? You can use chicken broth, but it will not give the same flavor. It can help moisten the enchiladas if you mix it with some spices. Consider adding chili powder or cumin for a better taste. Are cheese enchiladas gluten-free? Traditional cheese enchiladas are not gluten-free due to corn tortillas. However, you can use gluten-free tortillas to make them suitable for a gluten-free diet. Can I make this recipe low-carb? You can make low-carb enchiladas by using zucchini or cauliflower tortillas. You can also reduce the cheese or use a low-fat cheese to cut carbs. You now have a complete guide to making delicious cheese enchiladas. We covered the key ingredients, preparation steps, and tips for getting it just right. You learned how to get the flavors perfect and how to store leftovers too. Whether you want to make this dish simple or add your own twist, the options are endless. Enjoy creating a meal that’s fun, tasty, and sure to impress. Dive in and start cooking; your homemade enchiladas await!](https://meltedrecipes.com/wp-content/uploads/2025/08/4b4f0f99-de83-4fa1-94fc-4db5f7f3f450.webp)
Cheese Enchiladas with Chili Gravy Easy and Delicious
Are you ready to whip up a batch of cheese enchiladas with chili gravy that’ll take you straight to flavor town? This easy recipe combines

Healthy Orange Sesame Chicken Quick and Easy Recipe
Are you ready to impress your friends and family with a tasty yet healthy meal? This Healthy Orange Sesame Chicken recipe is quick, easy, and
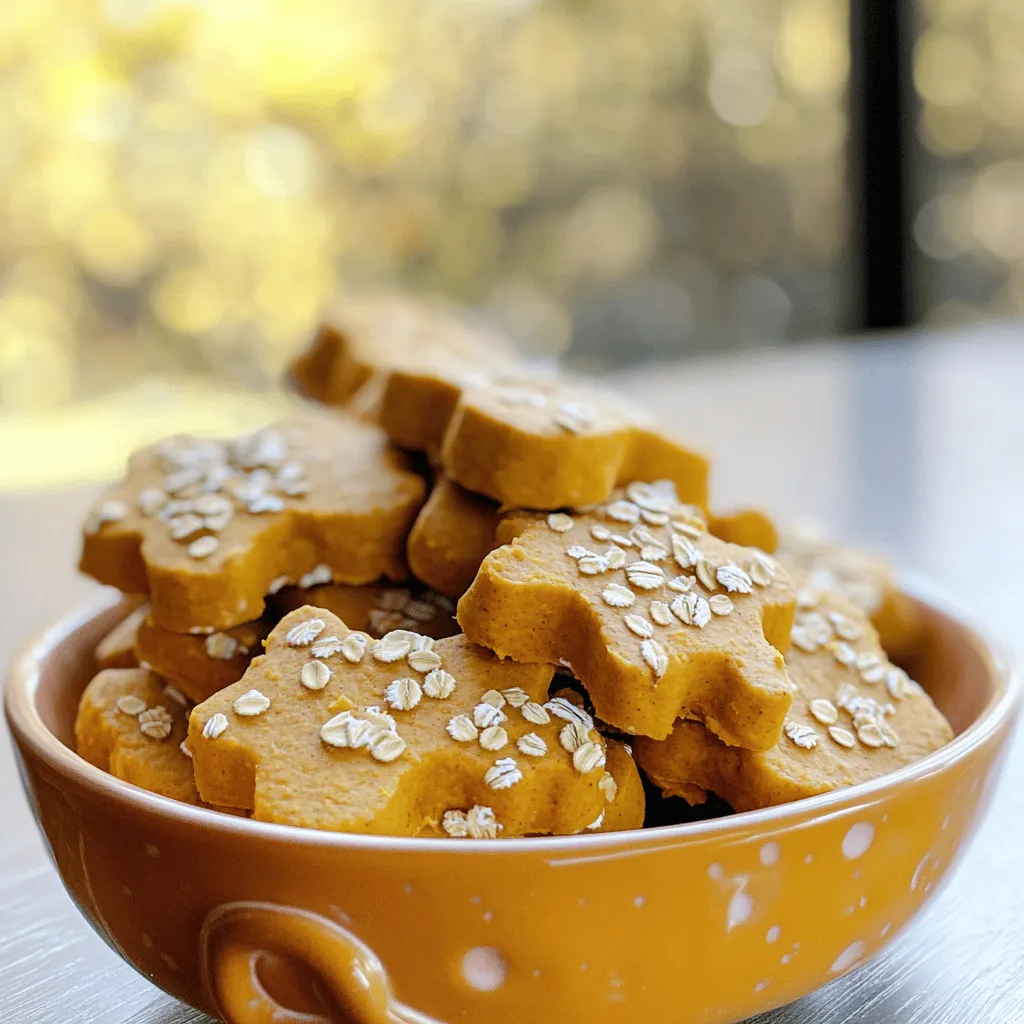
Easy Pumpkin No-Bake Treats for Dogs Delightful Snack
Looking for a fun way to spoil your furry friend? You’ve come to the right place! In this guide, I’ll show you how to make
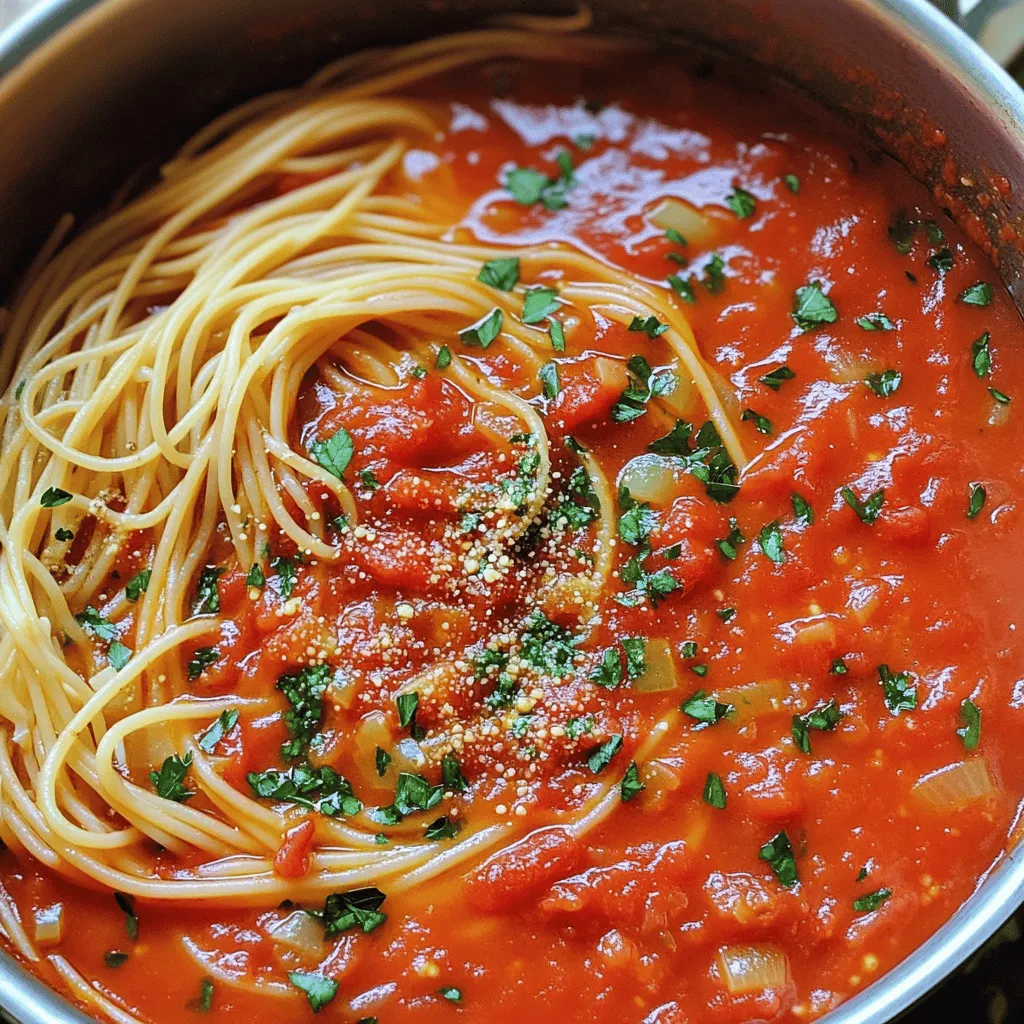
Canned Spaghetti Sauce Flavorful and Simple Recipe
Are you looking for a quick and tasty way to elevate your meals? Canned spaghetti sauce can be a game changer! With just a few
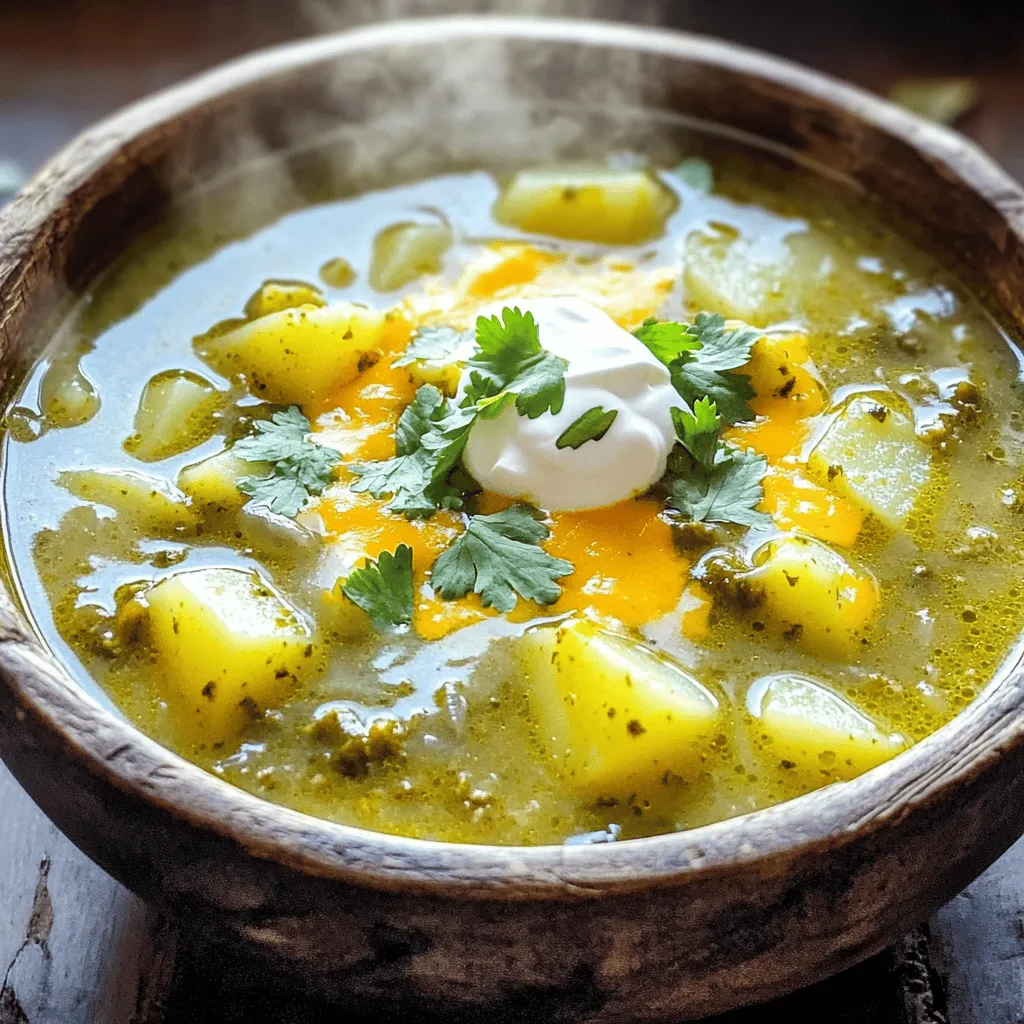
Green Chile Cheeseburger Soup Hearty Comfort Meal
Warm up your dinner routine with my delicious Green Chile Cheeseburger Soup! This hearty comfort meal combines all the rich flavors of a classic cheeseburger,
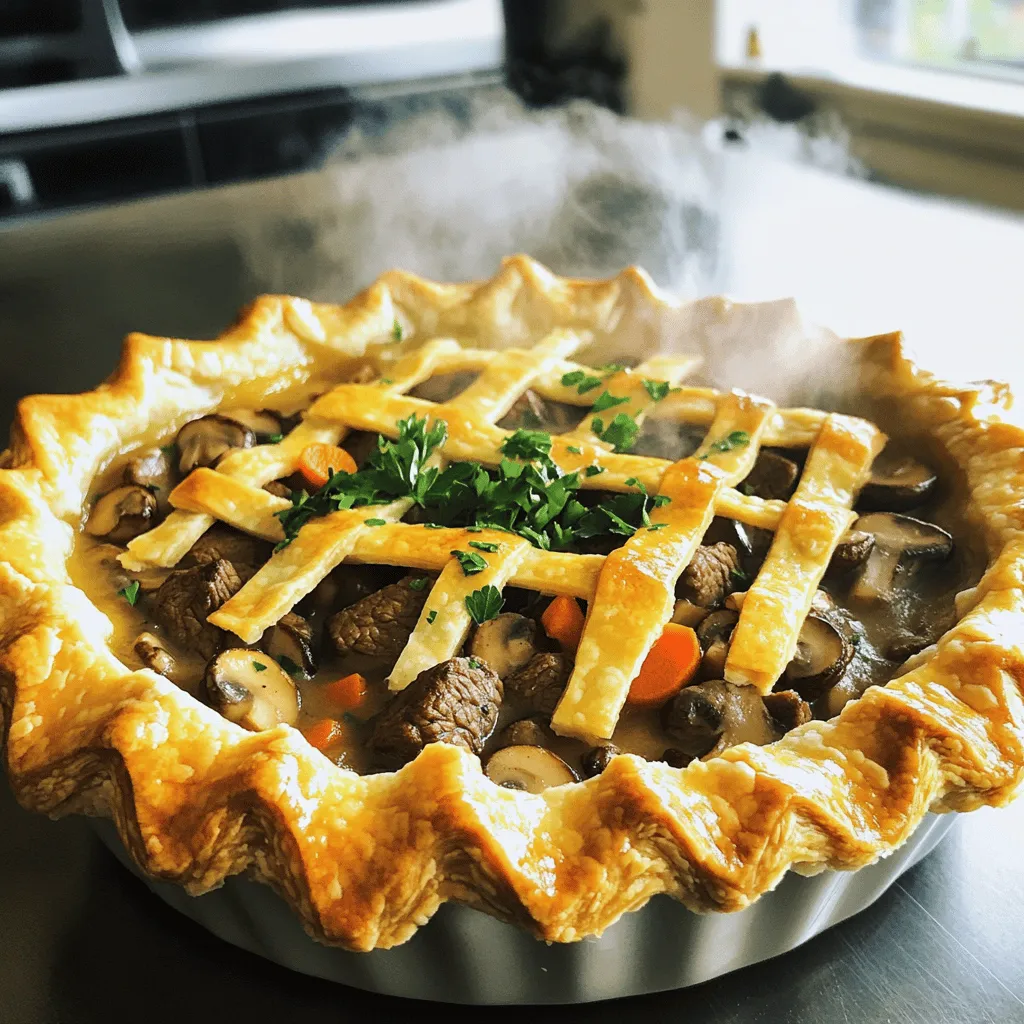
Epic Beef and Mushroom Pie Comfort Food Delight
Craving comfort food that warms the heart and fills the belly? Look no further than this Epic Beef and Mushroom Pie! This dish combines tender
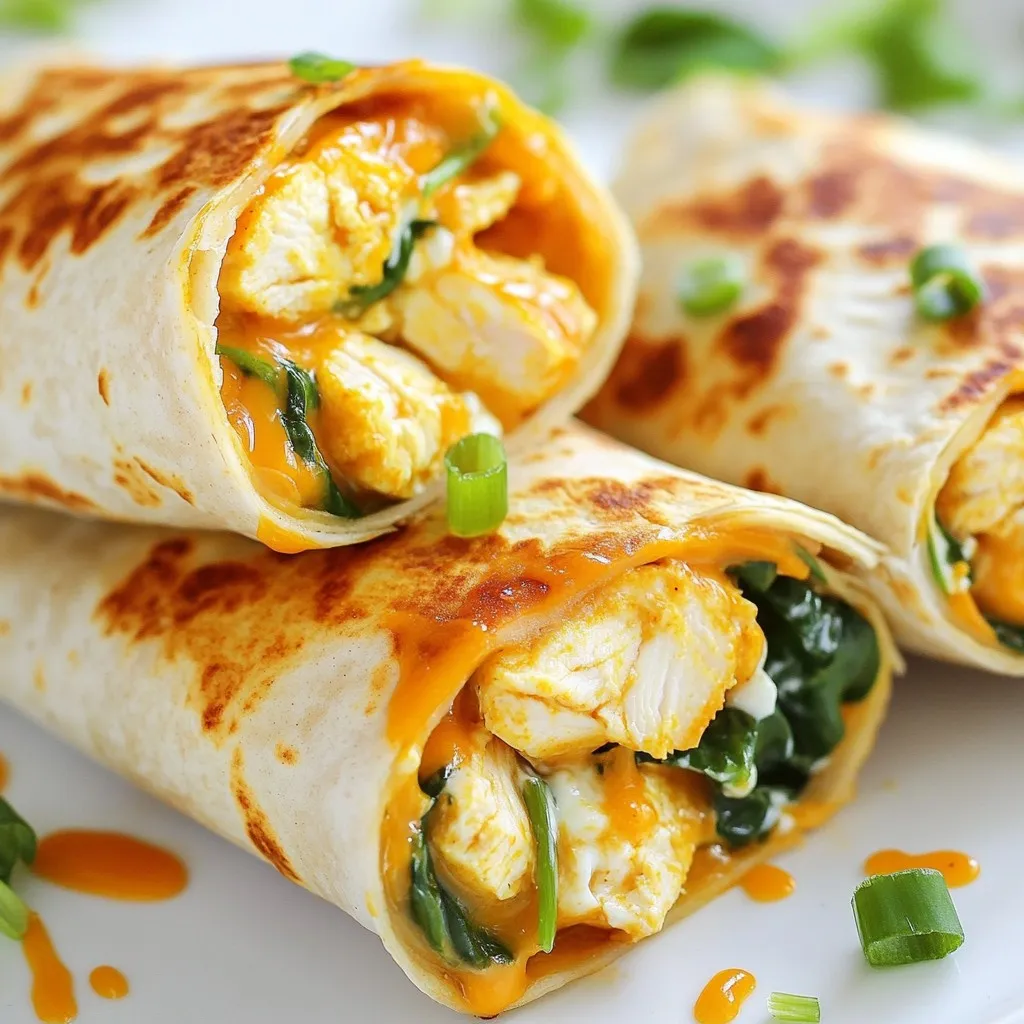
Gooey Garlic Chicken Wraps Tasty and Satisfying Meal
Looking for a meal that’s both tasty and satisfying? Gooey Garlic Chicken Wraps are your answer! With juicy chicken, creamy cheese, and a burst of

Game Changer Butter Chicken Simple and Flavorful Dish
Are you ready to elevate your dinner game? My Game Changer Butter Chicken transforms this classic dish into a simple, flavorful masterpiece. I’ll walk you
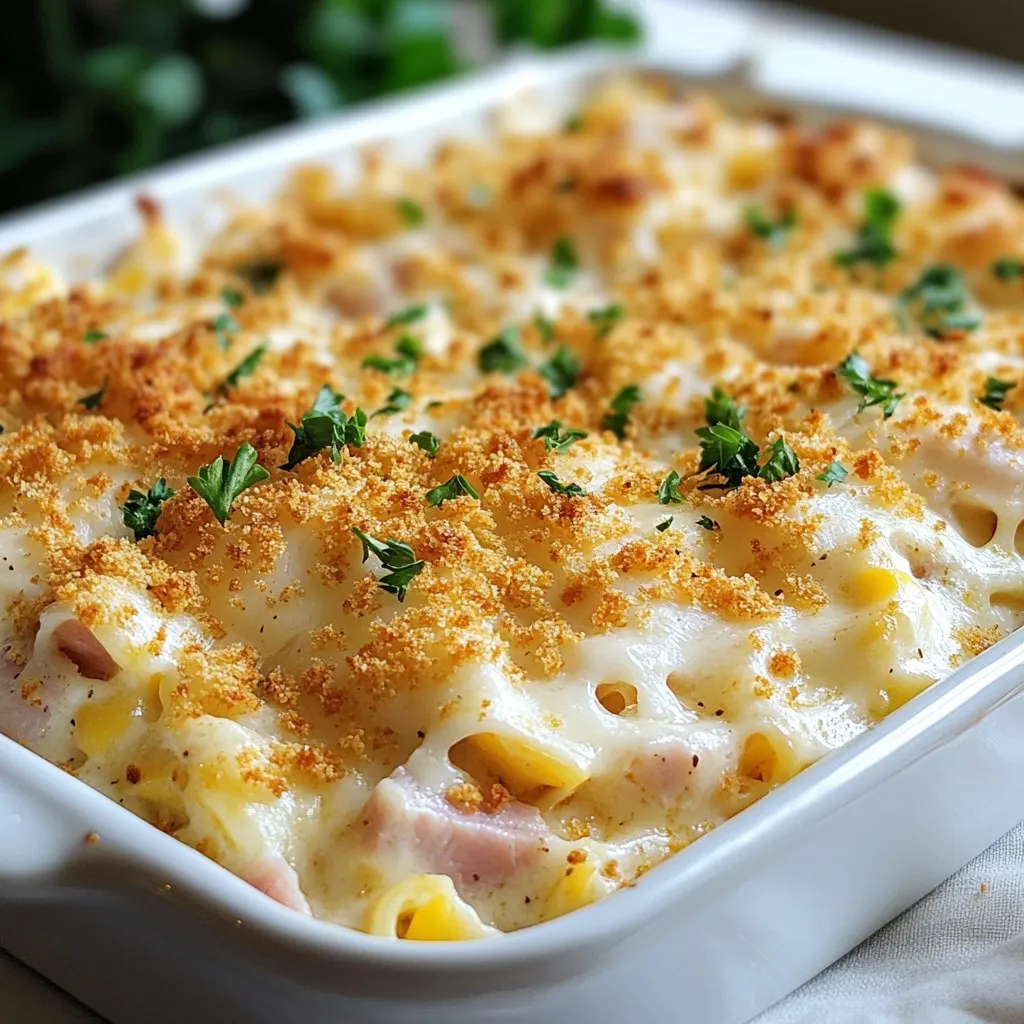
Chicken Cordon Bleu Casserole Flavorful Dinner Dish
Looking for a simple yet tasty dinner? Chicken Cordon Bleu Casserole is the answer. This dish combines tender chicken, savory ham, and gooey cheese, all
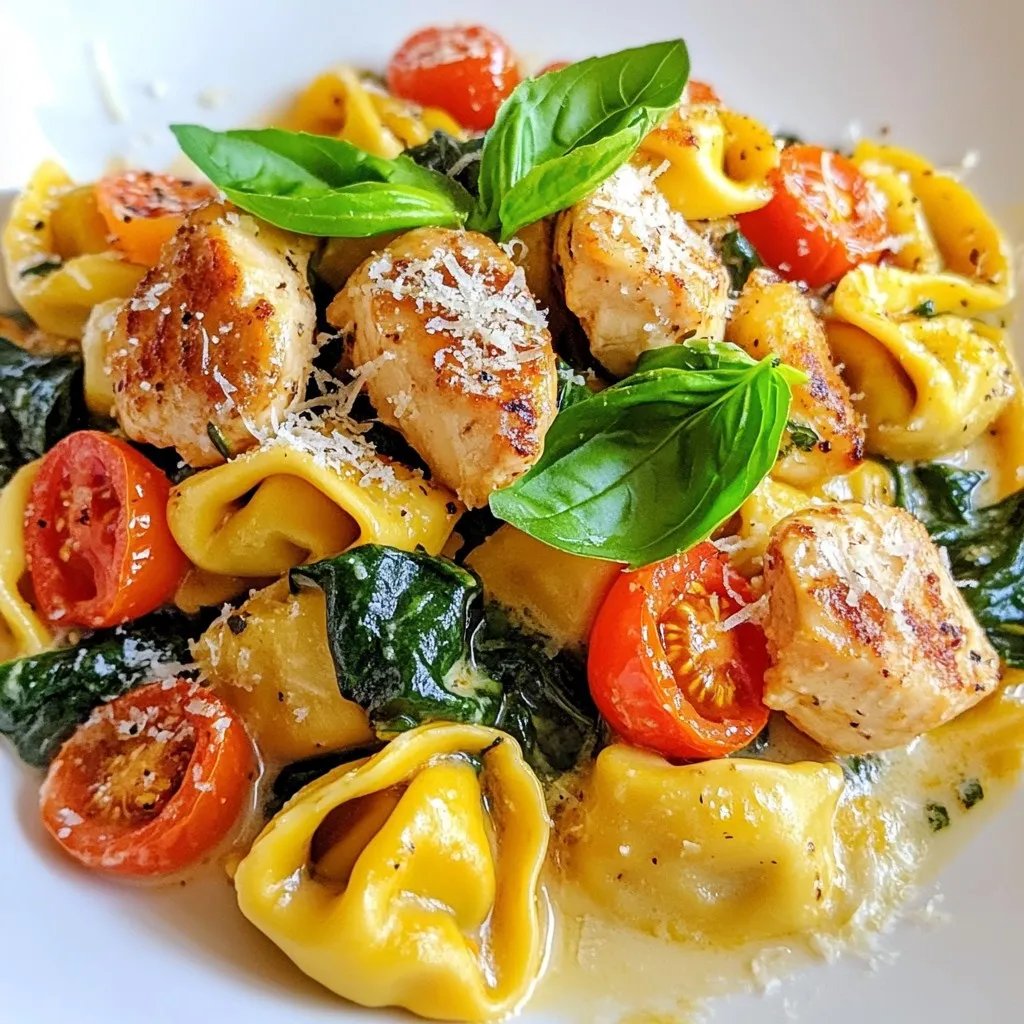
Marry Me Chicken Tortellini Simple and Flavorful Dish
Are you ready to impress with a dish that’s both simple and delicious? Marry Me Chicken Tortellini is just what you need! This flavorful recipe