Dinner

Spicy Salmon Sushi Bake Flavorful and Easy Recipe
If you love sushi but want an easy twist, try my Spicy Salmon Sushi Bake! This dish combines creamy, spicy salmon with warm, fluffy rice.
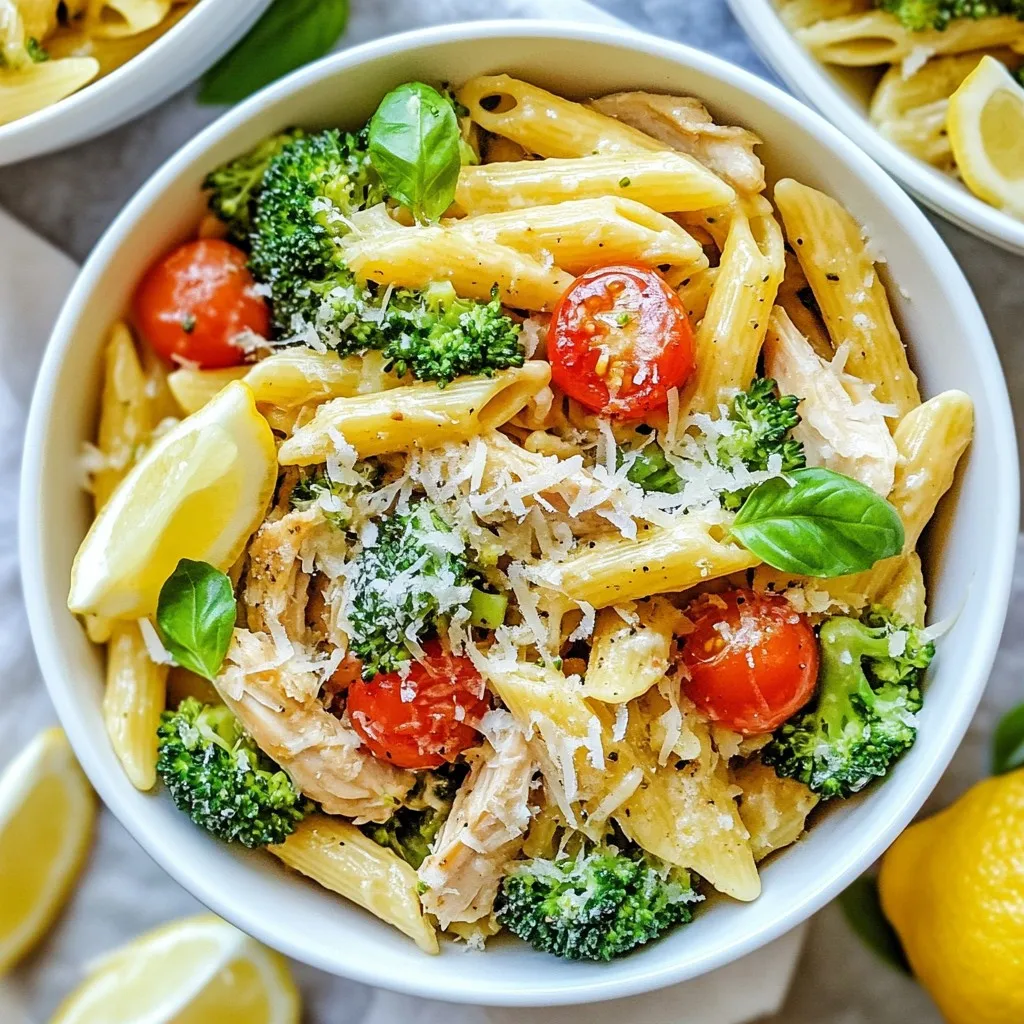
Rotisserie Chicken Broccoli Pasta Flavorful Delight
Looking for a quick, tasty meal? Look no further! My Rotisserie Chicken Broccoli Pasta combines tender chicken, fresh broccoli, and savory pasta in one dish.
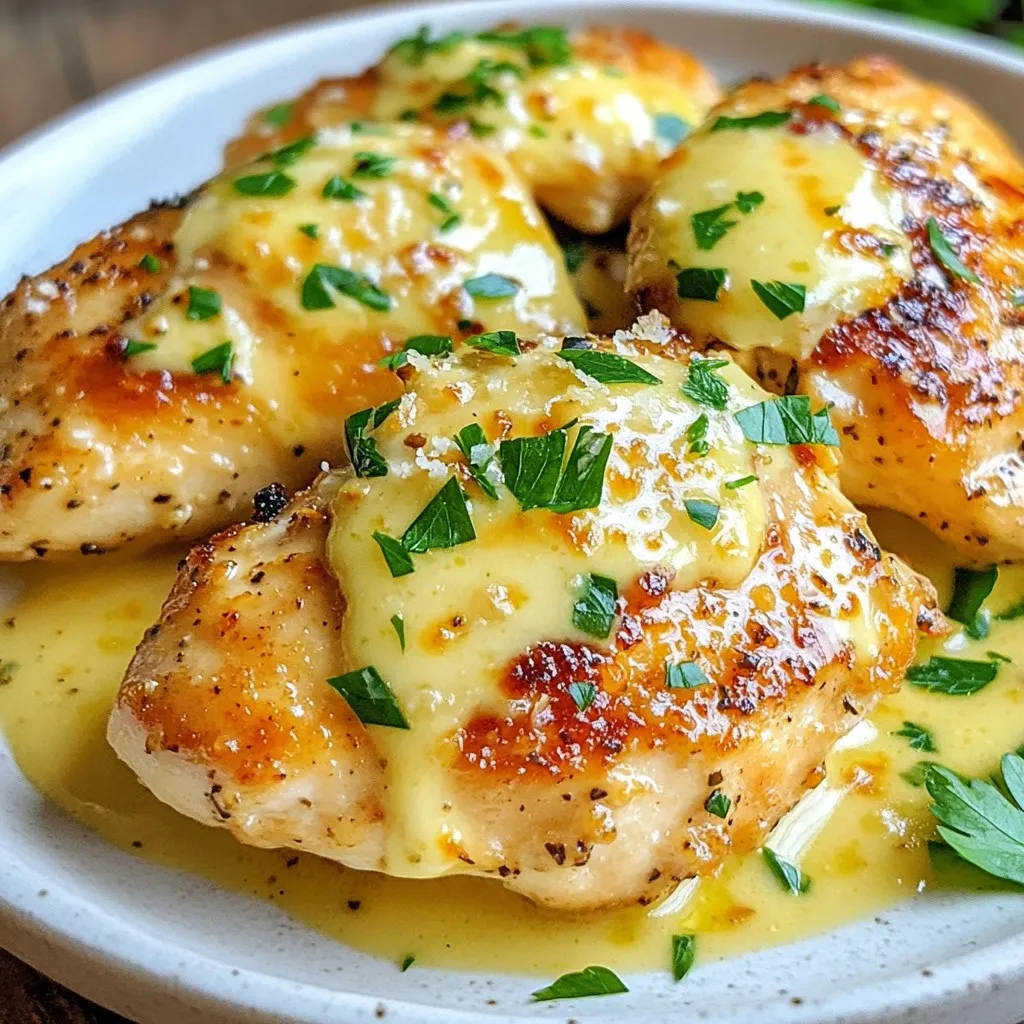
Creamy Garlic Parmesan Chicken Skillet Delicious Meal
Looking to impress at dinner with minimal effort? Let me introduce you to a rich and creamy dish: Creamy Garlic Parmesan Chicken Skillet. This meal
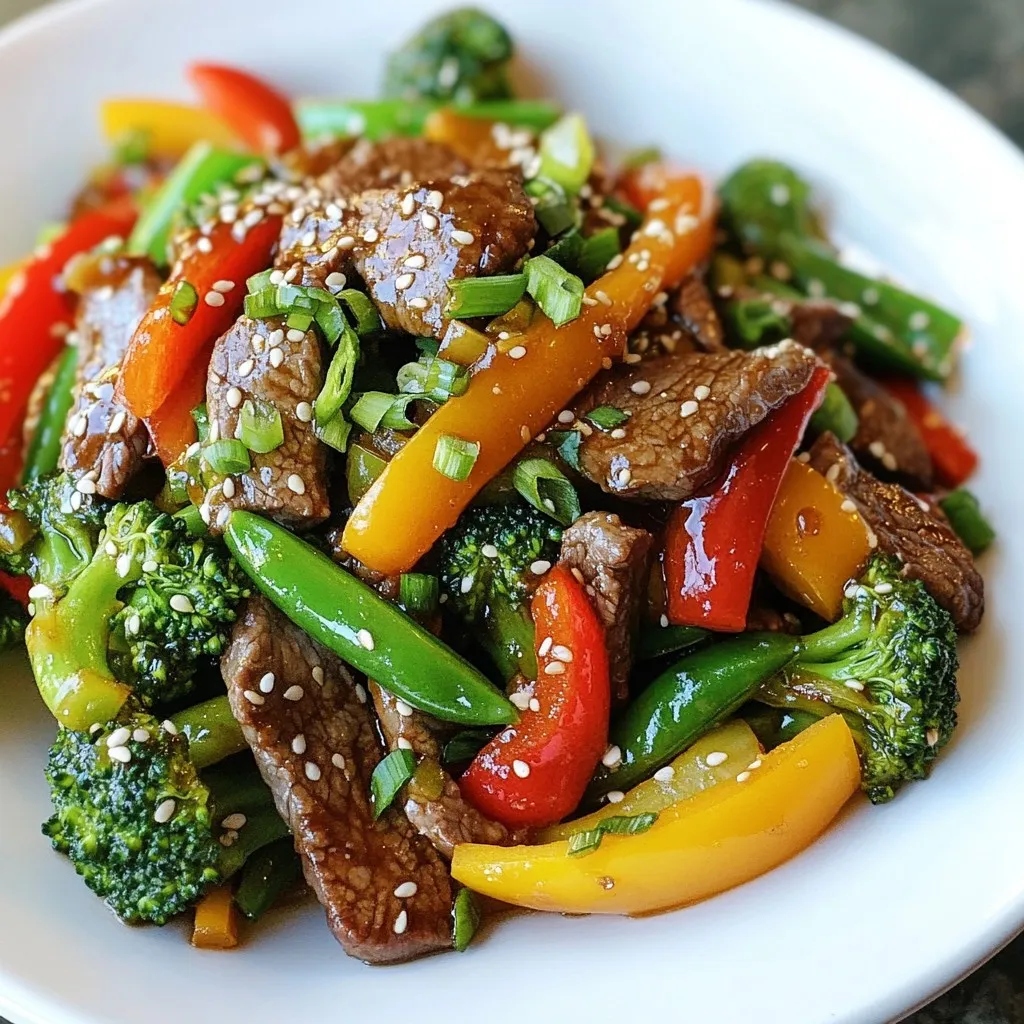
Minute Beef Veggie Stir Fry Quick and Flavorful Meal
Looking for a fast and tasty dinner? My Minute Beef Veggie Stir Fry is quick, healthy, and packed with flavor. You can whip it up
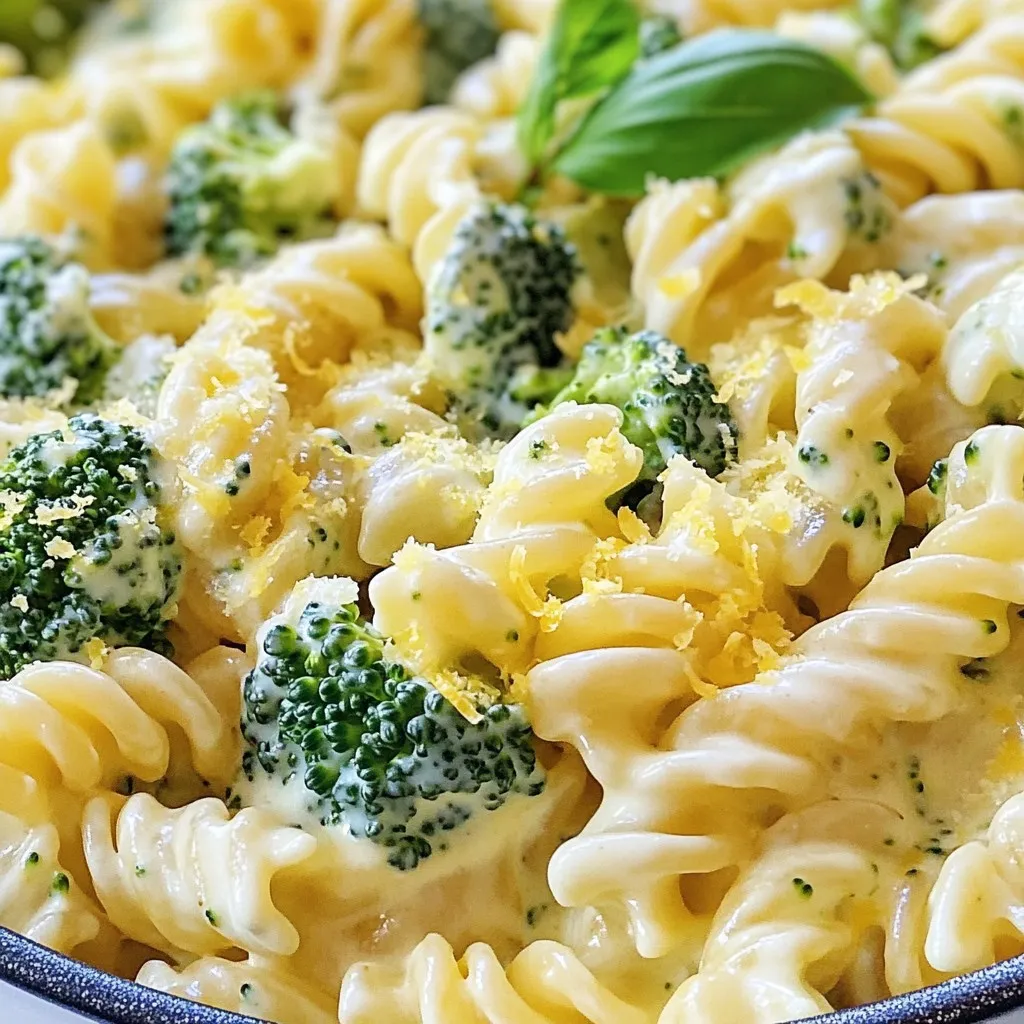
One Pot Creamy Broccoli Pasta Simple Dinner Recipe
Craving a quick and tasty dinner? Try my One Pot Creamy Broccoli Pasta! This simple dish combines soft pasta and fresh broccoli in a rich,
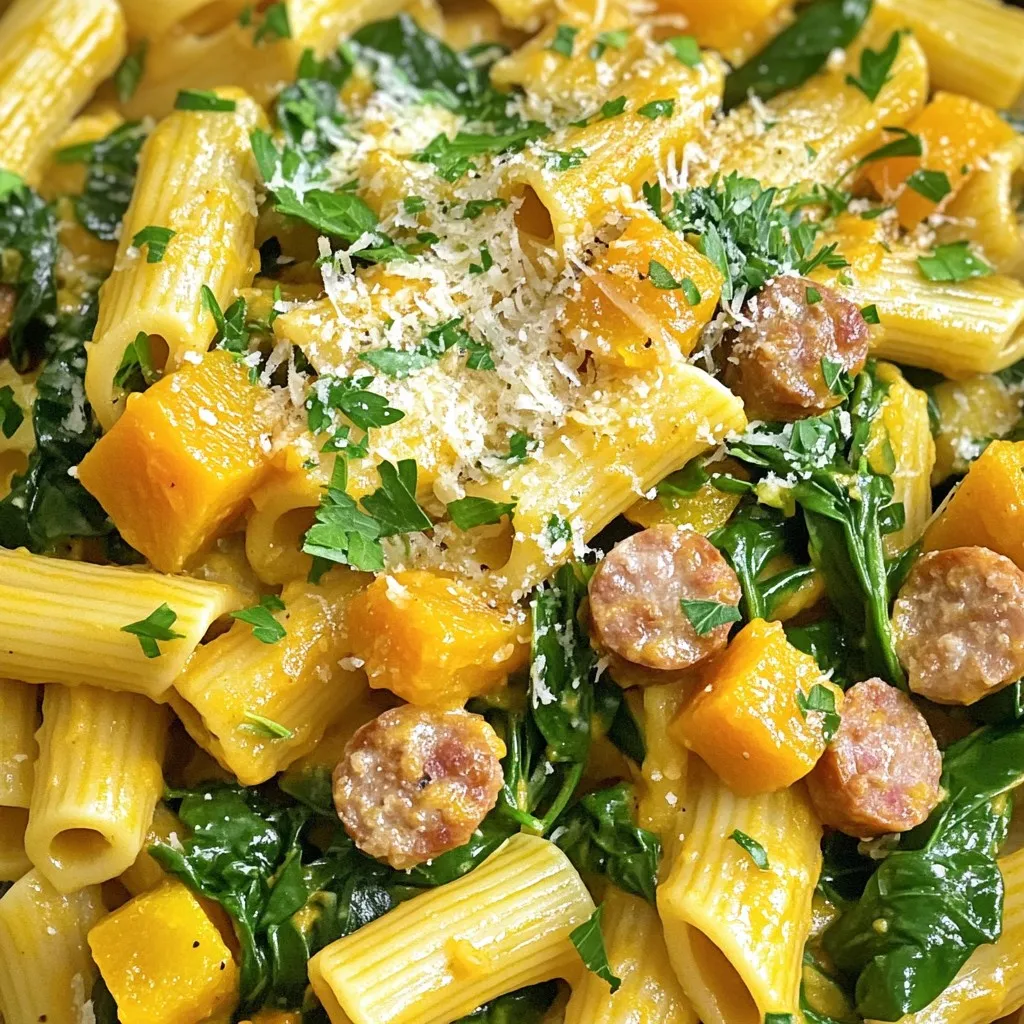
Autumn Sausage Squash Pasta Delightful Seasonal Recipe
Fall is here, and it’s time to cozy up with a warm, hearty meal! Our Autumn Sausage Squash Pasta combines the rich flavors of Italian
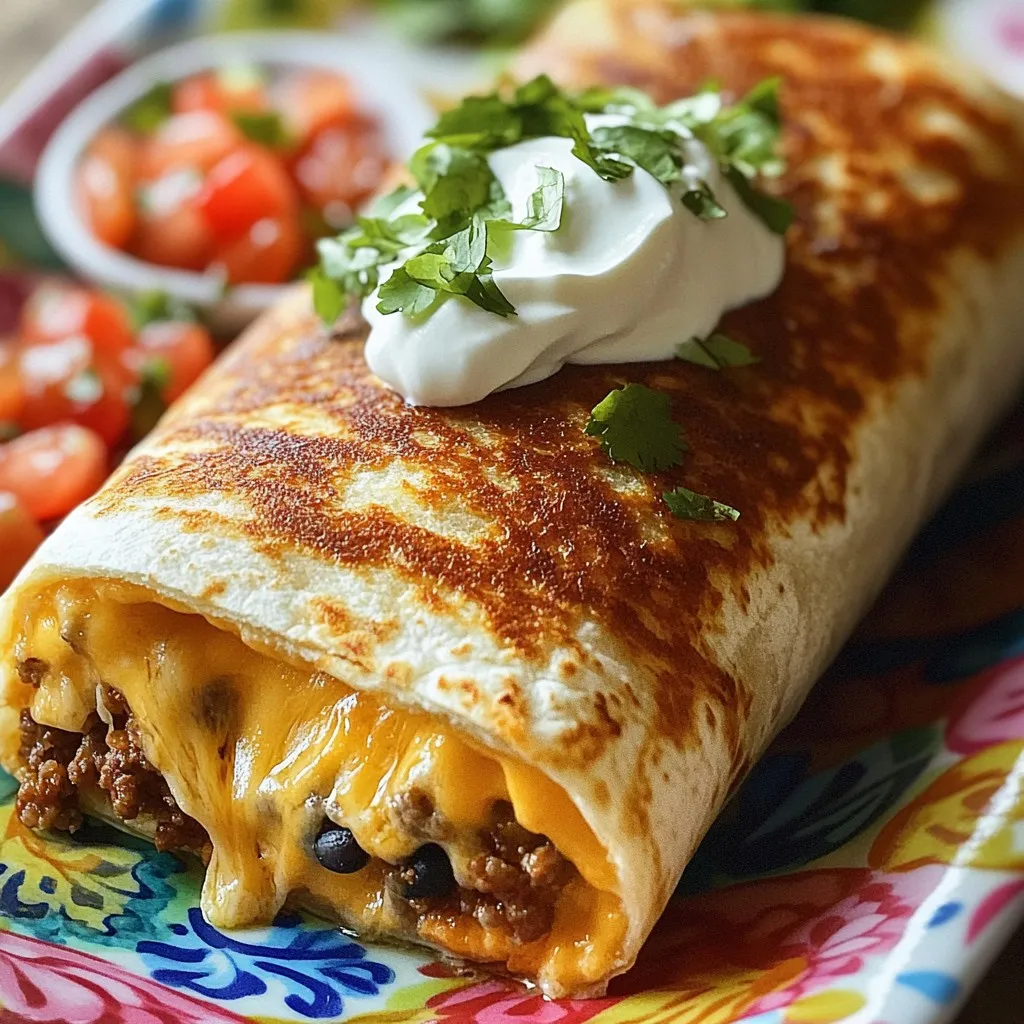
Copycat Grilled Cheese Burrito Tasty and Simple Recipe
Are you ready to enjoy a fun twist on a classic dish? My Copycat Grilled Cheese Burrito recipe is simple, tasty, and perfect for all
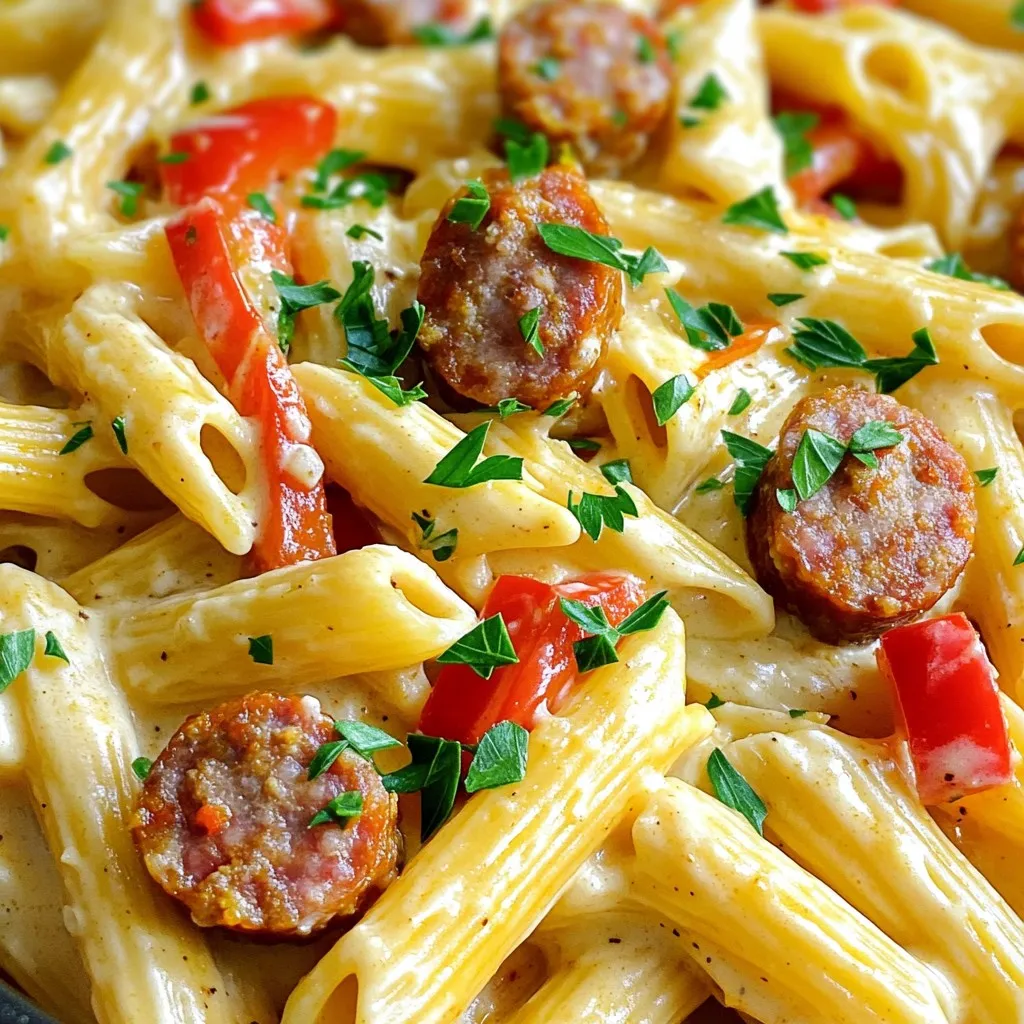
One Pot Creamy Cajun Sausage Pasta Delight
Get ready to savor a dish that packs flavor in every bite! My One Pot Creamy Cajun Sausage Pasta Delight is perfect for busy weeknights.
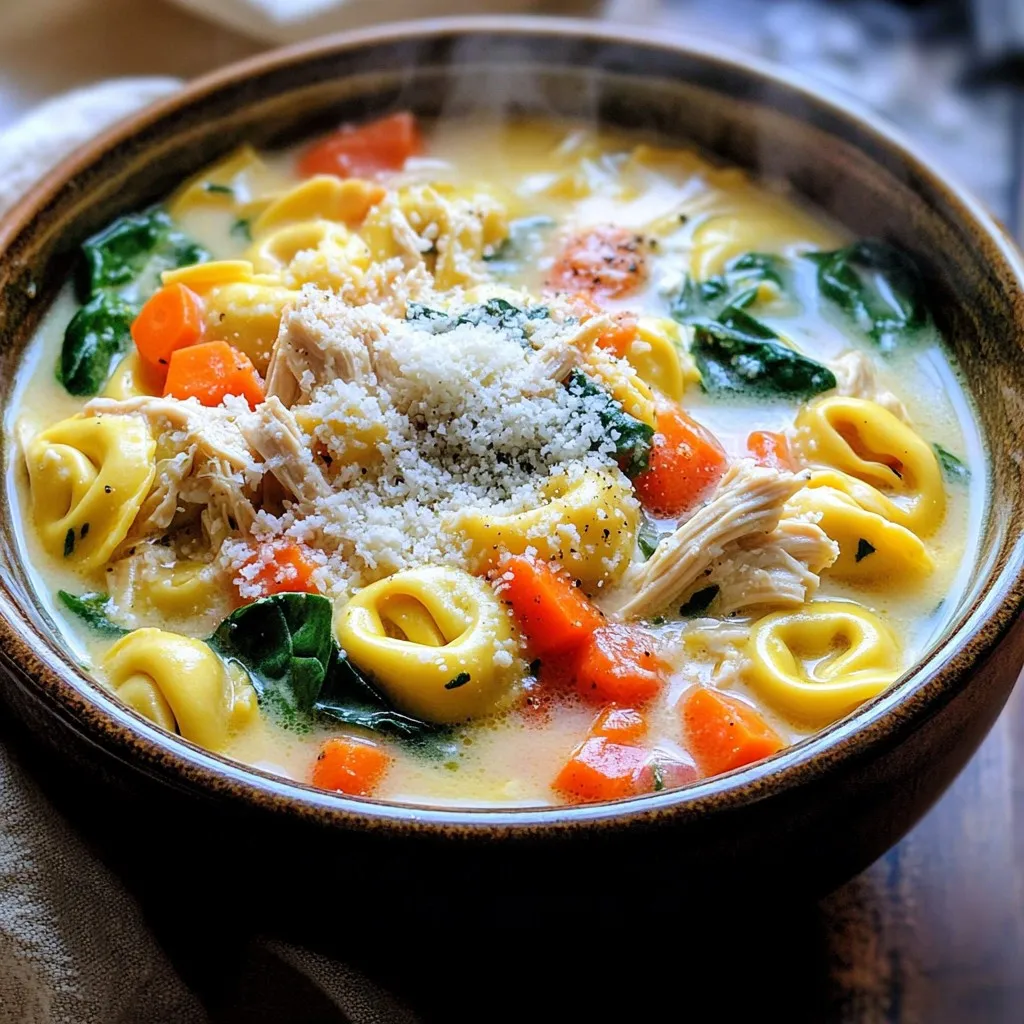
Slow Cooker Chicken Tortellini Flavorful Comfort Meal
Comfort food doesn’t get better than this! My Slow Cooker Chicken Tortellini recipe brings warmth and flavor to your table. Whether you’re busy or just
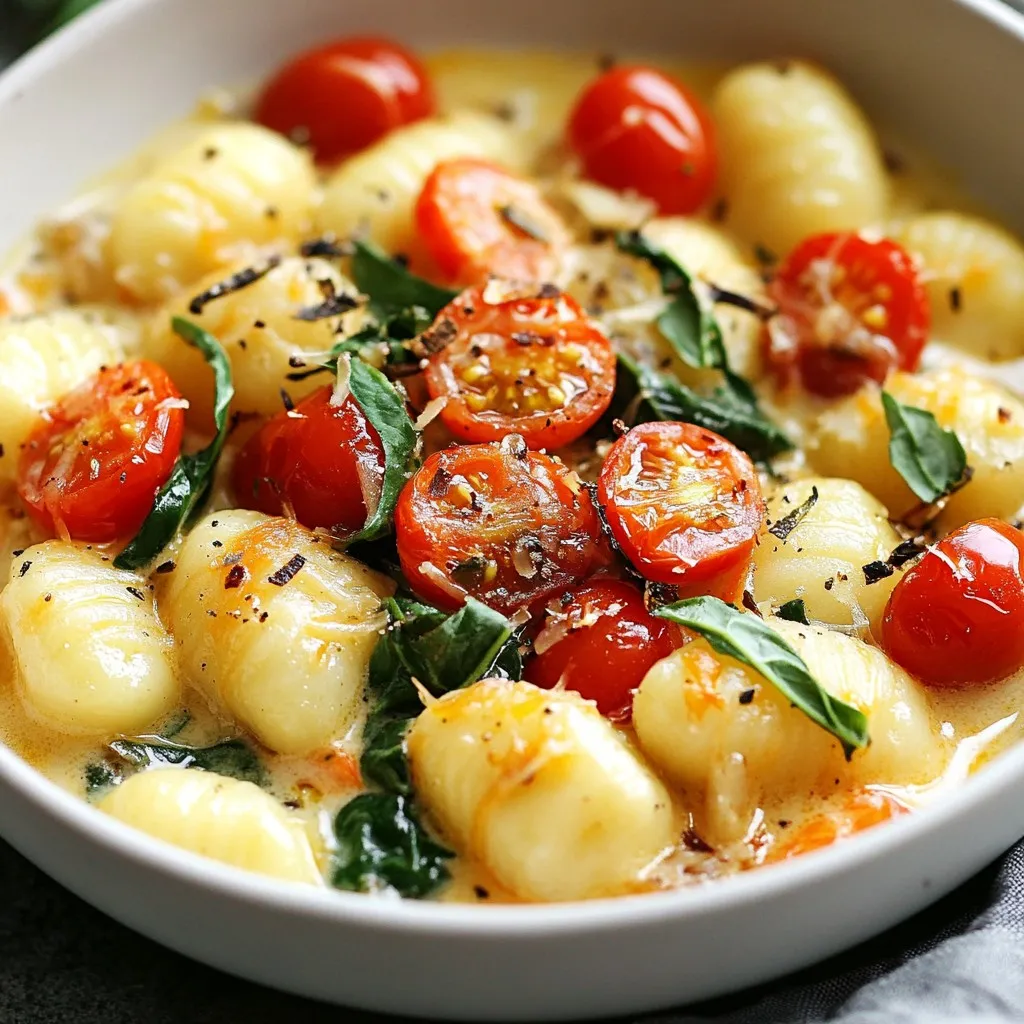
One-Pot Creamy Tuscan Gnocchi Easy and Quick Meal
If you need a quick meal that’s big on flavor, you’ll love this One-Pot Creamy Tuscan Gnocchi recipe. It’s simple to make and perfect for