Dinner
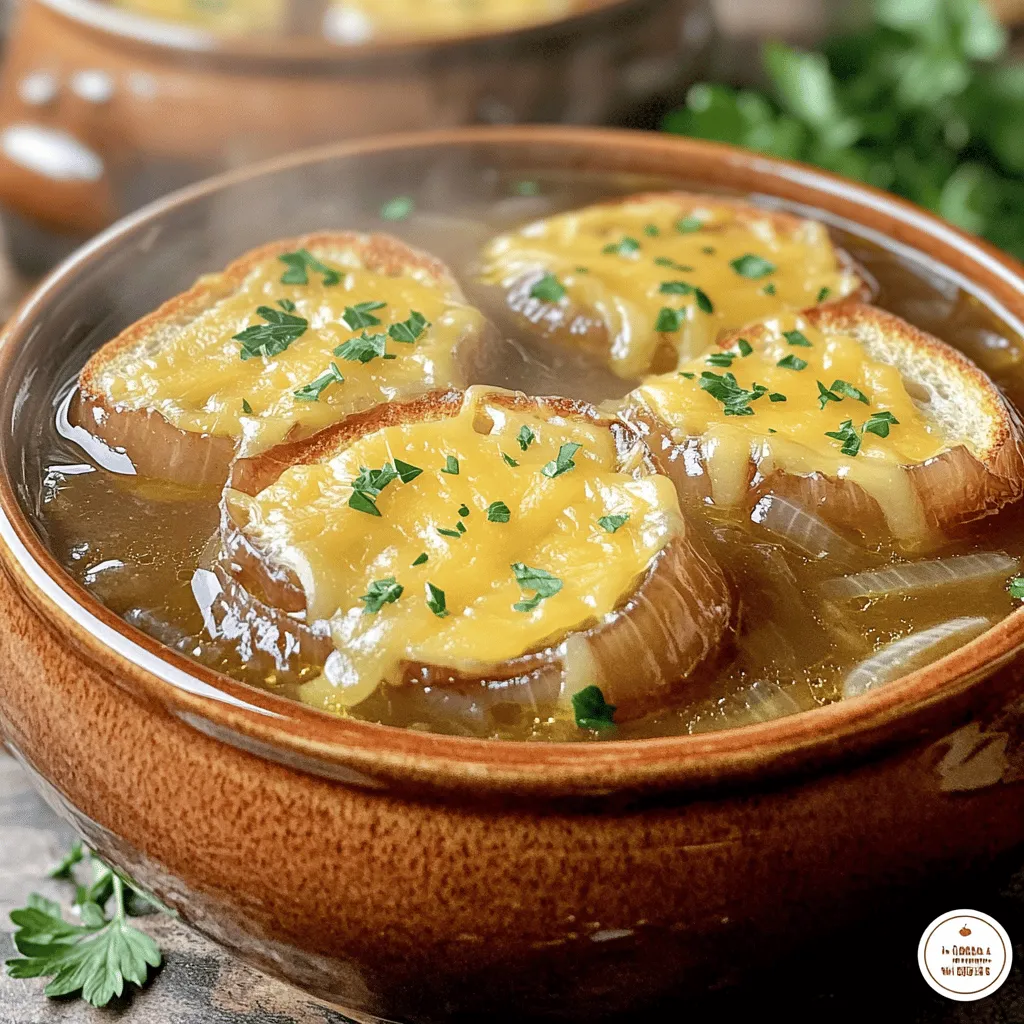
Slow Cooker French Onion Soup with Gruyère Toasts Delight
Get ready to warm your soul with my Slow Cooker French Onion Soup with Gruyère Toasts! This tasty dish combines sweet caramelized onions, garlic, and
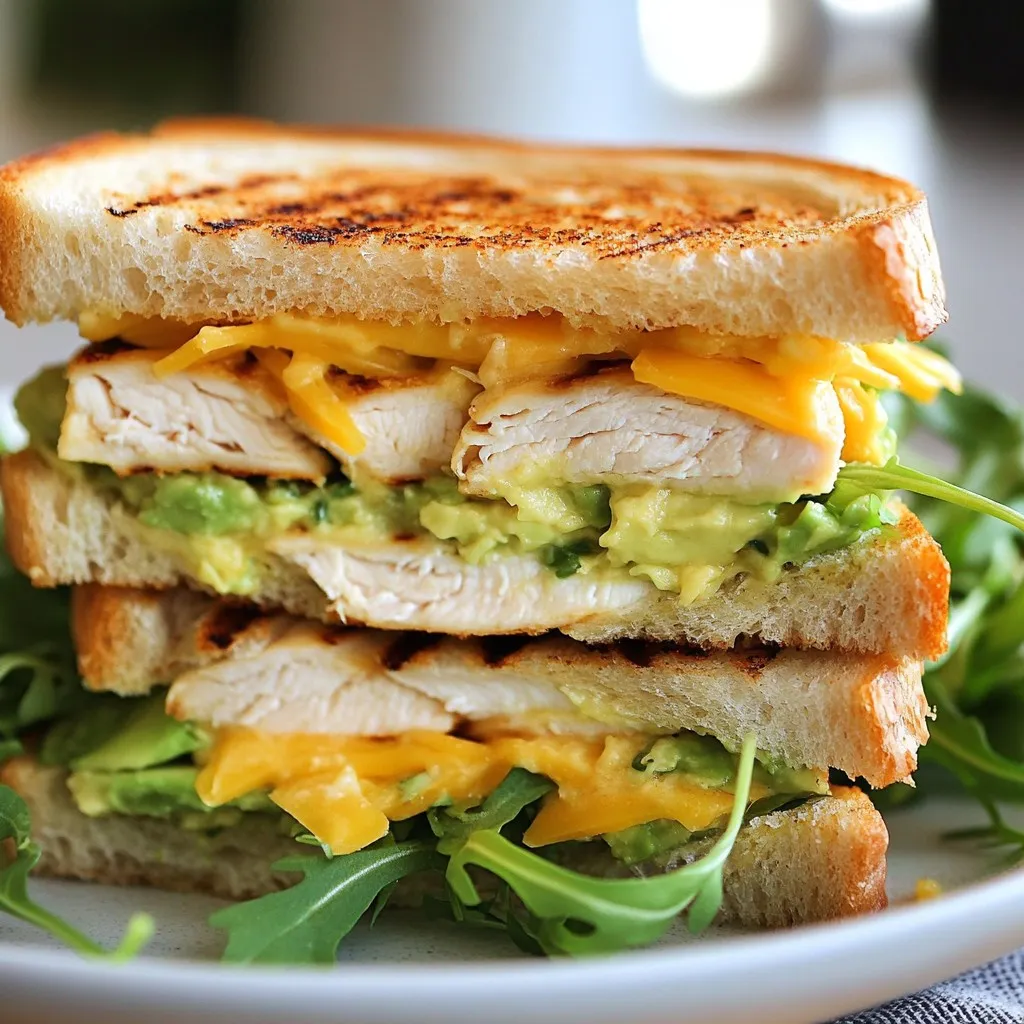
Chicken Avocado Melt Sandwich Flavorful and Quick Meal
Are you ready to impress your taste buds? The Chicken Avocado Melt Sandwich is quick, easy, and packed with flavor. With juicy chicken, creamy avocado,
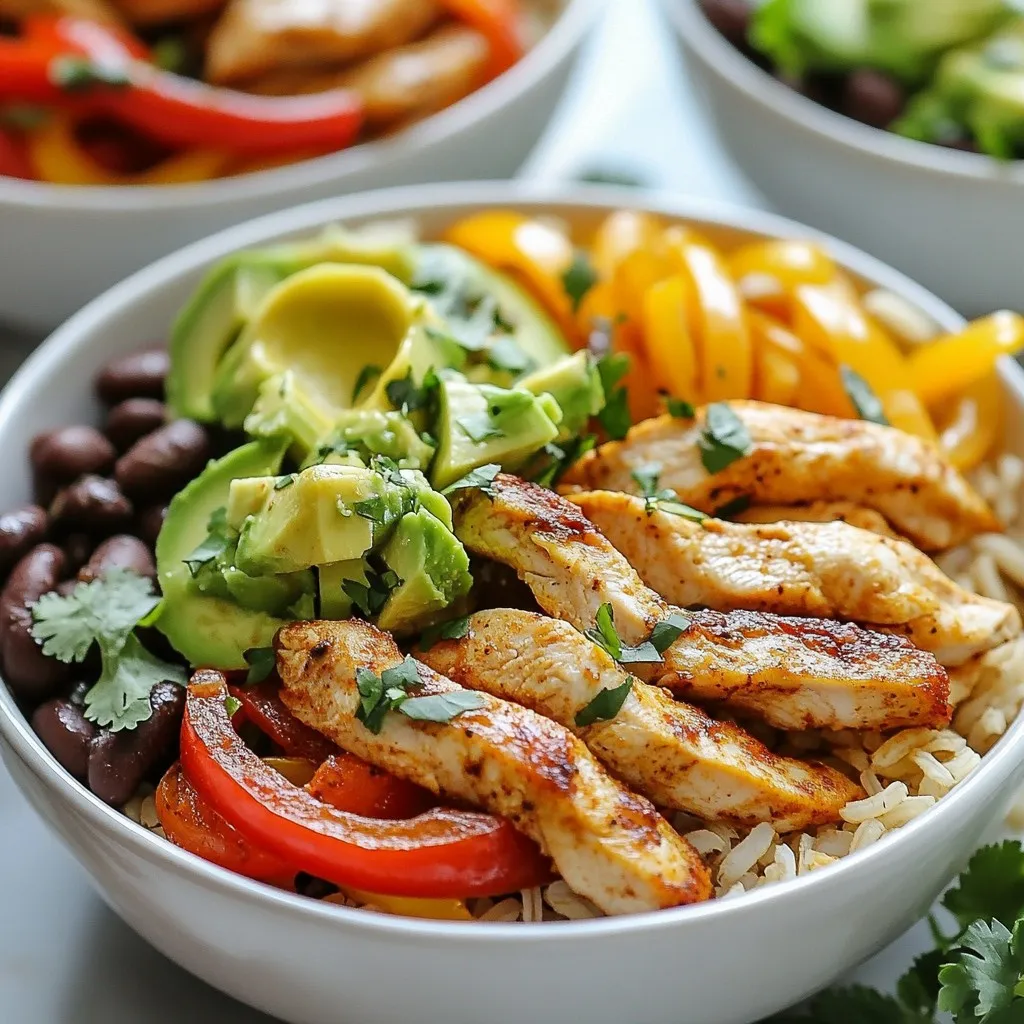
Savory Chicken Fajita Meal Prep Bowls in Minutes
Are you craving a quick and tasty meal? My Savory Chicken Fajita Meal Prep Bowls will save you time and satisfy your hunger! With colorful
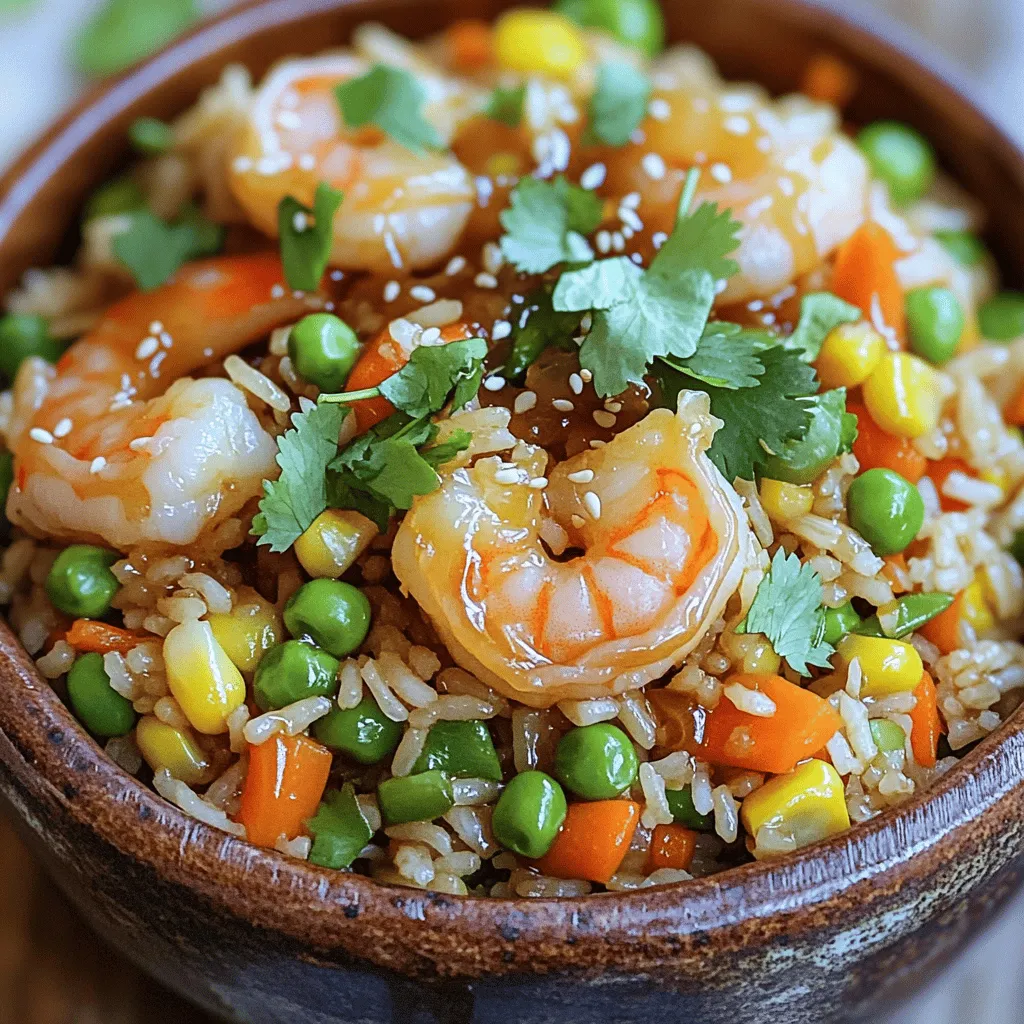
Honey Garlic Shrimp Fried Rice Flavorful Easy Recipe
If you crave a meal that bursts with flavor and is quick to make, you’ll love this Honey Garlic Shrimp Fried Rice recipe. I’ll guide
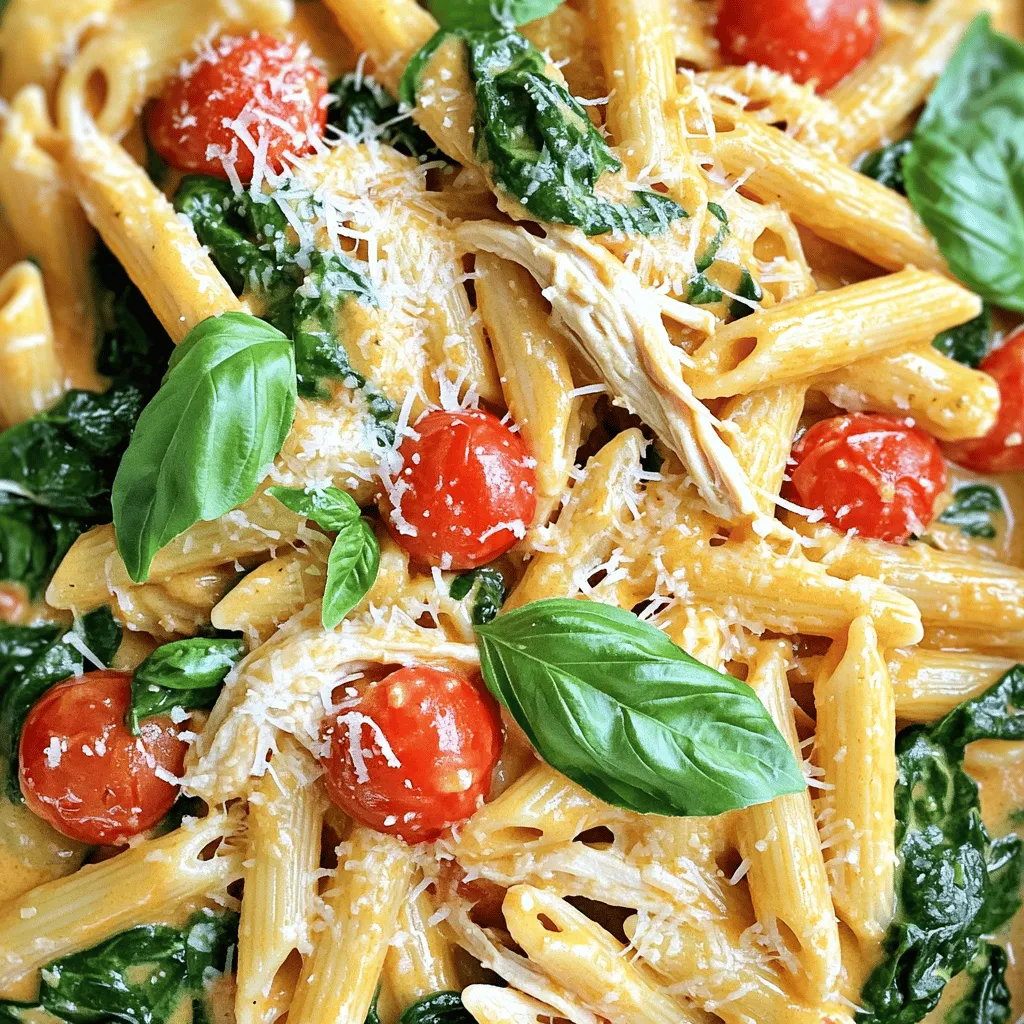
Slow Cooker Tuscan Chicken Pasta Flavorful and Easy Meal
Craving a comforting meal that’s packed with flavor and super easy to make? Look no further! In this guide, I’ll show you how to whip
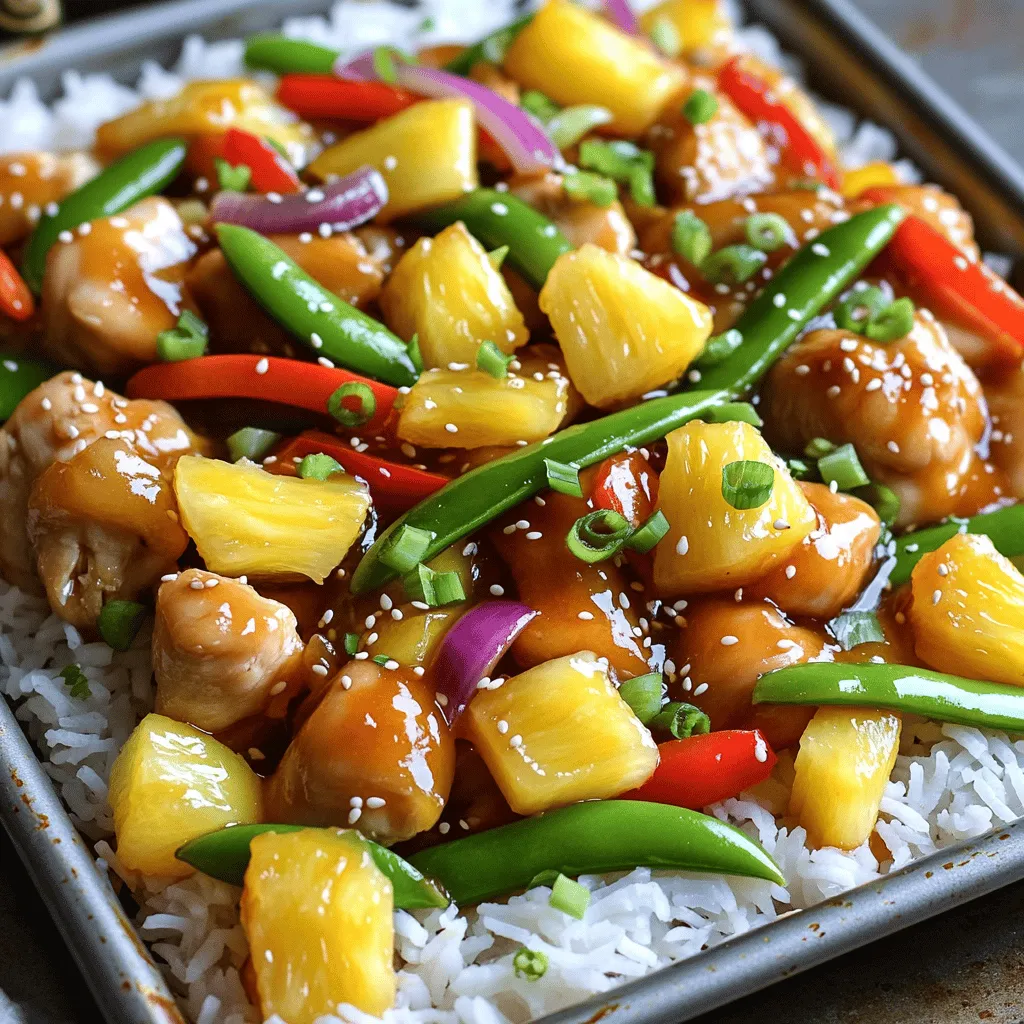
Sheet Pan Sweet Sour Chicken Pineapple Easy Recipe
Get ready to enjoy a delicious meal that’s both easy and fun to make! My Sheet Pan Sweet Sour Chicken Pineapple recipe brings you juicy
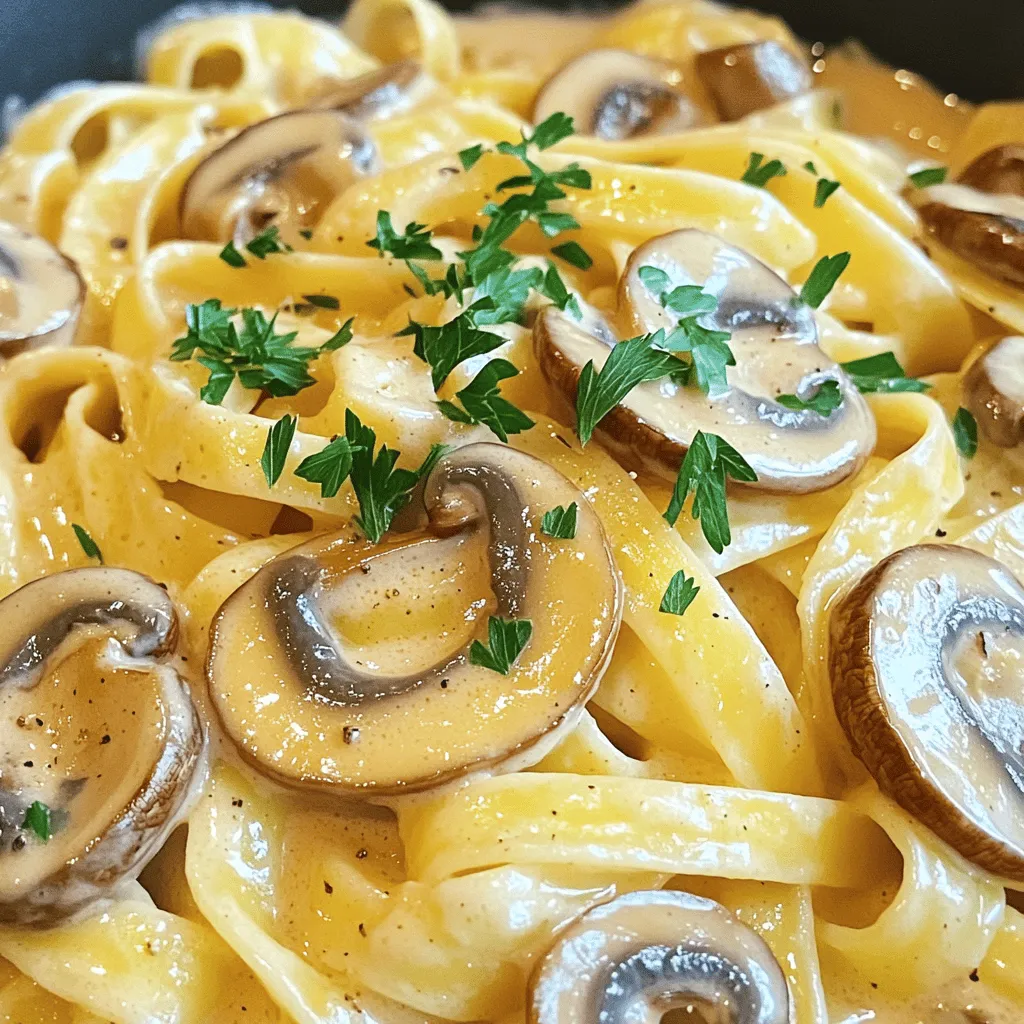
Irresistible One Pot Creamy Mushroom Pasta Delight
If you love creamy, comforting pasta, then my One Pot Creamy Mushroom Pasta Delight is for you! This easy recipe brings together tender pasta, rich

Baked Ground Beef Tacos Flavorful and Simple Dish
Baked Ground Beef Tacos are a tasty and easy meal for any night. With just a few simple steps, you can create a flavorful dish
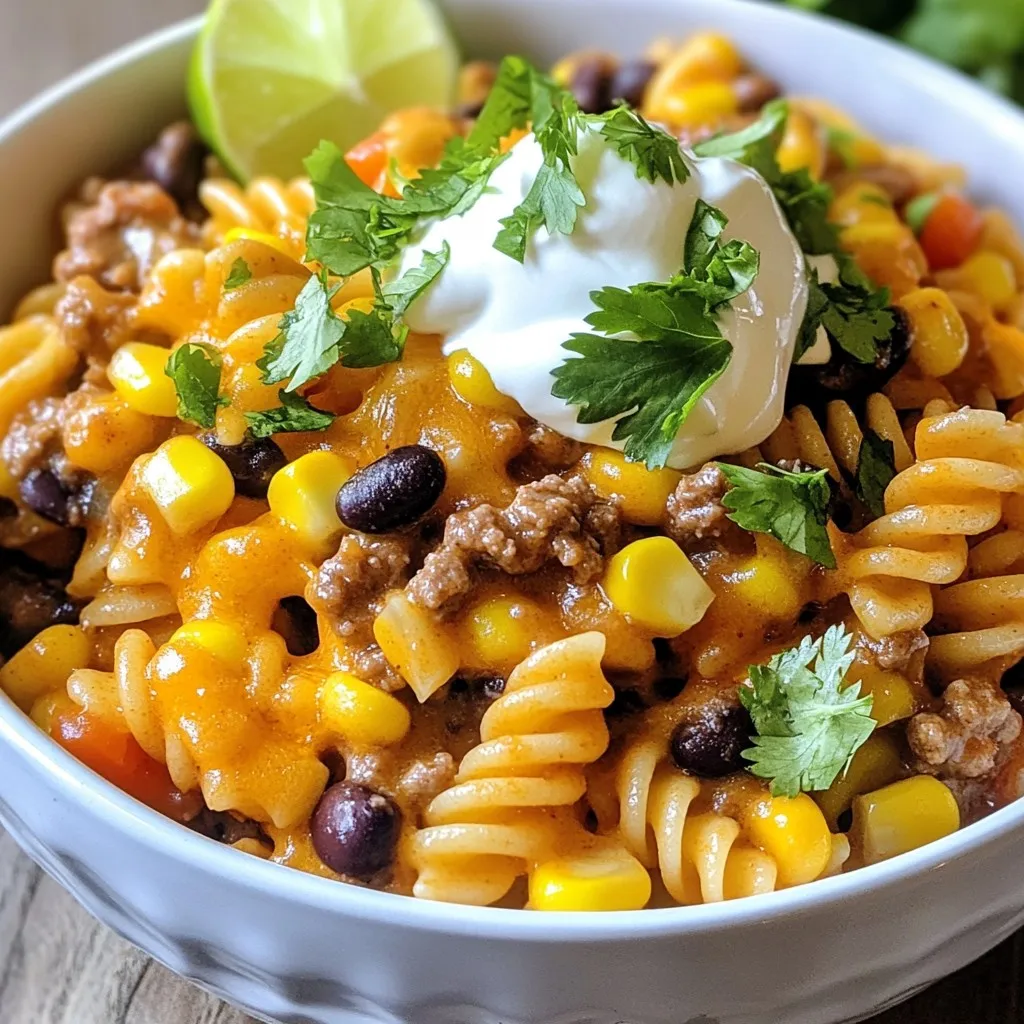
Cheesy One Pot Taco Pasta Quick and Flavorful Meal
Are you ready to whip up a dinner that’s quick, easy, and packed with flavor? My Cheesy One Pot Taco Pasta is just what you
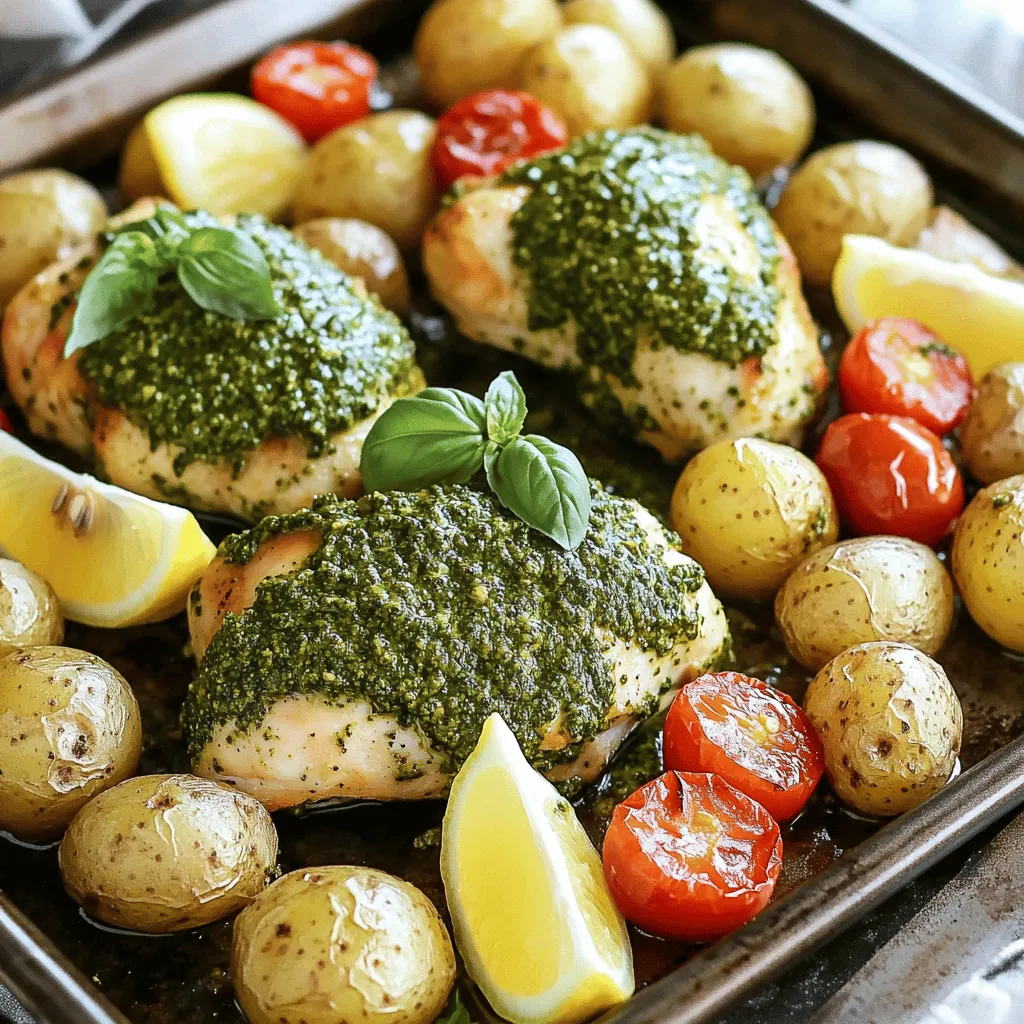
Pesto Chicken & Roasted Potatoes Sheet Pan Delight
If you’re looking for a quick and tasty dinner, look no further! My Pesto Chicken & Roasted Potatoes Sheet Pan Delight is your answer. This