Dinner
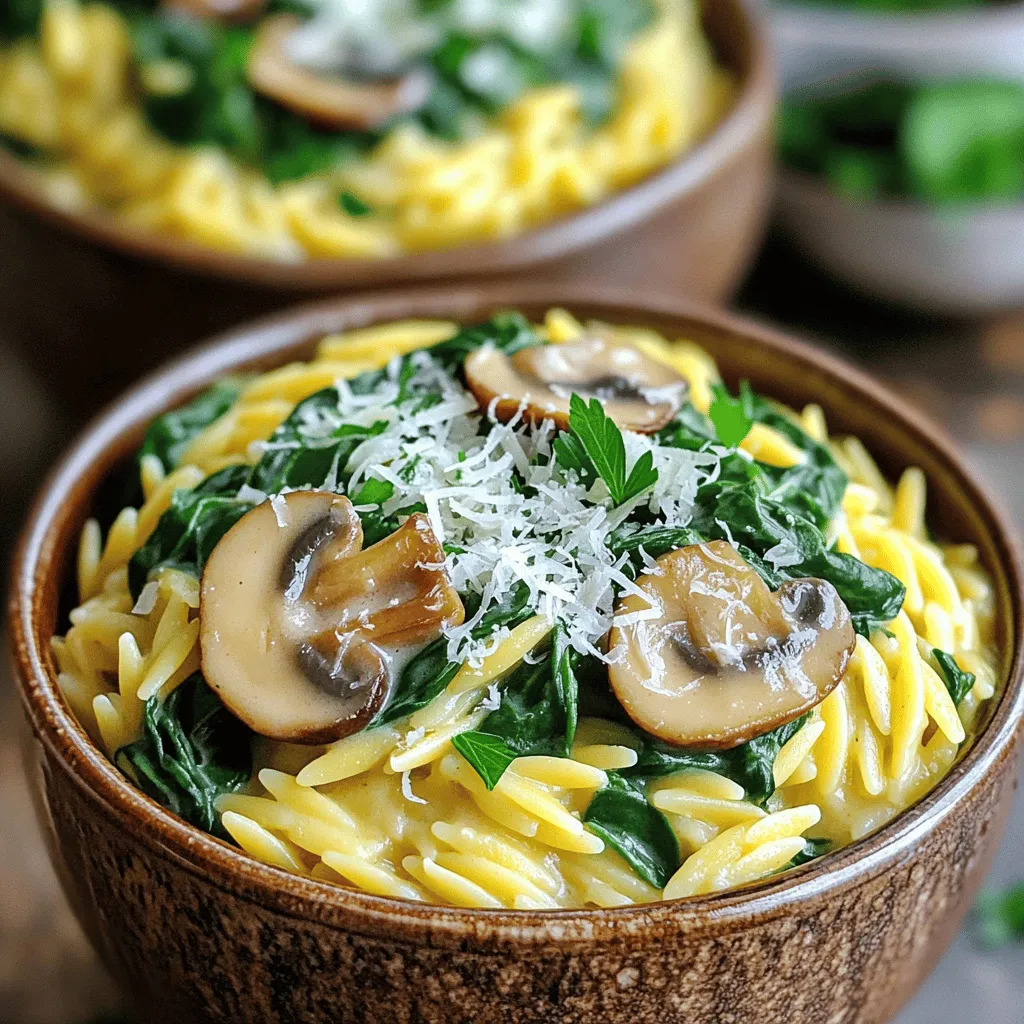
One Pot Creamy Mushroom Spinach Orzo Delight
Are you ready to elevate your dinner game? My One Pot Creamy Mushroom Spinach Orzo Delight is a delicious and easy meal that you can

Quick Mediterranean Chicken Gyros Flavorful and Easy
Are you craving something quick, tasty, and filled with Mediterranean flair? You’ll love these Quick Mediterranean Chicken Gyros! In just a few simple steps, I’ll
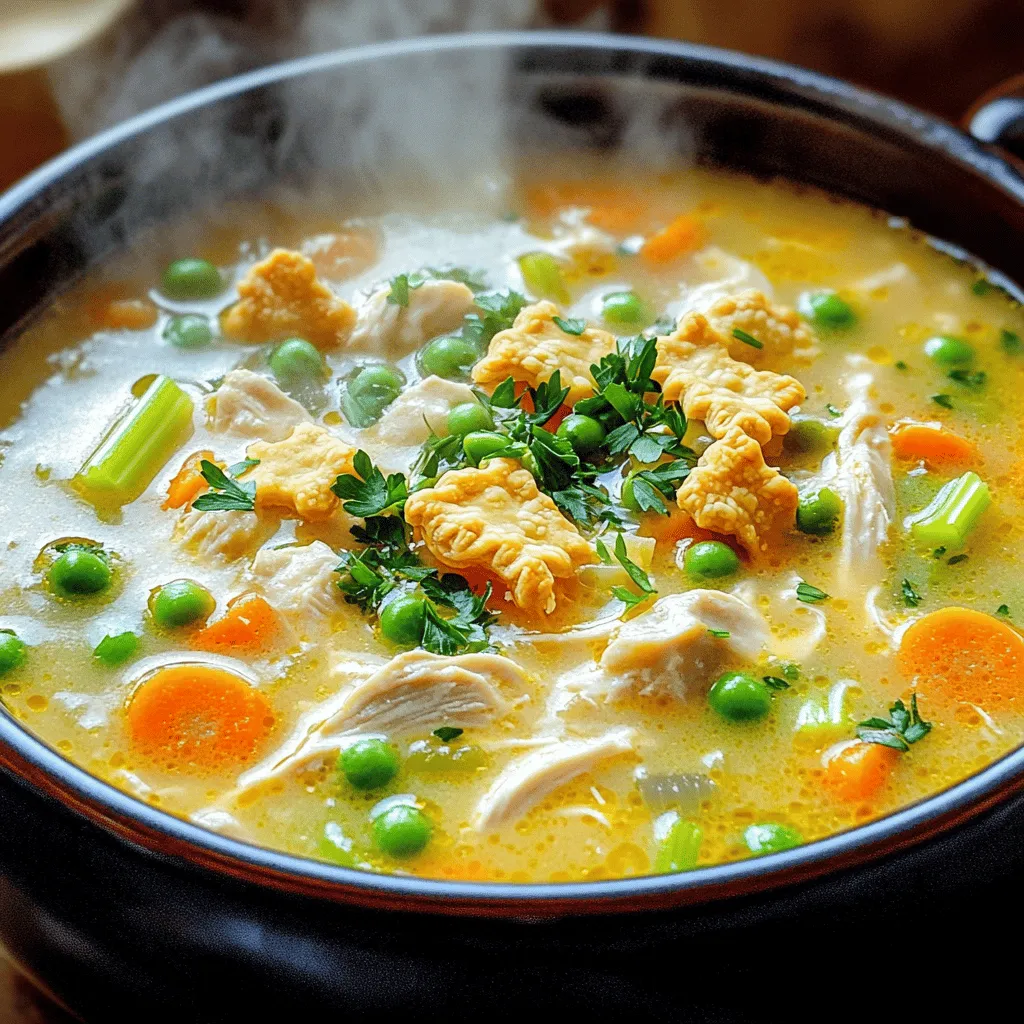
Classic Chicken Pot Pie Soup Hearty and Flavorful Dish
Looking for a cozy and comforting meal? Look no further! My Classic Chicken Pot Pie Soup is just what you need. This dish brings all
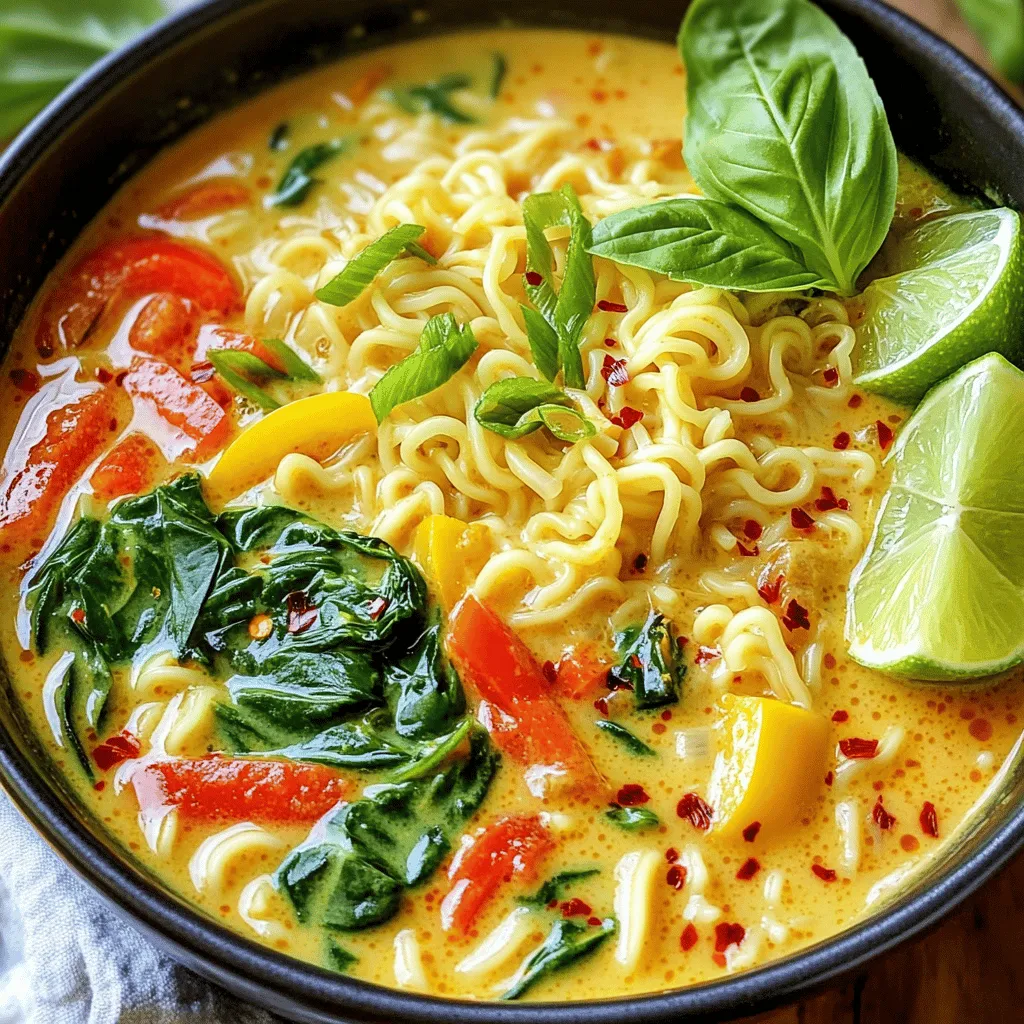
Thai Coconut Curry Ramen Flavorful and Easy Recipe
Are you ready for a delicious twist on ramen? This Thai Coconut Curry Ramen is rich, creamy, and packed with flavor. You can make it
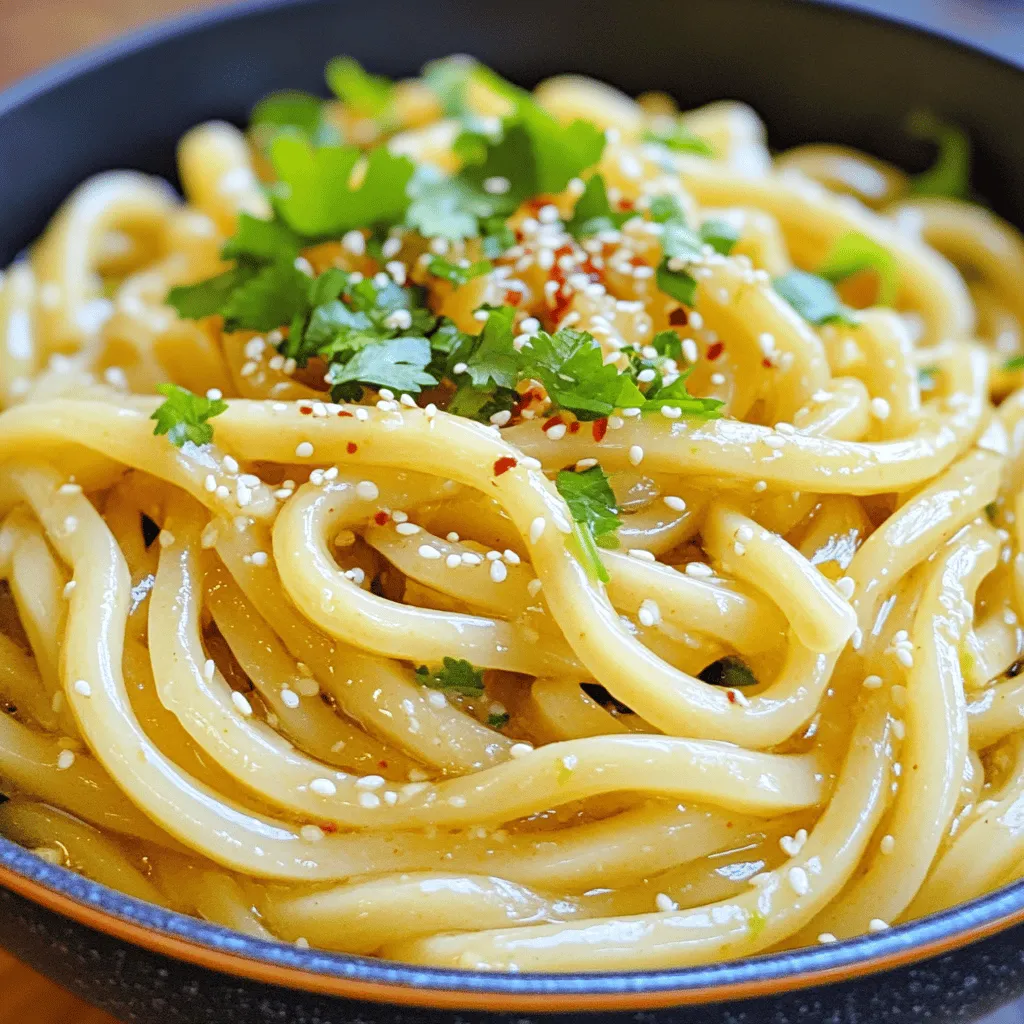
Spicy Garlic Butter Udon Noodles Quick and Tasty Meal
Craving a meal that’s quick, tasty, and full of flavor? Look no further! These Spicy Garlic Butter Udon Noodles will satisfy your hunger and awaken
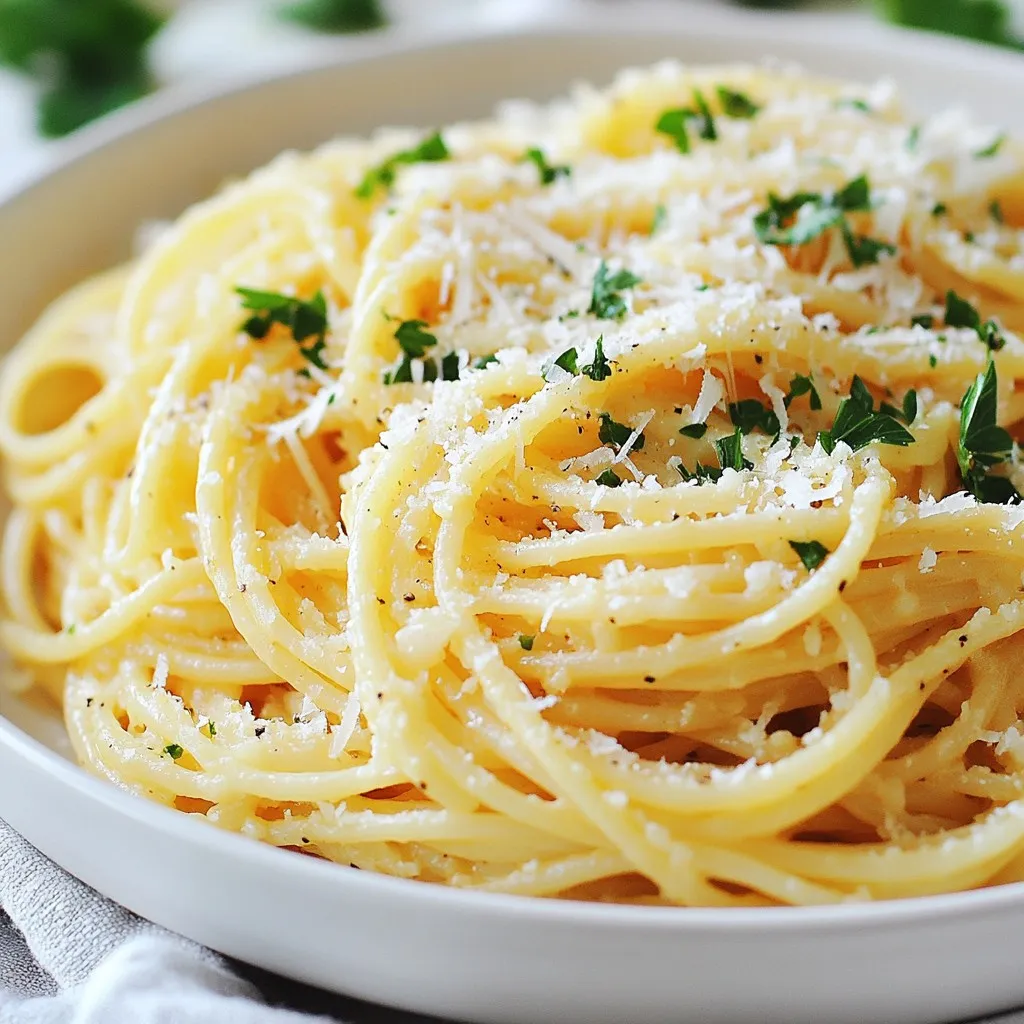
One-Skillet Garlic Parmesan Pasta Easy and Flavorful Meal
Looking for a quick and tasty meal? One-Skillet Garlic Parmesan Pasta is your answer! This dish is easy to make and packed with flavor, perfect
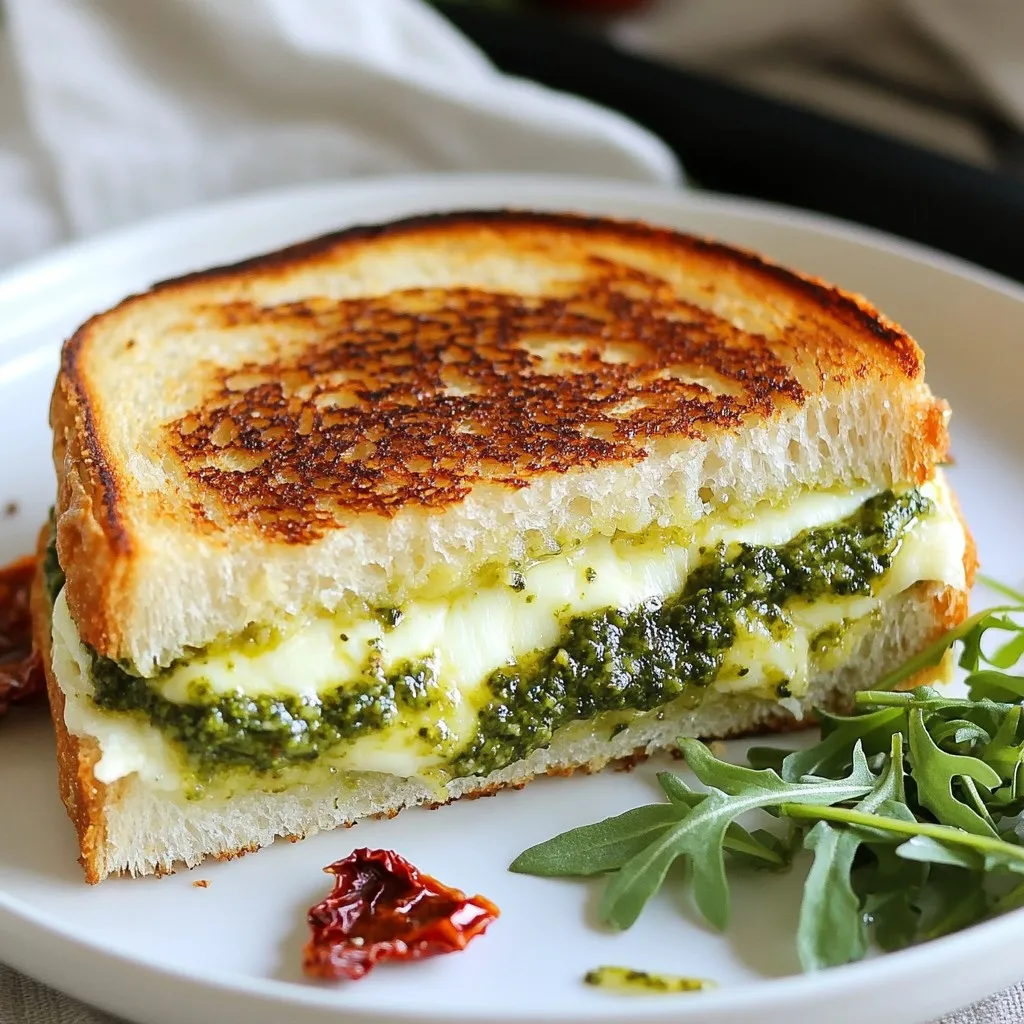
Pesto Grilled Cheese Delightful and Easy Recipe
If you love grilled cheese, you’re in for a treat! Today, I’ll show you how to make a Pesto Grilled Cheese that’s both simple and

One-Pot Creamy Cajun Chicken & Rice Delicious Meal
Looking for a tasty meal that comes together in one pot? One-Pot Creamy Cajun Chicken & Rice is your answer! This dish combines tender chicken
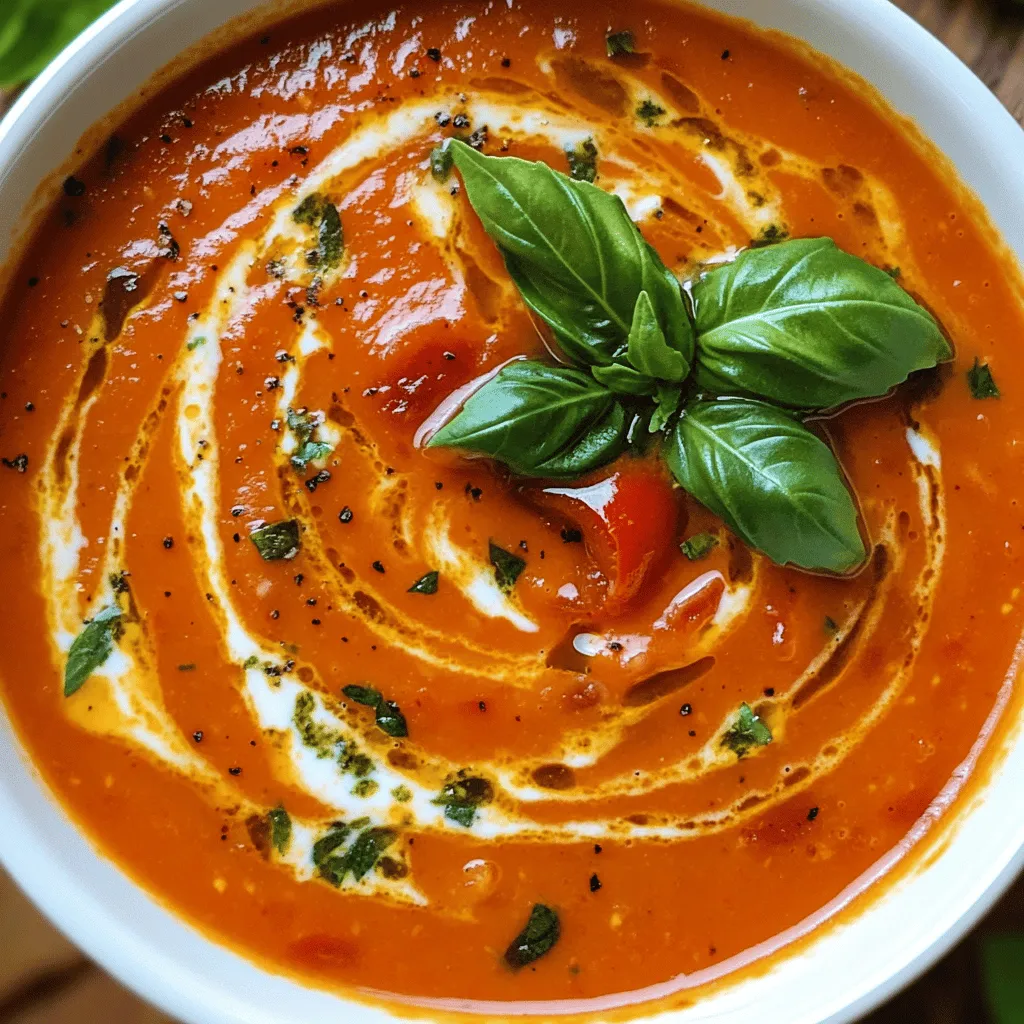
Roasted Red Pepper Tomato Bisque Comforting Delight
Craving a warm and comforting bowl of soup? You’re in the right place! This Roasted Red Pepper Tomato Bisque is a perfect blend of flavors
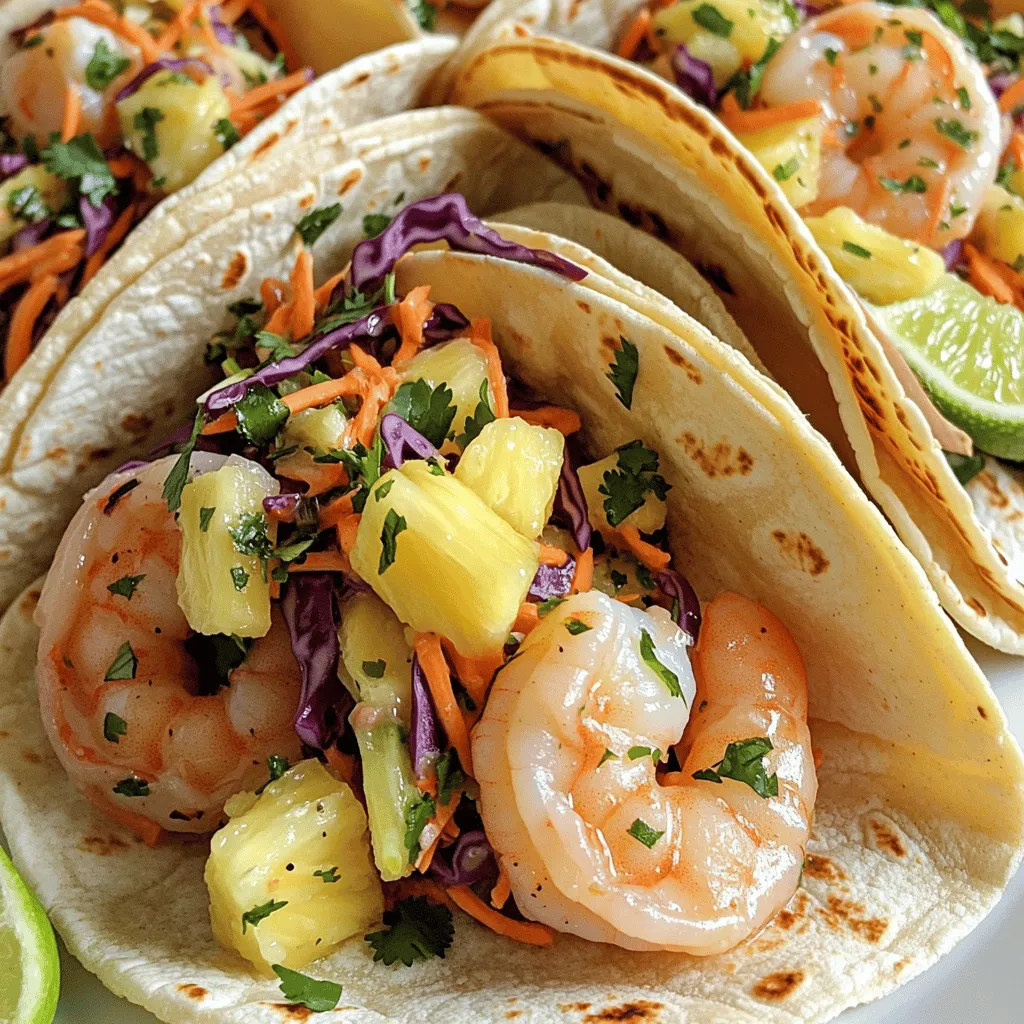
Garlic Butter Shrimp Tacos with Pineapple Slaw Delight
If you crave a tasty meal that’s quick and easy, you’ve found it! Garlic Butter Shrimp Tacos with Pineapple Slaw Delight are a perfect mix