Dinner
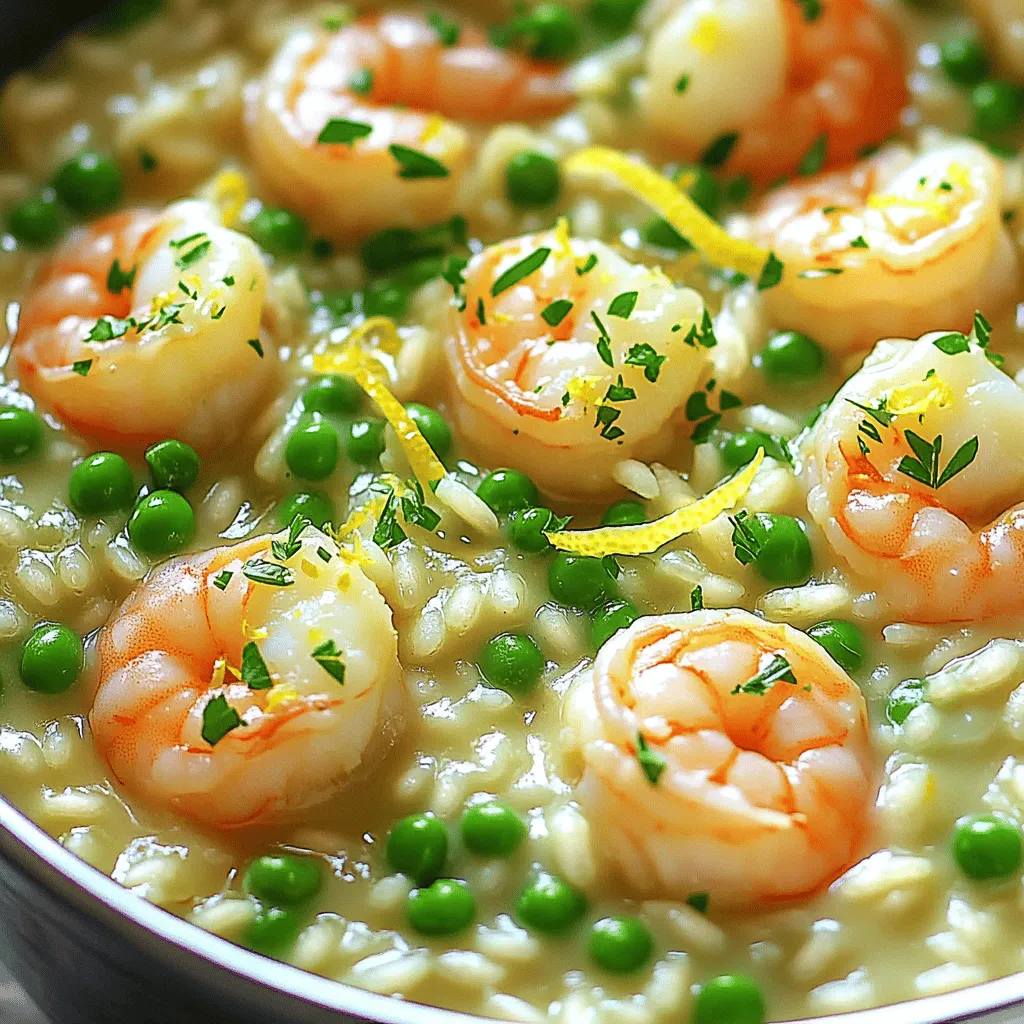
One-Pot Creamy Lemon Shrimp Risotto Delight
Welcome to your new favorite dinner recipe: One-Pot Creamy Lemon Shrimp Risotto Delight! If you want a dish that’s rich, easy to make, and bursting
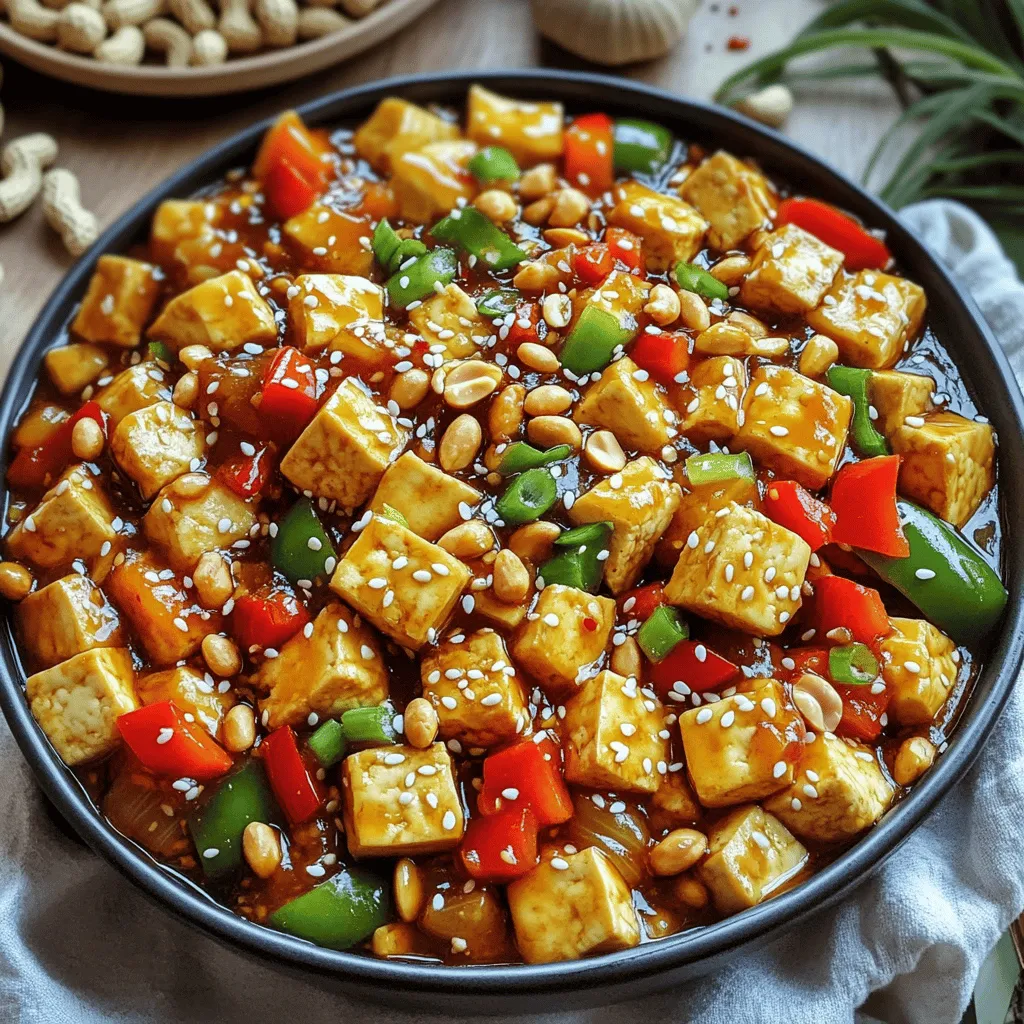
Spicy Kung Pao Tofu Better Than Takeout Delight
Are you craving a dish that packs a spicy punch and leaves takeout in the dust? Look no further! My Spicy Kung Pao Tofu is
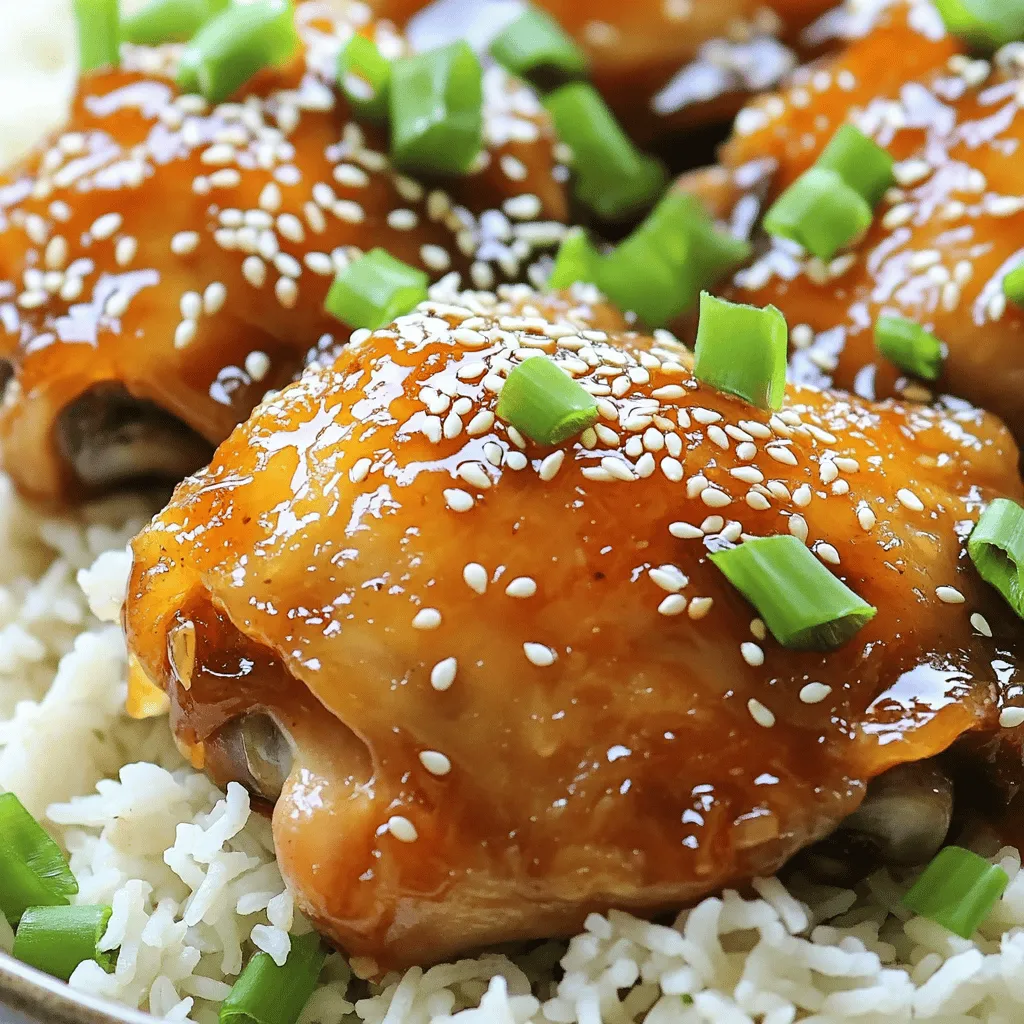
Slow Cooker Honey Garlic Chicken Thighs Delicious Meal
Are you ready to elevate your dinner game? Slow Cooker Honey Garlic Chicken Thighs are the perfect choice! This dish combines tender, juicy chicken with

Hamburger Rice Casserole Tasty and Filling Meal
Looking for a warm, tasty meal that’s also easy to make? Hamburger rice casserole is your answer! Packed with ground beef, creamy goodness, and vibrant
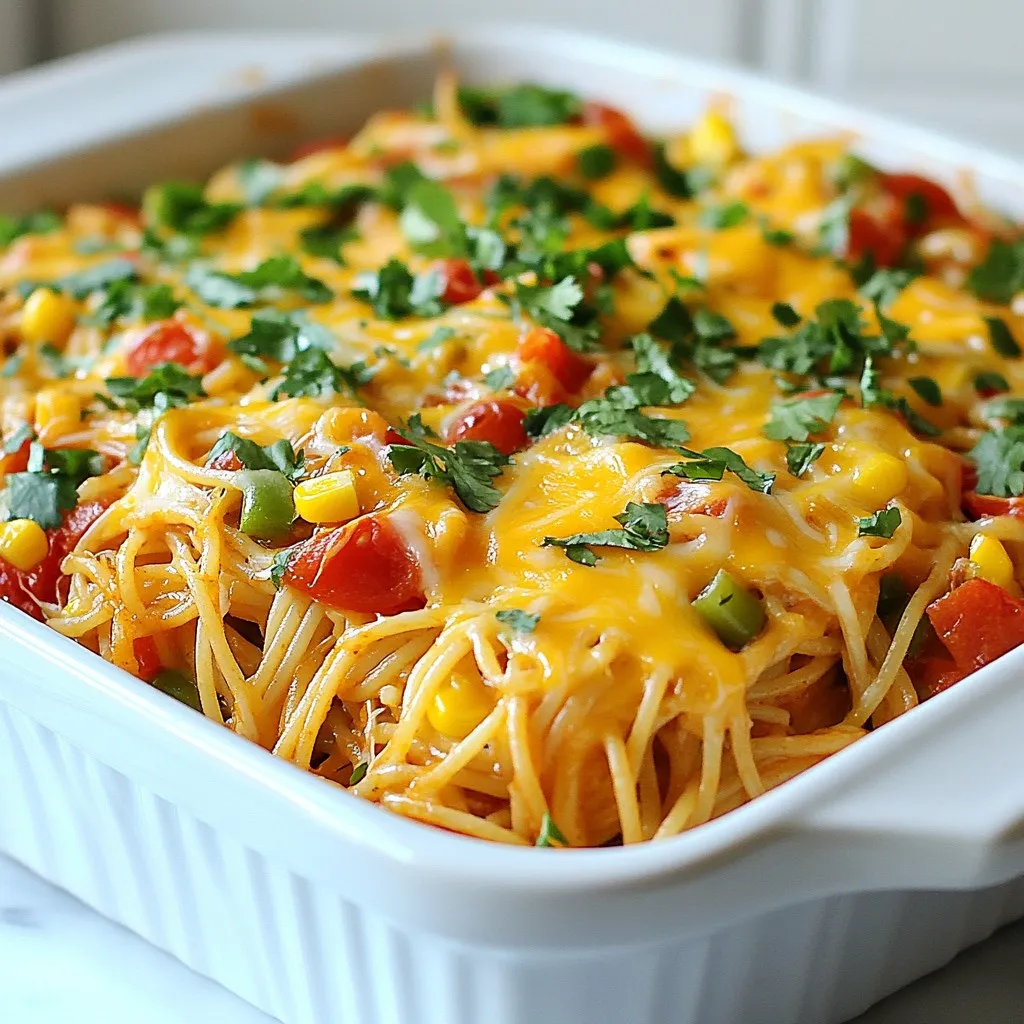
Spicy Southern Chicken Spaghetti Casserole Delight
Get ready for a flavor explosion with my Spicy Southern Chicken Spaghetti Casserole Delight! This dish blends tender chicken, zesty spices, and hearty pasta into
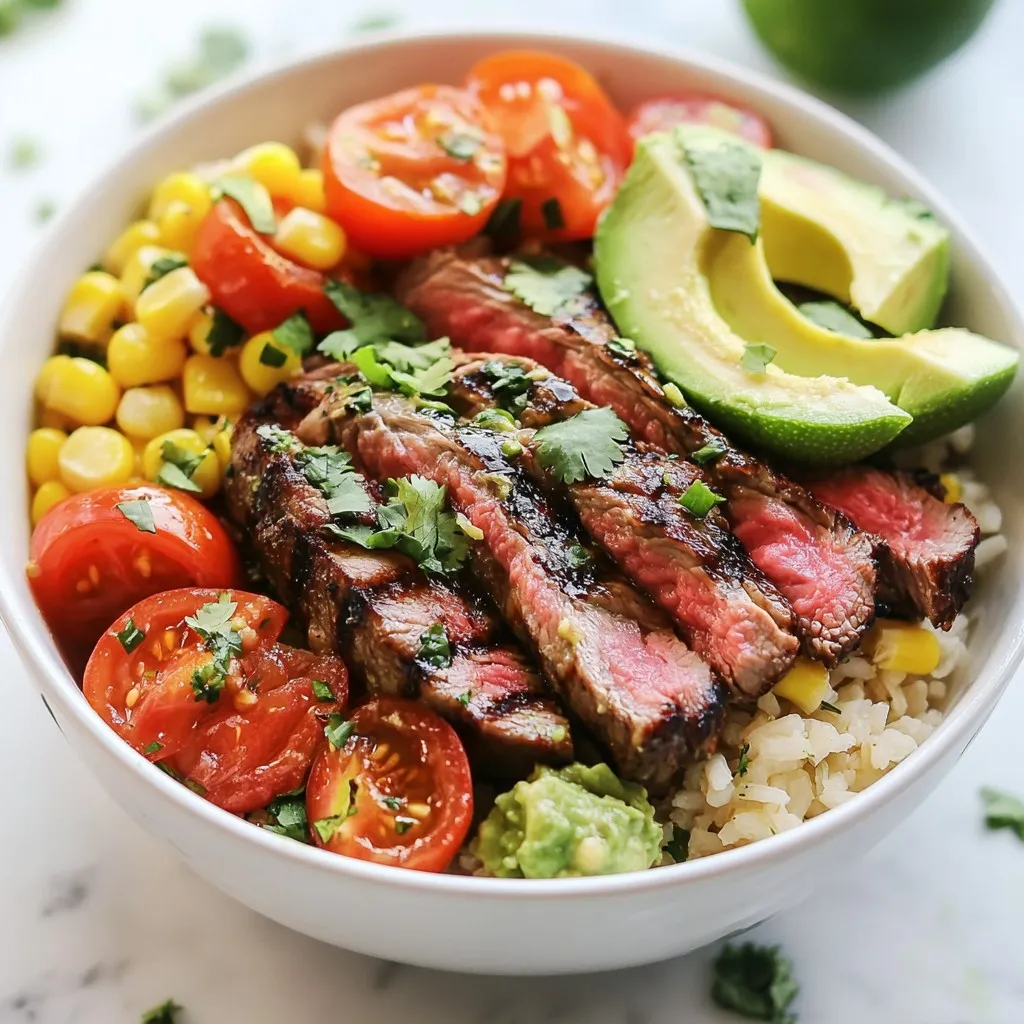
Cilantro Lime Steak Bowls Flavorful and Fresh Meal
Craving a fresh, vibrant meal that explodes with flavor? These Cilantro Lime Steak Bowls are just what you need! Packed with juicy marinated flank steak,
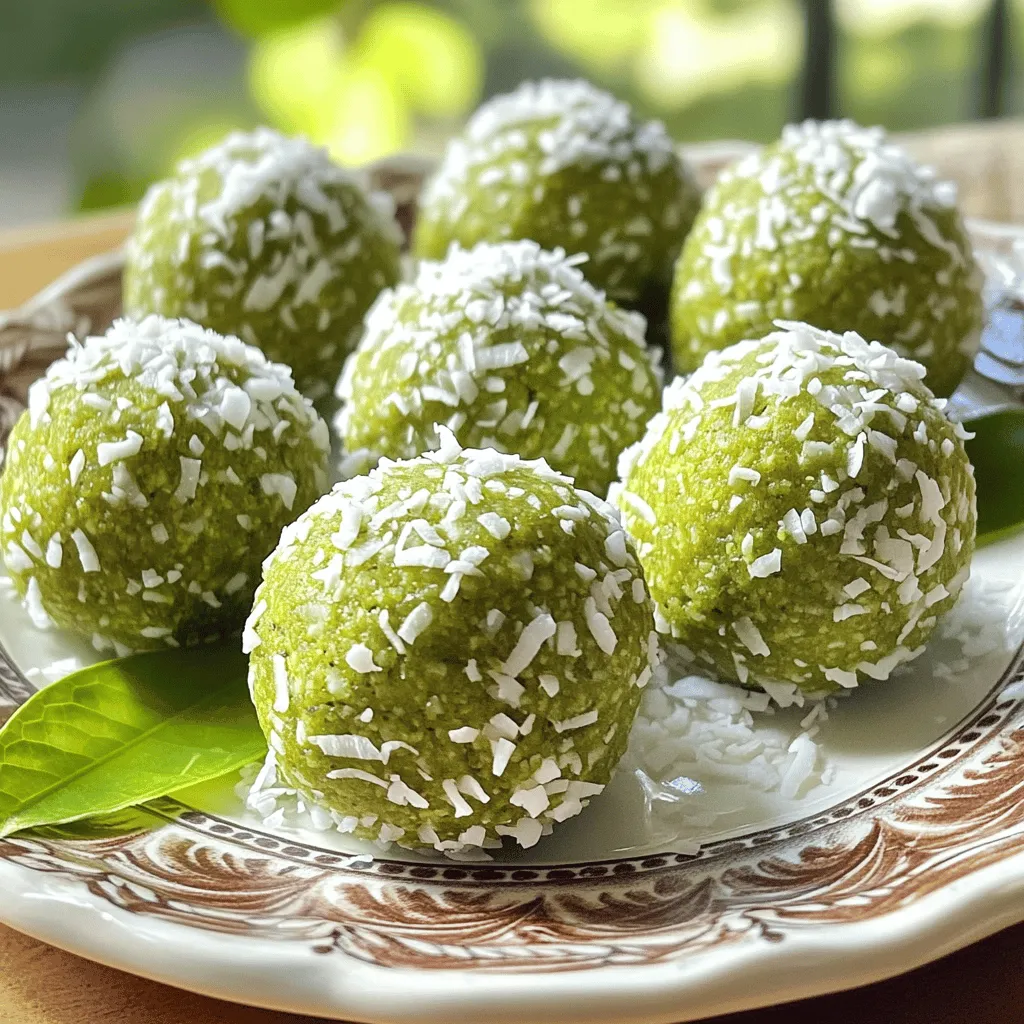
Matcha Coconut No Bake Energy Bites Simple Recipe
Are you looking for a quick, healthy snack? These Matcha Coconut No Bake Energy Bites are the answer! Packed with flavor and energy, they’re simple
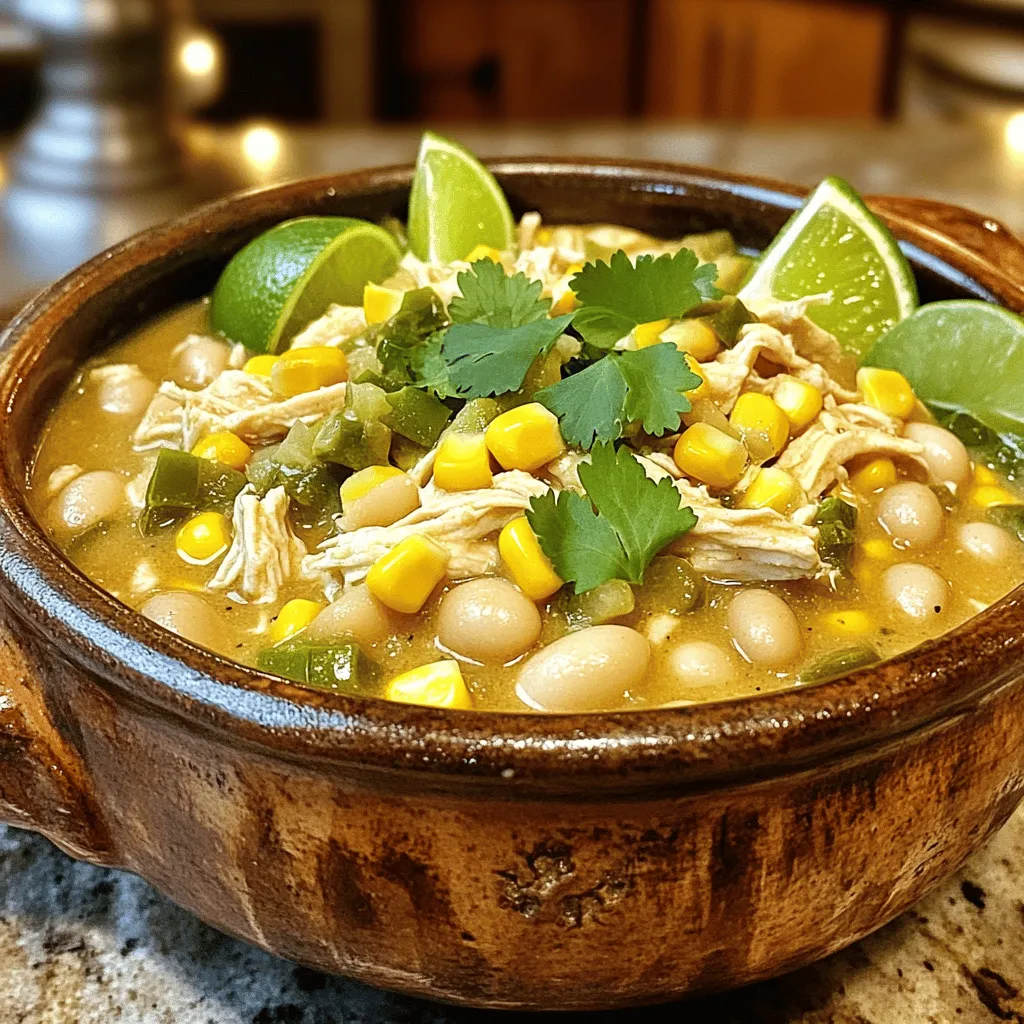
Creamy White Chicken Chili Slow Cooker Delight
Are you ready for a warm, hearty meal that’s incredibly easy to make? This Creamy White Chicken Chili Slow Cooker Delight will be your new
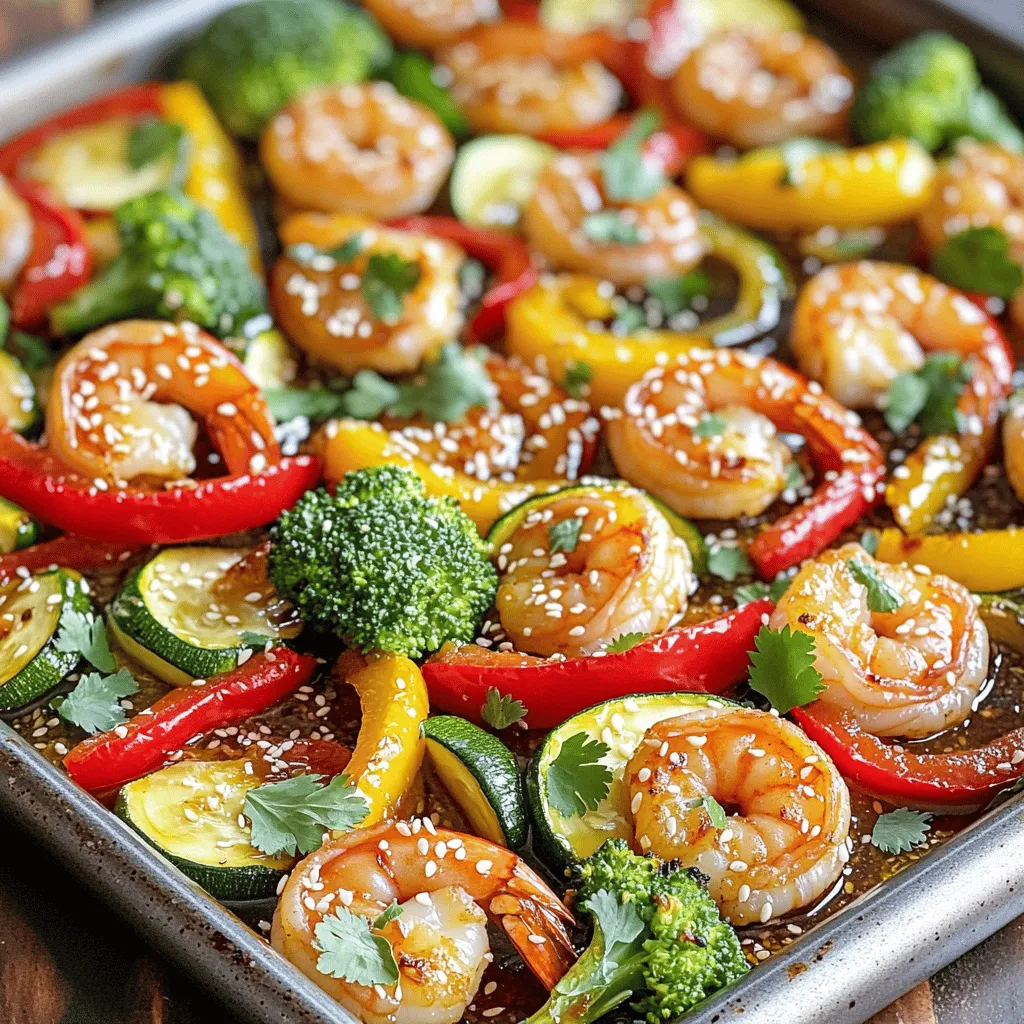
Honey Garlic Shrimp and Veggies Sheet Pan Delight
Are you ready for a meal that’s as easy to make as it is tasty? My Honey Garlic Shrimp and Veggies Sheet Pan Delight brings
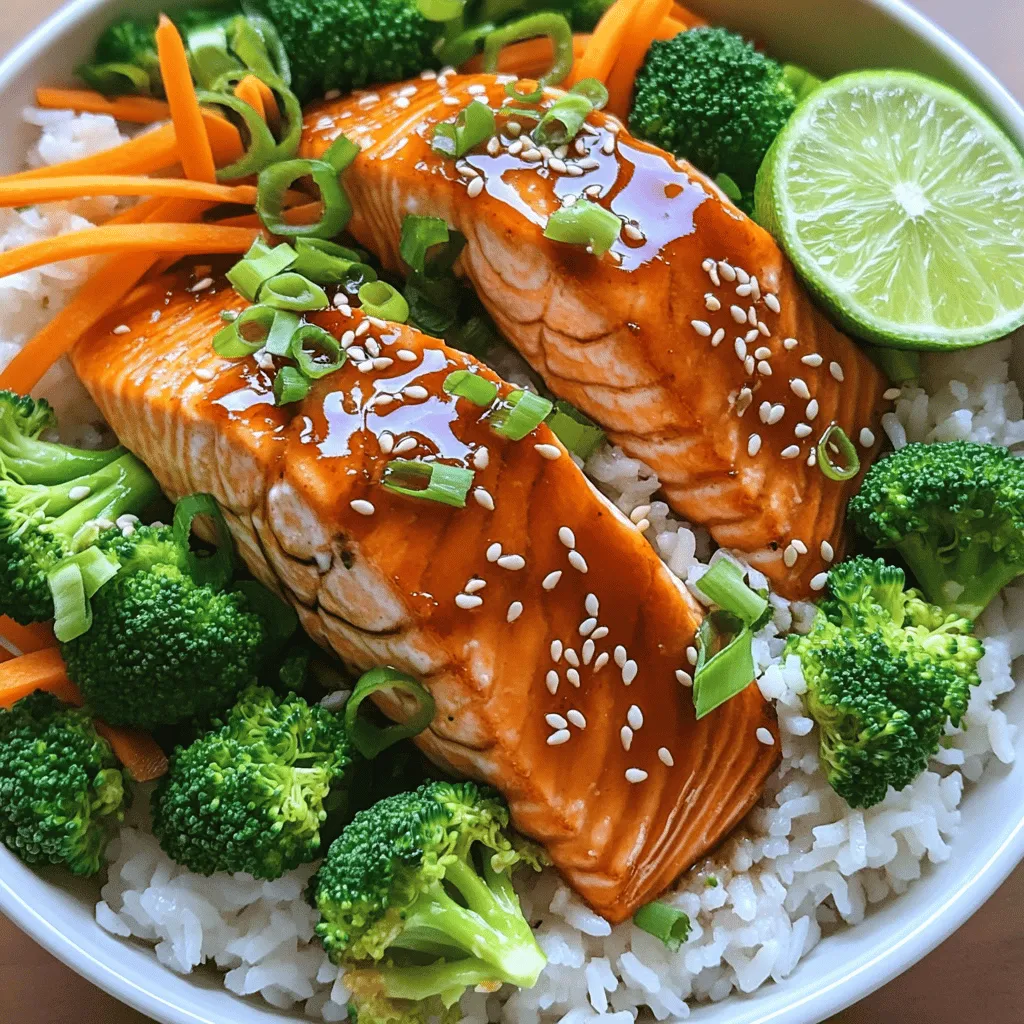
Teriyaki Salmon Rice Bowls Fast and Flavorful Meal
Are you craving a dish that’s both fast and delicious? You’re in luck! I’ll show you how to whip up Teriyaki Salmon Rice Bowls in