Dinner
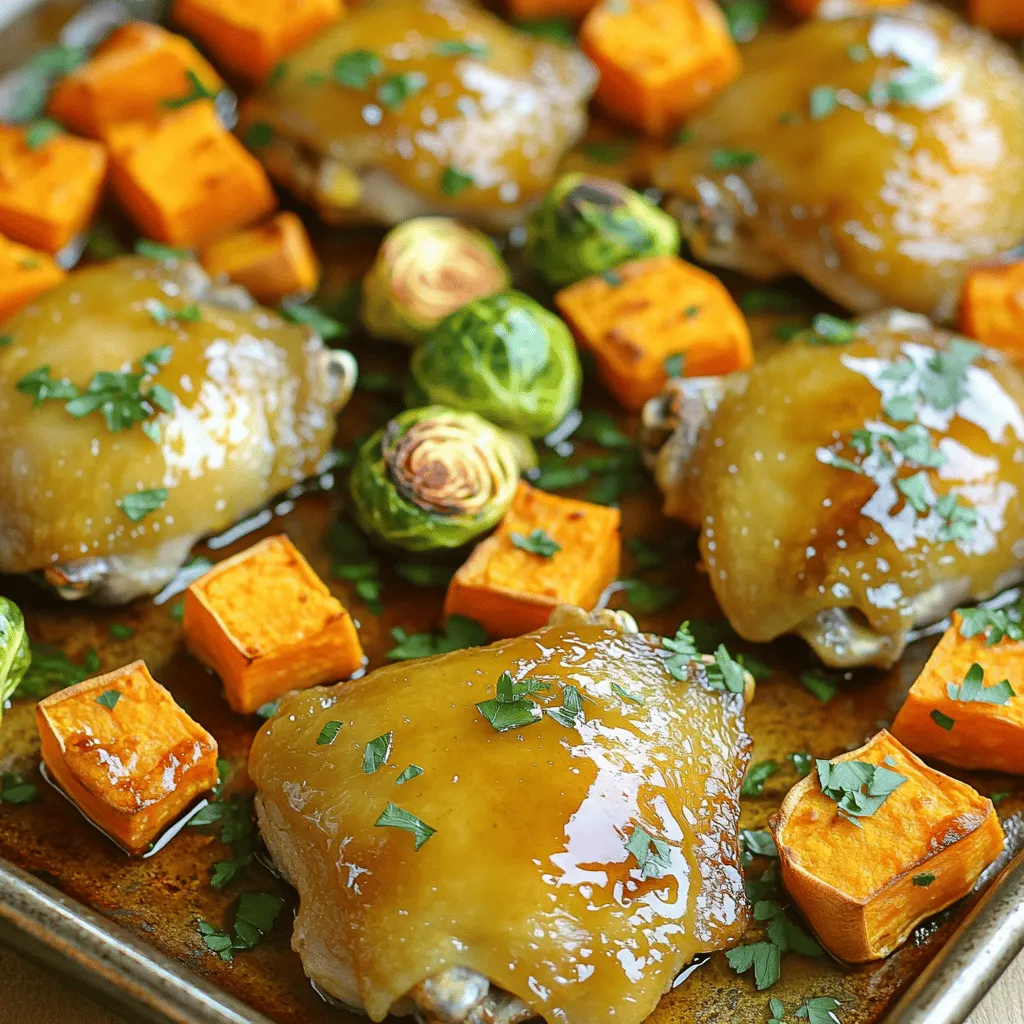
Sheet Pan Maple Roasted Chicken and Sweet Potatoes Dish
Get ready to impress your family with my Sheet Pan Maple Roasted Chicken and Sweet Potatoes dish! This easy recipe combines juicy chicken thighs and
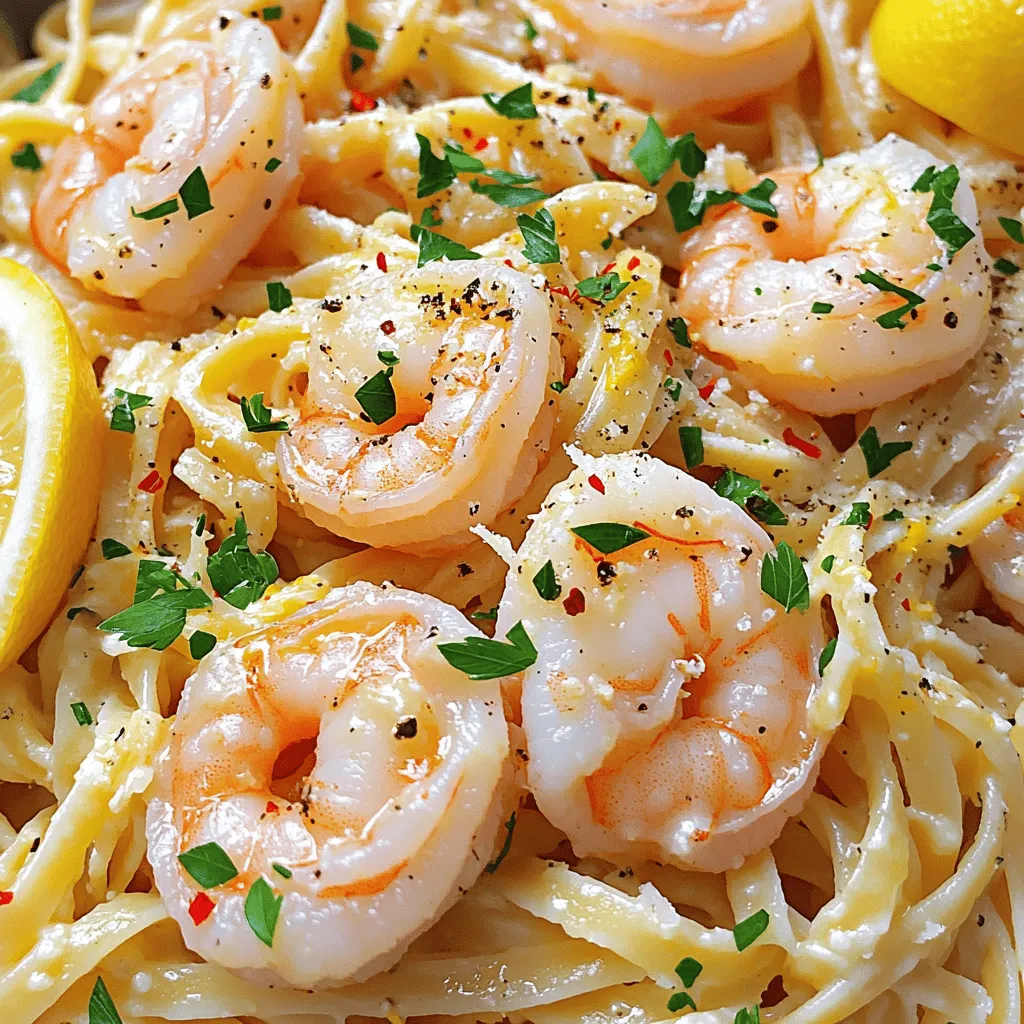
Garlic Butter Shrimp Scampi Linguine Delightful Meal
Are you ready to take your dinner game to the next level? Garlic Butter Shrimp Scampi Linguine is a delightful dish that bursts with flavor.
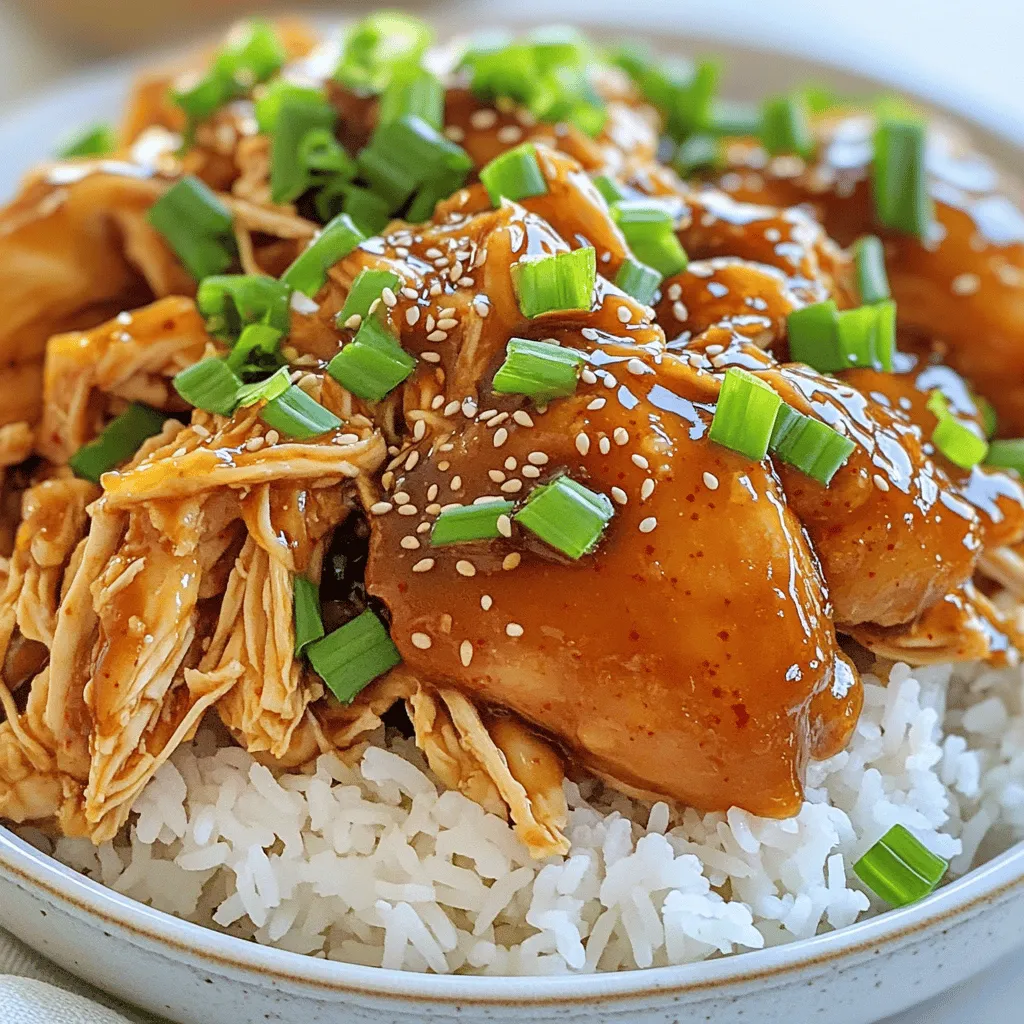
Slow Cooker Sweet and Spicy Korean Chicken Delight
Are you ready to spice up your dinner plans? This Slow Cooker Sweet and Spicy Korean Chicken Delight will take your taste buds on a
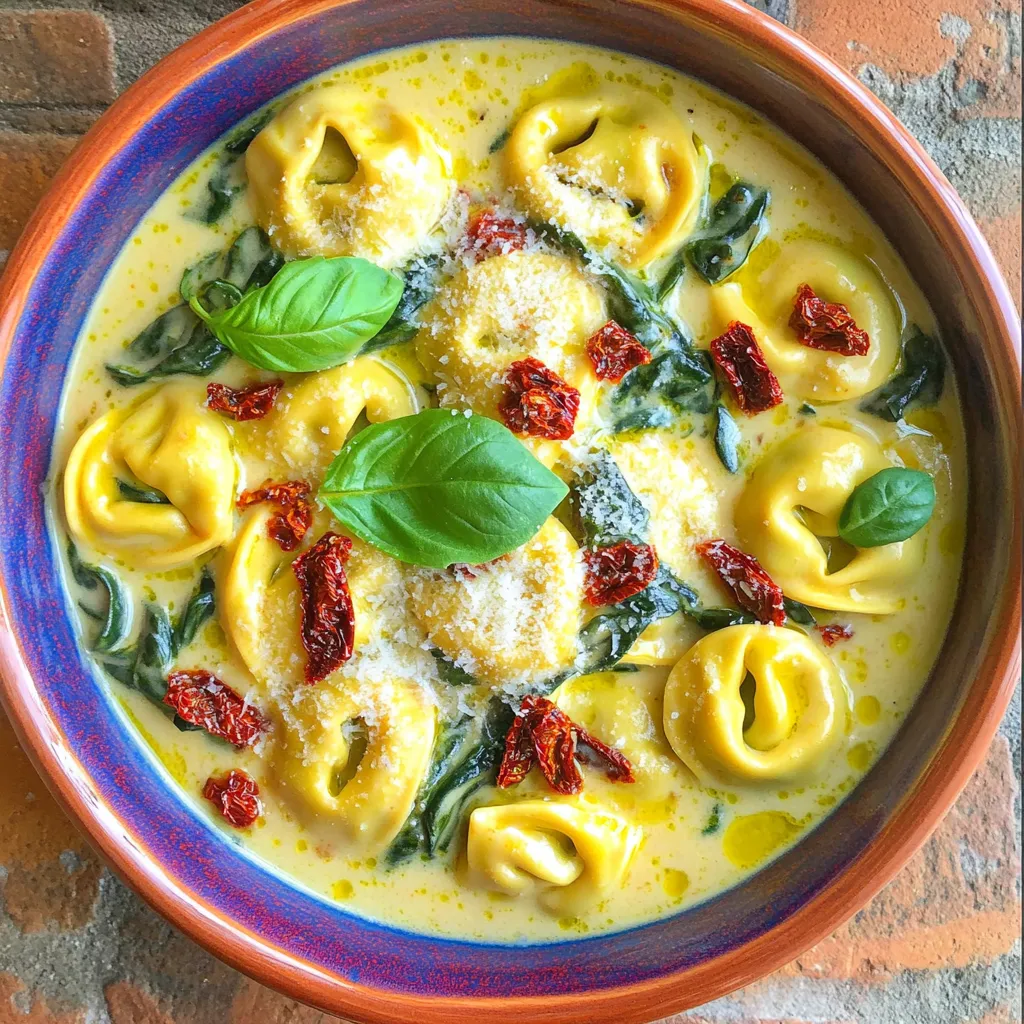
One-Pot Sun-Dried Tomato Spinach Tortellini Delight
Get ready to savor a delicious meal with my One-Pot Sun-Dried Tomato Spinach Tortellini Delight! This easy recipe combines creamy tortellini with sun-dried tomatoes and
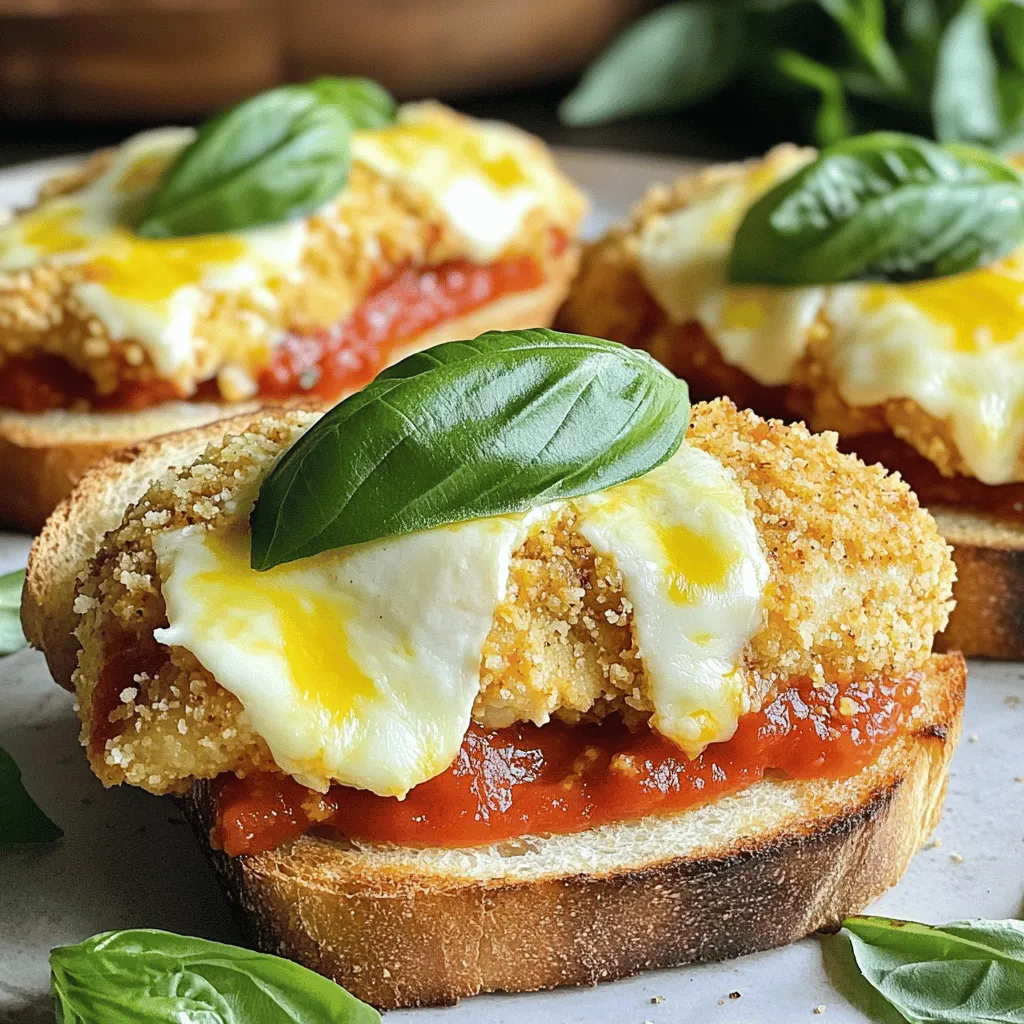
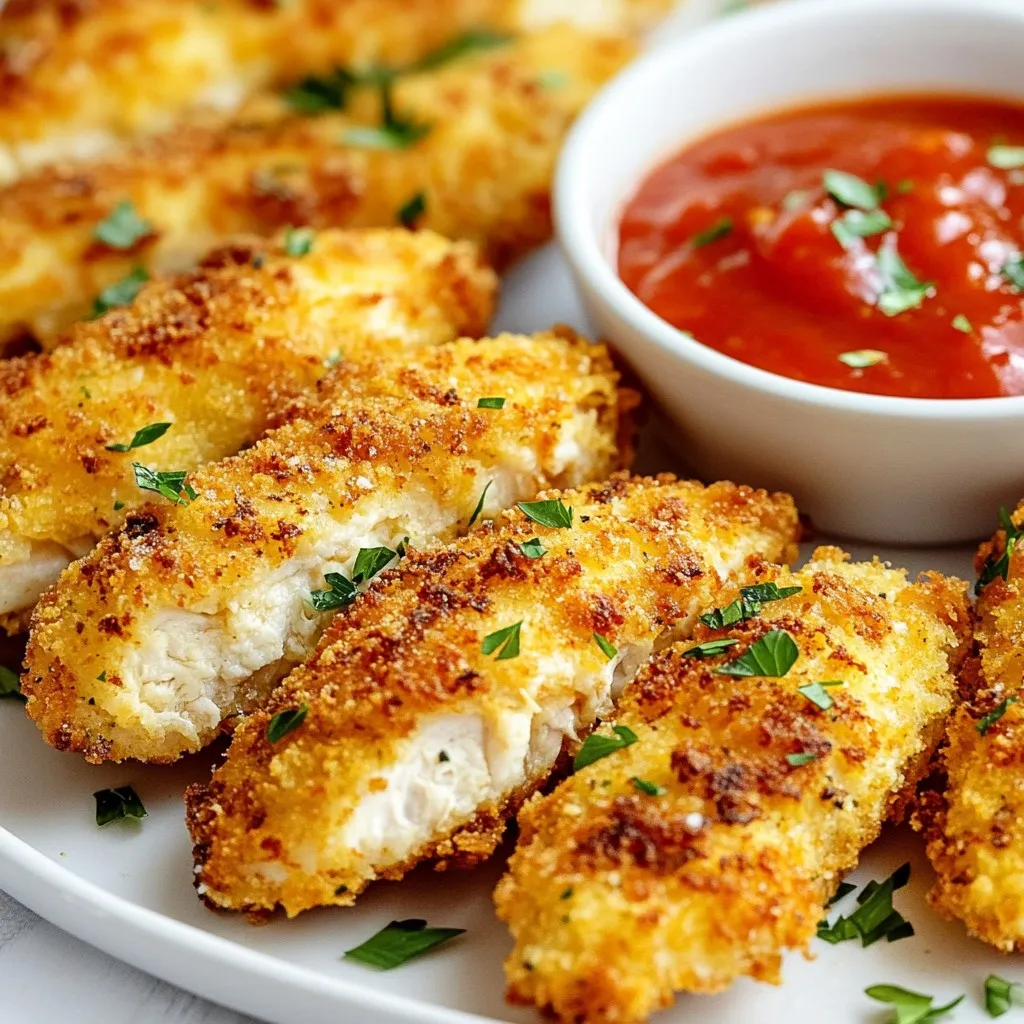
Air Fryer Chicken Parmesan Sandwiches Simple Delight
Are you ready to bite into an Air Fryer Chicken Parmesan Sandwich that’s simple yet delicious? You’ll love how easy this recipe is. It combines

Sheet Pan Maple Mustard Salmon & Sprouts Delight
Ready to impress your taste buds? This Sheet Pan Maple Mustard Salmon & Sprouts Delight is a game-changer! With its sweet and tangy glaze, this
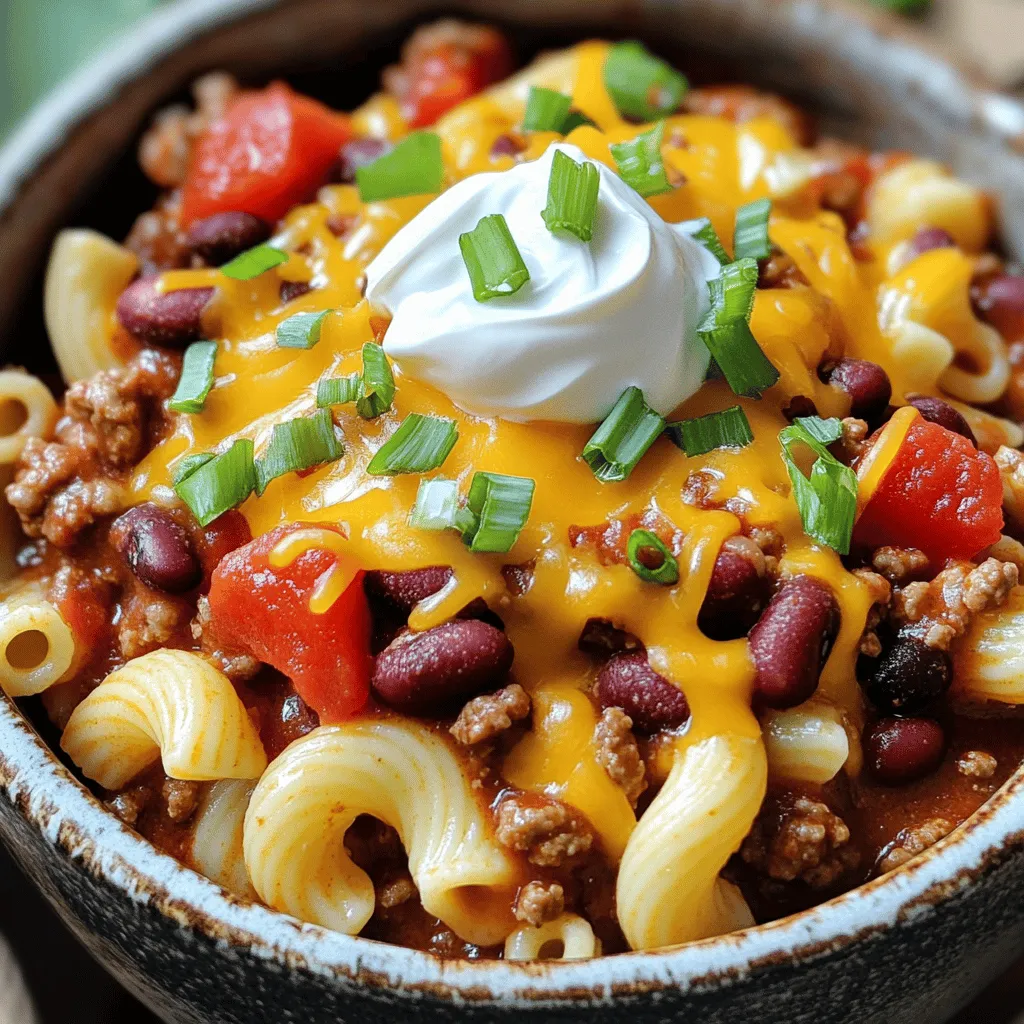
Slow Cooker Loaded Chili Mac Flavorful Comfort Meal
Are you ready for a warm, hearty meal that’s easy to make? Slow Cooker Loaded Chili Mac is just what you need. With ground meat,
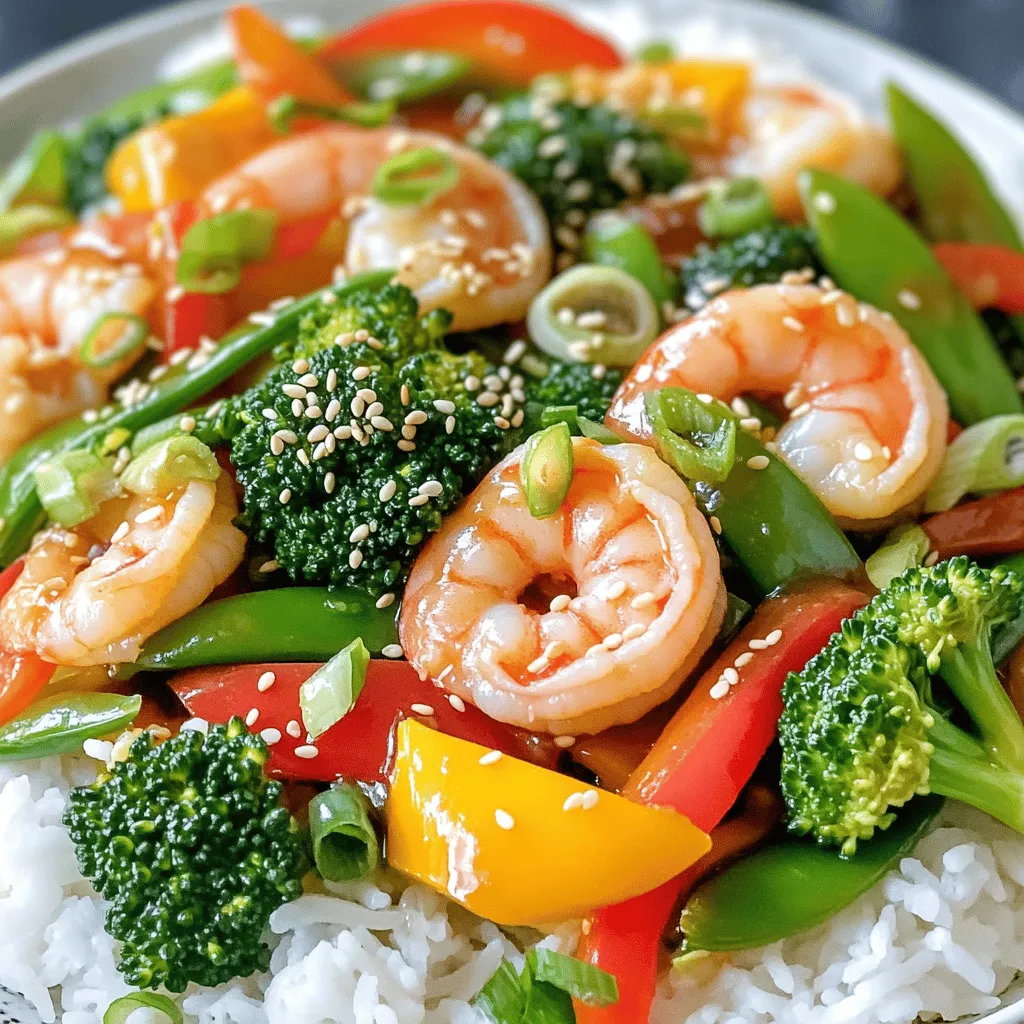
Teriyaki Shrimp Veggie Stir-Fry Quick and Easy Recipe
If you’re looking for a quick meal that’s filled with flavor and goodness, this Teriyaki Shrimp Veggie Stir-Fry is for you! It’s an easy recipe
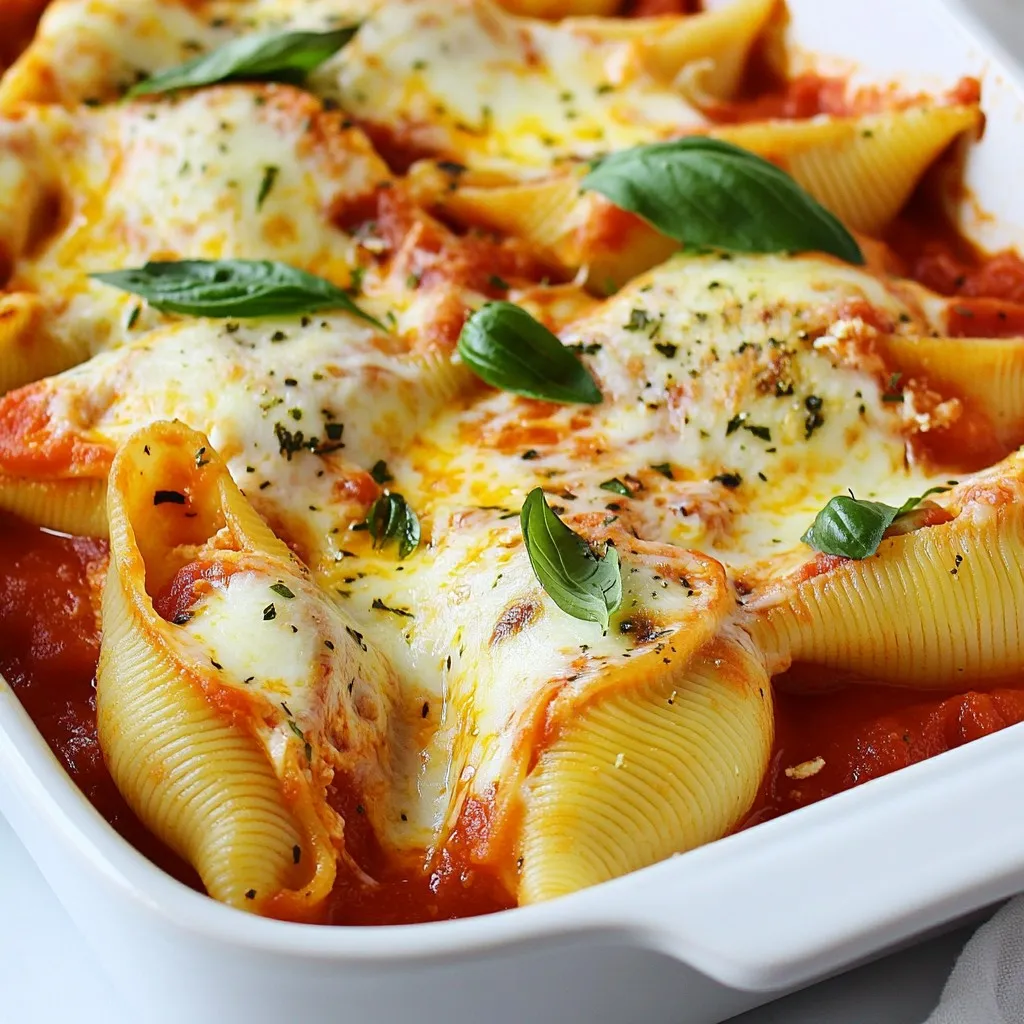
Cottage Cheese Stuffed Shells Flavorful Pasta Dish
Are you ready to elevate your pasta nights? Cottage Cheese Stuffed Shells offer a delightful blend of creamy cheese and savory sauce, making each bite
Copycat Longhorn Parmesan Chicken Tasty Cooking Guide
Craving that savory taste of Copycat Longhorn Parmesan Chicken? You’re in the right place! In this tasty cooking guide, I’ll share the simple ingredients and