Dinner
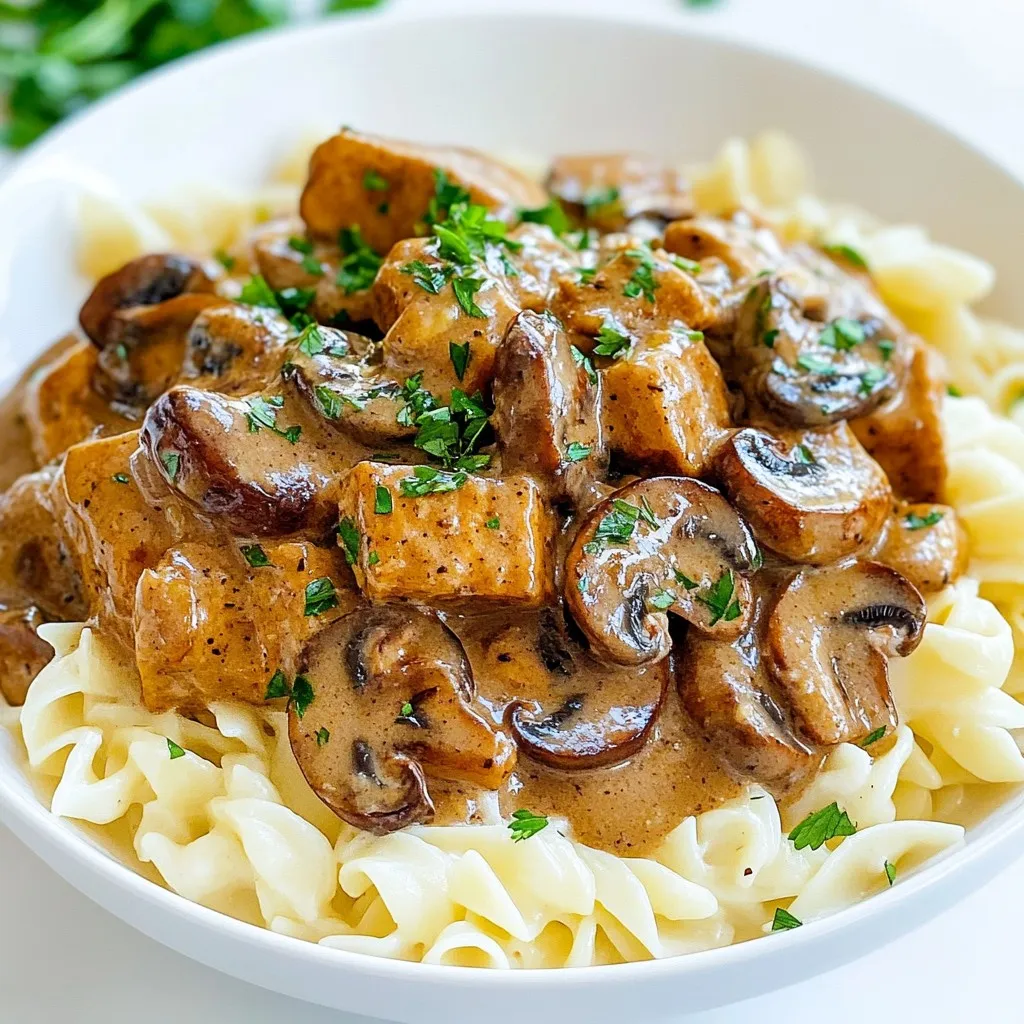
Vegan Mushroom Seitan Stroganoff Simple Comfort Dish
Are you ready to dive into a comforting, vegan delight? This Vegan Mushroom Seitan Stroganoff combines savory seitan and rich mushrooms in a creamy sauce.
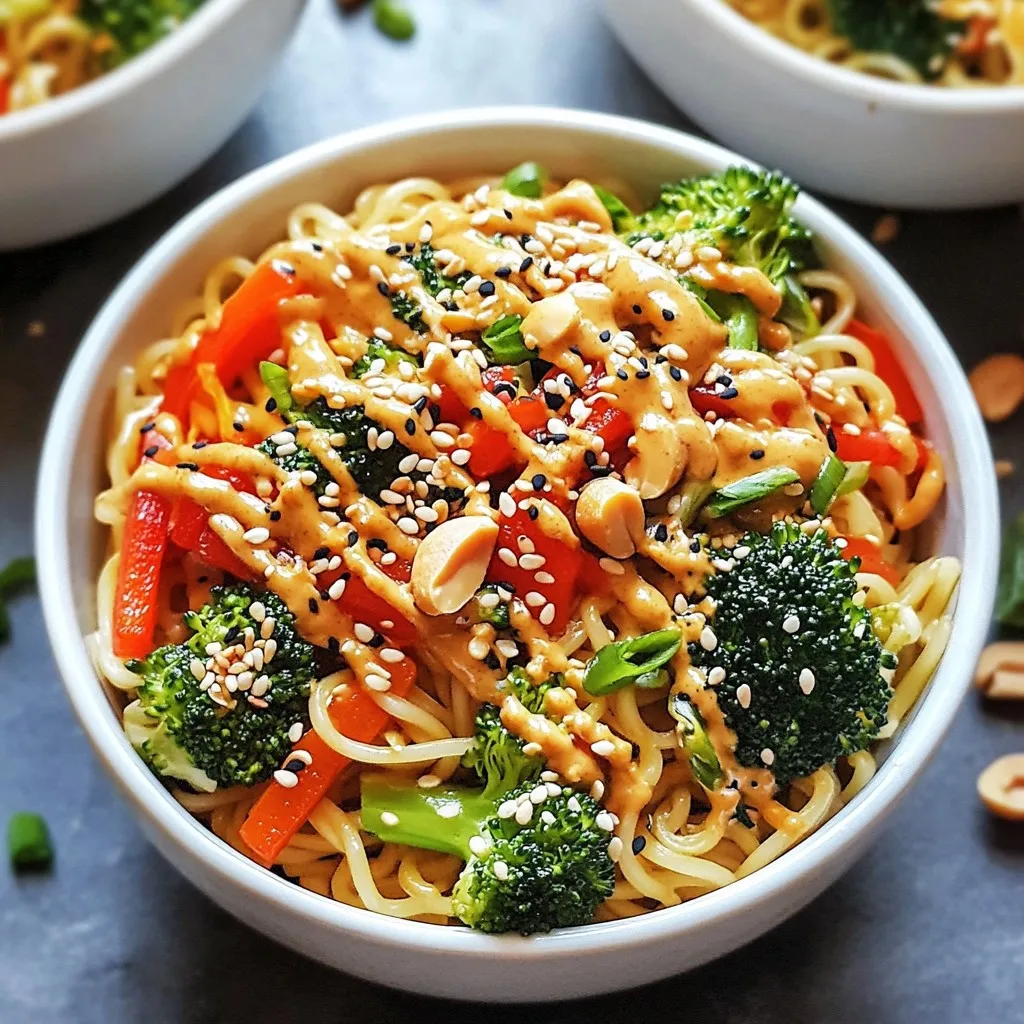
Vegan Thai Peanut Ramen Tasty and Simple Recipe
Get ready to dive into a bowl of mouthwatering goodness with my Vegan Thai Peanut Ramen recipe! This simple dish combines hearty ramen noodles, fresh
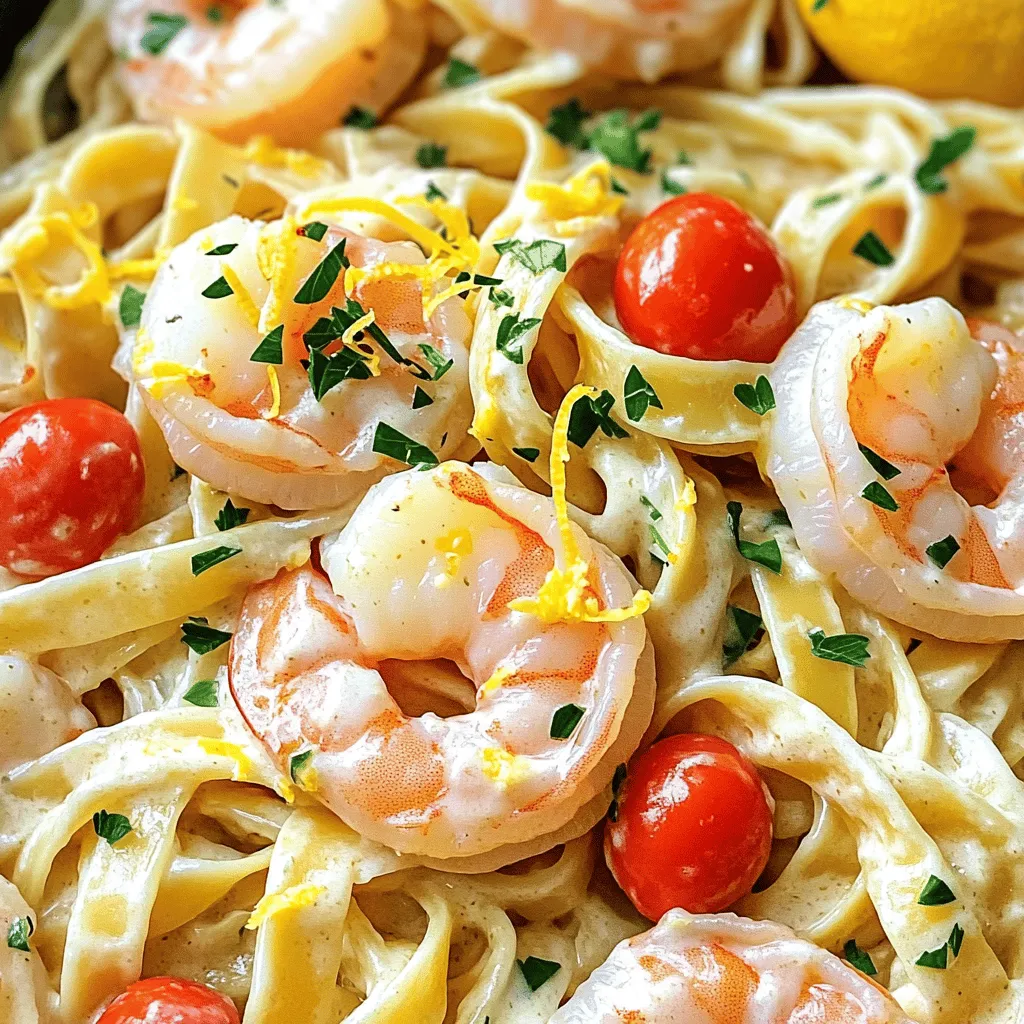
One-Pot Creamy Lemon Garlic Shrimp Pasta Delight
Craving a quick and tasty dinner? My One-Pot Creamy Lemon Garlic Shrimp Pasta is your answer! With fresh shrimp, zesty lemon, and rich cream, it’s
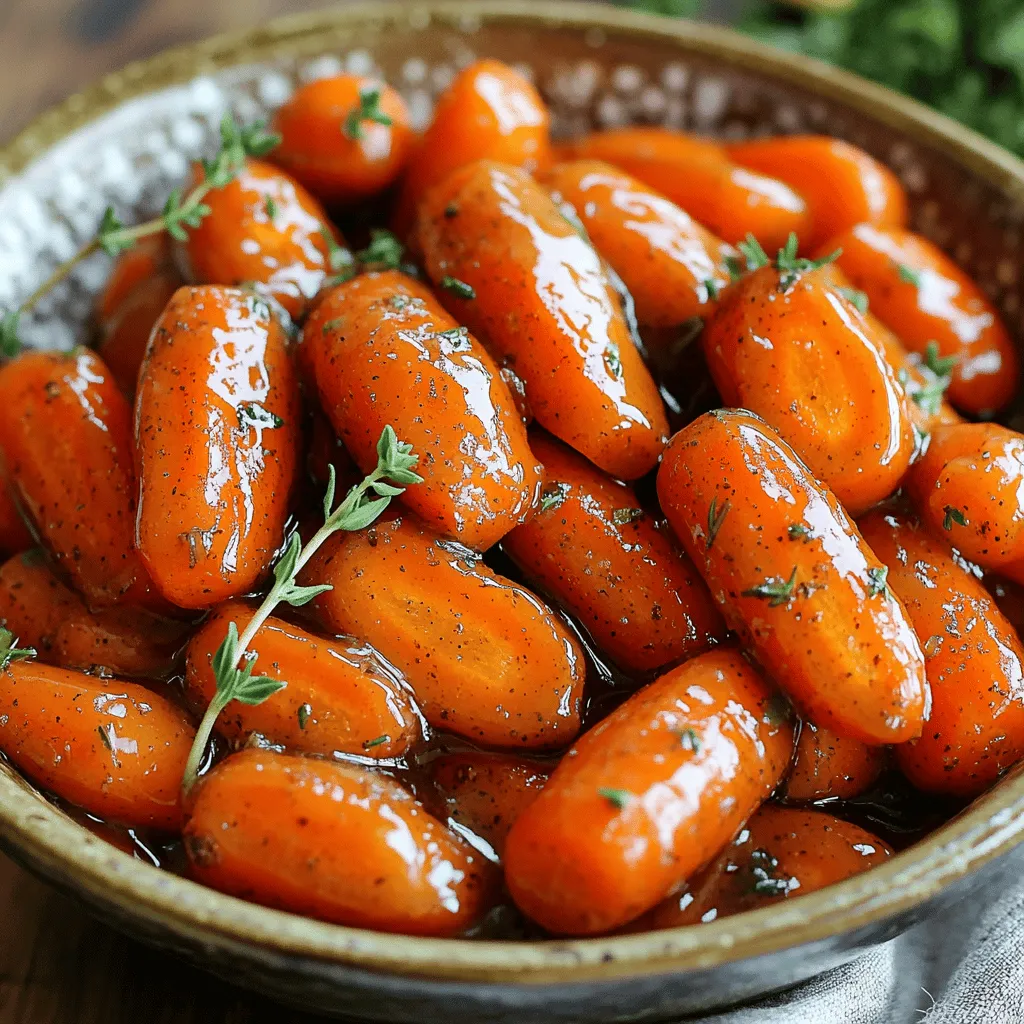
Slow Cooker Brown Butter Honey Glazed Carrots Delight
Get ready to transform your dinner table with my Slow Cooker Brown Butter Honey Glazed Carrots! These tender, sweet carrots bathed in rich brown butter

Spicy Szechuan Tofu Bowls Flavorful and Easy Meal
Looking to spice up your meals? These Spicy Szechuan Tofu Bowls offer a burst of flavor that’s both easy to make and satisfying. With firm
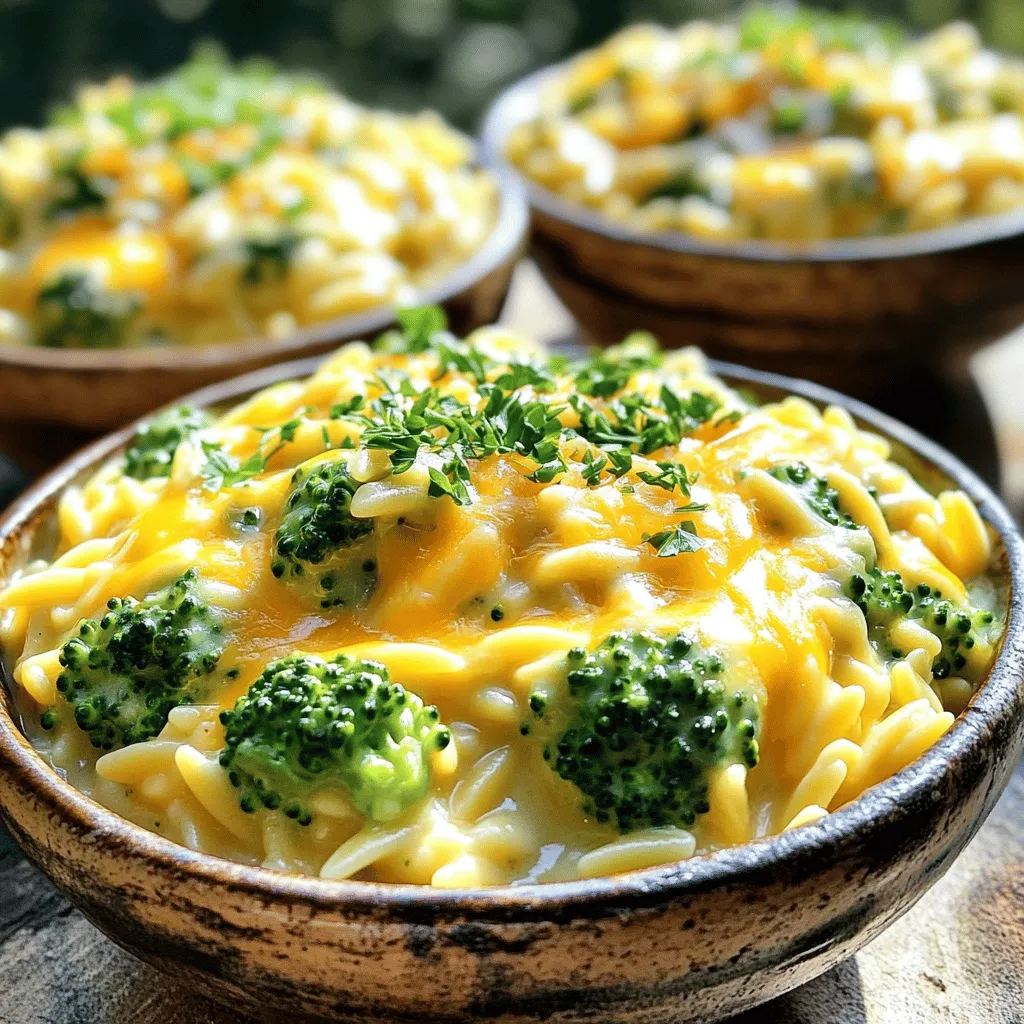
One-Pot Creamy Broccoli Cheddar Orzo Delight
Looking for a cozy meal that’s both creamy and easy to make? You’ve found it! This One-Pot Creamy Broccoli Cheddar Orzo Delight combines tender orzo
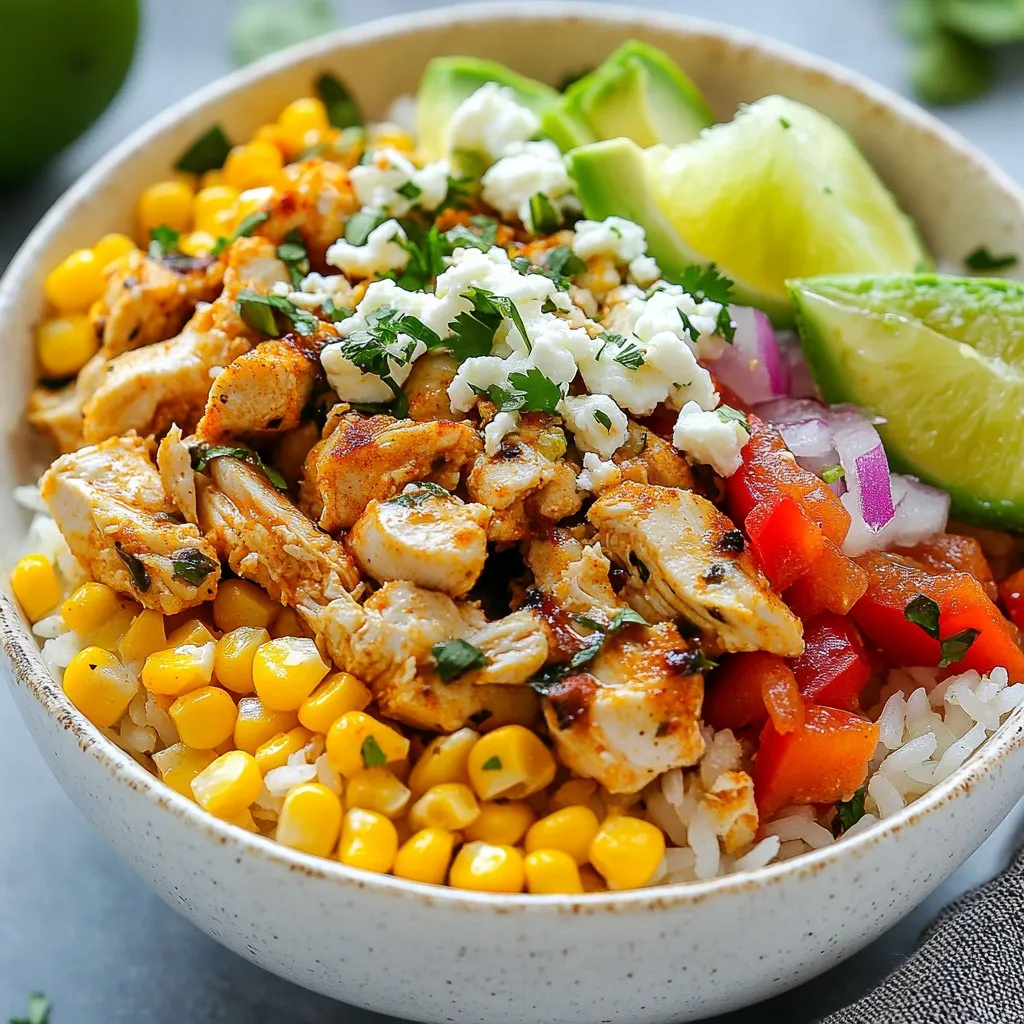
Savory Street Corn Chicken Rice Bowl Recipe Guide
Are you ready to spice up your dinner routine? In this Savory Street Corn Chicken Rice Bowl Recipe Guide, I’ll show you how to create
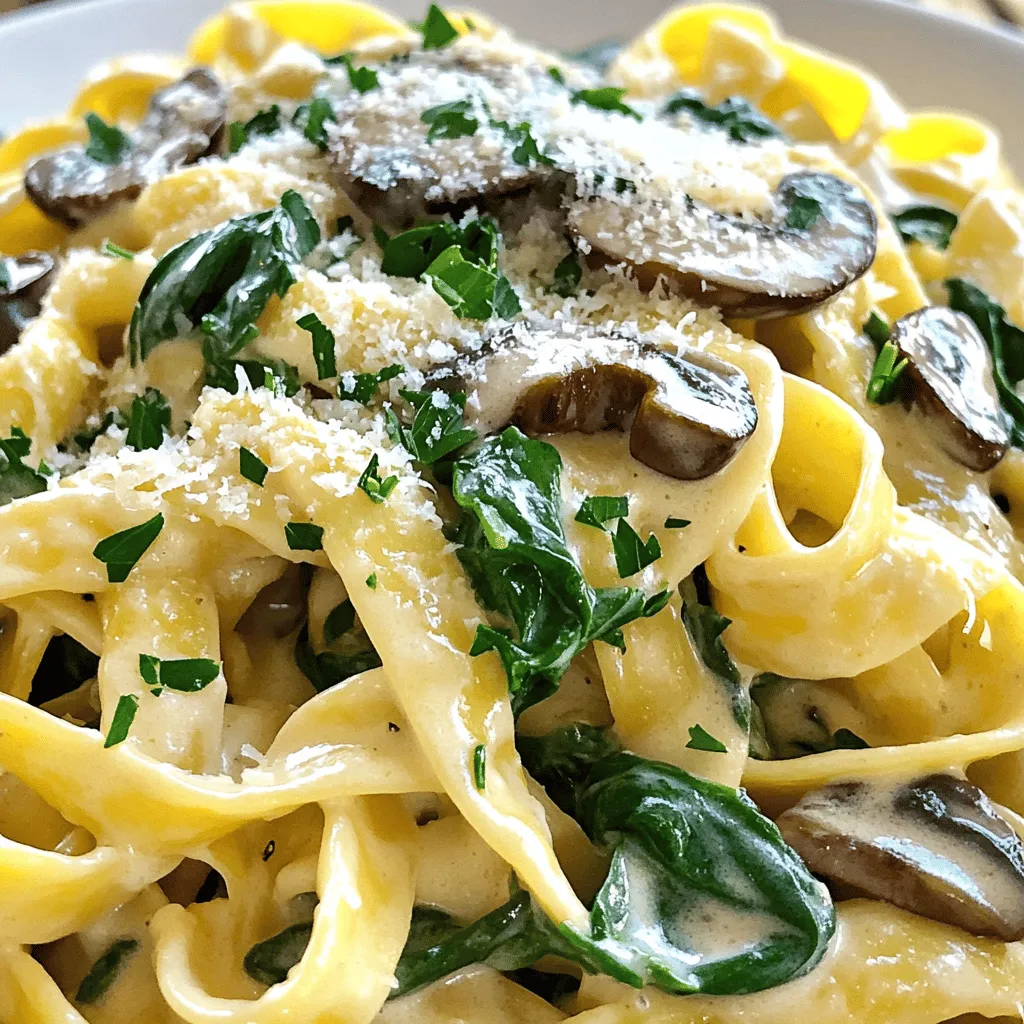
Creamy Mushroom Spinach Pasta One Pot Delight
Welcome to your next kitchen adventure with my Creamy Mushroom Spinach Pasta One Pot Delight. If you love rich, comforting meals without the cleanup hassle,

Garlic Honey Chicken & Sweet Potato Sheet Pan Delight
Get ready to impress at dinner time with my Garlic Honey Chicken & Sweet Potato Sheet Pan Delight! This cozy dish mixes sweet and savory

Slow Cooker Cheesy Chili Mac Delightful Comfort Meal
Looking for a warm, satisfying meal that’s easy to make? Try my Slow Cooker Cheesy Chili Mac! This dish combines ground meat, pasta, and rich