Dinner
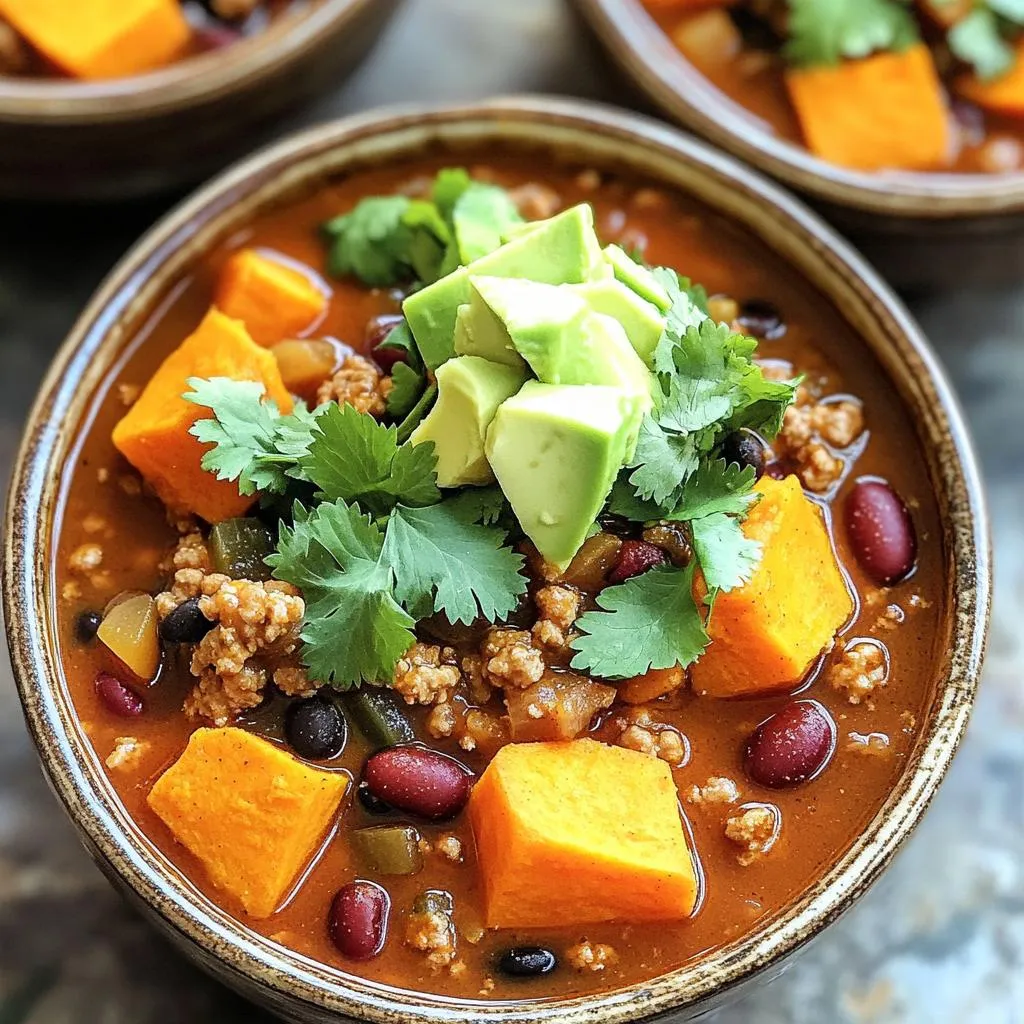
Slow Cooker Turkey Sweet Potato Chili Flavor Boost
Want a hearty meal that warms your soul? This Slow Cooker Turkey Sweet Potato Chili is the answer! Packed with flavor and nutrients, it’s easy
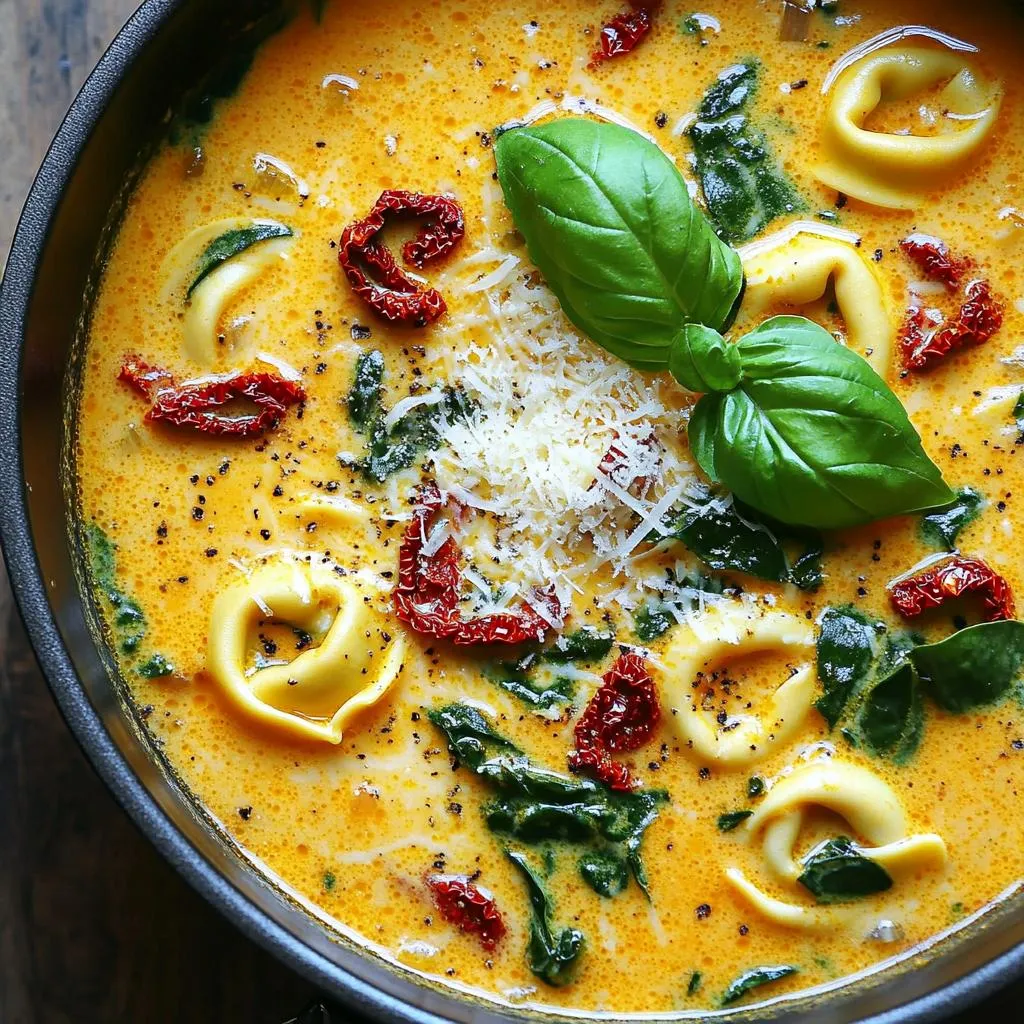
One-Pot Creamy Sun-Dried Tomato Tortellini Soup Delight
Looking for a quick and delicious dish? Try my One-Pot Creamy Sun-Dried Tomato Tortellini Soup! It’s rich, comforting, and perfect for any night. With just
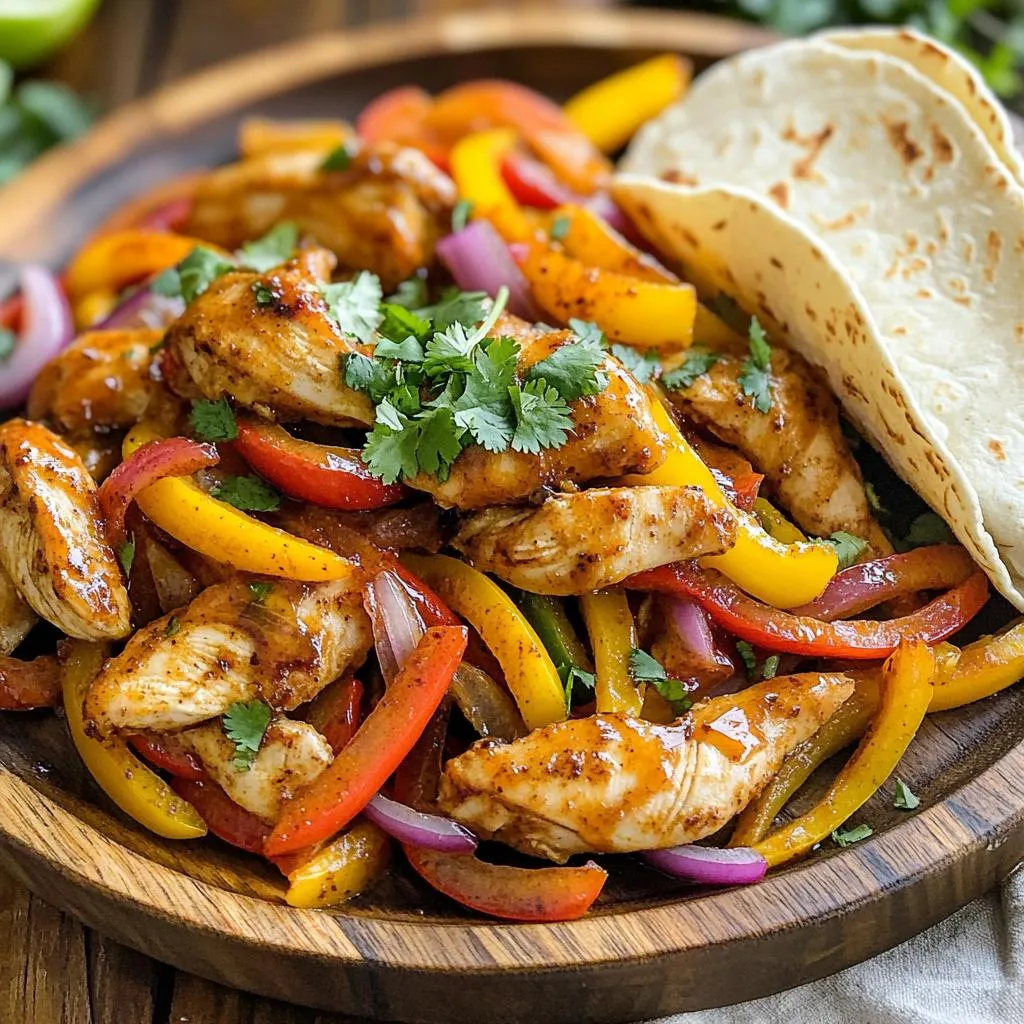
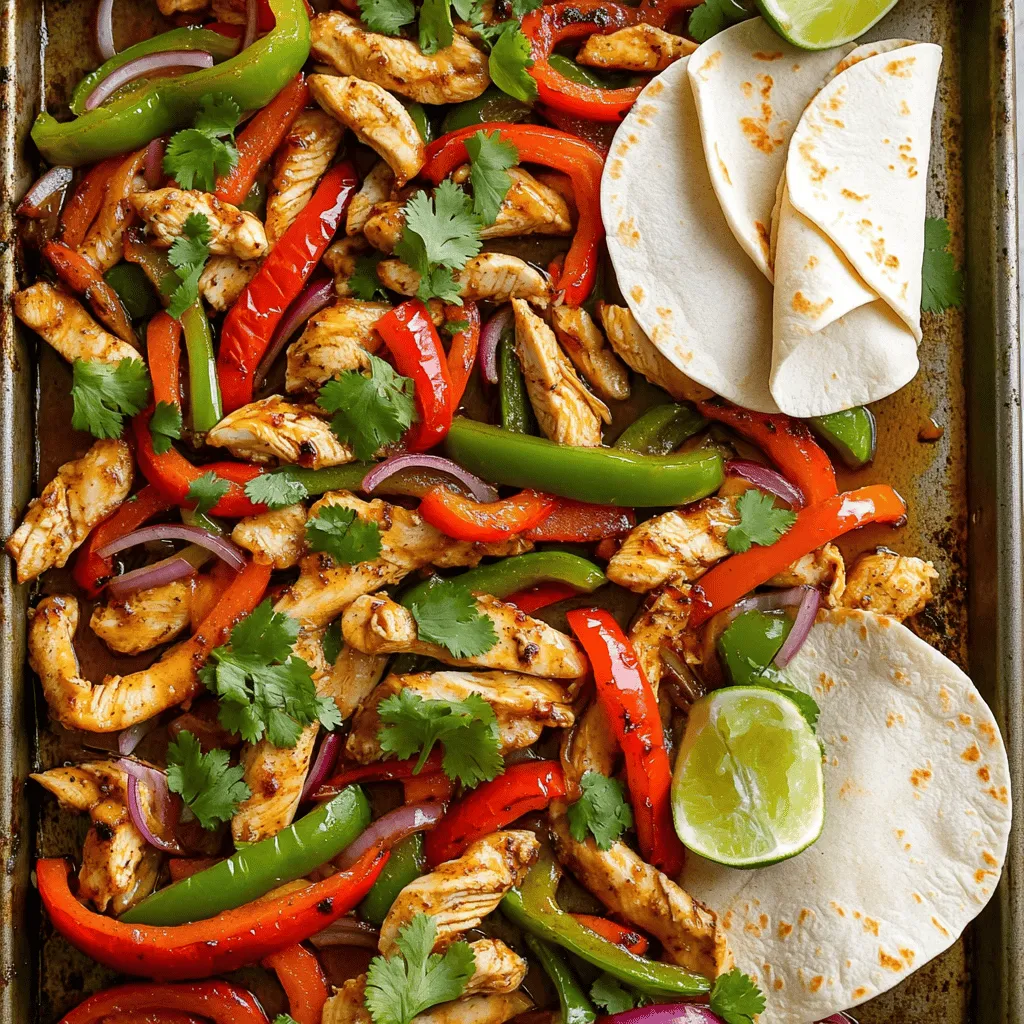
Sheet Pan Sweet Chili Lime Chicken Fajitas Delight
Get ready for a flavor-packed meal with my Sheet Pan Sweet Chili Lime Chicken Fajitas! This easy recipe combines juicy chicken thighs with vibrant bell
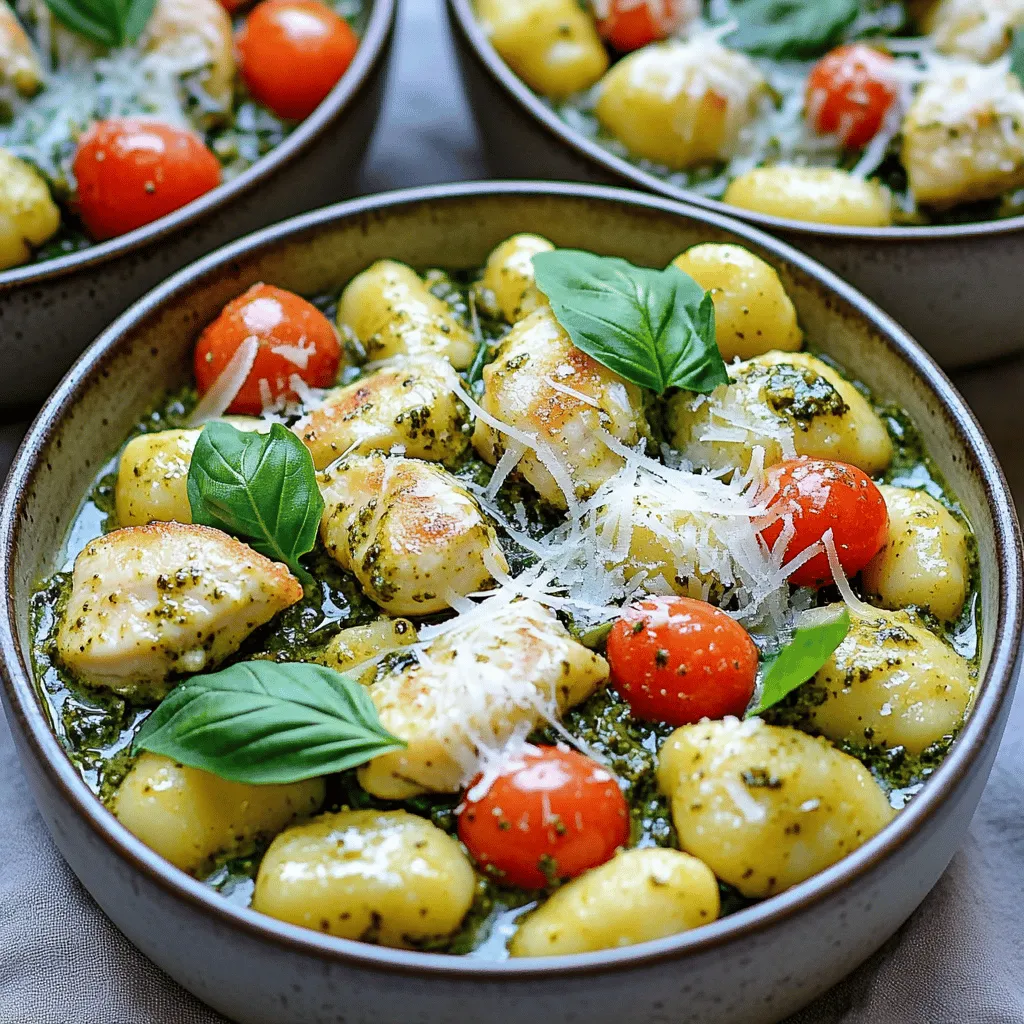
One-Pot Creamy Pesto Chicken Gnocchi Delight
Welcome to your new favorite dish: One-Pot Creamy Pesto Chicken Gnocchi Delight! This recipe packs bold flavors and creamy goodness—all in one pot. Imagine tender
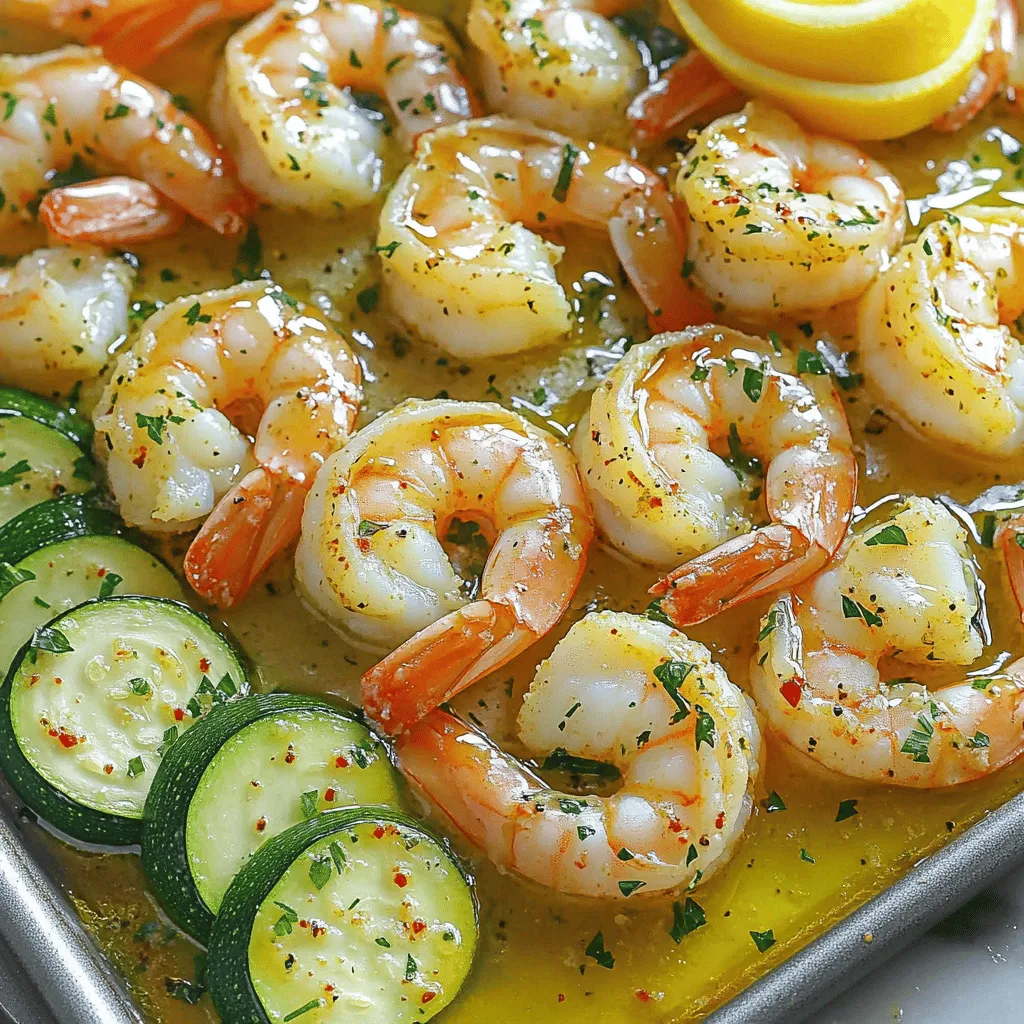
Sheet Pan Garlic Butter Shrimp & Zucchini Delight
Looking for a quick, tasty dinner? Try my Sheet Pan Garlic Butter Shrimp & Zucchini Delight! This dish is packed with flavor and easy to
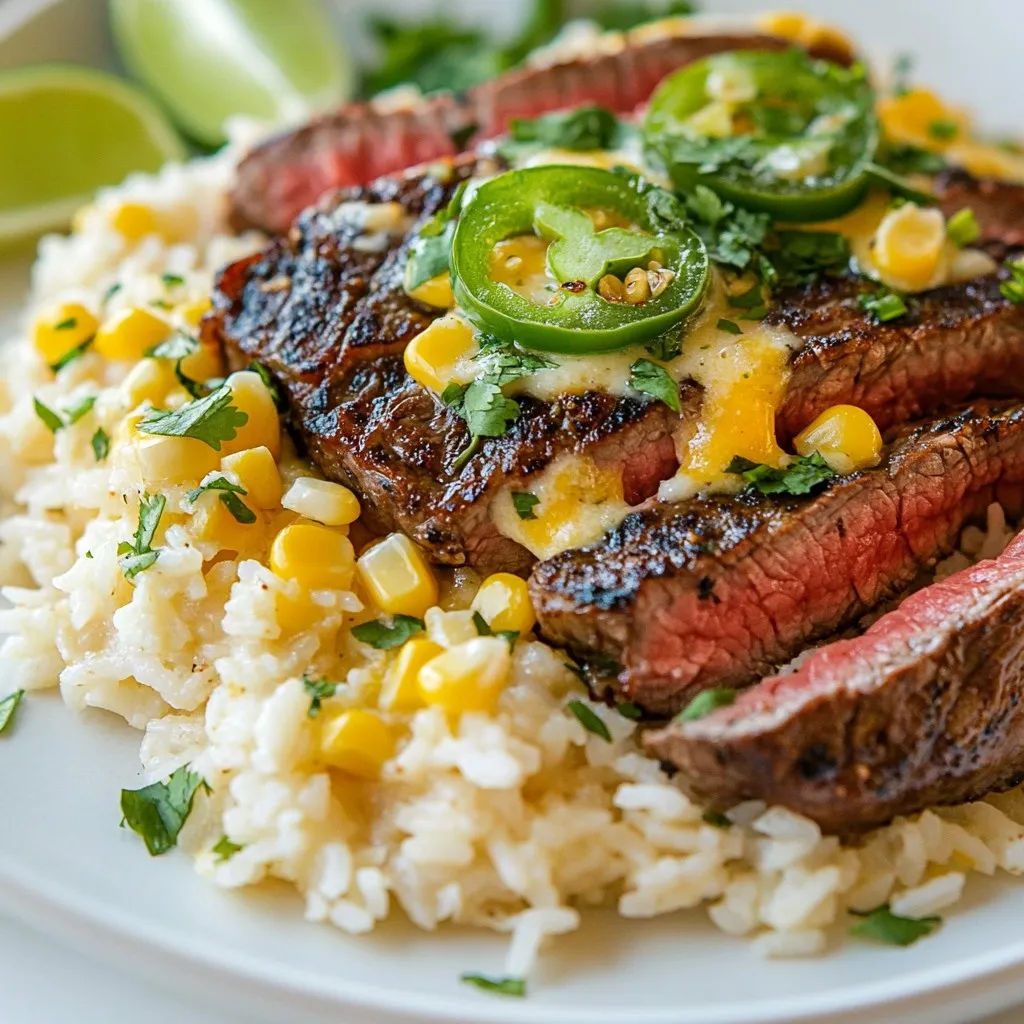
Seared Steak with Queso Rice Flavorful Dinner Idea
Looking for a tasty dinner idea? You’ve found it! My Seared Steak with Queso Rice is a dish packed with flavor and simplicity. Perfectly seasoned
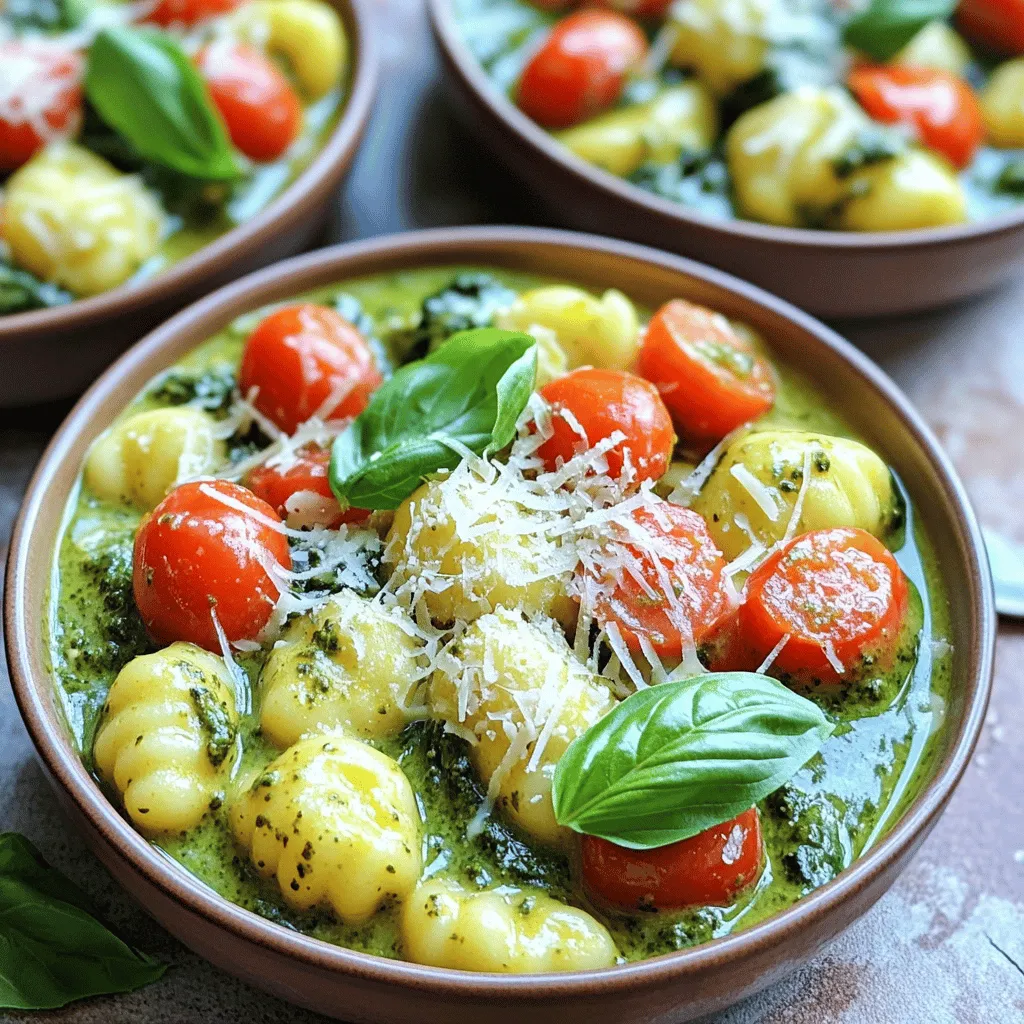
One-Pot Creamy Pesto Chicken Gnocchi Delight
Ready for a meal that’s simple, creamy, and oh-so-delicious? My One-Pot Creamy Pesto Chicken Gnocchi Delight will make your dinner dreams come true! In just
Honey Garlic Chicken Fajitas Sheet Pan Delight
Ready to savor a scrumptious meal that comes together in one pan? The Honey Garlic Chicken Fajitas Sheet Pan Delight is the answer! With juicy
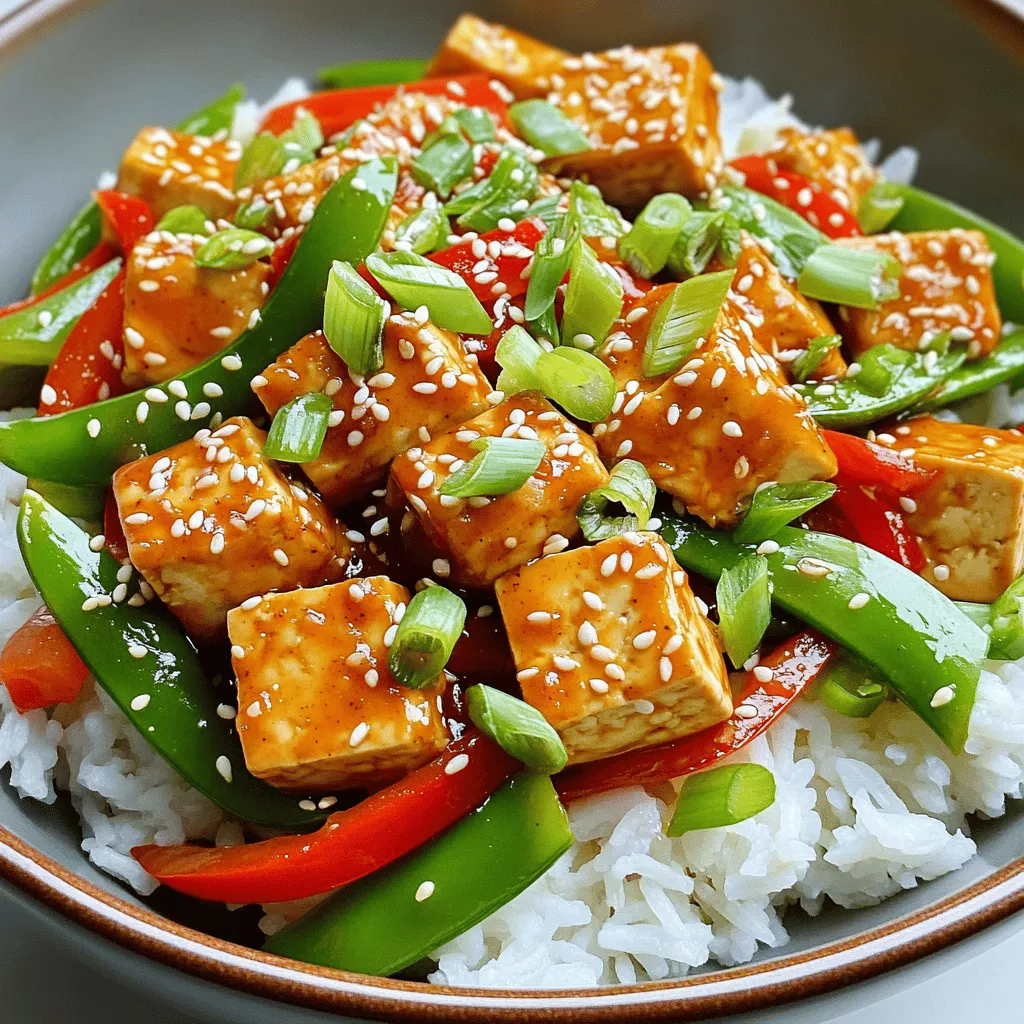
Minute Chili Garlic Tofu Stir-Fry Flavorful Delight
Are you ready to spice up your weeknight meals? My Minute Chili Garlic Tofu Stir-Fry delivers bold flavors in minutes! Packed with crunchy veggies and
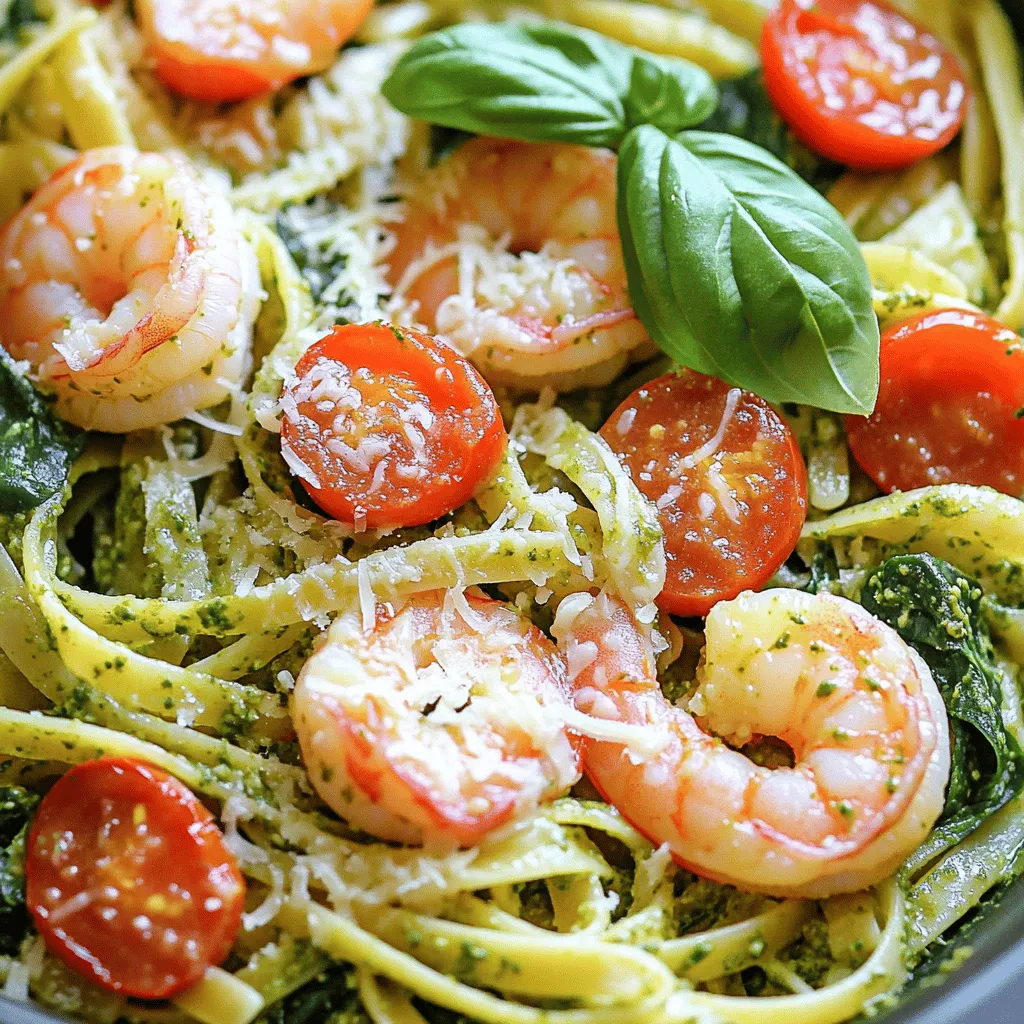
One-Pot Creamy Pesto Shrimp Pasta Delight Recipe
Craving a delicious meal that’s quick and easy? Let me introduce you to my One-Pot Creamy Pesto Shrimp Pasta Delight! With just a few simple