Dinner
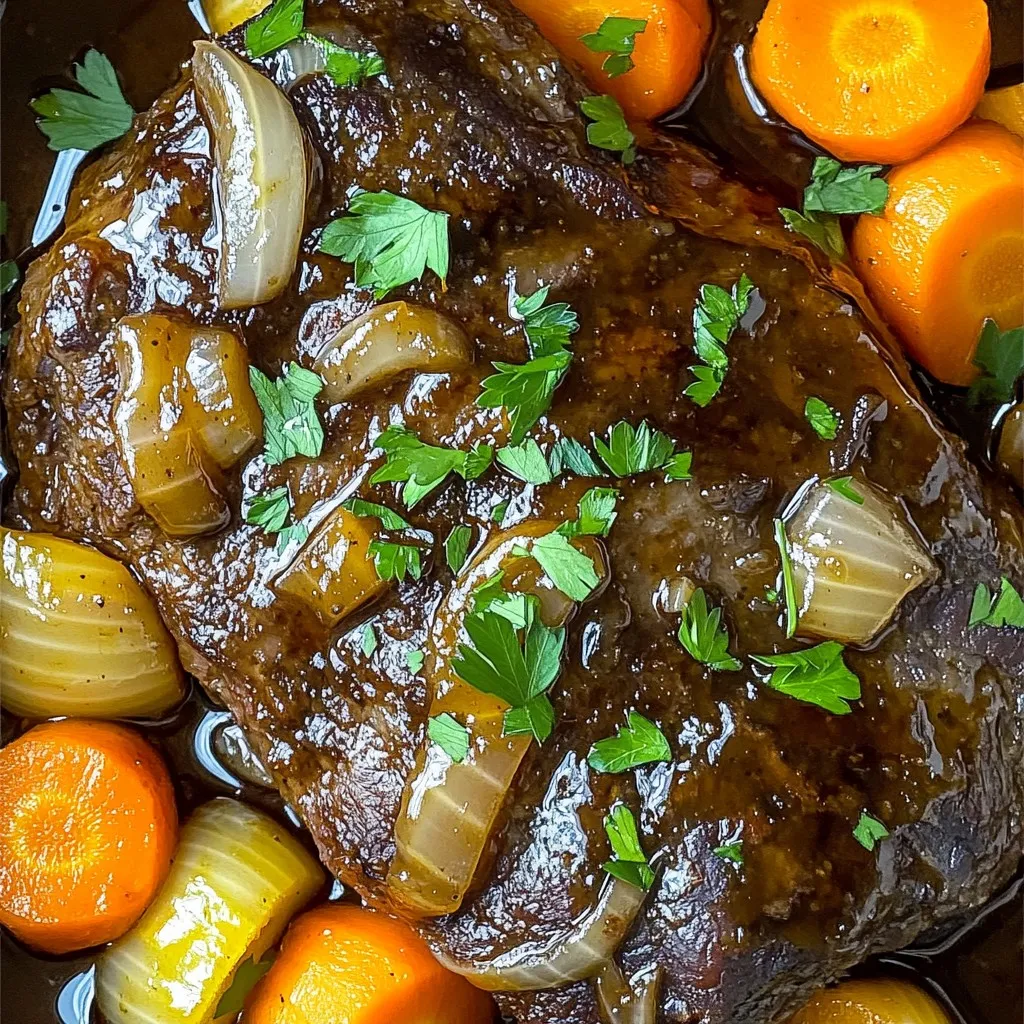
Slow Cooker Honey Balsamic Pot Roast Flavor Burst
Get ready to impress your taste buds with my Slow Cooker Honey Balsamic Pot Roast! This dish blends rich flavors of balsamic vinegar and honey
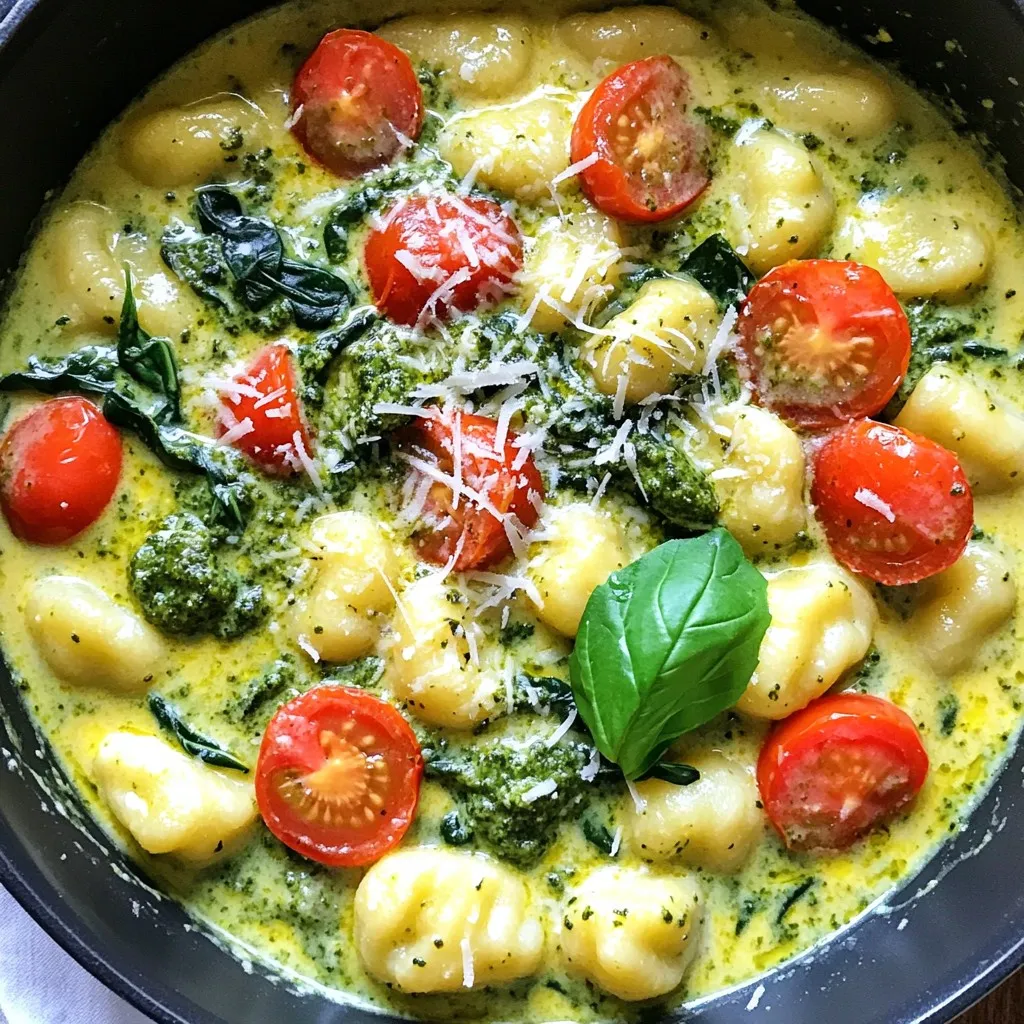
One Pot Creamy Pesto Gnocchi Simple and Tasty Dish
Craving a dish that’s both simple and bursting with flavor? You’re in the right place! This One Pot Creamy Pesto Gnocchi is quick to make

Cheesy Ranch Potatoes with Sausage Savory Delight
If you love comfort food, get ready for a treat! My Cheesy Ranch Potatoes with Sausage bring big flavors to your table in no time.

Slow Cooker BBQ Pulled Chicken Sandwiches Delight
Are you ready to indulge in some delicious Slow Cooker BBQ Pulled Chicken Sandwiches? This simple recipe combines tender chicken with rich BBQ sauce for
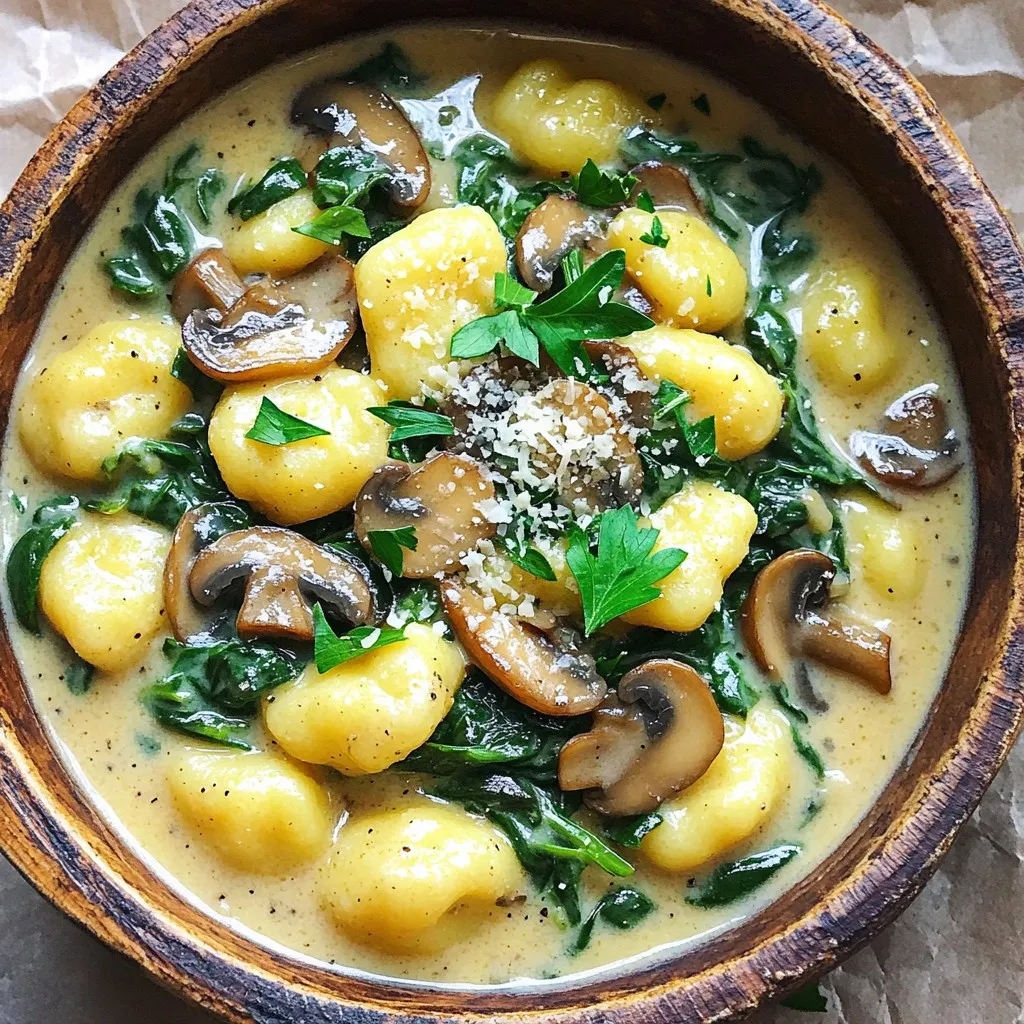
Creamy One-Pot Mushroom Spinach Gnocchi Delight
Are you ready to dive into a delicious meal that’s both easy and satisfying? This Creamy One-Pot Mushroom Spinach Gnocchi Delight combines rich flavors and
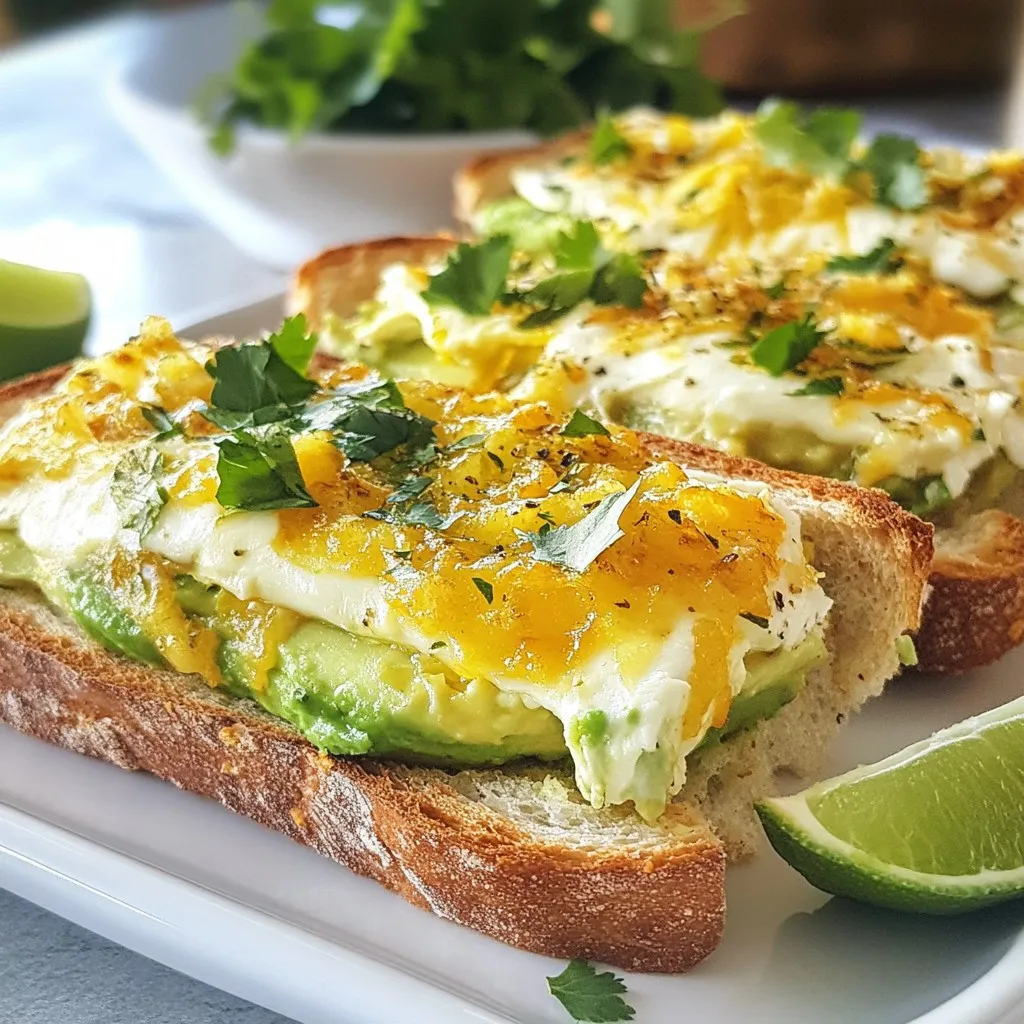
Chicken Avocado Melt Irresistible Comfort Meal
If you’re craving a warm, gooey delight, the Chicken Avocado Melt is your answer! This irresistible comfort meal combines tender chicken, creamy avocado, and melty
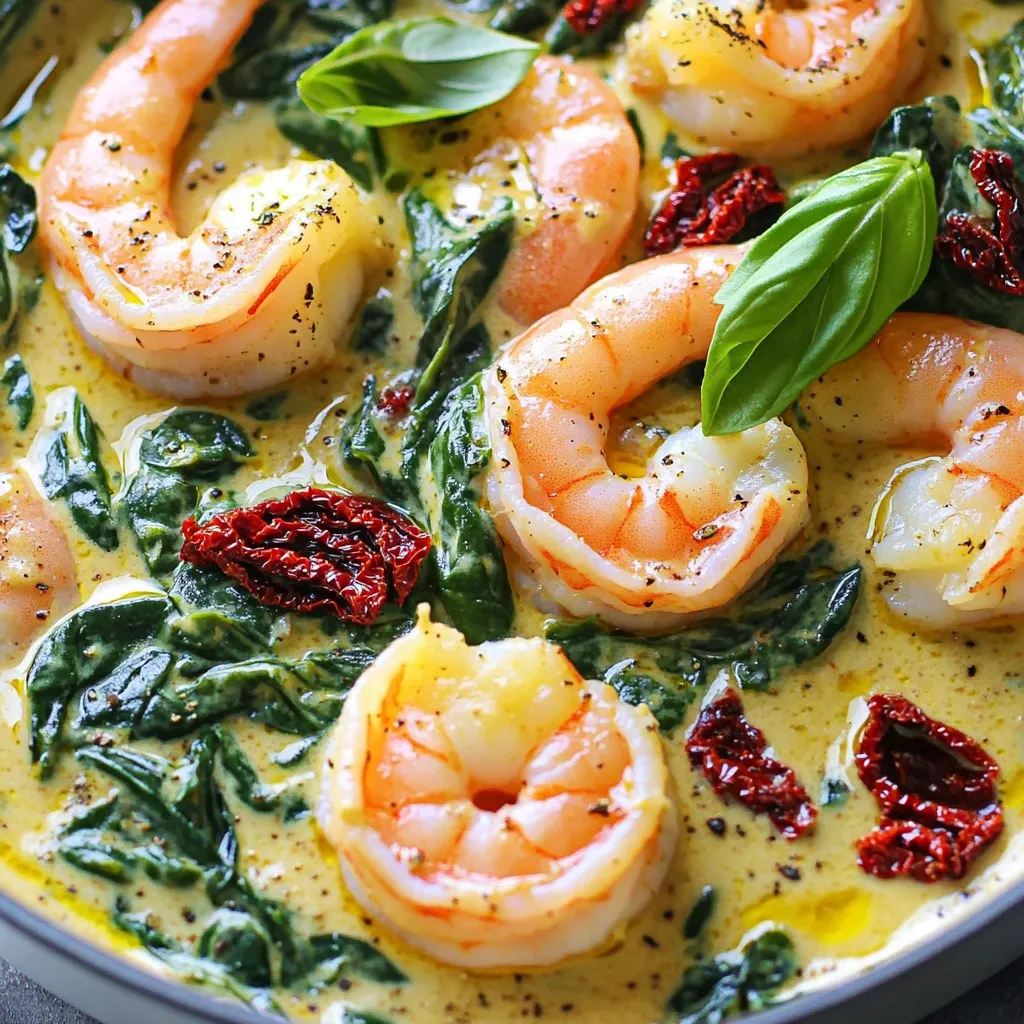
Creamy Tuscan Sun Dried Tomato Shrimp Skillet Delight
If you’re craving a simple yet delicious meal, my Creamy Tuscan Sun Dried Tomato Shrimp Skillet is a must-try! This dish blends juicy shrimp with
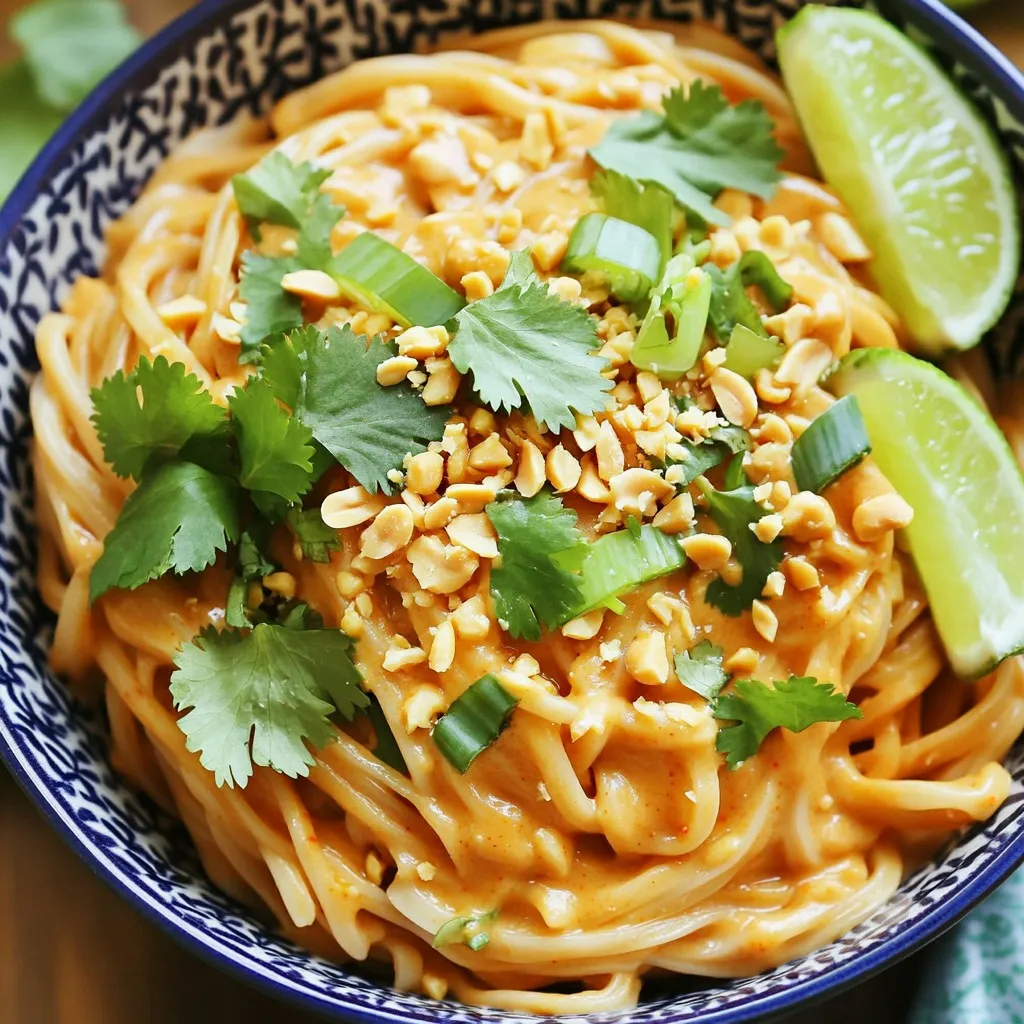
Minute Sweet Chili Peanut Noodles Flavorful Delight
Craving a quick yet tasty meal? Look no further than Minute Sweet Chili Peanut Noodles! These noodles pack a punch with vibrant flavors and a

Air Fryer Lemon Pepper Chicken Bites Juicy and Tasty
If you crave a quick, tasty meal, then you’ll love my Air Fryer Lemon Pepper Chicken Bites. This dish is juicy, flavorful, and perfect for

Sticky Honey Chicken Rice Bowls Flavorful and Quick Meal
Craving a quick meal that bursts with flavor? Sticky Honey Chicken Rice Bowls are the answer! In this article, I’ll show you how to whip