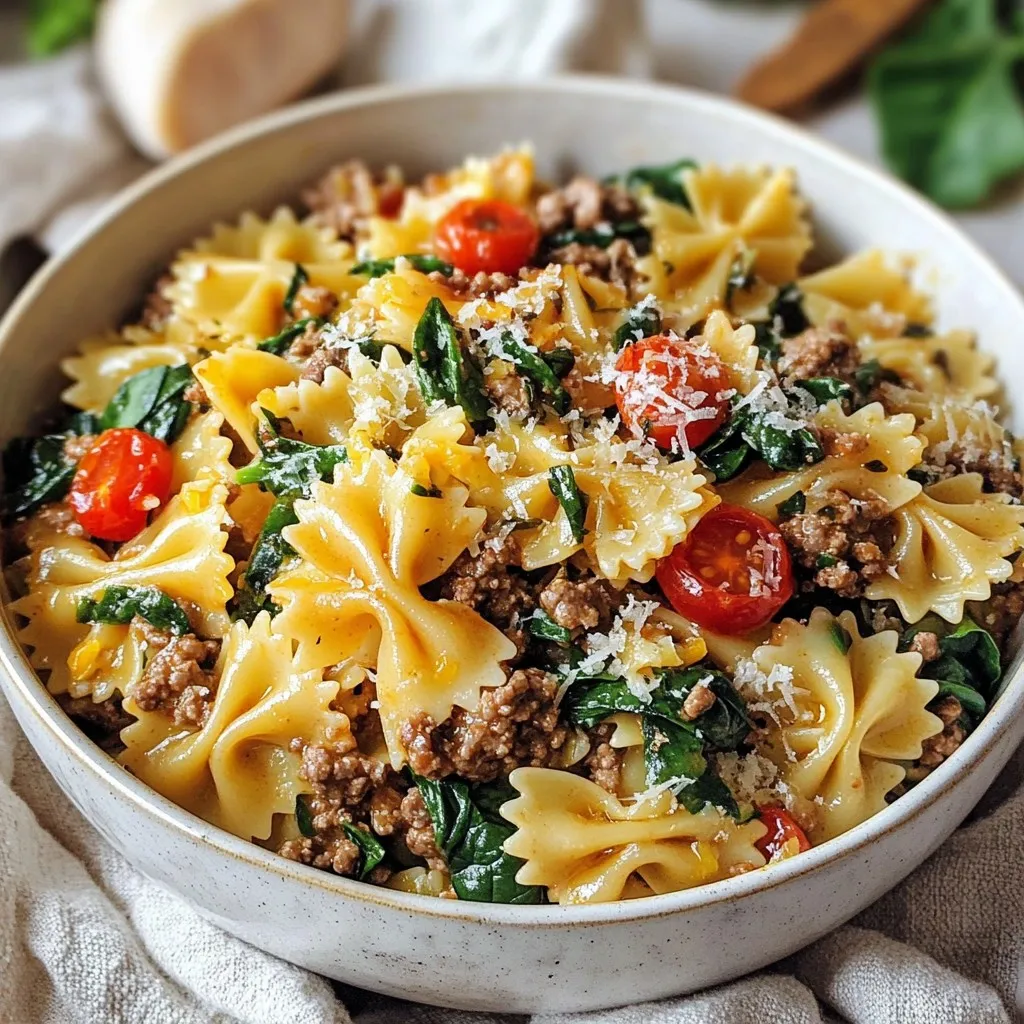
Parmesan Garlic Beef Bowtie Pasta Delicious Meal Delight
A creamy and flavorful pasta dish with ground beef, garlic, and fresh vegetables.
30 min
4
Main course meals and dinner recipes
A creamy and flavorful pasta dish with ground beef, garlic, and fresh vegetables.
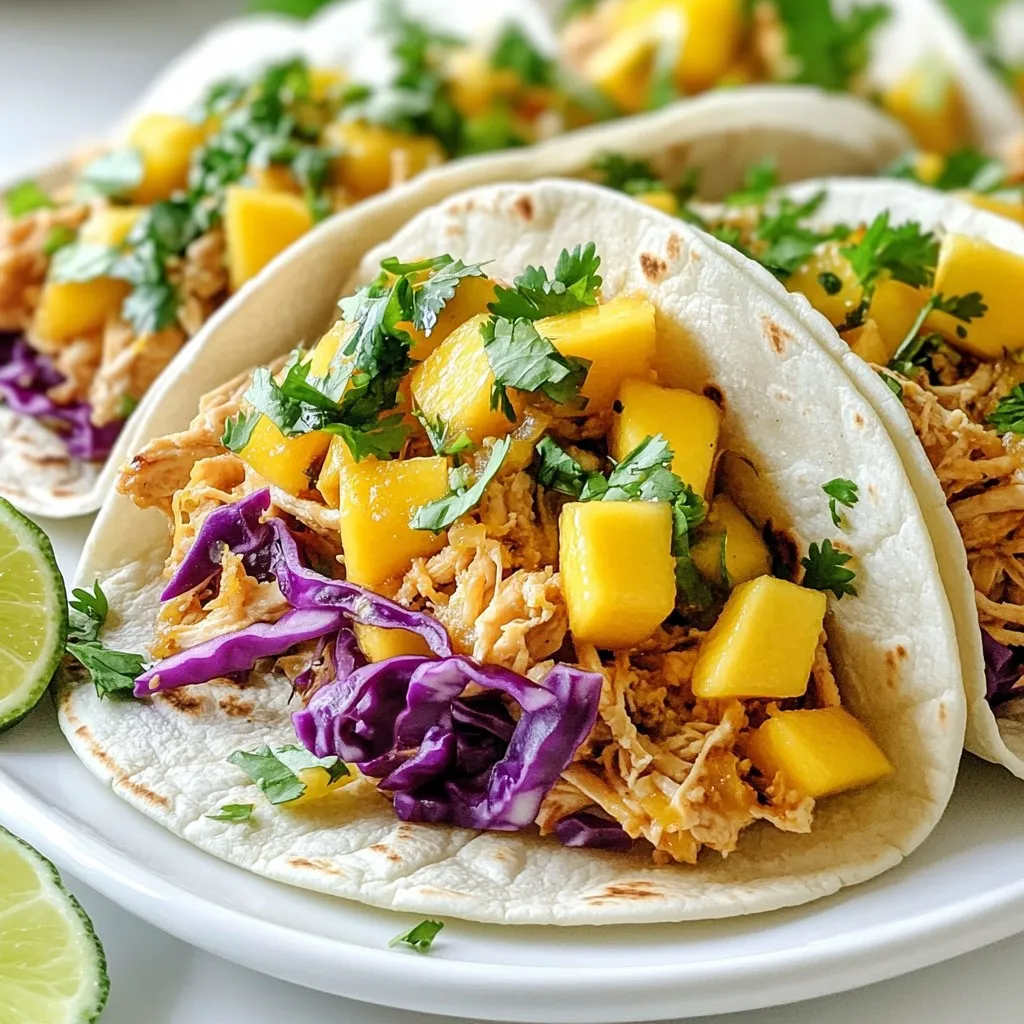
Delicious tacos filled with marinated chicken thighs in a coconut lime sauce, topped with fresh mang...
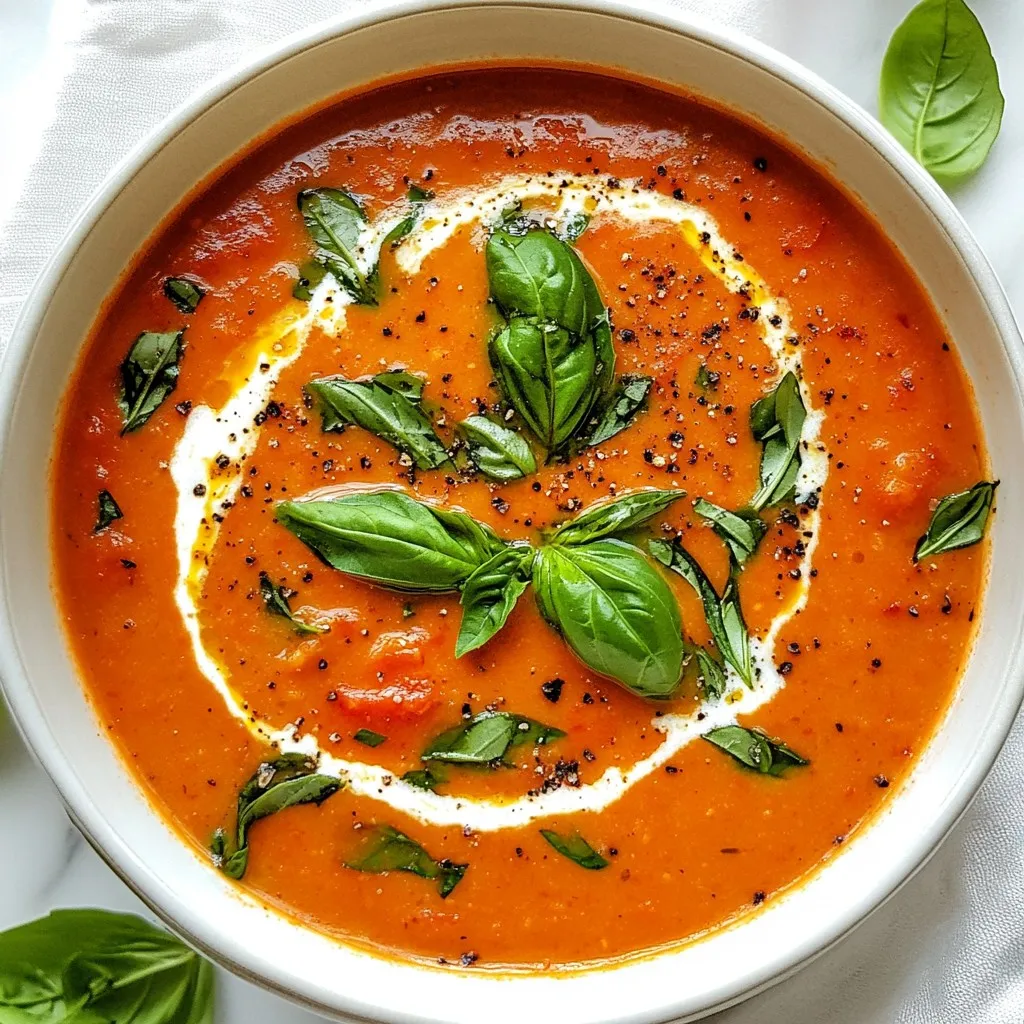
A rich and creamy tomato basil soup made effortlessly in an Instant Pot.
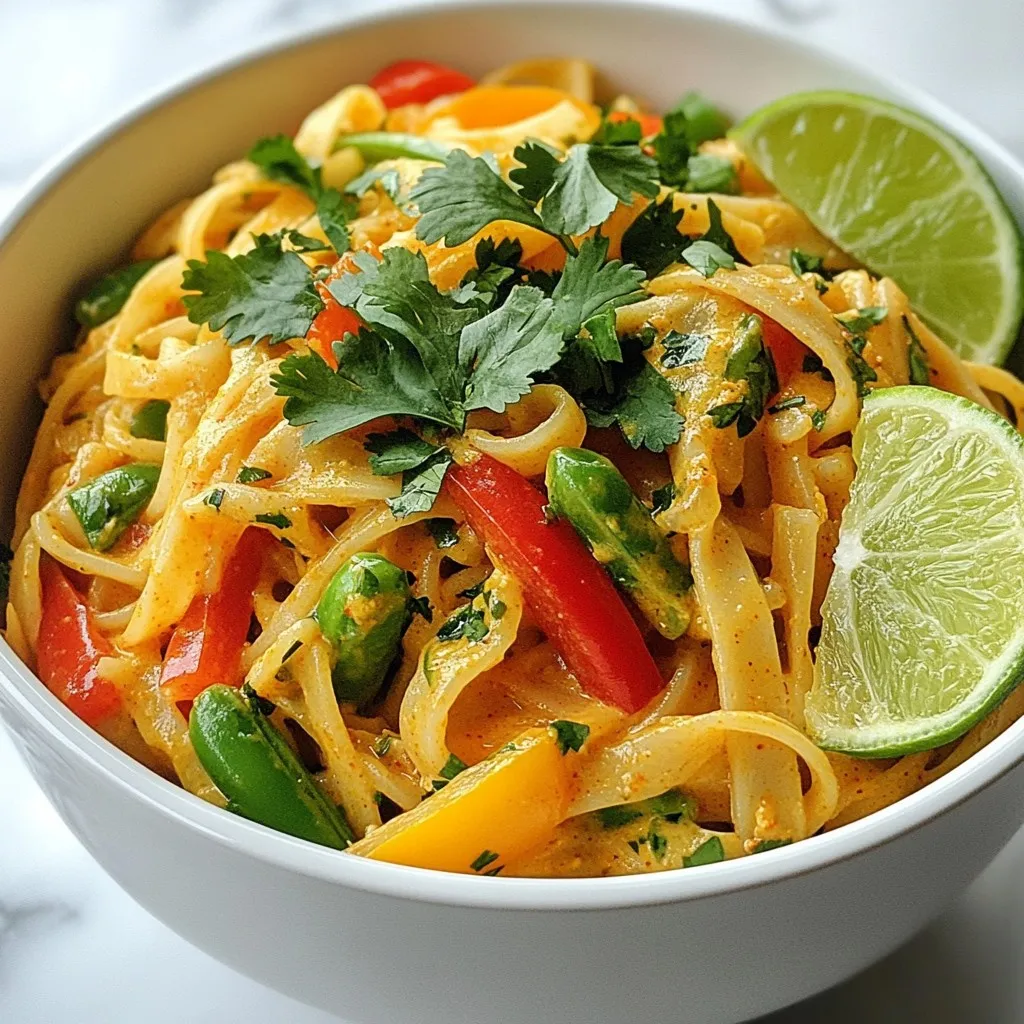
A flavorful and creamy noodle dish with a blend of coconut milk and red curry paste, packed with fre...

A comforting and delicious chicken pot pie filled with tender chicken, vegetables, and a creamy sauc...
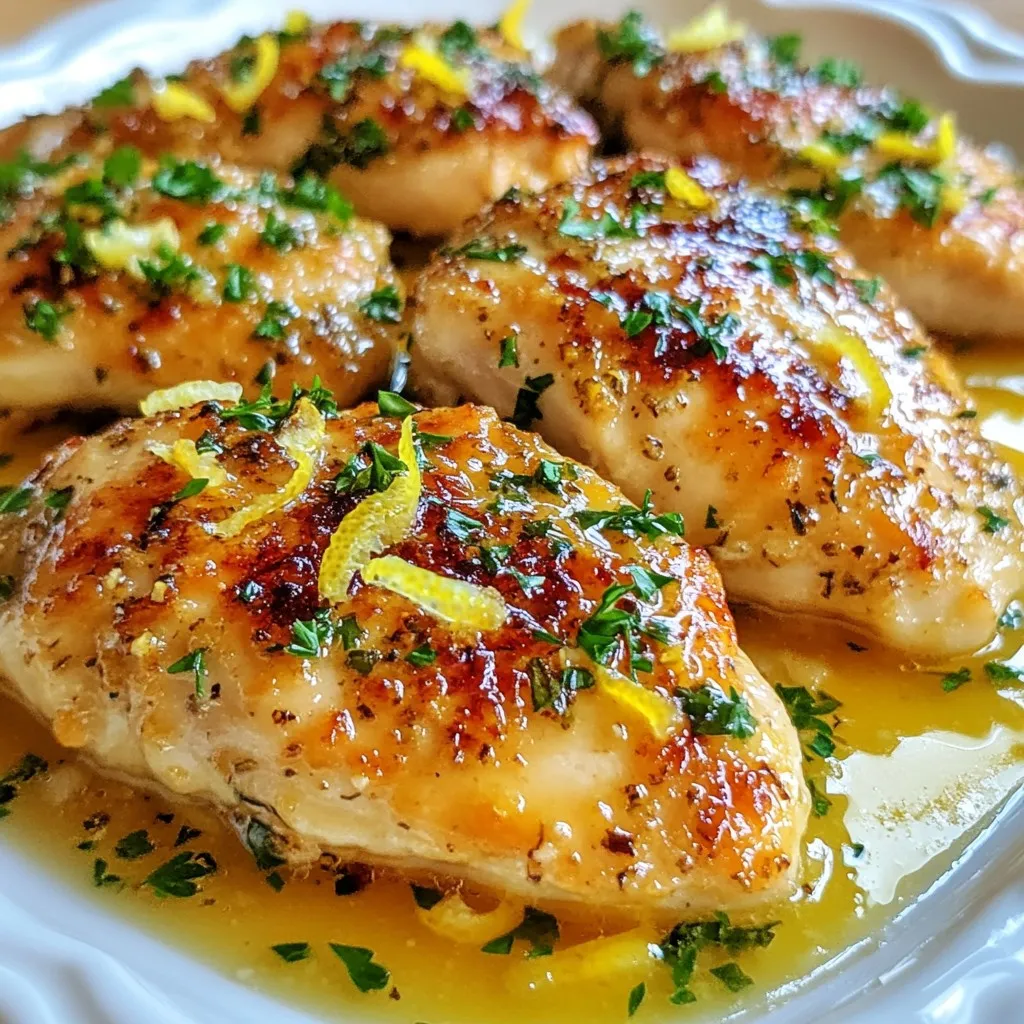
A delicious and easy recipe for baked chicken breasts coated in a flavorful garlic butter mixture.
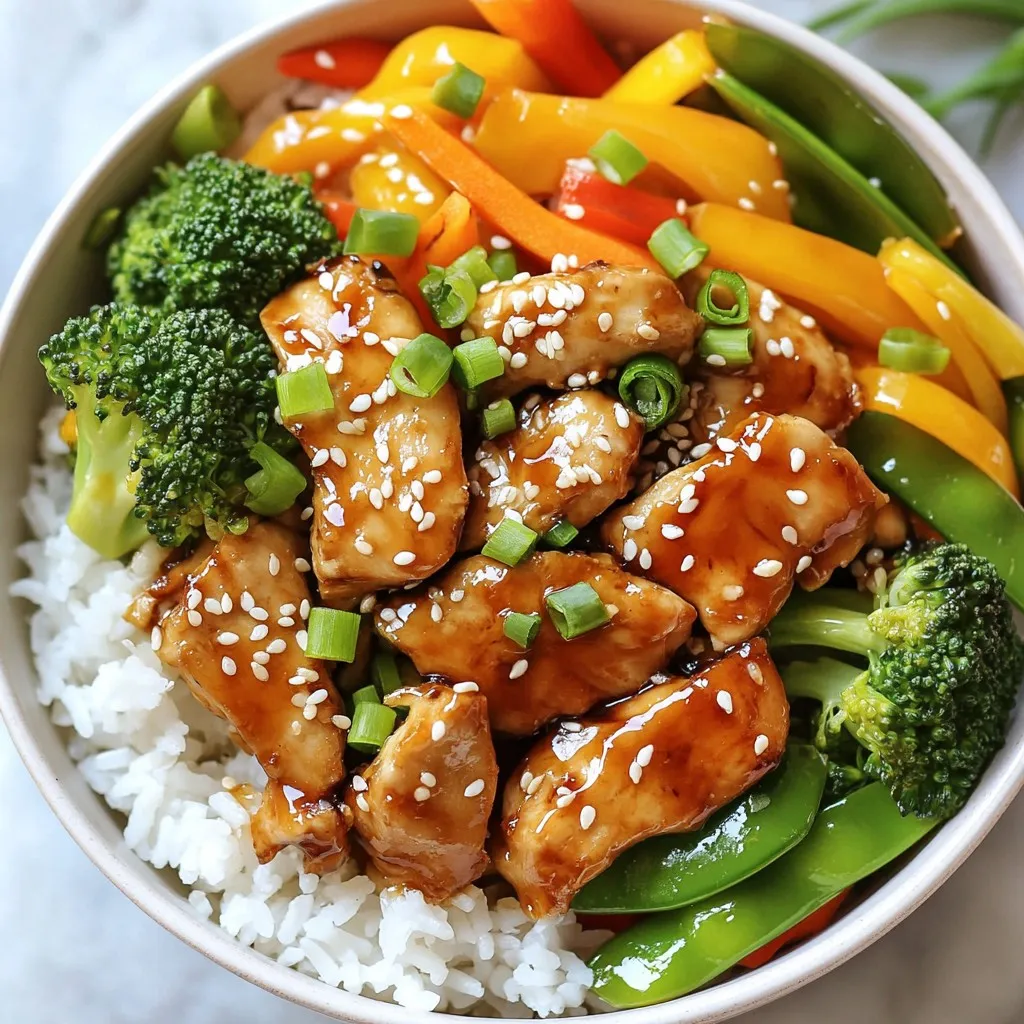
A quick and flavorful stir fry featuring tender chicken and fresh vegetables in a savory teriyaki sa...
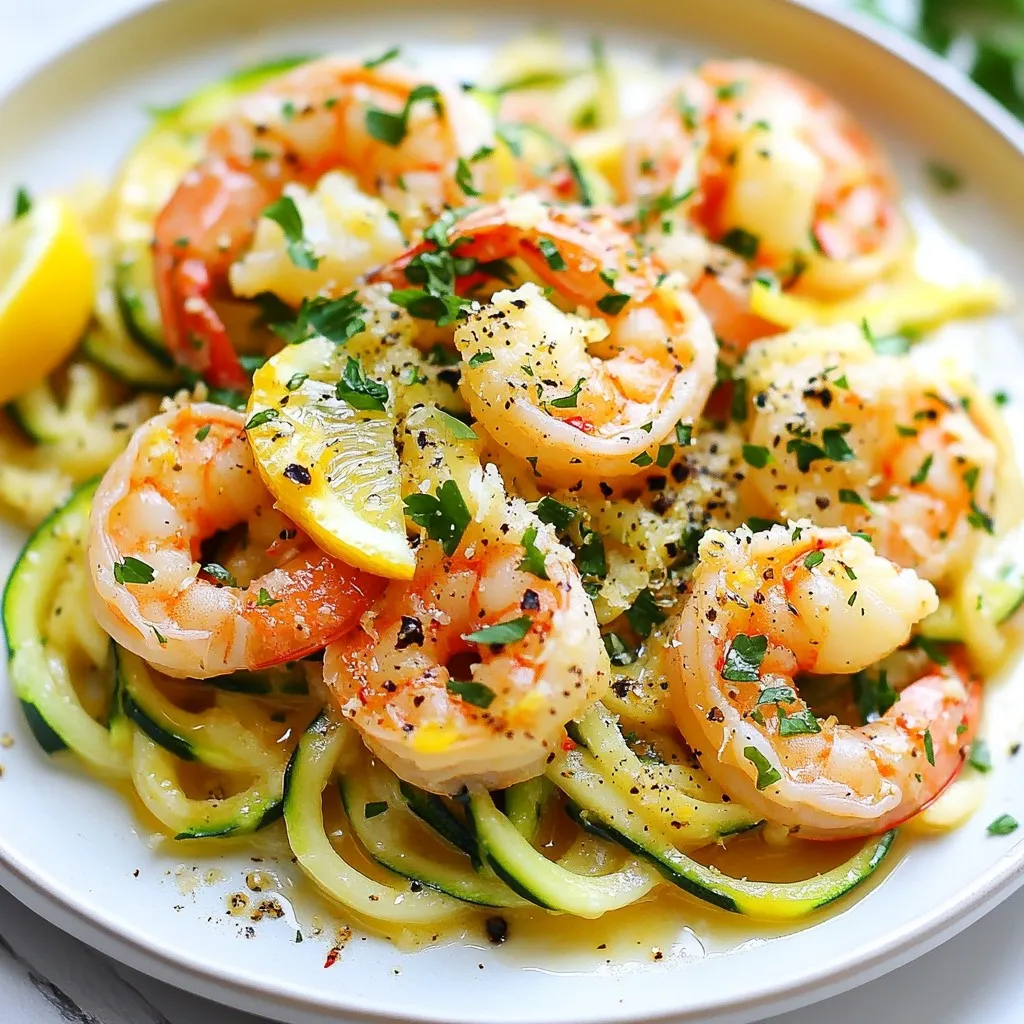
A delicious and healthy twist on classic shrimp scampi using zucchini noodles.
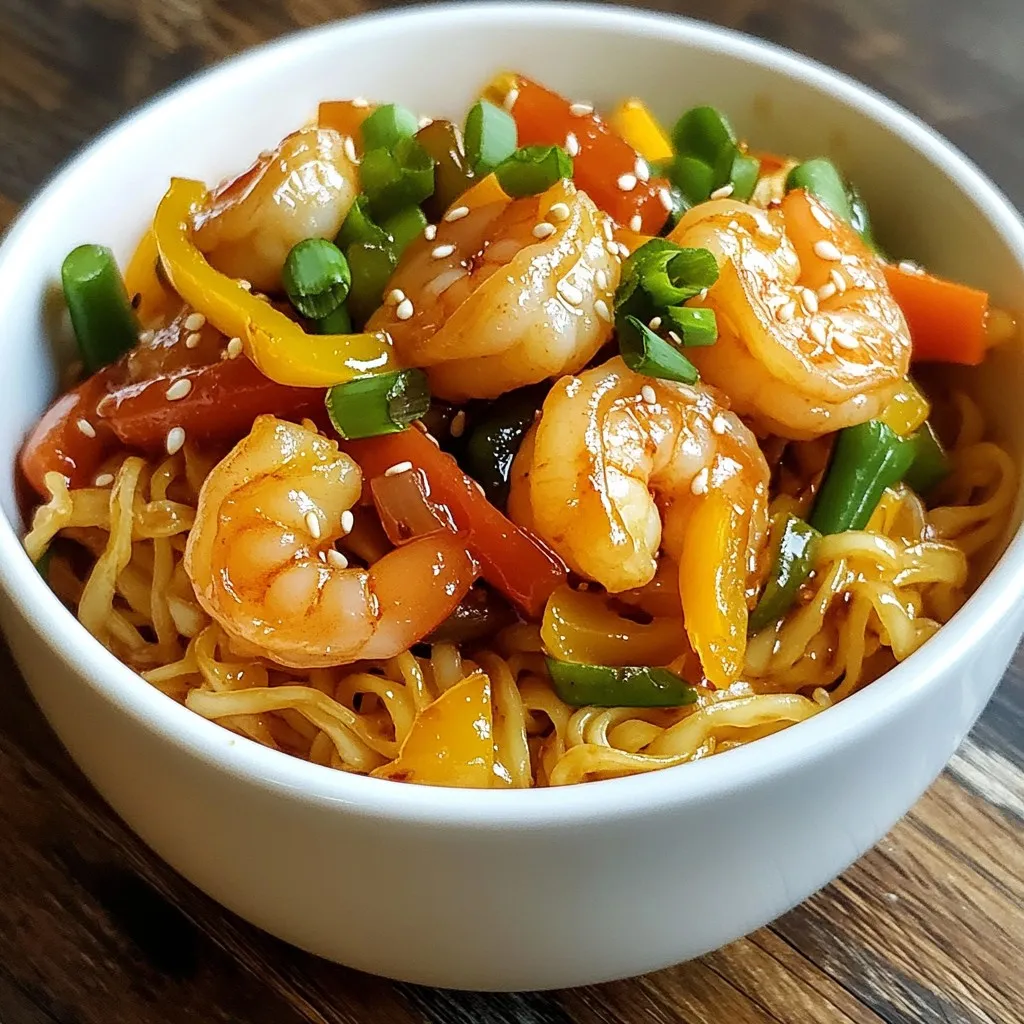
A quick and delicious shrimp stir fry with rice noodles and fresh vegetables.
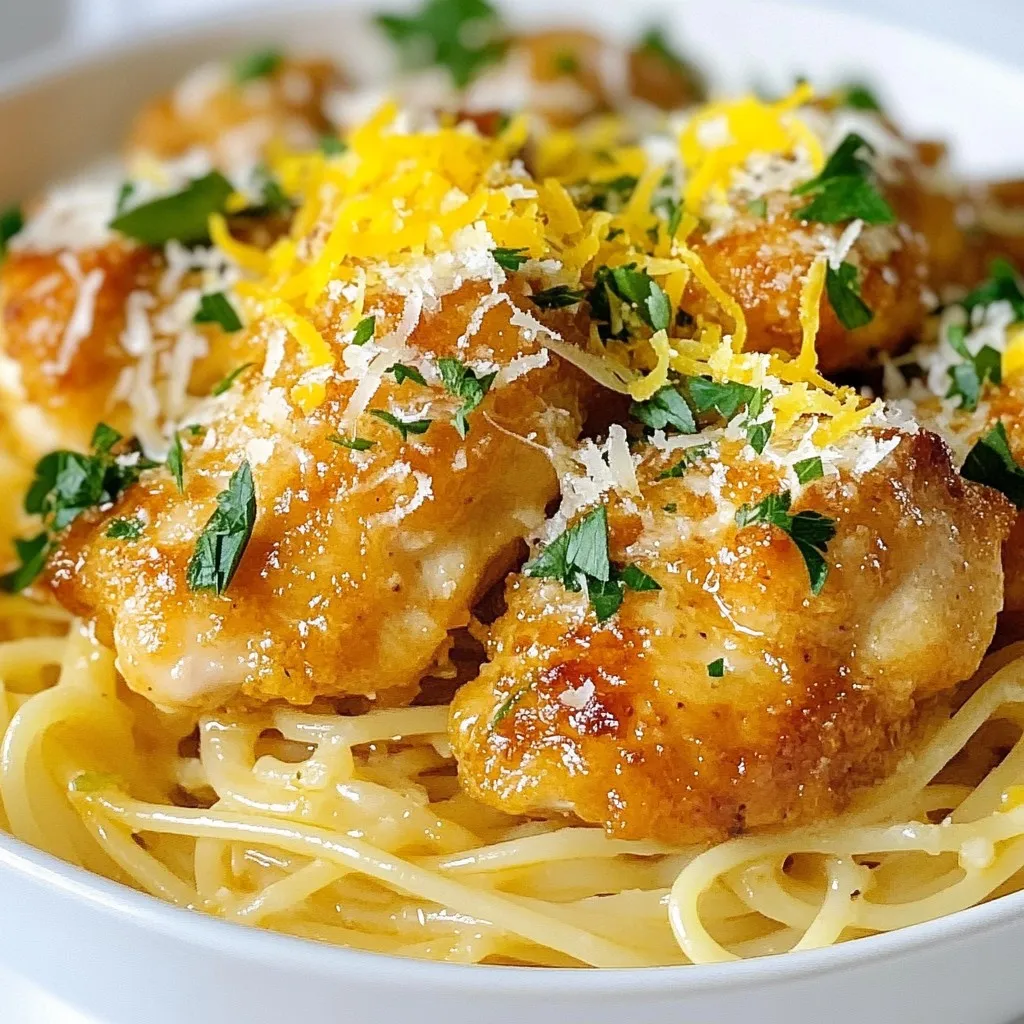
A delicious and easy-to-make dish featuring tender chicken bites in a garlic butter sauce served ove...
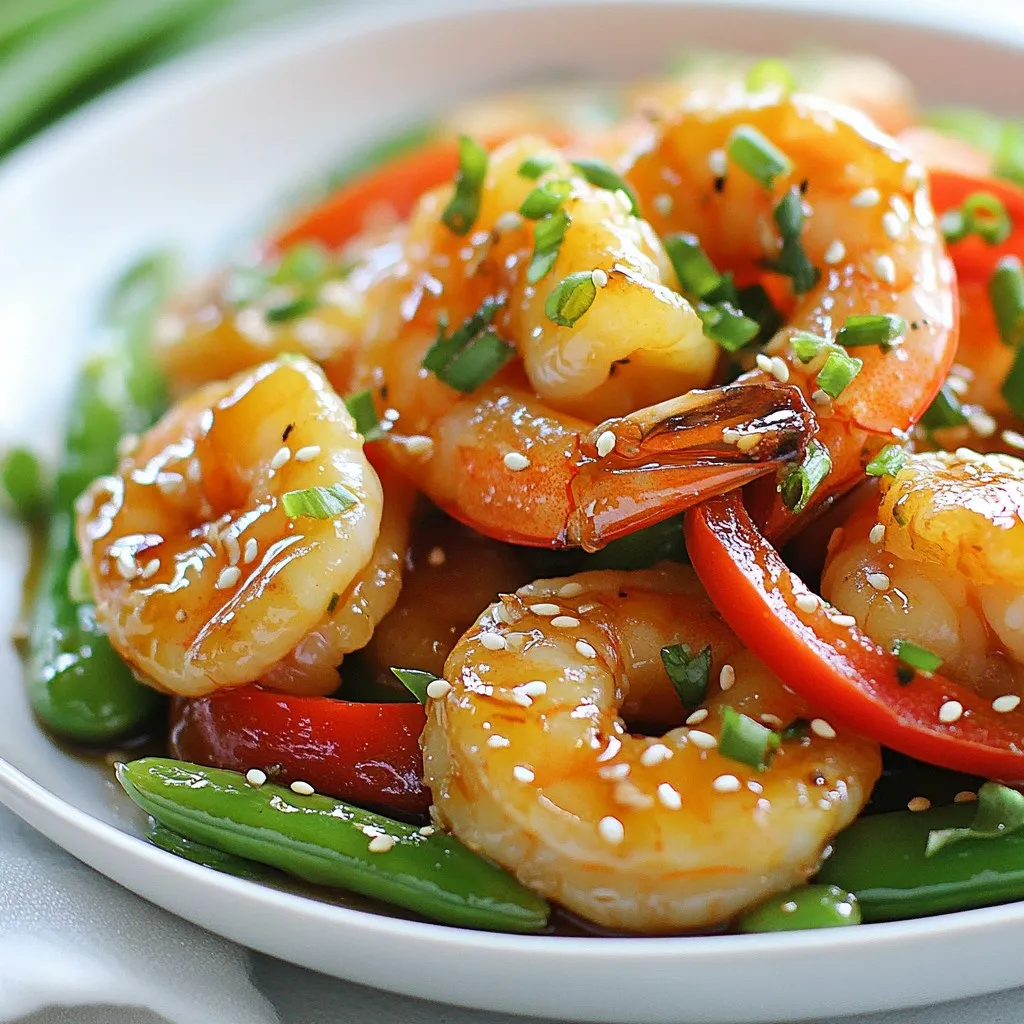
A quick and flavorful one-pan dish featuring shrimp, vegetables, and a sweet and savory honey garlic...
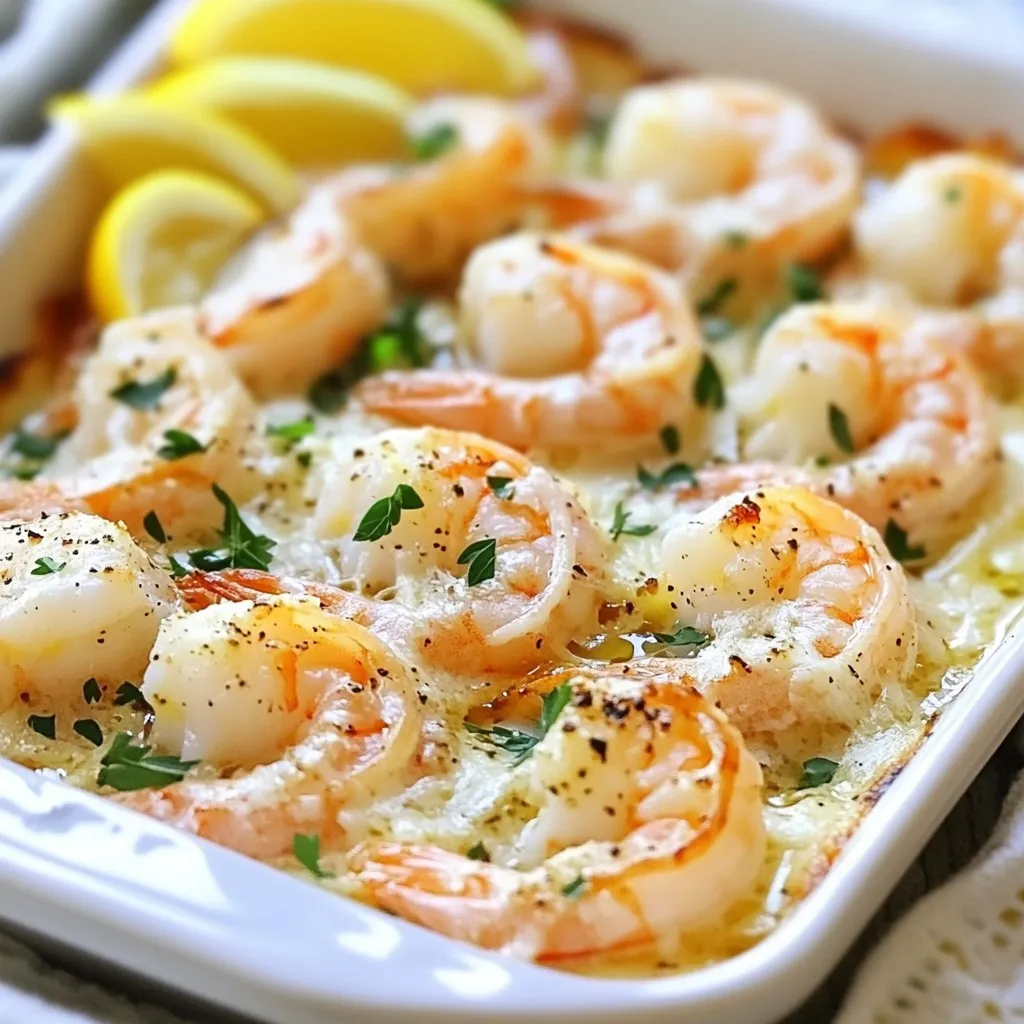
A delicious and easy shrimp dish baked with garlic and Parmesan cheese.