Desserts
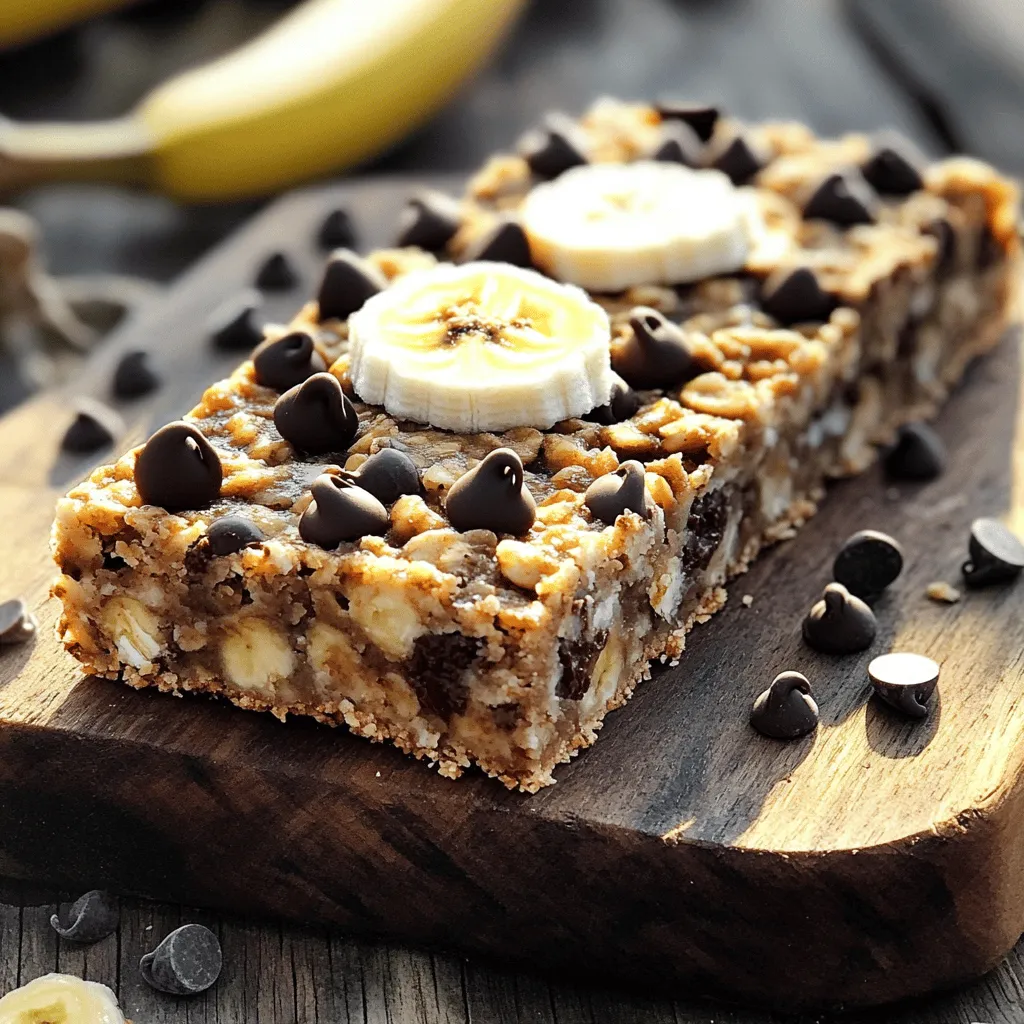
Chocolate Chip Banana Oatmeal Bars Tasty and Simple Recipe
Welcome to your next favorite treat: Chocolate Chip Banana Oatmeal Bars! I’ll show you how to make these tasty snacks that are easy to whip
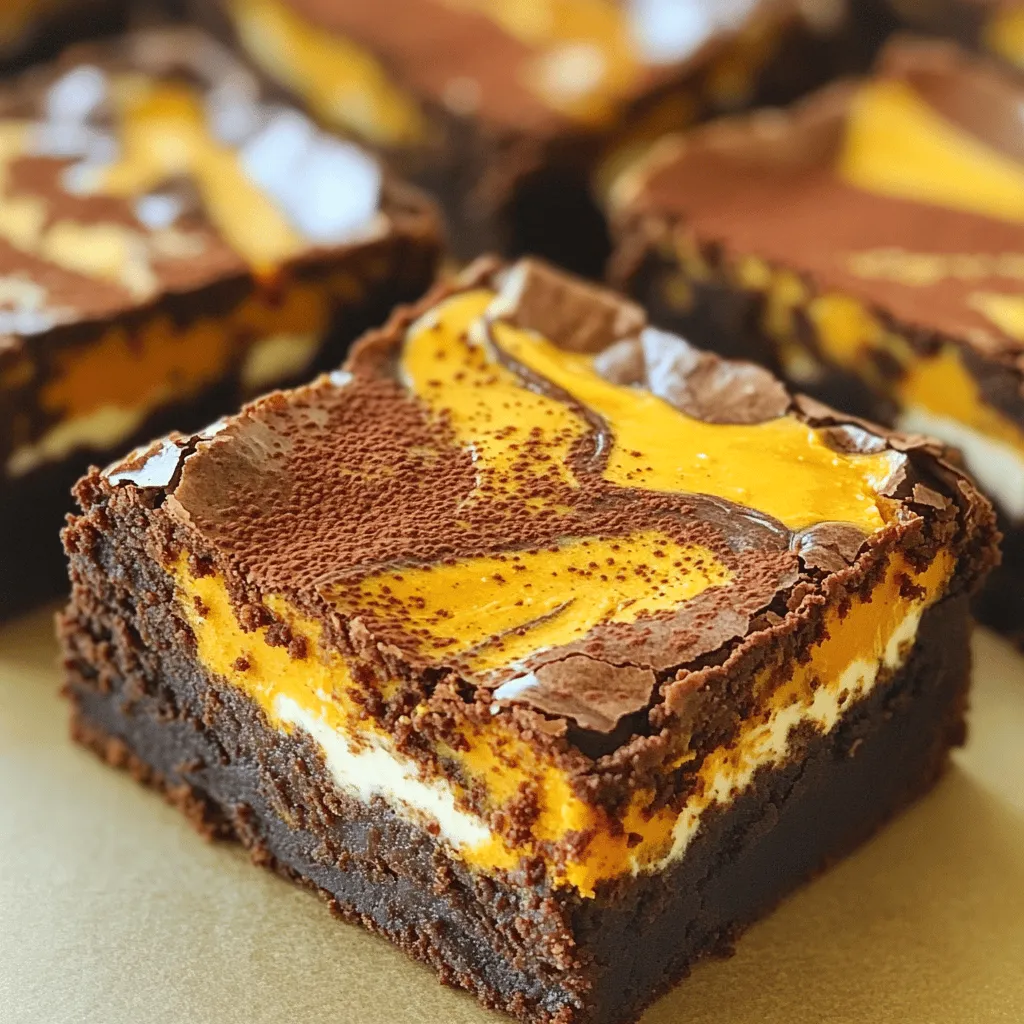
Pumpkin Cream Cheese Brownies Irresistibly Moist Treat
Craving a treat that’s both rich and festive? These Pumpkin Cream Cheese Brownies are your answer! With a soft, moist texture and a delightful cream
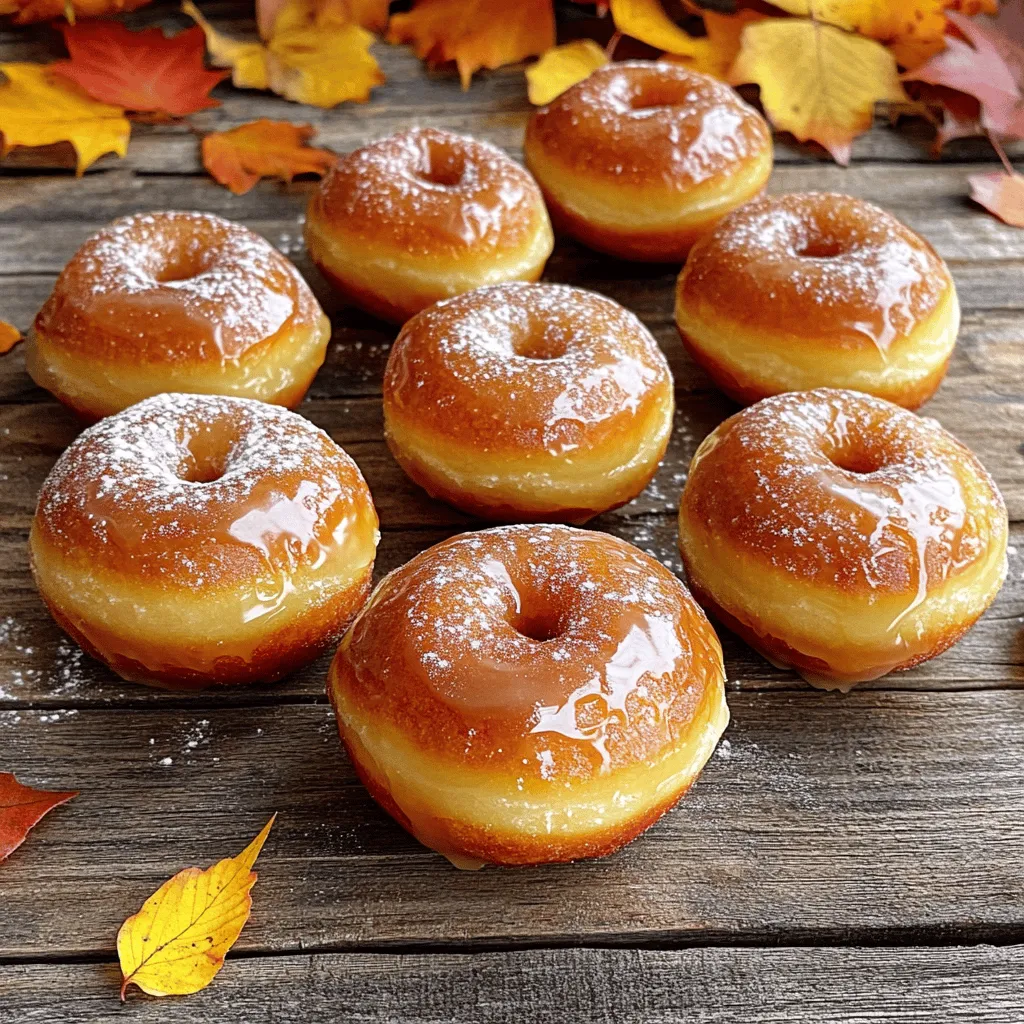
Maple Glazed Donut Holes Irresistible Sweet Treat
If you’re craving a sweet treat that melts in your mouth, you’ve found it! These maple glazed donut holes are soft, fluffy, and bursting with
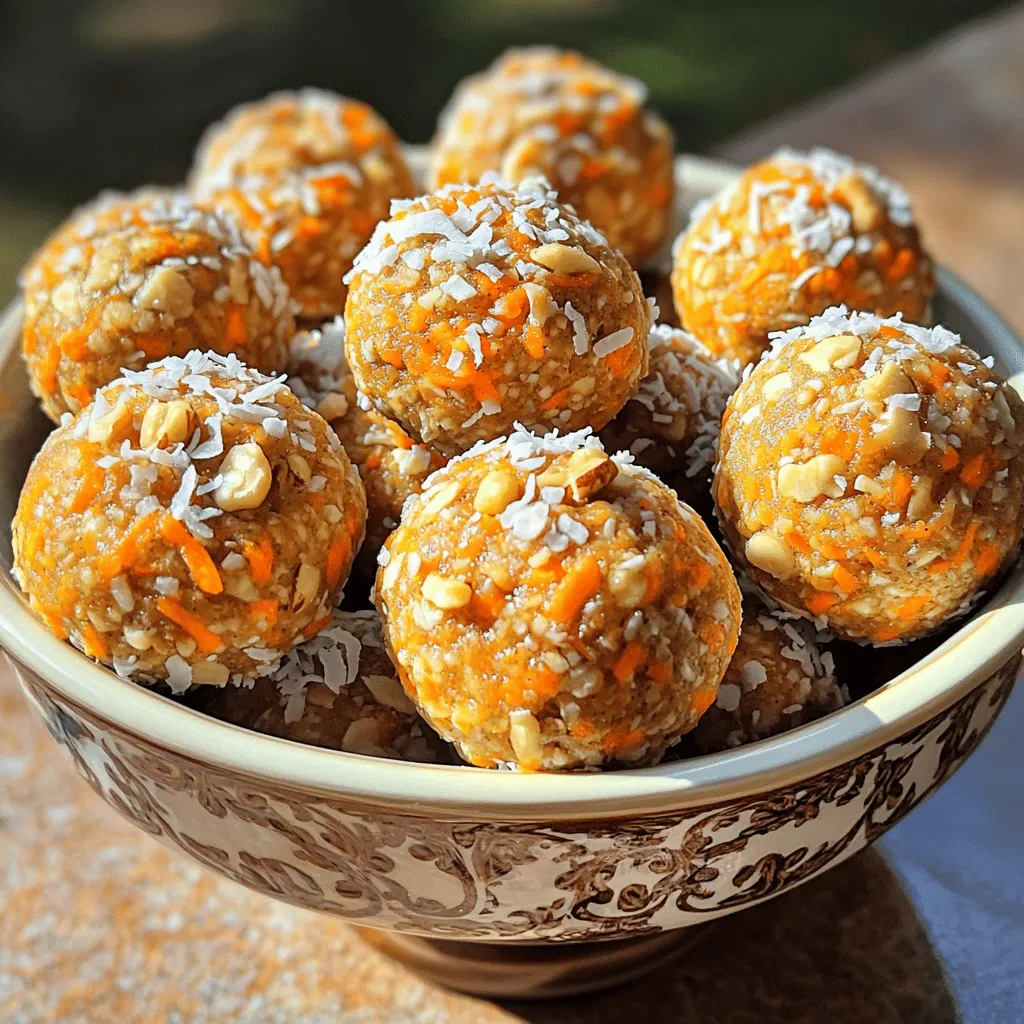
Carrot Cake Energy Bites Nutritious Energy Boost
Are you ready to fuel your day with a tasty treat? Carrot Cake Energy Bites are packed with flavor and nutrients, making them the perfect
Sourdough Pumpkin Chocolate Chip Muffins Delightful Treat
Are you ready to bake a treat that combines the warm flavors of fall with a fun twist? These Sourdough Pumpkin Chocolate Chip Muffins are

Caramel Apple Cinnamon Roll Bake Easy and Delicious Treat
Are you ready to treat yourself to a warm, gooey delight? My Caramel Apple Cinnamon Roll Bake mixes sweet apples, rich caramel, and soft cinnamon
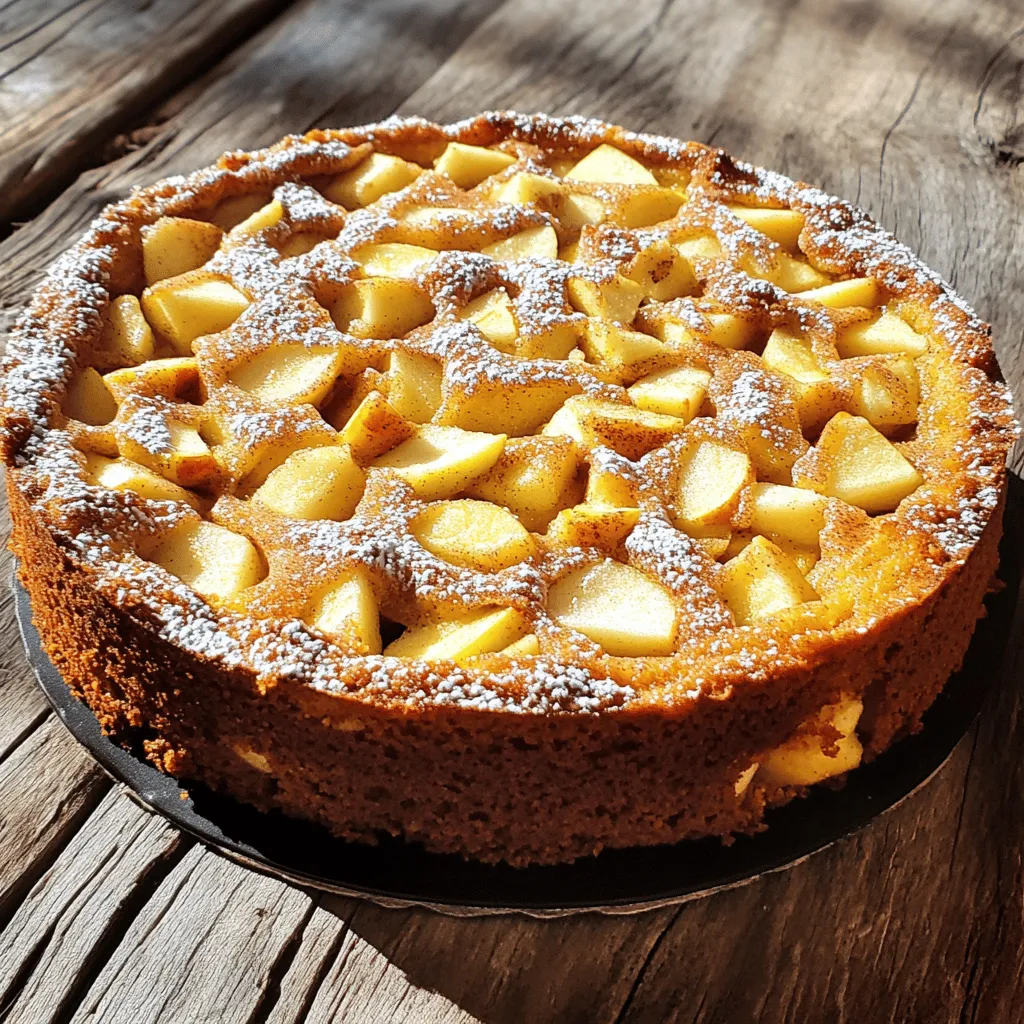
Cinnamon Apple Cake Delightful and Simple Recipe
Welcome to my simple and tasty Cinnamon Apple Cake recipe! If you love warm, sweet flavors combined with juicy apples, you’re in for a treat.
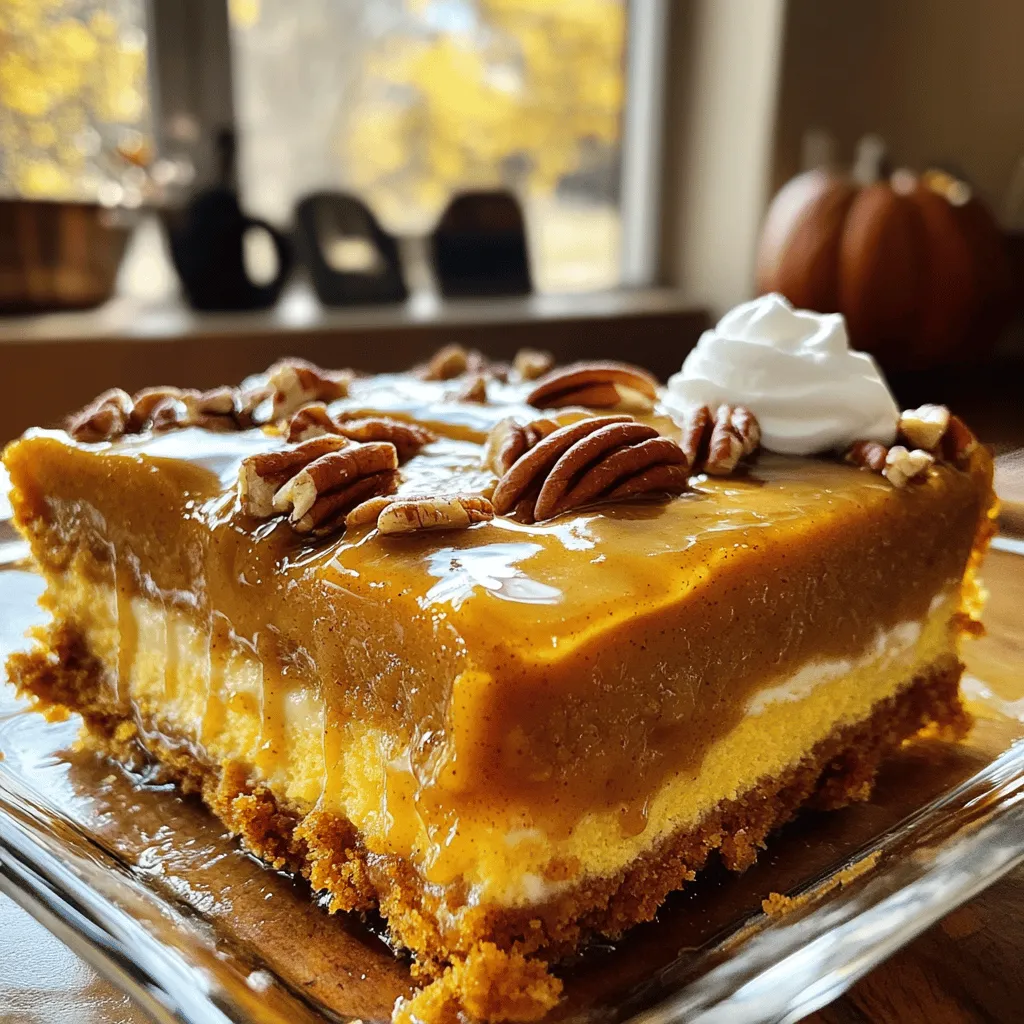
Pumpkin Spice Dump Cake Irresistible Fall Dessert
Fall is here, and it’s the perfect time to indulge in a Pumpkin Spice Dump Cake! This easy dessert combines rich pumpkin flavor with the
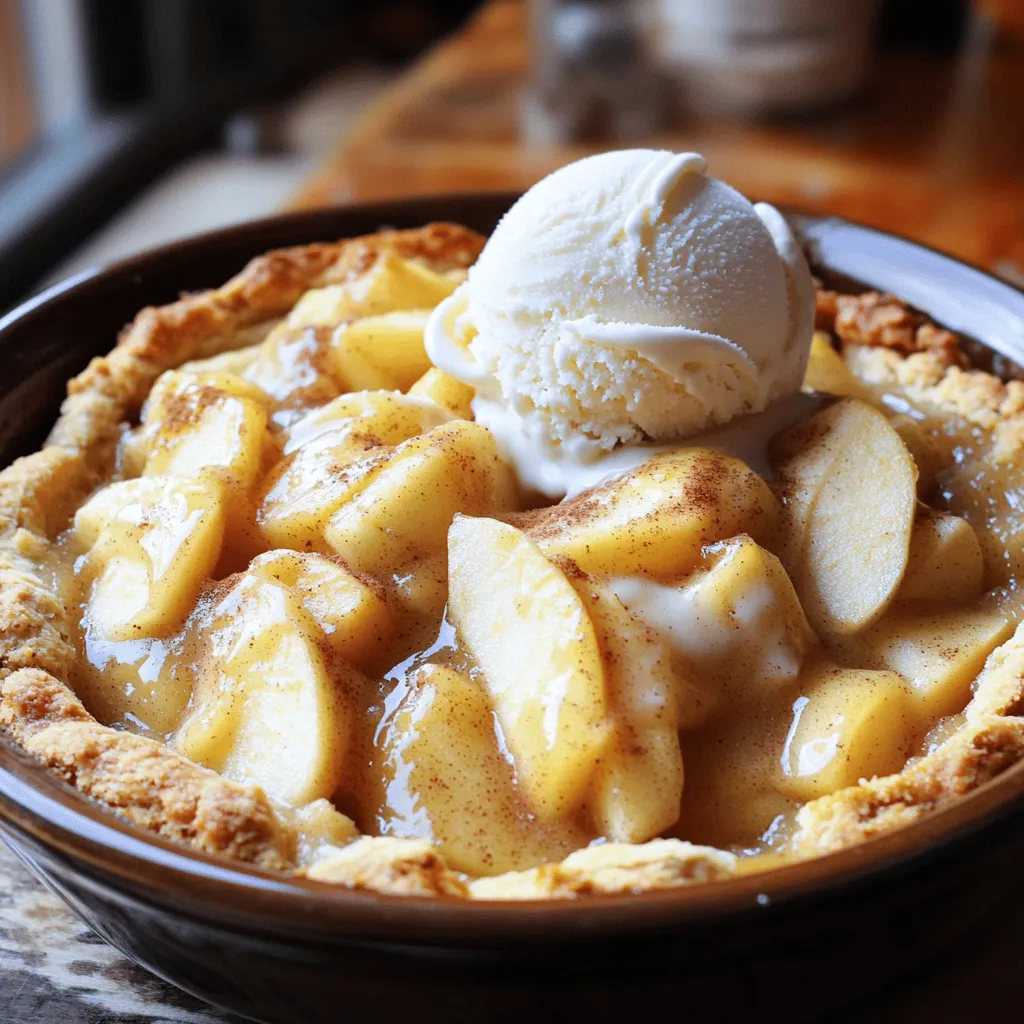
Old-Fashioned Apple Cobbler Delicious Comfort Dessert
Craving a dessert that warms your heart and fills your home with the sweet scent of apples? Look no further than my Old-Fashioned Apple Cobbler!
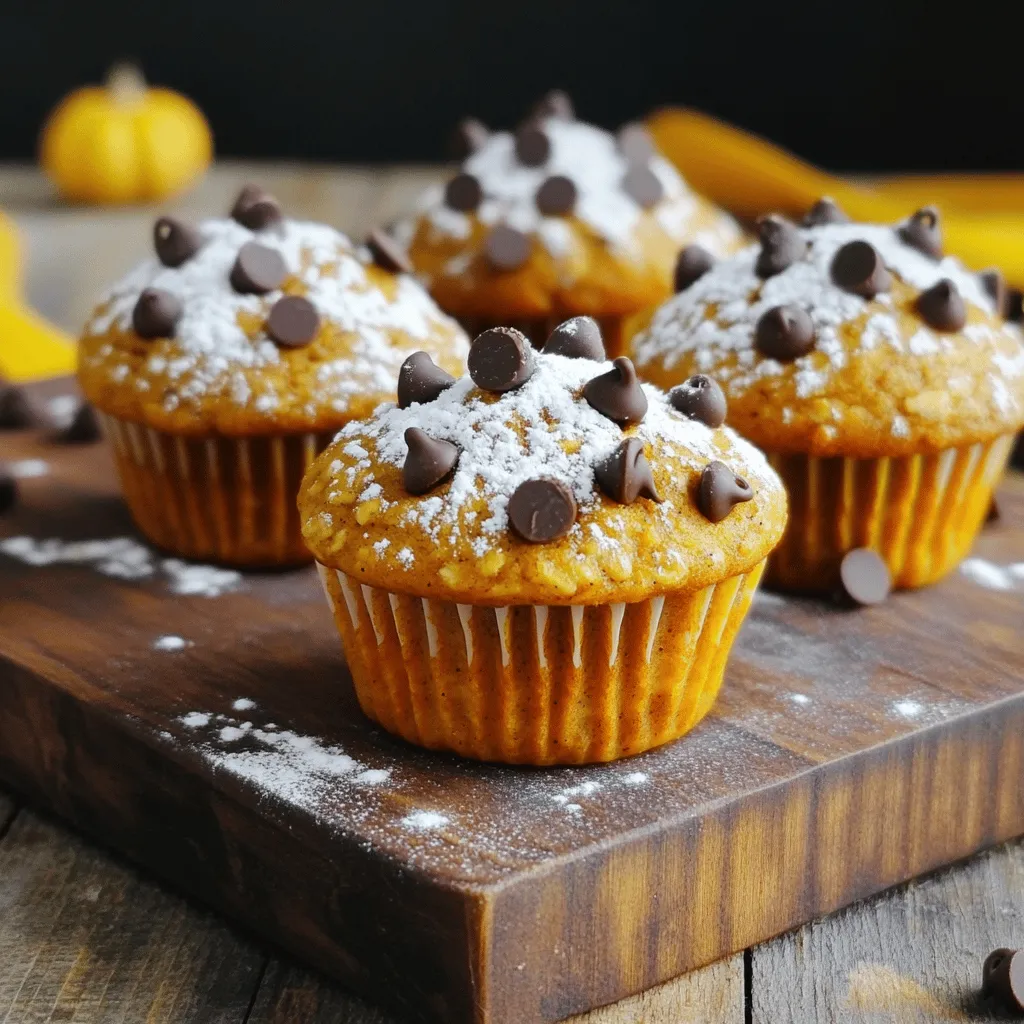
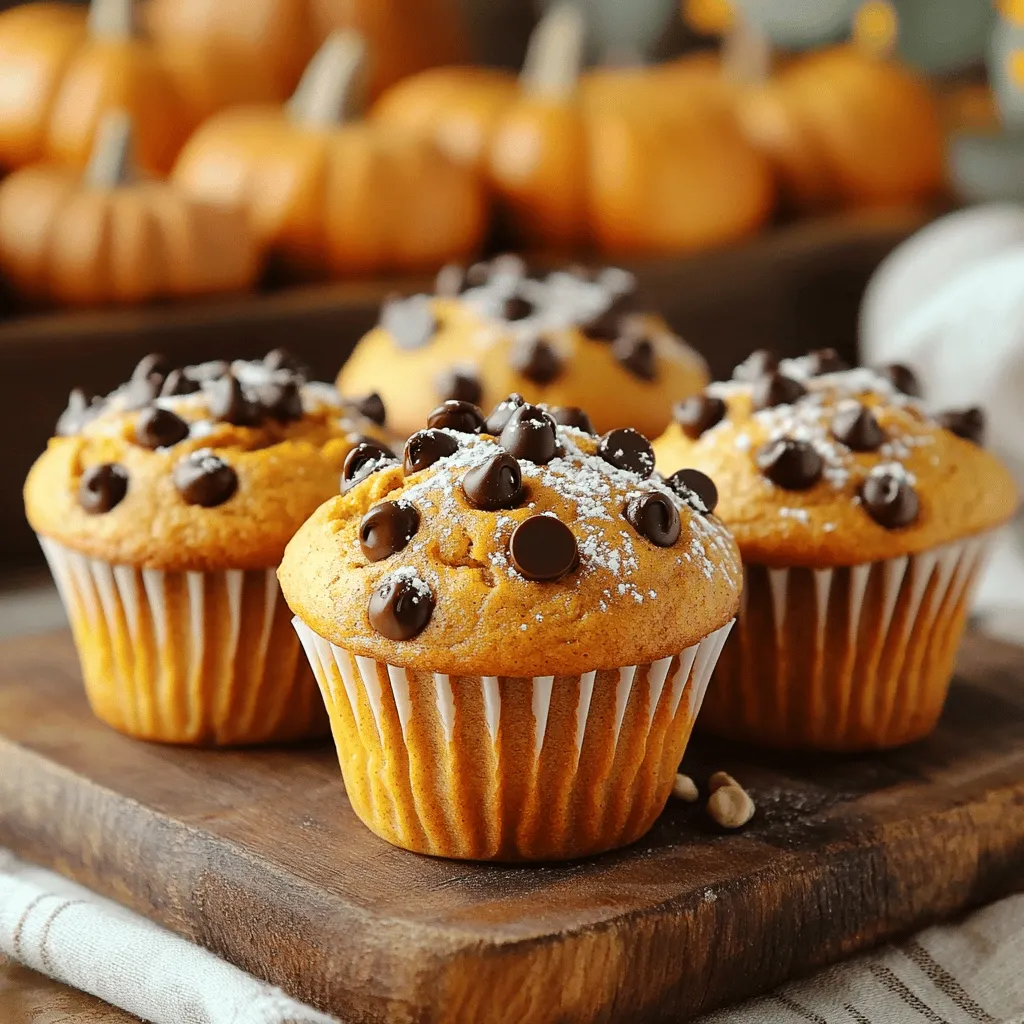
Pumpkin Chocolate Chip Oatmeal Muffins Simple Treat
If you’re craving a simple yet delicious treat, these Pumpkin Chocolate Chip Oatmeal Muffins are for you! Packed with warm spices and rich chocolate chips,