Desserts
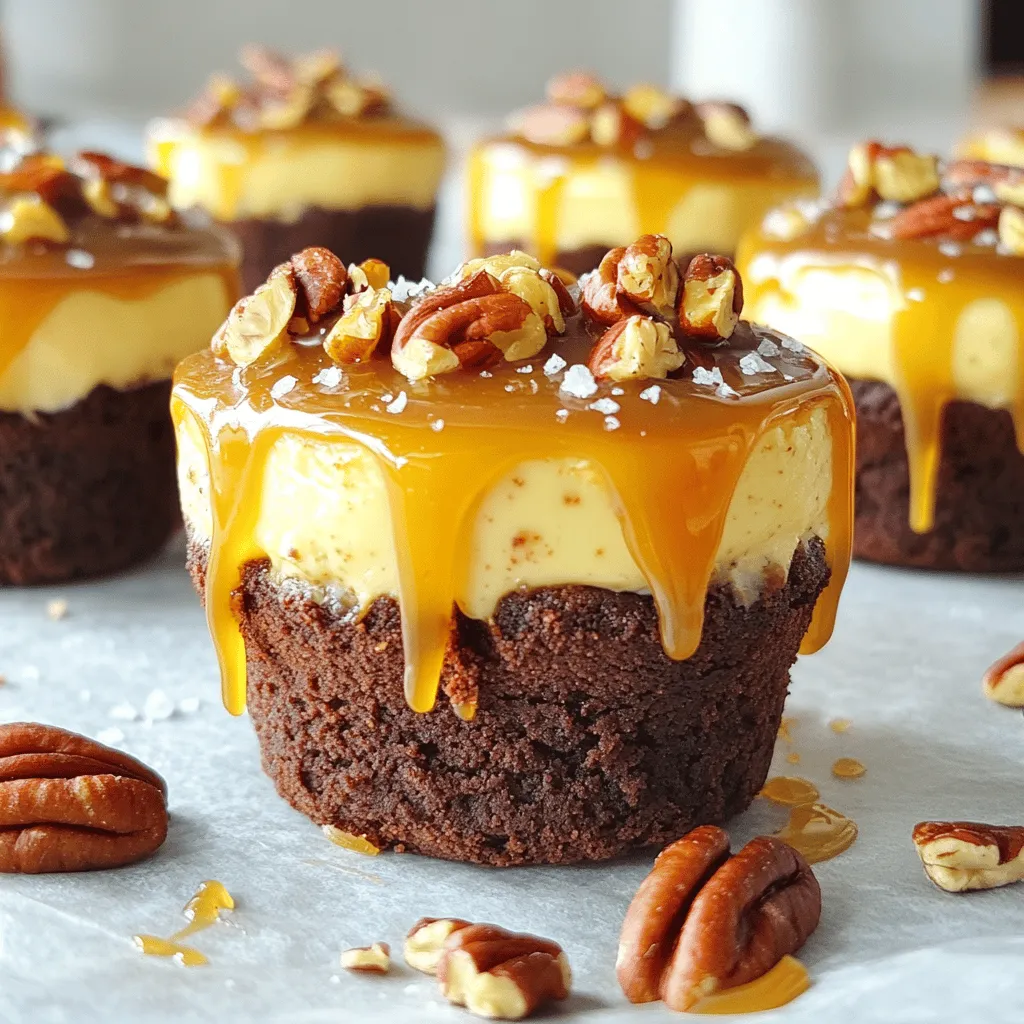
Caramel Pecan Cheesecake Brownie Cups Delightful Treat
Are you ready to indulge in a dessert that will impress everyone? Caramel Pecan Cheesecake Brownie Cups are the perfect blend of rich brownie, creamy
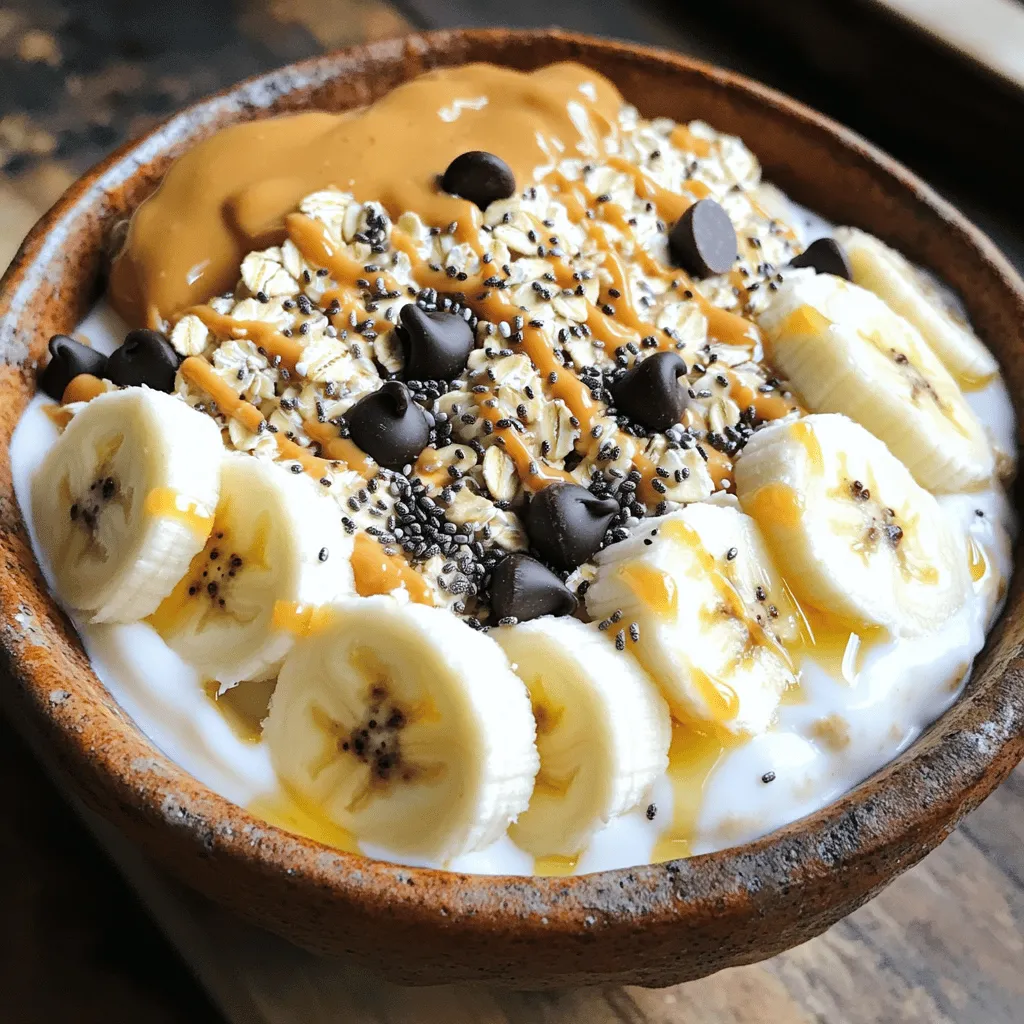
Protein Cookie Dough Yogurt Bowl Easy and Tasty Recipe
Craving a healthy treat that’s easy to make? Look no further! This Protein Cookie Dough Yogurt Bowl is your answer. Packed with tasty ingredients like
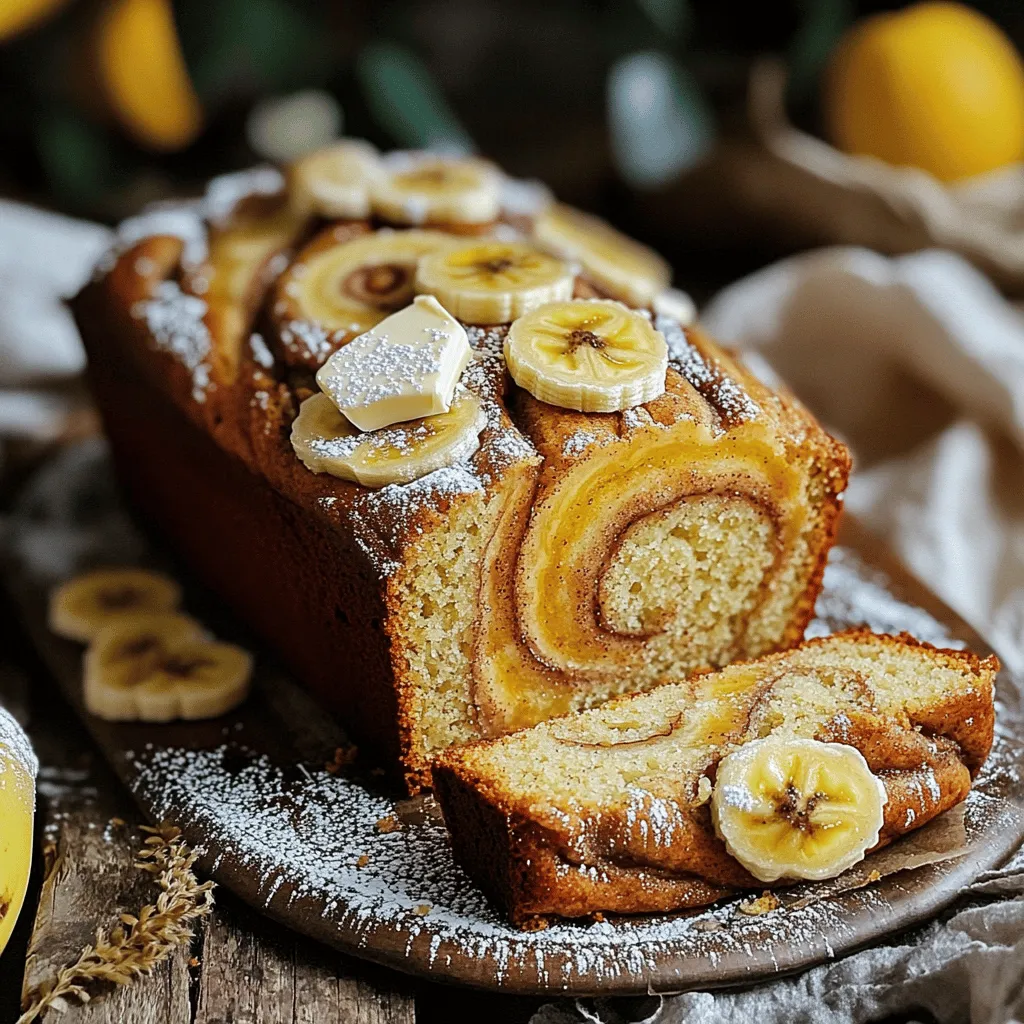
Cinnamon Swirl Banana Bread Recipe You Will Love
Are you ready to bake a treat that fills your home with warmth and sweet aroma? This Cinnamon Swirl Banana Bread recipe is a delightful
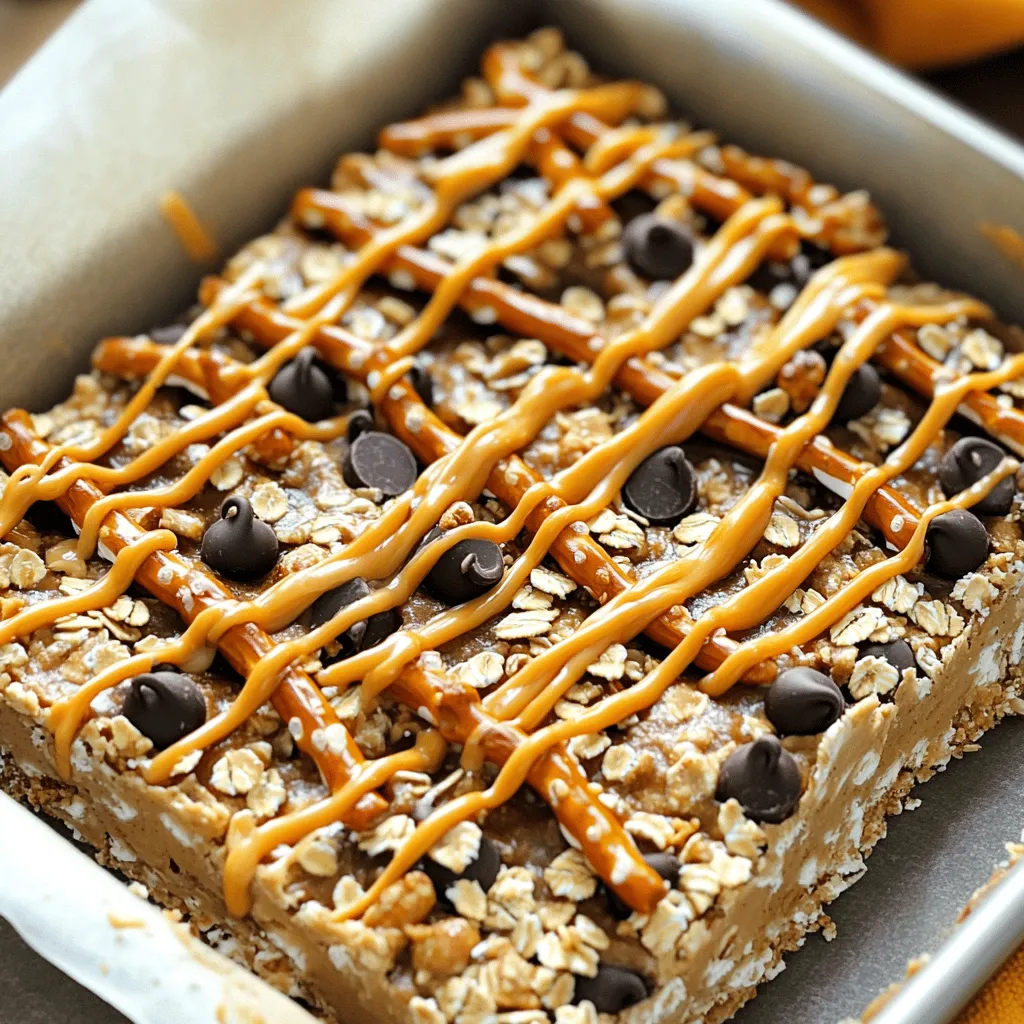
No-Bake Peanut Butter Pretzel Bars Simple and Tasty
Are you ready for a sweet treat that’s simple to make? These No-Bake Peanut Butter Pretzel Bars combine salty and sweet for a tasty snack
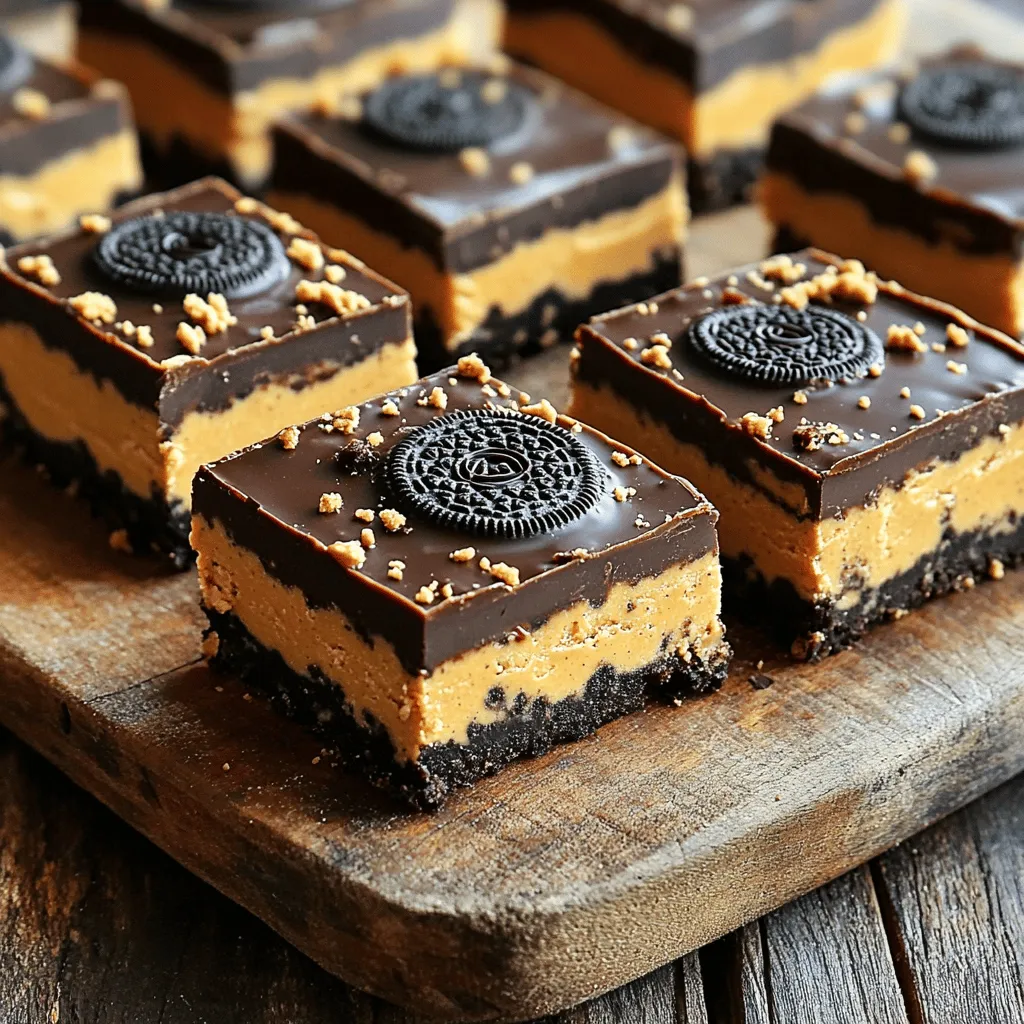
No-Bake Oreo Peanut Butter Bars Easy Dessert Recipe
Looking for a sweet treat that’s easy and delicious? I’ve got you covered with No-Bake Oreo Peanut Butter Bars! This simple dessert combines creamy peanut
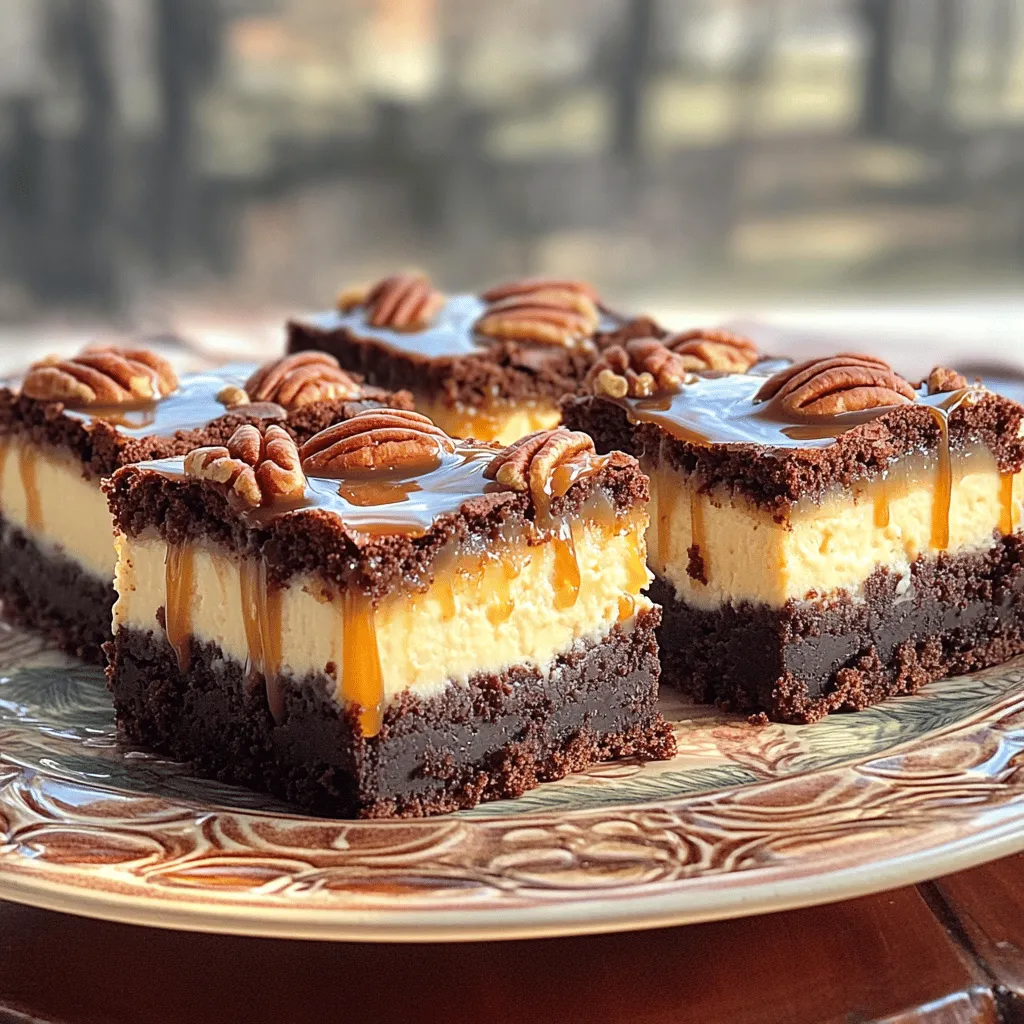
Caramel Pecan Cheesecake Brownie Bars Delightful Treat
Looking for a dessert that will wow your friends and family? Try these Caramel Pecan Cheesecake Brownie Bars! They combine rich, fudgy brownies with a
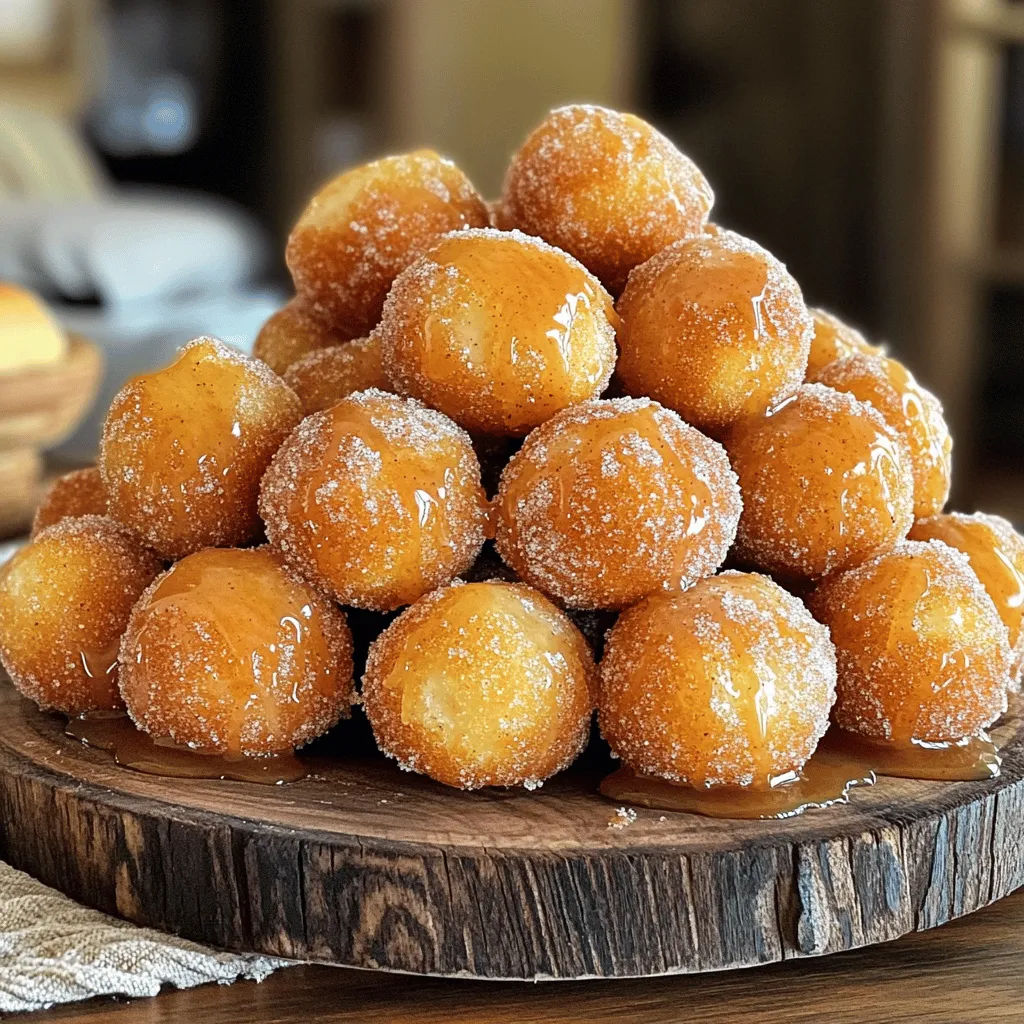
Cinnamon Sugar Maple Glazed Donut Holes Delight
Are you ready to fall in love with a sweet treat? My Cinnamon Sugar Maple Glazed Donut Holes are soft, fluffy, and coated in a
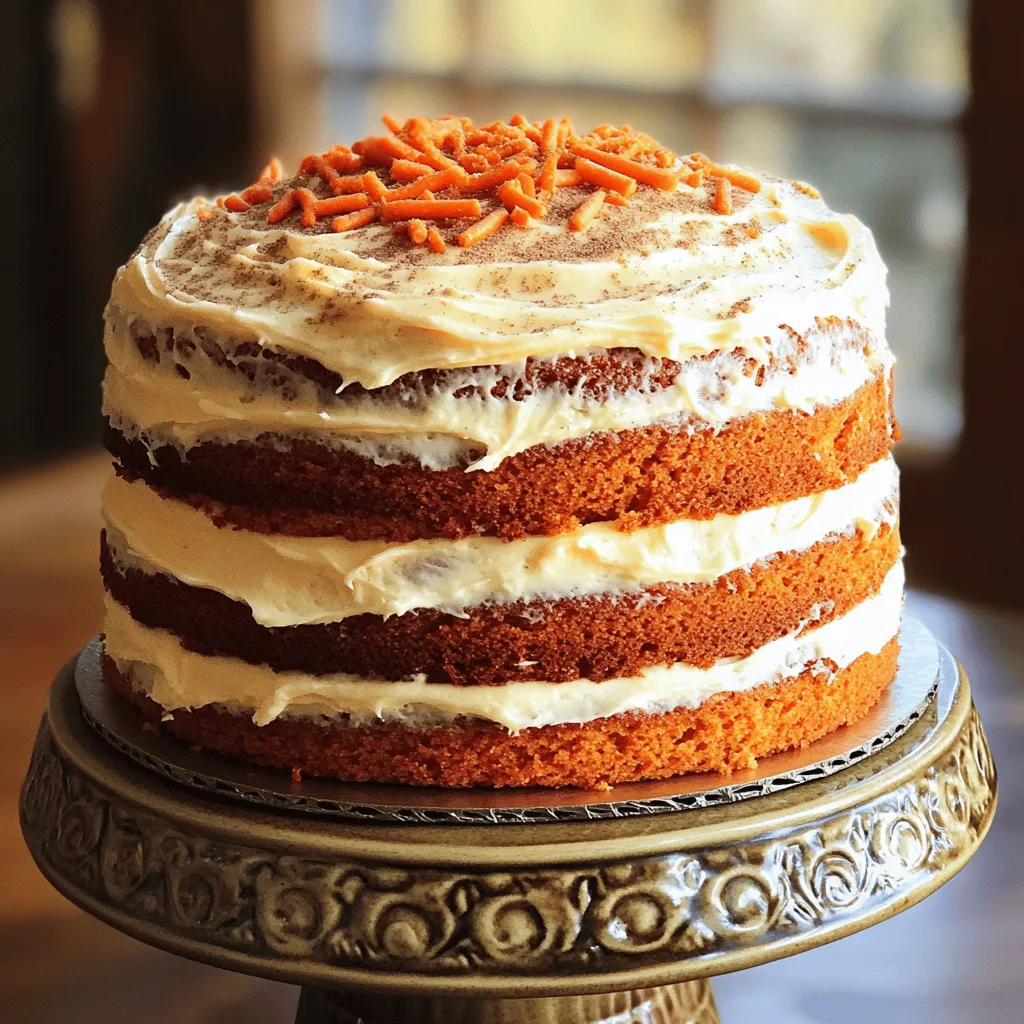
Carrot Cake with Cream Cheese Frosting Bakery Style Delight
Are you ready to take your baking skills to the next level? With my easy recipe for Carrot Cake with Cream Cheese Frosting Bakery Style,
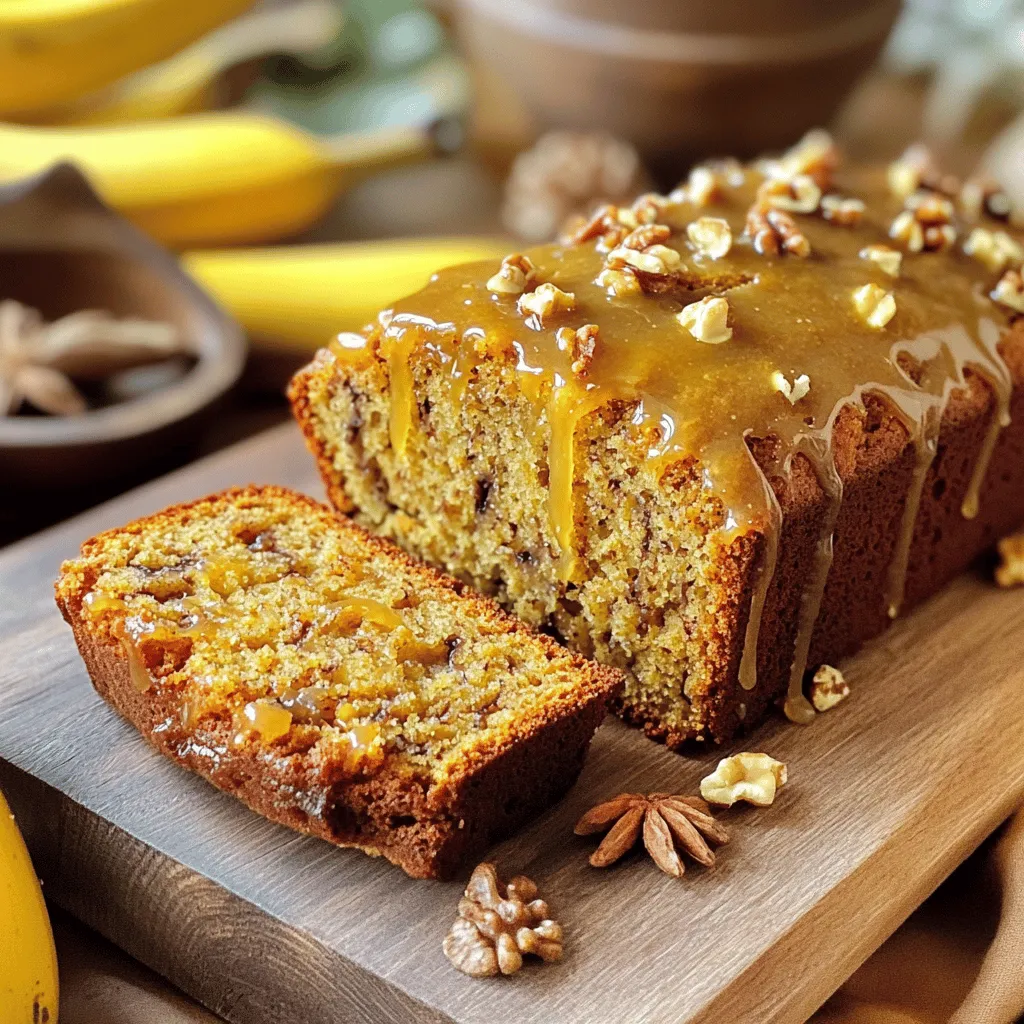
Chai Spice Banana Bread with Maple Glaze Delight
Welcome to a cozy kitchen adventure with my Chai Spice Banana Bread with Maple Glaze Delight! This recipe combines the sweetness of ripe bananas with
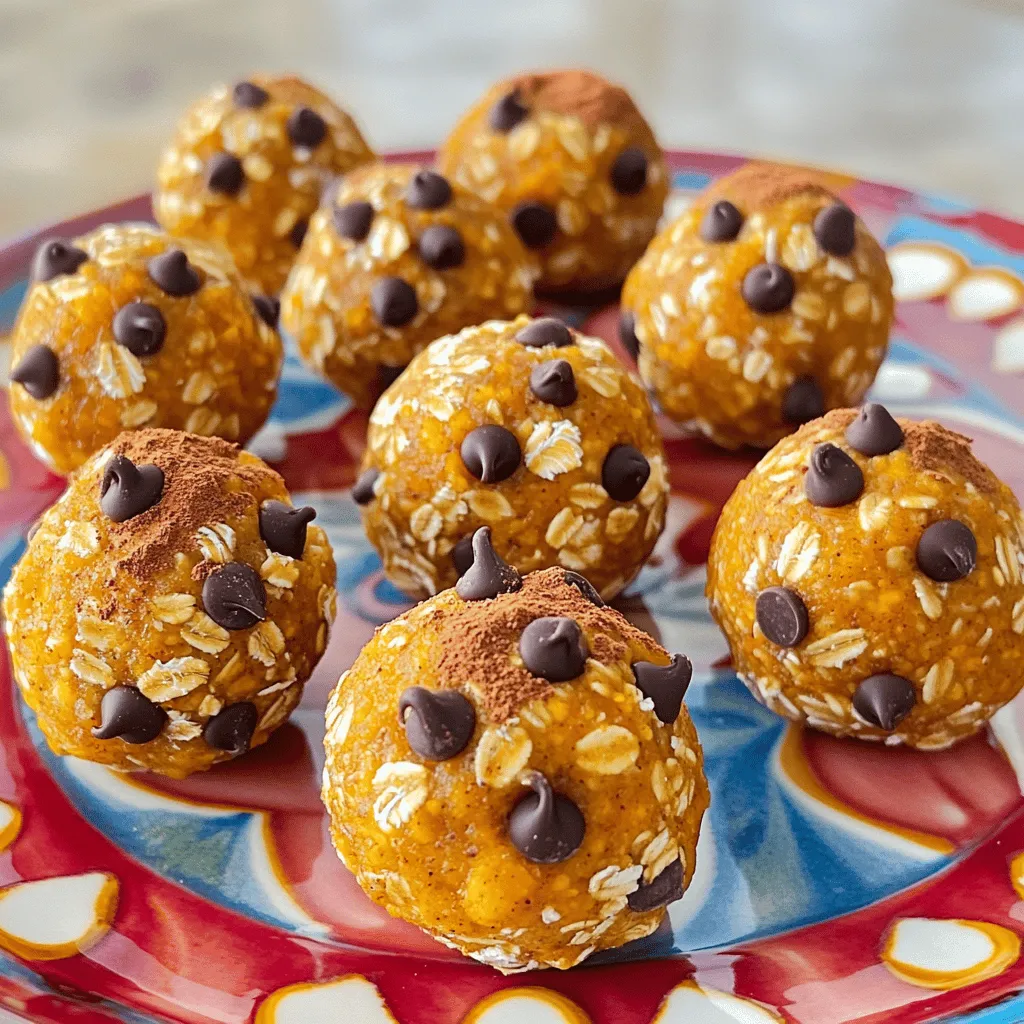
Pumpkin Pie Oatmeal Energy Balls Nutritious Snack Delight
If you’re searching for a tasty and nutritious snack, look no further! Pumpkin Pie Oatmeal Energy Balls bring together the warmth of fall flavors and