Desserts
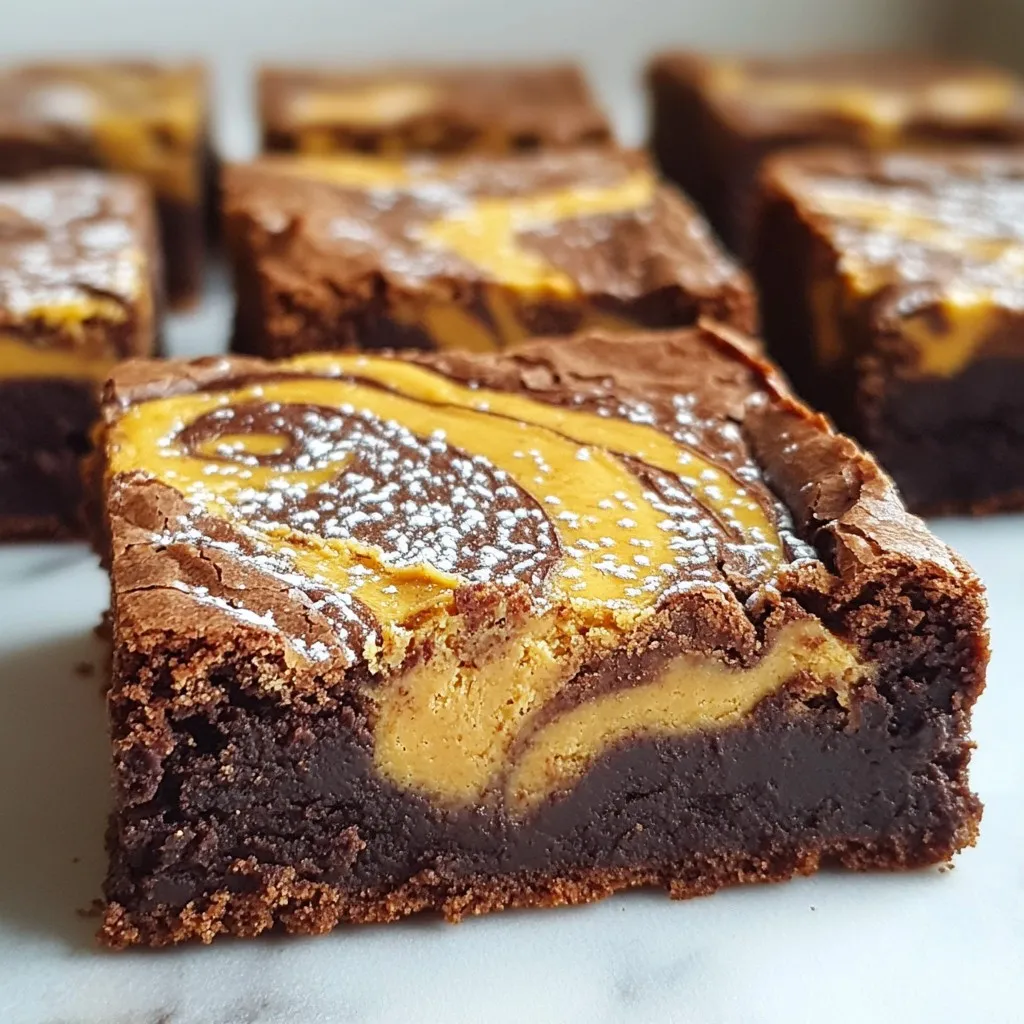
Peanut Butter Brownies Irresistible Chocolate Treat
If you love chocolate, you’ll adore these Peanut Butter Brownies. They mix rich chocolate with creamy peanut butter for a treat that melts in your
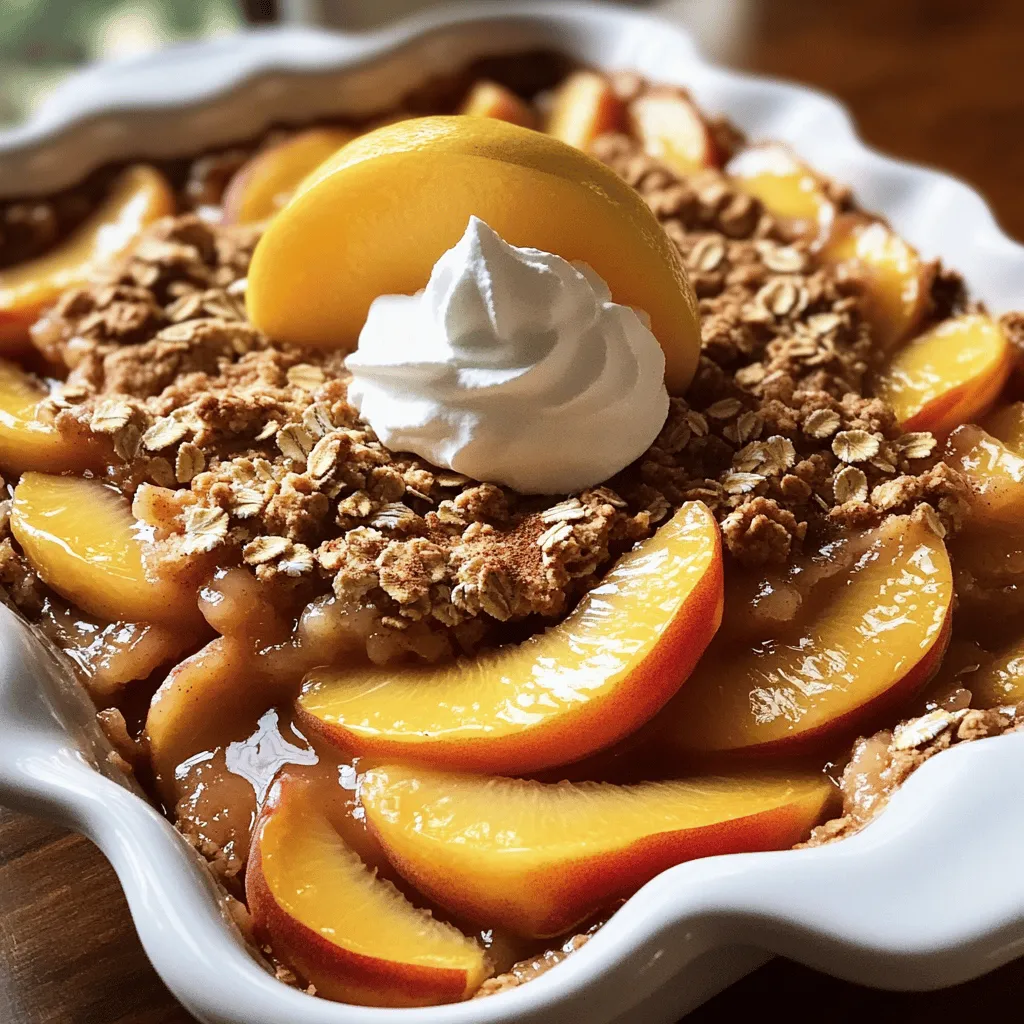
Fresh Peach Crisp Homemade Delightful Dessert Recipe
Craving a sweet summer treat? This Fresh Peach Crisp recipe will delight your taste buds! Bursting with juicy peaches and a crunchy topping, it’s a
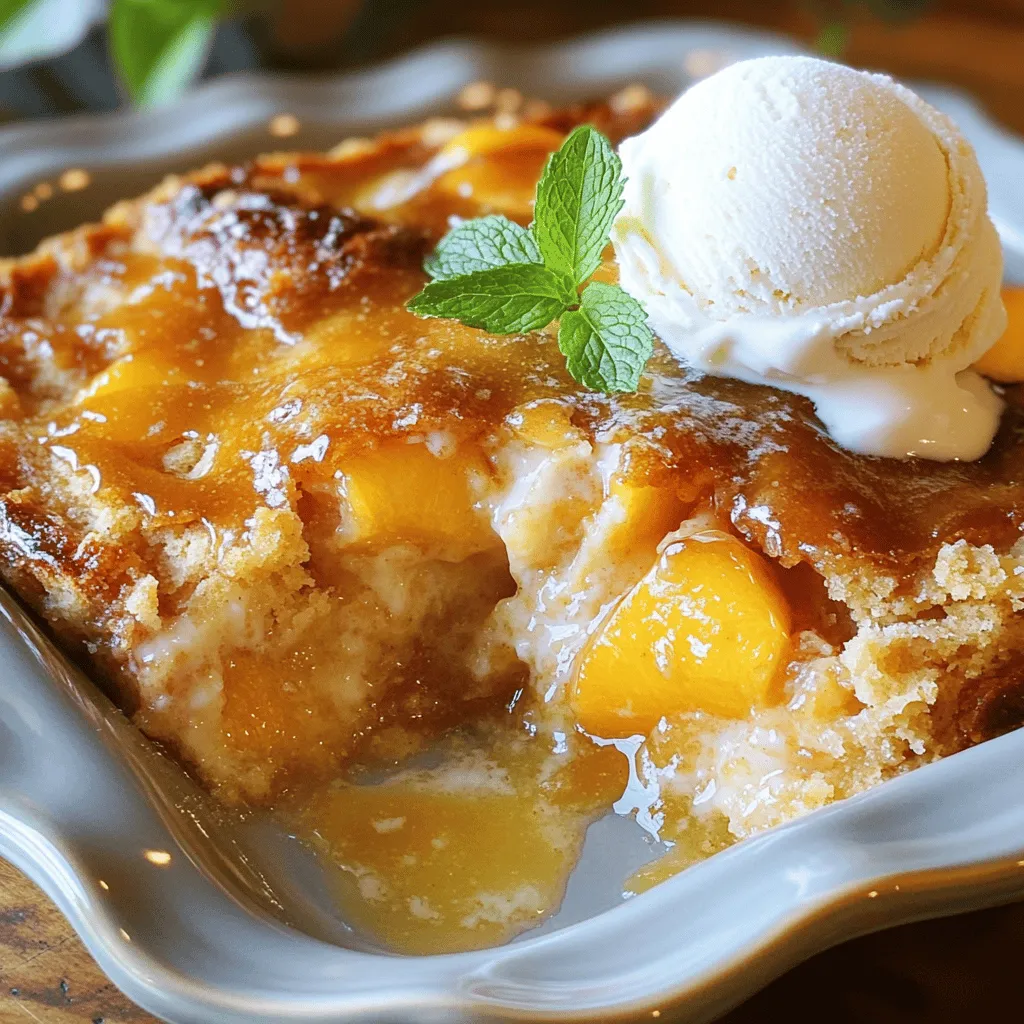
![For the best peach cobbler, you need fresh, ripe peaches. Here’s a full list of what you’ll need: - 4 cups fresh peaches, peeled and sliced into thin wedges - 1 cup granulated sugar, divided into ½ cup for the filling and ½ cup for the batter - 1 tablespoon freshly squeezed lemon juice - 1 teaspoon pure vanilla extract - 1 teaspoon ground cinnamon, plus more for garnish - 1 ½ cups all-purpose flour - 2 teaspoons baking powder - ½ teaspoon fine salt - ¾ cup milk, at room temperature - ½ cup unsalted butter, melted and slightly cooled - 1 teaspoon almond extract (optional, for an extra layer of flavor) - Vanilla ice cream, for serving (optional) Using fresh peaches gives the dish a sweet, juicy flavor. The sugar helps balance the tartness from the peaches. Lemon juice adds brightness, while vanilla and almond extracts bring depth. Ground cinnamon provides warmth and spice. If you want to serve your cobbler warm, vanilla ice cream makes a perfect addition. It melts into the cobbler and creates a creamy contrast to the warm fruit. You can find the full recipe above to help guide you through the steps. - Set your oven to 350°F (175°C). This helps your cobbler bake evenly. - Grease a 9x13 inch baking dish with butter or cooking spray to prevent sticking. - In a large bowl, toss 4 cups of sliced peaches with ½ cup of sugar. - Add 1 tablespoon of lemon juice, 1 teaspoon of vanilla extract, and 1 teaspoon of cinnamon. - Make sure every peach slice is covered well. - Transfer the peach mixture into the greased baking dish, spreading it out evenly. - In another bowl, combine 1 ½ cups of flour, 2 teaspoons of baking powder, ½ teaspoon of salt, and the remaining ½ cup of sugar. - Whisk until everything is mixed well. - Pour in ¾ cup of milk and ½ cup of melted butter into the dry mix. - Whisk gently until everything is just combined. - If you want more flavor, stir in 1 teaspoon of almond extract. - Carefully pour the batter over the peach filling in the baking dish. - Avoid stirring; the batter will rise and create a nice crust when baking. - Place the dish in the oven and bake for 45-50 minutes. - The cobbler should be puffed and golden brown. - Test doneness by inserting a toothpick into the center; it should come out clean. You can find the Full Recipe in the sections above for more details. Enjoy making your peach cobbler! Choosing the best peaches Use ripe, sweet peaches for the best flavor. Look for peaches that give slightly when you press them. They should smell sweet too. If you can find local peaches, they will taste amazing. You can also mix in some frozen peaches if fresh ones are out of season. Just thaw them and drain excess liquid. Tips for mixing the batter When you mix your batter, do it gently. Combine the wet and dry ingredients until just mixed. Overmixing can make your cobbler tough. You want a light, fluffy texture, so be careful. If you decide to add almond extract, do it at the end. This gives your cobbler a nice hint of flavor without overpowering the peaches. Serving techniques When serving peach cobbler, make it warm. Scoop portions into bowls and let guests add their own toppings. A simple yet inviting way to serve is to plate it with a scoop of vanilla ice cream on top. The warm cobbler and cold ice cream create a delightful mix. Additional toppings You can add a sprinkle of ground cinnamon for a cozy touch. Another great option is to drizzle a bit of honey over the top. If you want a bit of crunch, crushed nuts can also be a fun addition. Overmixing the batter As I mentioned, don’t overmix. This mistake can ruin the texture of your cobbler. The batter should be just combined. If you see some lumps, that’s okay. Baking time errors Keep an eye on your cobbler while it bakes. If you do not bake it long enough, the center may stay gooey. If you bake it too long, it can dry out. A toothpick should come out clean when it’s done, but the top should still be golden. This balance is key for a perfect peach cobbler. For more details on making this dish, refer to the Full Recipe. {{image_4}} You can use many fruits in your cobbler. If you want a twist, try these: - Apples: Crisp and sweet, they add great texture. - Pears: Soft and juicy, they blend well with peaches. - Berries: Blueberries or raspberries can add a tart kick. - Cherries: They bring a nice color and a hint of tartness. Mixing fruits can create fun combos. For a berry cobbler, mix peaches with blueberries or strawberries. Toss in chopped nuts for a crunchy surprise. Walnuts or pecans work well here. Want a healthier take? You can swap some ingredients. - Whole wheat flour: This makes the cobbler more nutritious. It gives a nutty taste. - Sugar substitutes: Try honey, maple syrup, or Stevia. These can reduce calories and add unique flavors. Adjust the sugar based on your taste. Start with less, and add more if needed. Spices and extracts can lift your cobbler. Here are some to try: - Ground ginger: It adds a warm, spicy kick. - Nutmeg: A pinch can enhance the sweet flavors. - Lemon zest: Brightens the taste with fresh citrus. For extracts, consider vanilla or almond. Just a few drops can change the whole dish. They make each bite more special. You can find many ways to make your peach cobbler unique. Explore flavors to suit your taste! For the full recipe, check here: [Full Recipe]. To keep your leftover cobbler fresh, use an airtight container. This helps prevent moisture loss and keeps flavors intact. Store it in the fridge for up to four days. If you want to enjoy it later, freezing is a great option. To reheat your cobbler, use the oven for the best results. Preheat it to 350°F (175°C). Place the cobbler in a baking dish and cover it with foil. Heat for about 15-20 minutes or until warm. This method helps keep the crust crisp. You can also use a microwave, but it may soften the crust. To freeze your cobbler, make sure it has cooled completely. Cut it into portions and wrap each piece tightly in plastic wrap. Place the wrapped pieces in a freezer bag. This method helps keep the cobbler fresh for up to three months. When ready to enjoy, thaw it overnight in the fridge. Reheat as mentioned above for the best texture. Look for a golden brown top. The cobbler should be puffed up and firm. Insert a toothpick into the center; it should come out clean. If the top is dark but the middle is wet, give it more time. Bake for 45-50 minutes for best results. Yes, you can prepare the filling a day in advance. Store it in the fridge until you're ready to bake. Mix the batter just before baking to keep it fluffy. If you need to, you can bake the cobbler and reheat it later, but fresh is best. Serve with a scoop of vanilla ice cream for a sweet treat. A dollop of whipped cream works well too. You can also pair it with a sprinkle of cinnamon for extra flavor. Fresh mint leaves add a nice touch as well. Yes, you can use canned peaches. Drain them well to avoid excess liquid. Use the same amount as fresh peaches. You might want to cut back on the sugar, as canned peaches are often sweeter. Adjust the spices to fit your taste. In this guide, we explored how to make a delicious peach cobbler. We covered the ingredients you need, step-by-step instructions, and key tips to perfect your dessert. You learned how to choose the best peaches and avoid common mistakes. Remember, this dish is versatile; you can substitute fruits and adjust flavors. Store leftovers properly to enjoy later. With these insights, you're ready to impress with your peach cobbler skills. Enjoy baking and sharing this treat!](https://meltedrecipes.com/wp-content/uploads/2025/06/2c19cc80-1ad6-42aa-904a-73ba872ea43d.webp)
Easy Homemade Peach Cobbler Delightful and Simple Recipe
If you crave a warm, sweet dessert, this Easy Homemade Peach Cobbler will make your day! I’ll guide you through a simple recipe that highlights
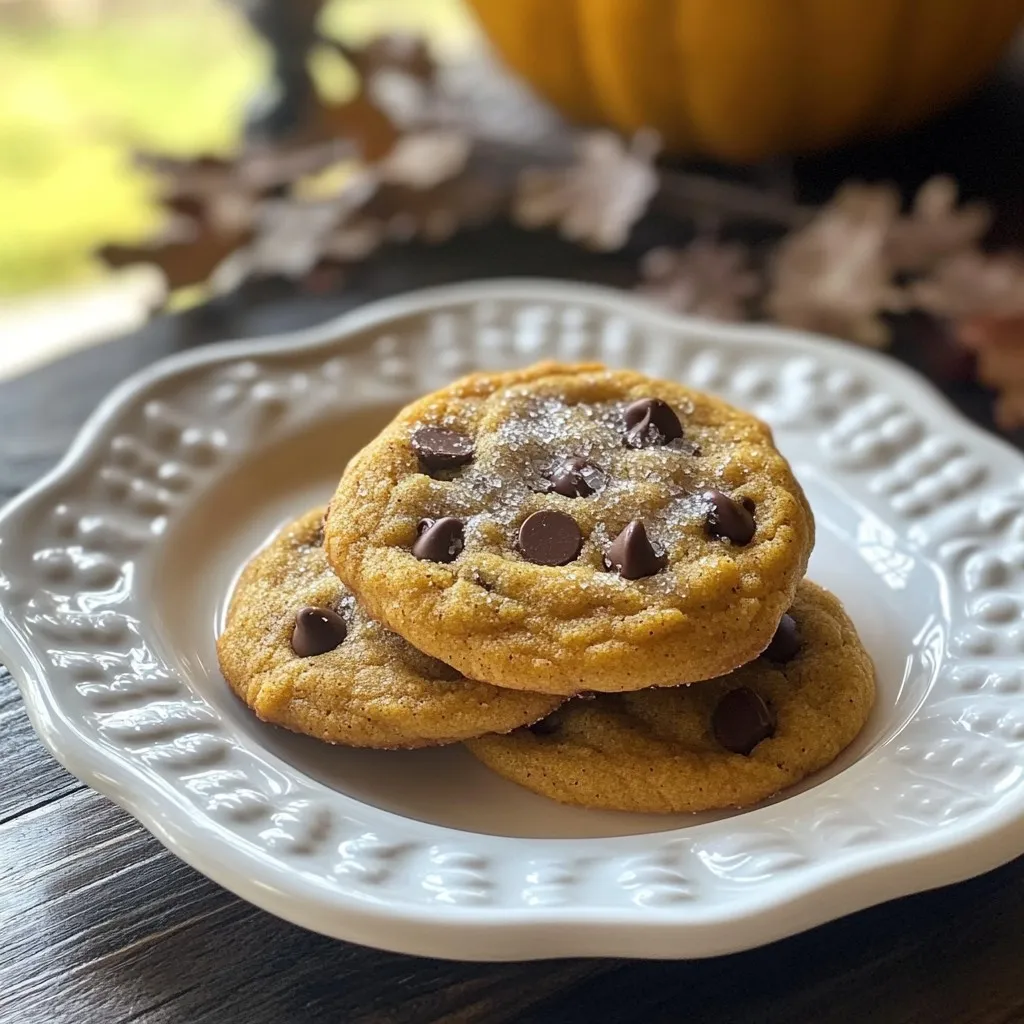
Brown Butter Pumpkin Chocolate Chip Cookies Delight
If you love cookies, get ready to dive into a mouthwatering treat! My Brown Butter Pumpkin Chocolate Chip Cookies combine warm pumpkin flavors with rich,
![- 4 ripe peaches, peeled and diced - 1/2 cup granulated sugar, divided - 2 tablespoons cornstarch - 1/4 teaspoon salt - 2 cups almond milk (or any milk of your choice) - 1 teaspoon pure vanilla extract - 1/4 teaspoon ground cinnamon - 1 tablespoon fresh lemon juice - Whipped cream, for serving (optional) - Fresh mint leaves, for garnish (optional) Gathering these ingredients is simple. Fresh peaches give this dish its sweet flavor. I like to use ripe peaches that are soft to the touch. They should smell sweet, which shows they are ready to eat. Using granulated sugar, I balance the sweetness just right. Cornstarch helps thicken the pudding. It makes the texture creamy and smooth. Almond milk is my favorite base, but any milk works well. Vanilla extract adds a lovely aroma. Lemon juice brings a nice tanginess that complements the peaches. Ground cinnamon gives a warm flavor, making each bite special. Optional toppings like whipped cream and mint leaves add extra flair. You can make it look nice for a special occasion. This list of ingredients is perfect for making a delightful peach pudding. You can find the full recipe in the next sections for easy cooking! 1. Start by peeling and dicing the ripe peaches. Use a sharp knife for clean cuts. 2. Place the diced peaches in a medium saucepan. Add 1/4 cup of granulated sugar and lemon juice. 3. Stir gently and let the peaches rest for about 10 minutes. This helps them soften and release juices. 4. In a separate bowl, mix 2 tablespoons of cornstarch with the remaining 1/4 cup of sugar. 5. Add 1/4 teaspoon of salt and 2 cups of almond milk to the bowl. 6. Whisk the mixture until it is smooth and without lumps. 1. Place the saucepan with the peach mixture over medium heat. Cook for about 5 minutes. 2. Stir occasionally until the mixture bubbles gently. This ensures even cooking. 3. Gradually pour the cornstarch mixture into the saucepan. Stir constantly to combine. 4. Cook for an additional 5-7 minutes. The mixture should thicken to a creamy consistency. 5. Once thickened, remove the saucepan from heat and stir in the vanilla extract. 1. Allow the mixture to cool for a few minutes in the saucepan. 2. Transfer the pudding into individual bowls or ramekins. 3. Cover the bowls with plastic wrap to avoid any skin forming. 4. Chill the peach pudding in the refrigerator for at least 2 hours. This step is key for the right texture. 5. Serve each portion with whipped cream on top for extra delight. 6. Garnish with a fresh mint leaf and a slice of peach for a nice touch. For more detailed instructions, check out the [Full Recipe]. How to choose ripe peaches Look for peaches that have a sweet smell. They should feel slightly soft when you press them gently. If they are too firm, they may not be ripe. Avoid any that have bruises or dark spots. The best peaches have a golden color. You can find great peaches in late summer. Adjusting sweetness levels Taste your peaches before you mix them in. If they are sweet, you might need less sugar. If they are tart, add more sugar. You can start with half the sugar in the recipe. Then, taste and add more if needed. This way, you can make your pudding just right for your taste. Ensuring a creamy texture Make sure to whisk the cornstarch and milk well. This step prevents lumps from forming. If you see lumps, use a fine strainer to fix it. Stir the mixture constantly as it cooks. This helps to create a smooth, creamy pudding. Avoiding lumps in the pudding Mix the cornstarch and sugar before adding milk. This helps it dissolve better. If you notice lumps while cooking, use a whisk to blend them. Never stop stirring while heating. This keeps the pudding smooth and tasty. For the full recipe, check the Peachy Dream Pudding section. {{image_4}} You can make this pudding vegan by using almond milk. Almond milk has a nice, creamy texture. You can also try coconut milk for a tropical twist. Replace granulated sugar with maple syrup or agave nectar for sweetness. This keeps it plant-based and still tasty. To ensure your peach pudding is gluten-free, use cornstarch as a thickener. Make sure your almond milk is gluten-free, too. Most almond milk brands are safe, but always check the label. Avoid any products that may contain gluten. This way, everyone can enjoy this delicious dessert. Spices can really change the taste of your peach pudding. Try adding ground nutmeg or cardamom for a warm flavor. A splash of almond extract can give it a unique twist. If you like a bit of zing, add more lemon juice. These simple changes can make your pudding even more delightful. For the full recipe, check out the section above. Peach pudding lasts about 3 to 5 days in the fridge. Make sure to cover it well. Use plastic wrap or a tight lid. This keeps the pudding fresh and tasty. The cold helps maintain its creamy texture and flavor. To freeze peach pudding, place it in an airtight container. It can be stored for about 2 months. Leave some space at the top. The pudding will expand when frozen. When ready to eat, take it out and let it thaw in the fridge overnight. To reheat peach pudding, gently warm it on the stove. Use low heat and stir often. This way, it stays smooth. Avoid microwaving it, as this can make it lumpy. If it's thick, add a splash of milk to restore its creamy texture. Making peach pudding is quick and easy. It takes about 15 minutes to prep. Cooking adds another 10 to 12 minutes. Don't forget to chill it! You need at least 2 hours in the fridge. So, in total, you need around 2 hours and 30 minutes. Yes, you can use canned peaches. Canned peaches save time and are easy to find. They are often sweeter, so adjust the sugar. Fresh peaches have a better texture and flavor. If you use canned, drain them well. This helps keep the pudding from getting too watery. Peach pudding pairs well with many treats. Here are some ideas: - Vanilla ice cream for a creamy touch - Crumbled cookies for added crunch - Fresh berries for a tart contrast - A sprinkle of nuts for texture You can also serve it with whipped cream on top. This makes it look fancy! Peach pudding is simple to make and delicious. We covered ingredients, steps, and tips for a smooth texture. You learned how to pick ripe peaches and avoid common mistakes. With options for vegan and gluten-free versions, anyone can enjoy this treat. Remember to chill it well before serving. Store it in the fridge for a few days or freeze it for later. Take these ideas and make your peach pudding a hit!](https://meltedrecipes.com/wp-content/uploads/2025/06/a3e4c16d-2710-4f41-ab14-8c8261d3126f.webp)
Peach Pudding Delight Simple and Tasty Recipe
If you love peaches, you’re in for a treat! My Peach Pudding Delight is simple and tasty, making it perfect for any occasion. With just
Sticky Peach Cobbler Pudding Delicious and Easy Treat
Are you ready for a dessert that will wow your friends and family? My Sticky Peach Cobbler Pudding is not only delicious, but it’s also

Peach Cobbler Cookies Irresistible and Comforting Treat
Are you ready for a treat that blends sweet peaches with warm, cookie goodness? Peach Cobbler Cookies are the perfect way to enjoy summer’s favorite
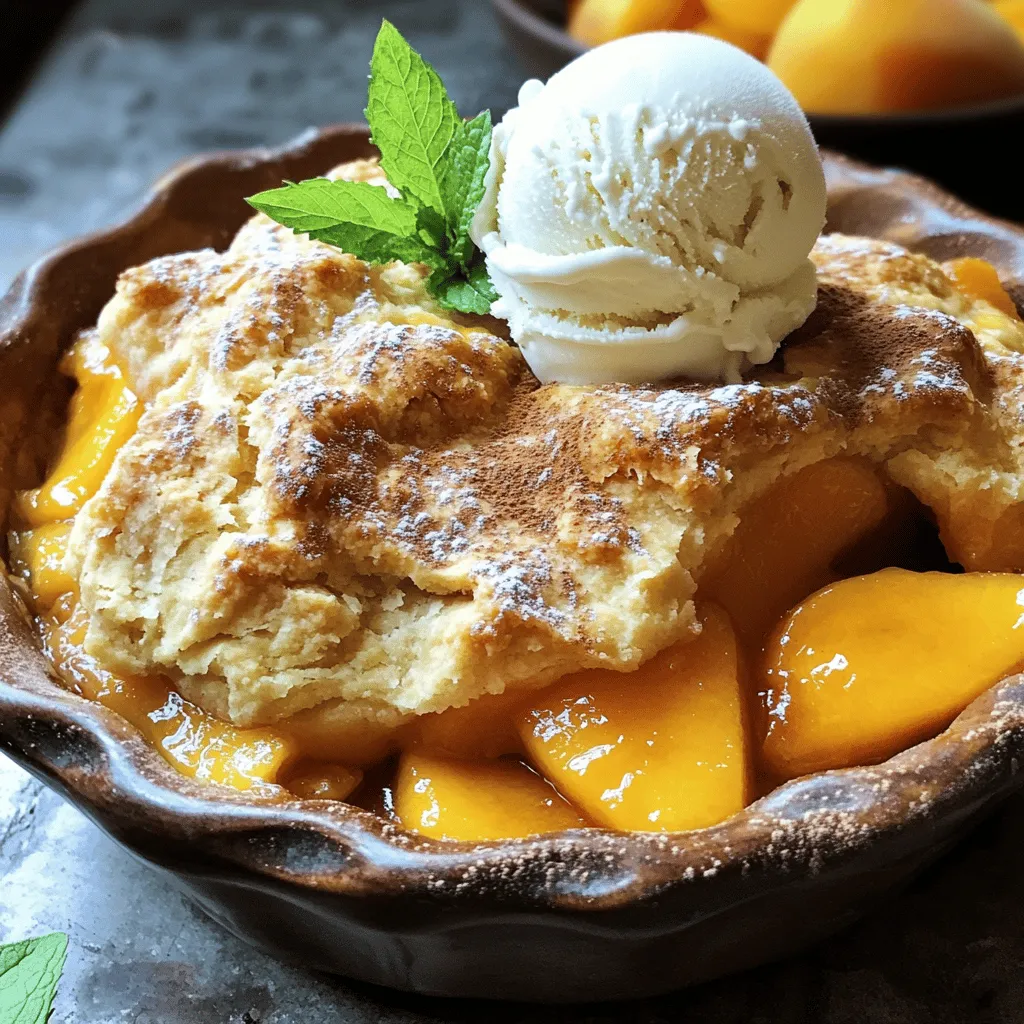
Easy Peach Cobbler Simple and Delicious Dessert Recipe
Are you craving a sweet and simple dessert? Look no further! This Easy Peach Cobbler recipe will delight your taste buds and impress your friends.
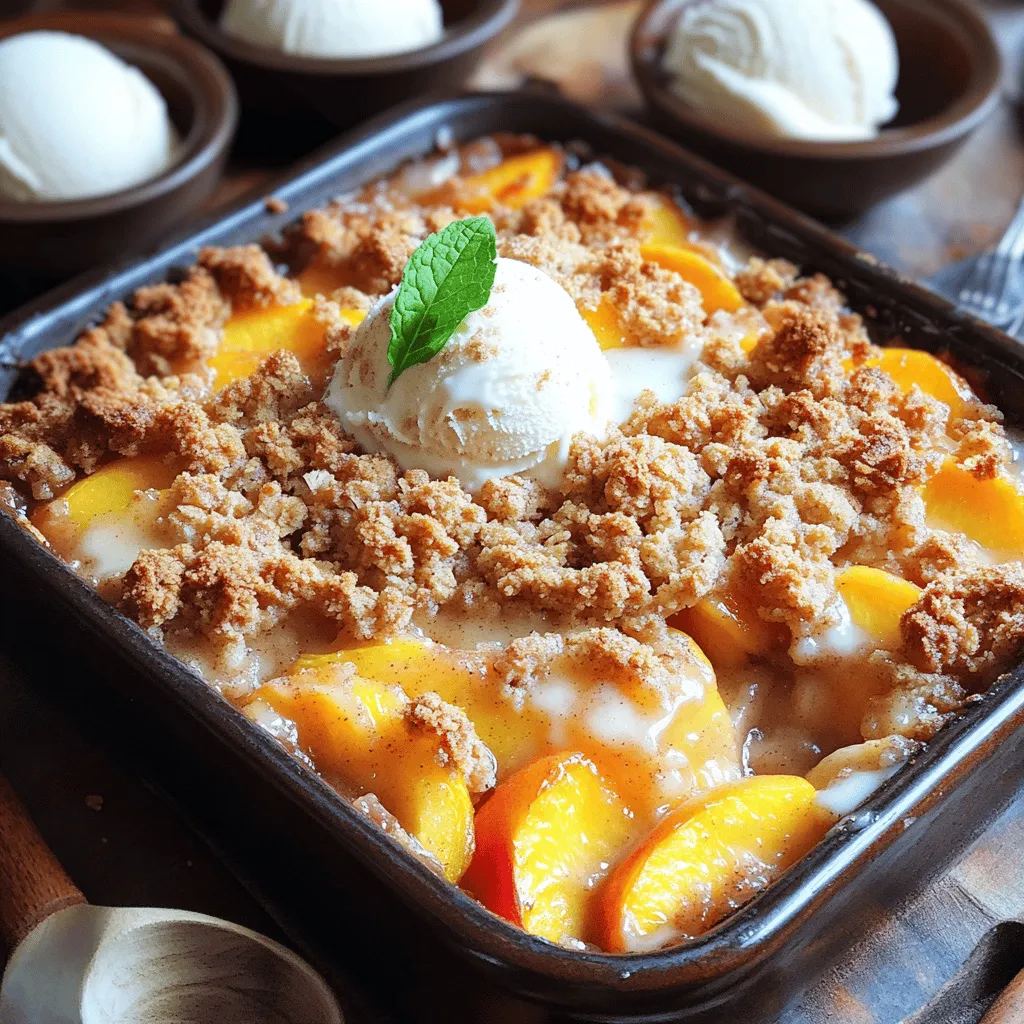
Peach Crumble Will Make You Forget All About Cobblers
Forget cobblers! Peach crumble is your new go-to dessert. With its sweet peaches and crunchy topping, this dish packs a flavor punch you won’t forget.
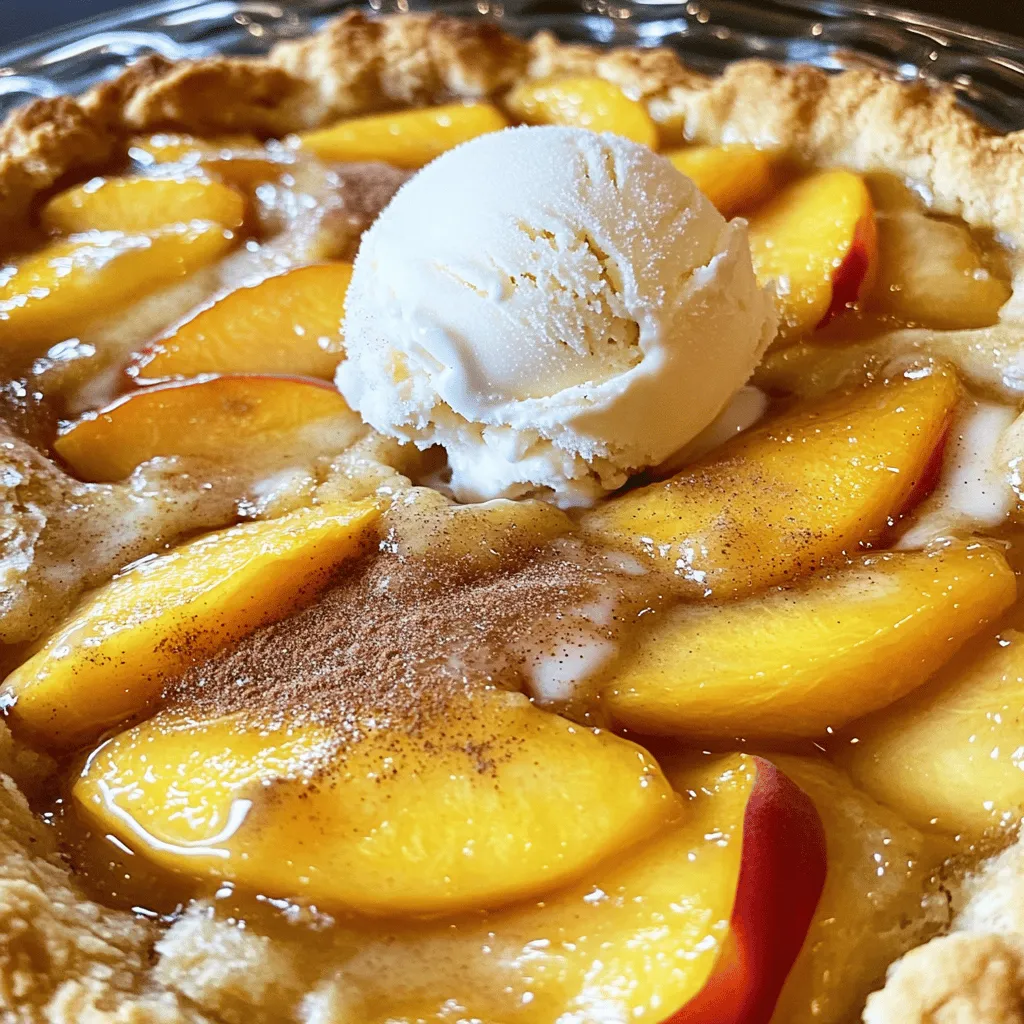
The Easiest Southern Peach Cobbler Simple and Sweet
Are you ready to make the easiest Southern peach cobbler? This sweet dessert is a true crowd-pleaser. With simple steps and just a few ingredients,