Desserts
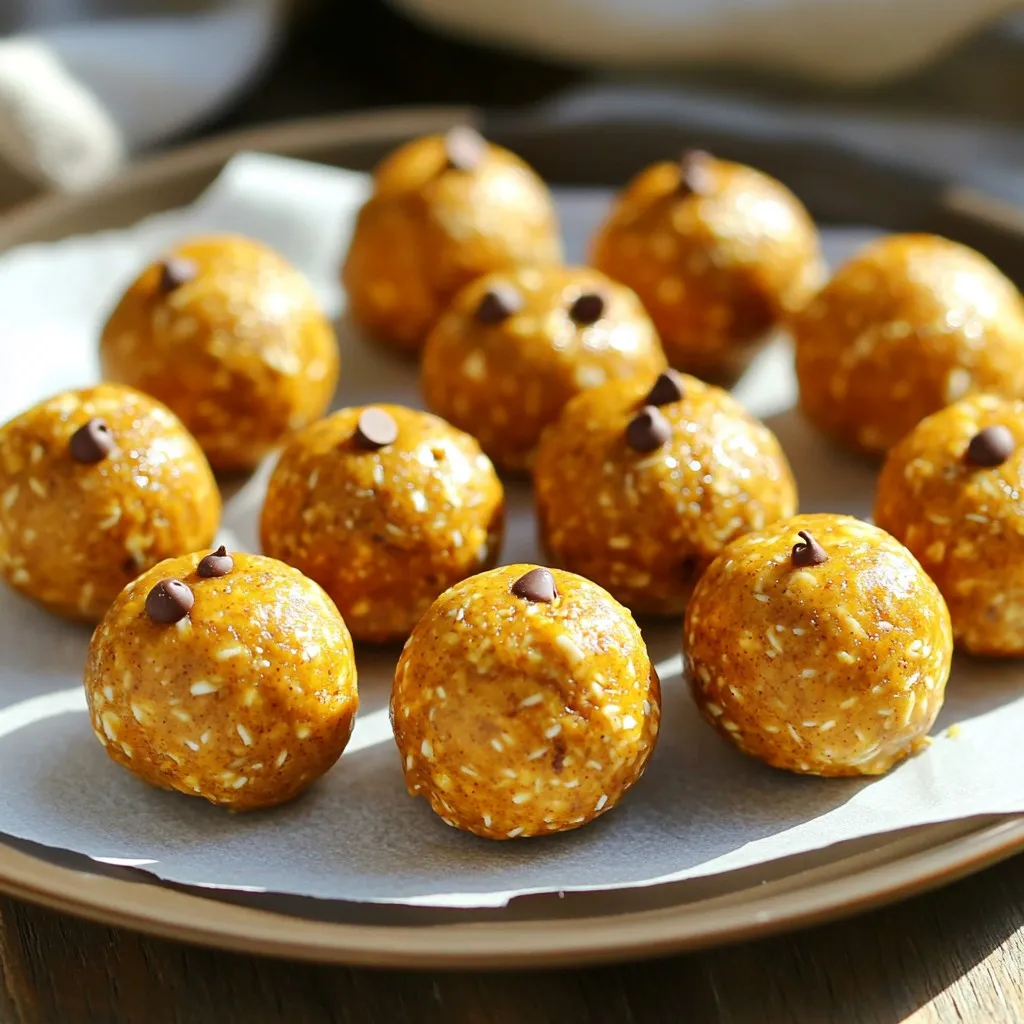
No-Bake Pumpkin Pie Energy Balls Healthy Snack Idea
If you love fall flavors but want a quick, healthy snack, you’ll enjoy these No-Bake Pumpkin Pie Energy Balls. Packed with rolled oats, creamy pumpkin
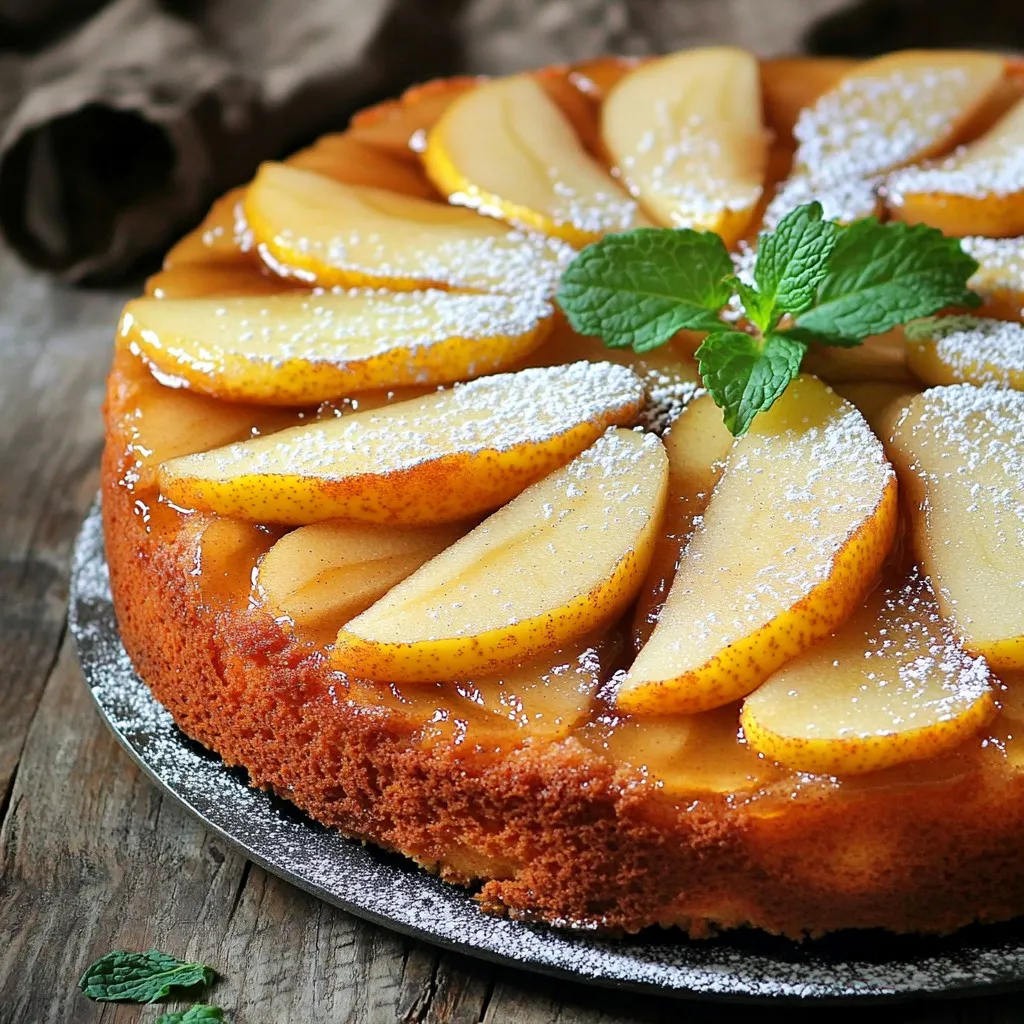
Spiced Pear Upside-Down Cake Simple and Tasty Recipe
Get ready to impress your taste buds with my Spiced Pear Upside-Down Cake! This simple yet delicious recipe takes just a few ingredients and turns
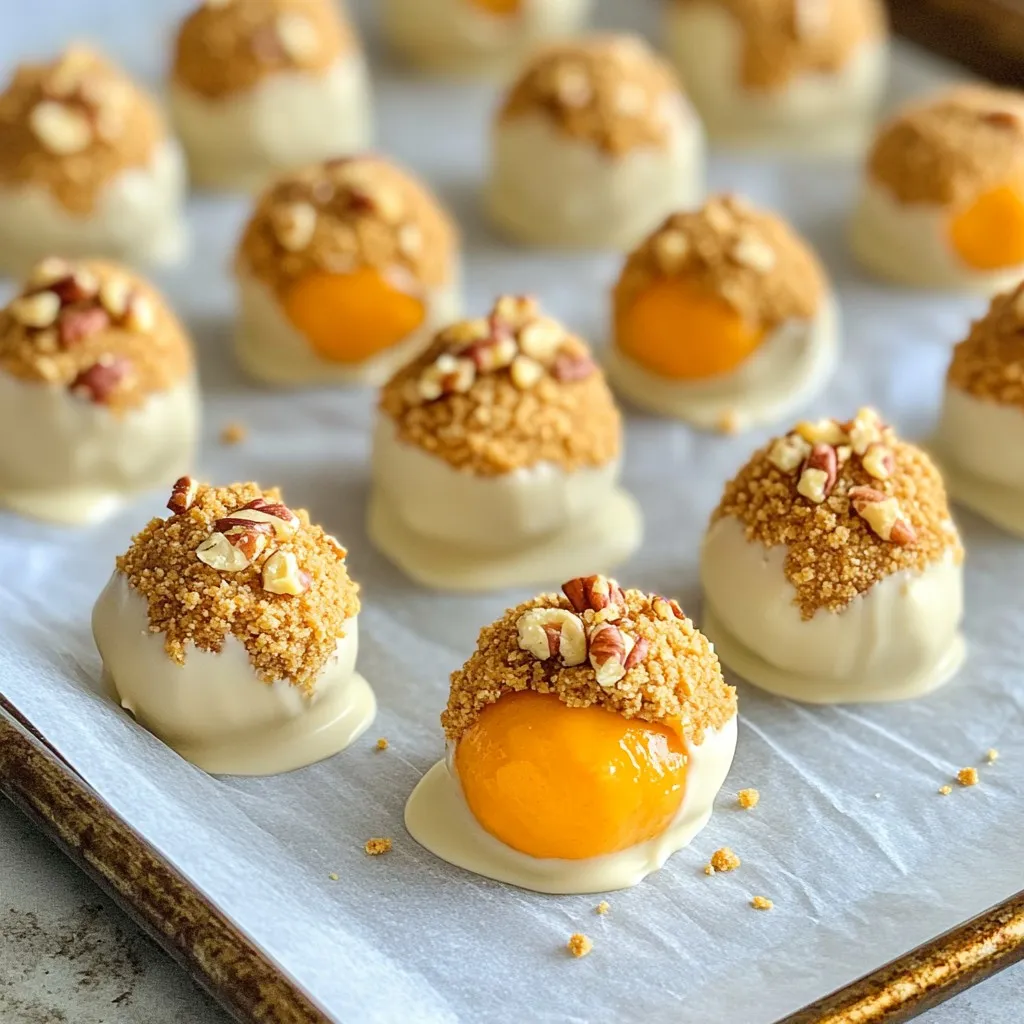
No-Bake Pumpkin Cheesecake Truffles Delightfully Easy
If you love pumpkin treats but dread baking, you’re in for a real treat! These no-bake pumpkin cheesecake truffles are simple to make and bursting
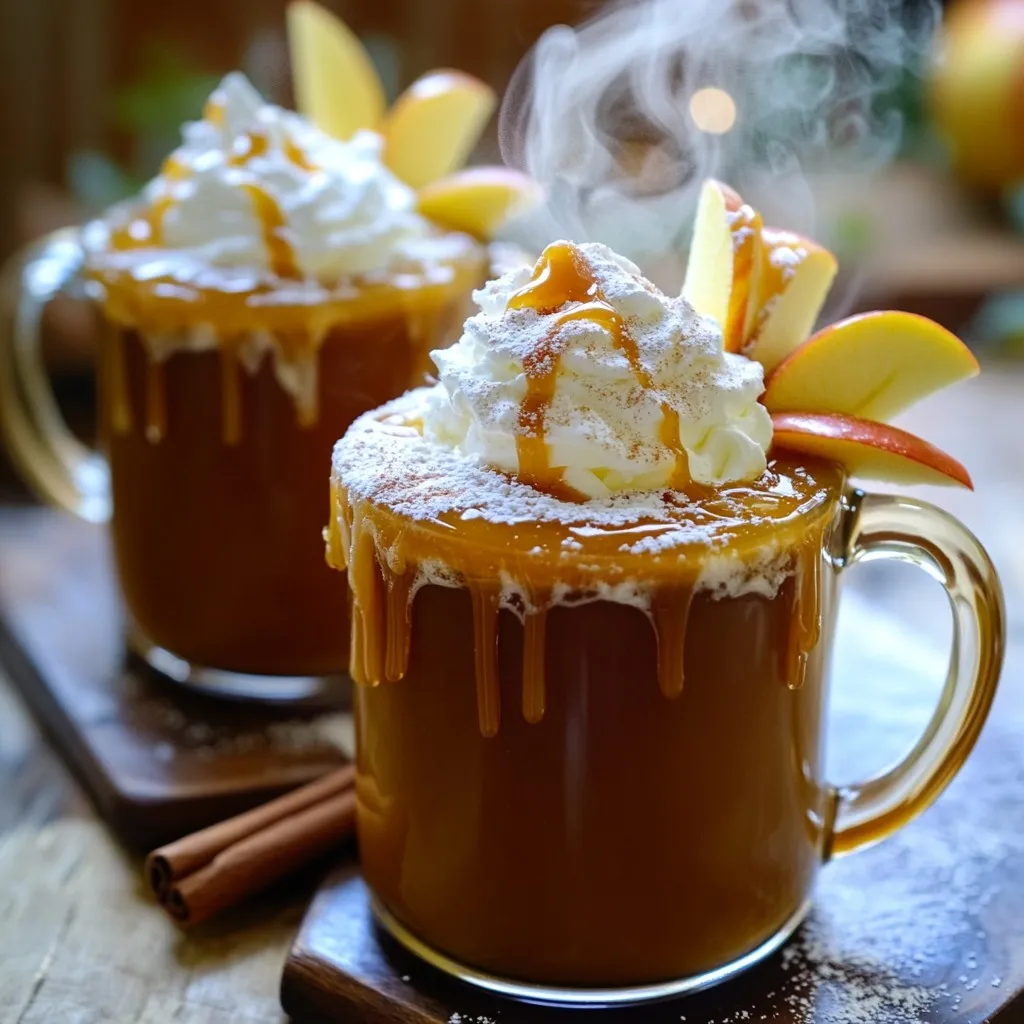
Cozy Caramel Apple Cider with Whipped Cream Delight
As the air turns crisp and leaves fall, there’s nothing quite like a warm drink to embrace the season. Cozy Caramel Apple Cider with Whipped
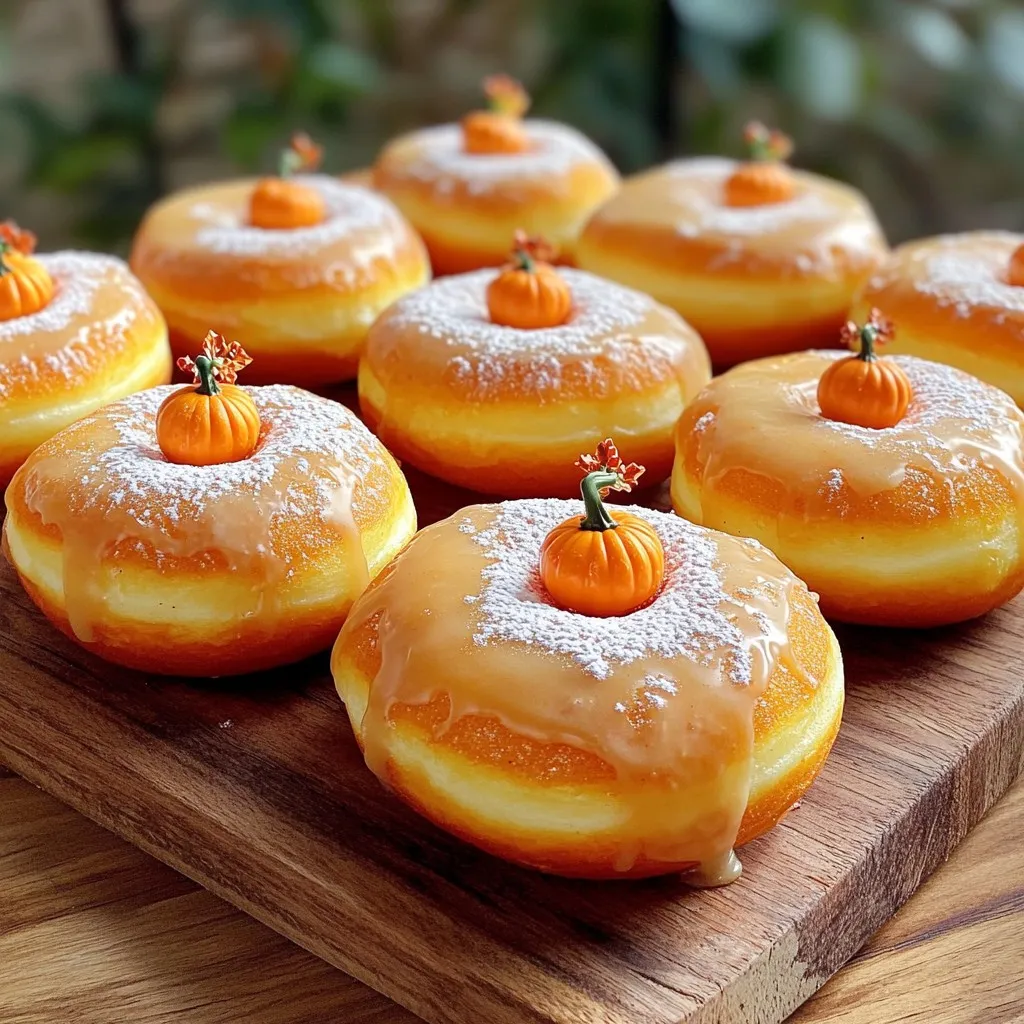
Bakery Style Pumpkin Spice Donuts Irresistibly Delicious
Do you crave that warm, spicy flavor of pumpkin donuts? You’re in the right place! In this post, I’ll guide you through making the ultimate
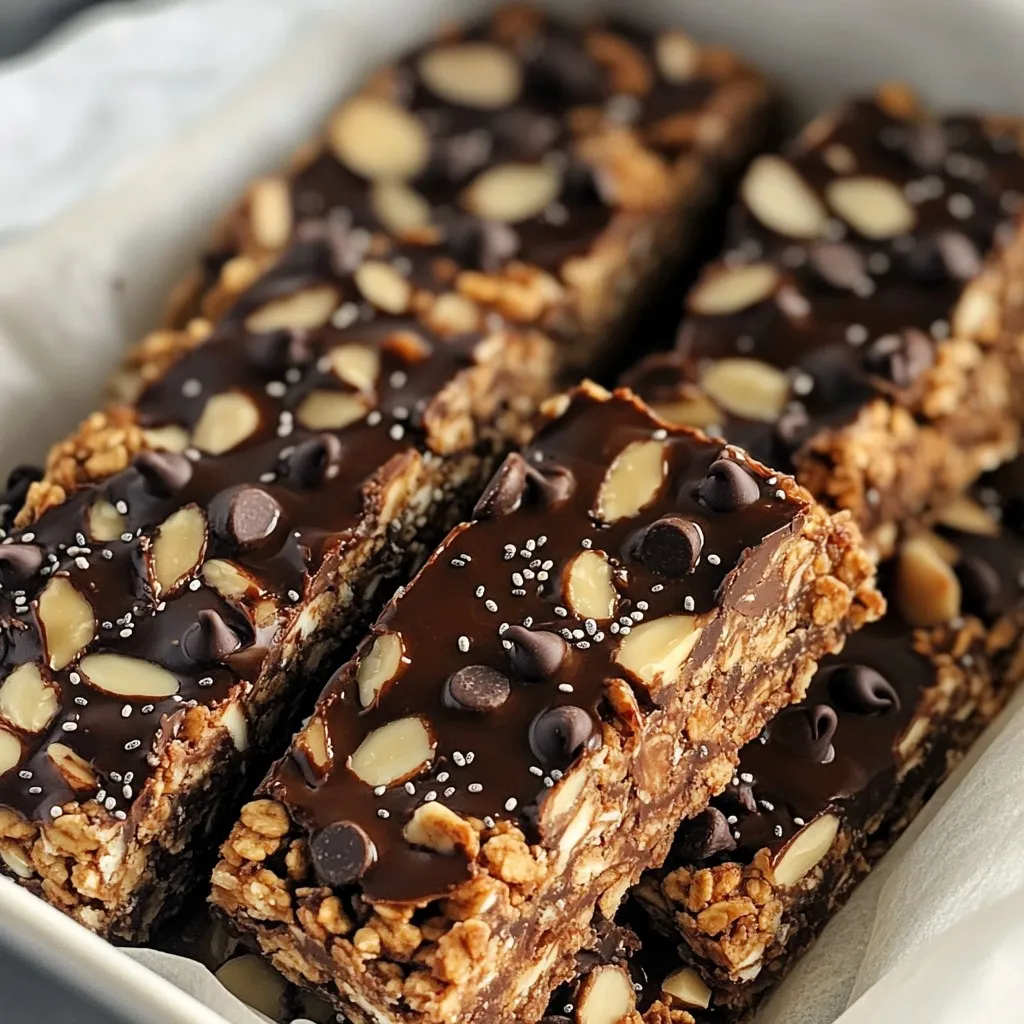
No Bake Chocolate Almond Butter Granola Bars Recipe
Get ready to indulge in a delicious and healthy treat! This No Bake Chocolate Almond Butter Granola Bars Recipe is simple and perfect for busy
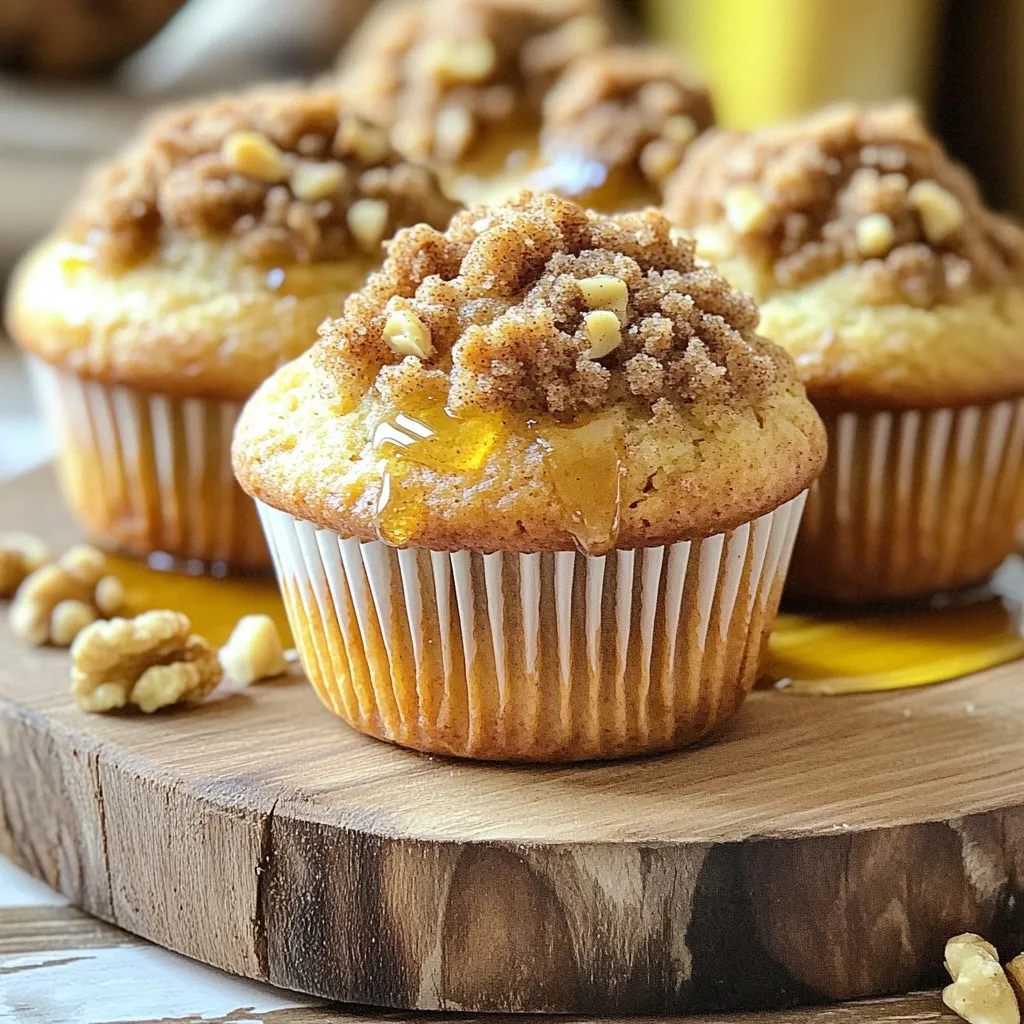
Brown Sugar Streusel Muffins Easy and Tasty Delight
Welcome to the world of baking easy and tasty brown sugar streusel muffins! These muffins are fluffy, sweet, and topped with a crunchy streusel. You
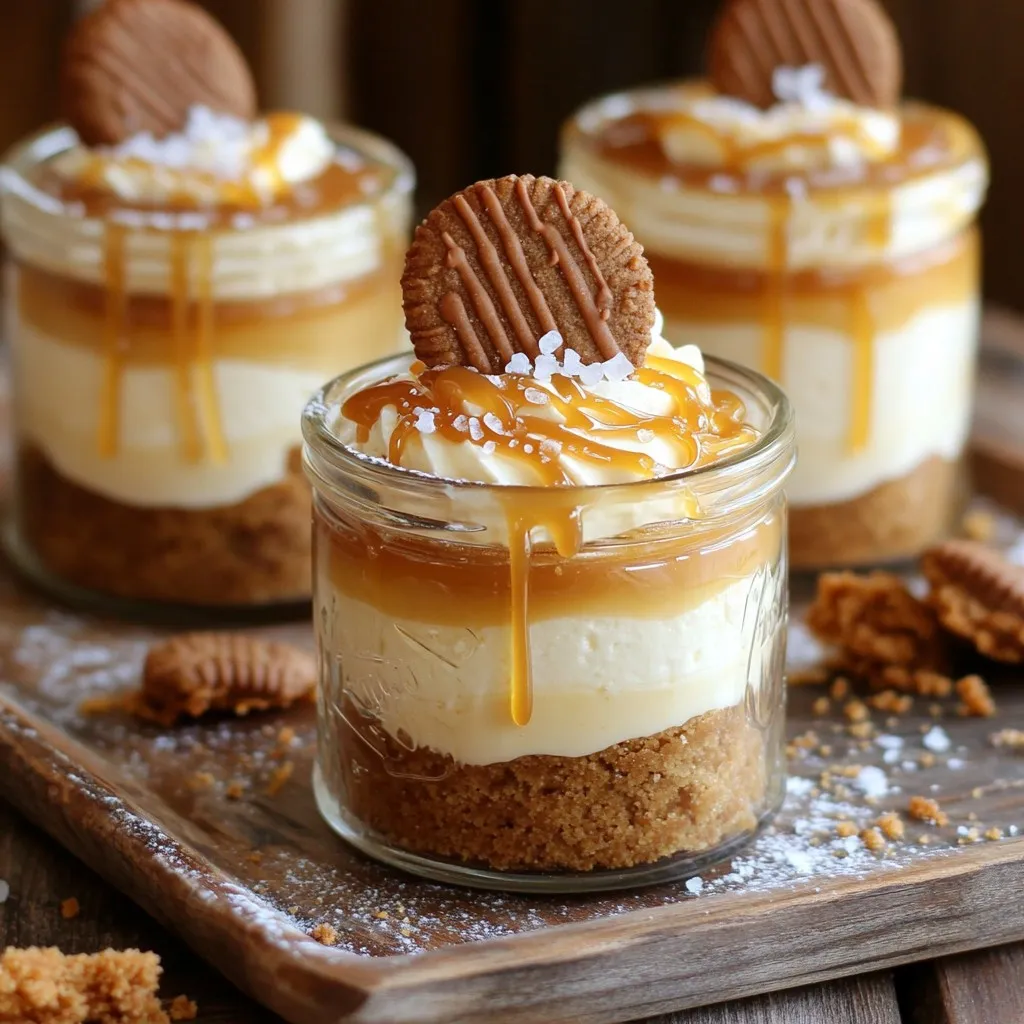
Salted Caramel Biscoff Cheesecake Cups Delight
Ready for a treat that will make your taste buds dance? My Salted Caramel Biscoff Cheesecake Cups blend rich cream cheese with crunchy Biscoff cookies.
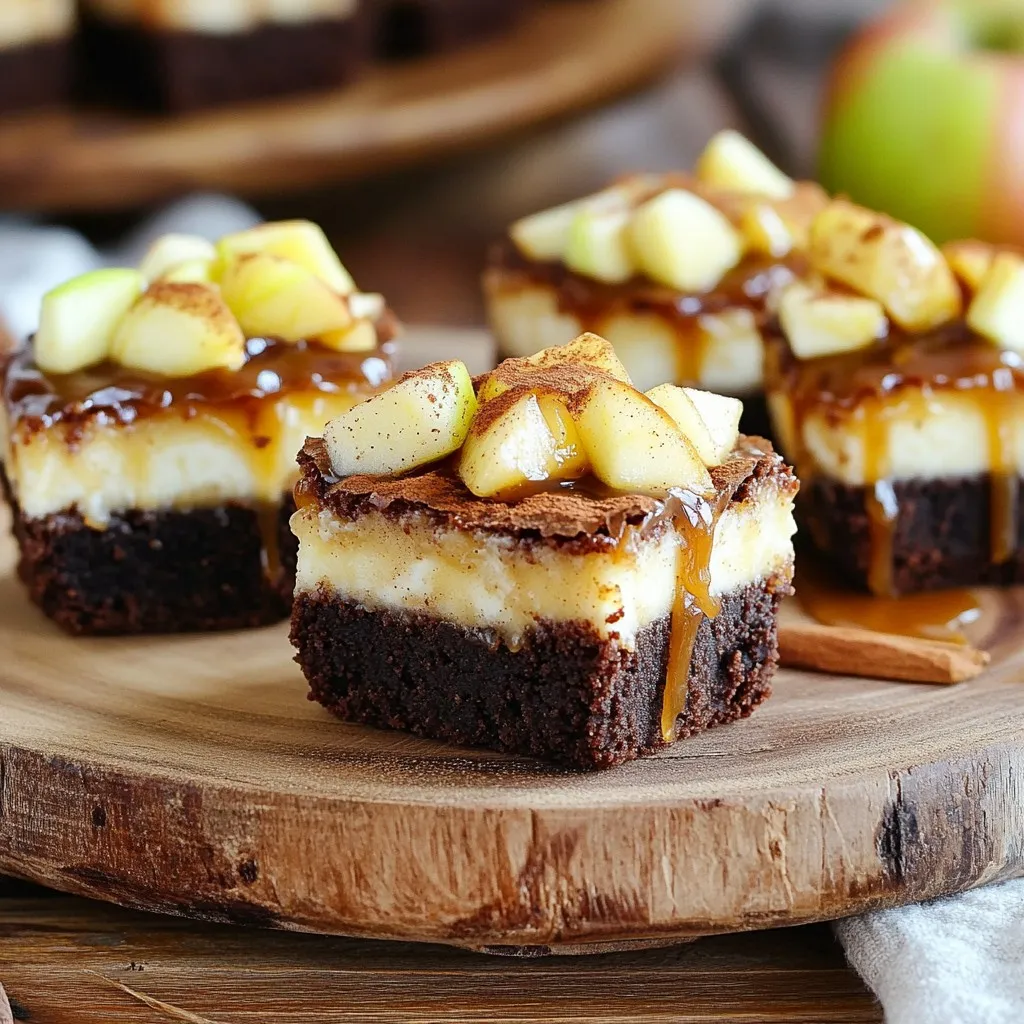
Caramel Apple Cheesecake Brownie Cups Irresistible Treat
Get ready for a dessert that combines the best of fall flavors! These Caramel Apple Cheesecake Brownie Cups are a perfect treat for any occasion.
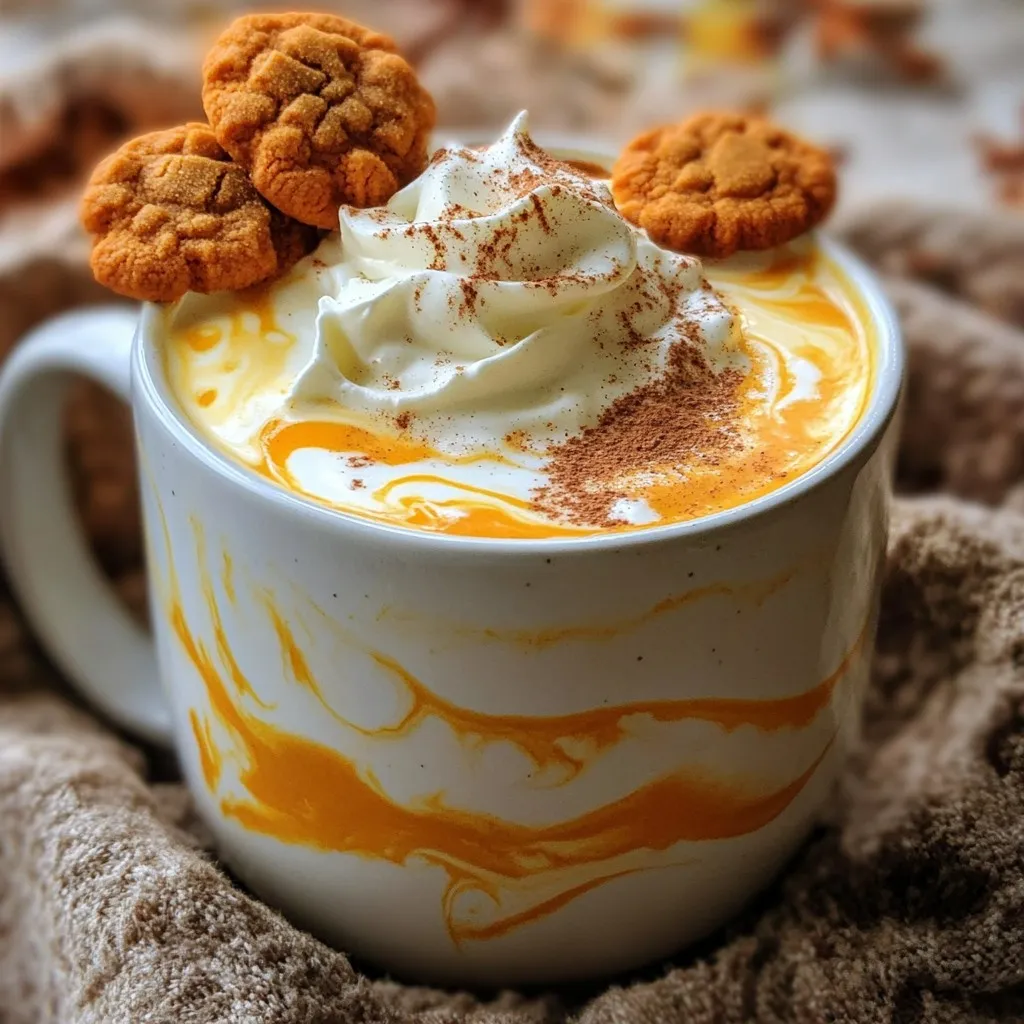
Pumpkin Spice White Hot Chocolate Creamy Delight Recipe
Craving a cozy drink that warms your heart? Look no further! My Pumpkin Spice White Hot Chocolate Creamy Delight Recipe brings together rich white chocolate