Desserts

Cinnamon Roll Cookies Irresistible Soft Delight
Are you ready to bite into something delicious? Cinnamon Roll Cookies are a soft delight that combines the best of both worlds—cookies and cinnamon rolls!
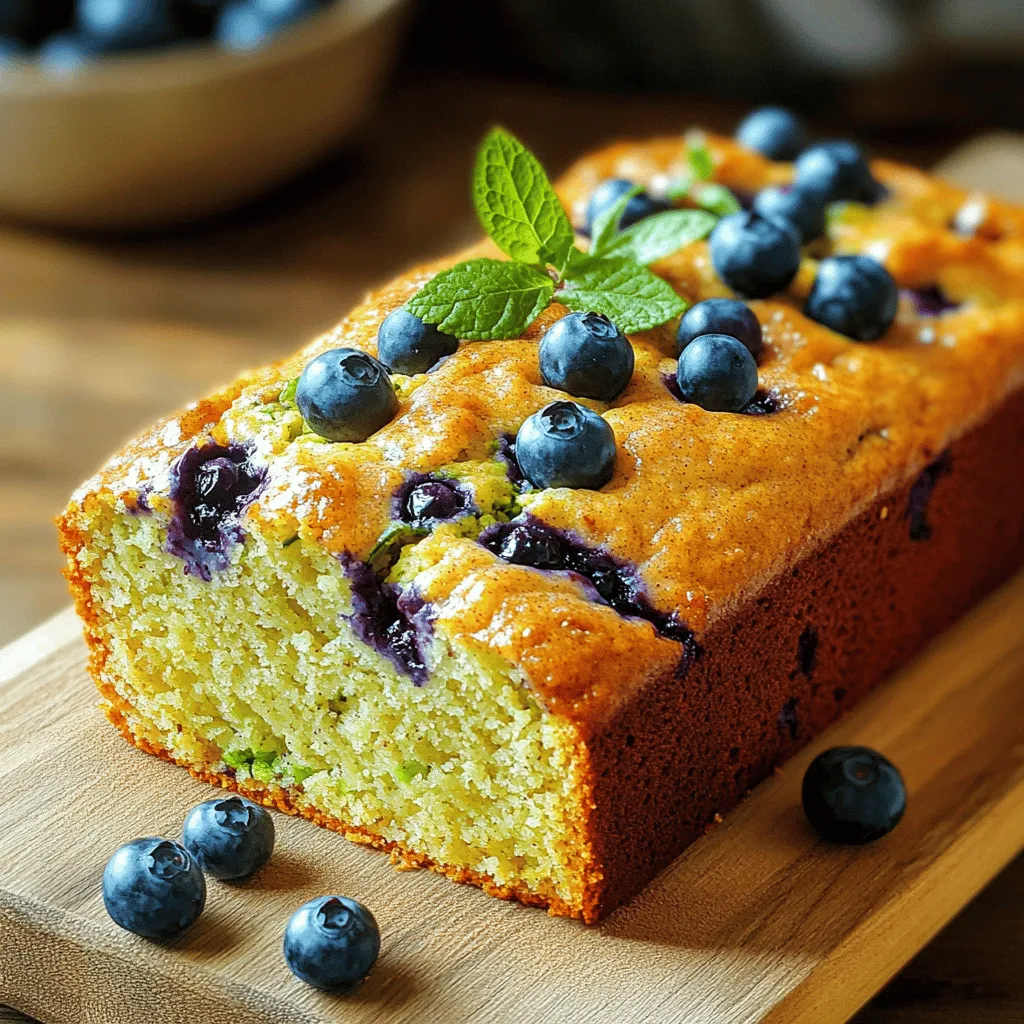
Blueberry Zucchini Bread Fresh and Tasty Recipe
Are you looking for a fresh and tasty treat? Blueberry zucchini bread is the perfect solution! This moist, flavorful bread combines sweet blueberries and healthy
![To make Chocolate Marble Zucchini Bread, you need: - 2 medium zucchinis, grated - 1 cup granulated sugar - 1/2 cup packed brown sugar - 1/2 cup vegetable oil - 3 large eggs - 1 teaspoon vanilla extract These ingredients give the bread its moist texture and sweet flavor. The grated zucchini helps keep the bread soft while adding nutrients. You will also need these baking essentials: - 1 1/2 cups all-purpose flour - 1 teaspoon baking powder - 1/2 teaspoon baking soda - 1/2 teaspoon salt - 1/2 teaspoon ground cinnamon These ingredients create the structure of the bread. The baking powder and baking soda help it rise, while the cinnamon adds warmth. Finally, gather these chocolate components: - 1/2 cup unsweetened cocoa powder - 1/2 cup semi-sweet chocolate chips - 1/2 cup chopped walnuts (optional) The cocoa powder creates the rich chocolate flavor. The chocolate chips add extra sweetness. You can skip the walnuts if you prefer a nut-free treat. For the full recipe, check the detailed instructions and measurements. Happy baking! 1. First, preheat your oven to 350°F (175°C). 2. Next, generously grease and flour a 9x5 inch loaf pan. This helps the bread release easily. 3. In a large bowl, mix the grated zucchini, granulated sugar, brown sugar, and vegetable oil. Stir well until smooth. 1. Now, add the eggs one at a time. Mix well after each egg. 2. Finally, stir in the vanilla extract for extra flavor. This makes the bread taste amazing. 1. In another bowl, whisk together the all-purpose flour, baking powder, baking soda, salt, and ground cinnamon. 2. Gradually add the dry mix to the wet zucchini mix. Stir just until combined. Do not overmix! This keeps the bread soft. 1. Carefully divide the batter into two equal portions. 2. To one half, mix in the unsweetened cocoa powder. Stir until smooth and chocolatey. 3. Pour the plain zucchini batter into the loaf pan. 4. Next, dollop spoonfuls of the chocolate batter on top. 5. Use a knife to gently swirl the batters together. Aim for a nice marbled effect. 1. Bake the loaf for 55-65 minutes. Check for doneness by inserting a toothpick into the center. It should come out clean or with a few moist crumbs. 2. Once baked, let the bread cool in the pan for about 10 minutes. 3. Then, transfer it to a wire rack to cool completely before slicing. For the full recipe, check the details above. Enjoy your delicious Chocolate Marble Zucchini Bread! To start, you want to grate the zucchini well. Use a box grater or a food processor. This makes it easier to mix into the batter. After grating, the zucchini holds a lot of water. To remove excess moisture, place the grated zucchini in a clean kitchen towel. Twist the towel to squeeze out the liquid. This step helps the bread stay soft and not too wet. For the best marble effect, you need to be gentle. After mixing the batters, pour the plain zucchini batter into the loaf pan first. Then, dollop spoonfuls of the chocolate batter on top. Use a knife or skewer to swirl the batters together. Make sure not to mix them too much. You want to see the layers. This will give you that beautiful marbled look. To keep your bread moist and tasty, wrap it tightly in plastic wrap or foil. You can also place it in an airtight container. This keeps out air and helps with freshness. Store it at room temperature for up to three days. For longer storage, slice the bread and freeze it. Just remember to wrap each slice well. When you’re ready to eat, you can thaw it on the counter or warm it in the oven. Enjoy your moist Chocolate Marble Zucchini Bread! For the complete recipe, check the [Full Recipe]. {{image_4}} You can make this chocolate marble zucchini bread healthier by swapping a few ingredients. Using whole wheat flour adds fiber and nutrients. It gives the bread a nutty taste and a hearty texture. You can also replace vegetable oil with coconut oil. Coconut oil brings a lovely flavor and healthy fats. It’s a great option for those who want to cut back on refined oils. Want to kick up the flavor? Try adding spices like nutmeg or cardamom. These spices add warmth and depth to the bread. You can also include chocolate extracts for a richer taste. Just a teaspoon can make a big difference. These little changes can turn a good recipe into a great one. If you need gluten-free options, you can use gluten-free all-purpose flour. This works well to keep the bread moist and delicious. For vegan versions, replace eggs with flax eggs. Mix one tablespoon of ground flaxseed with three tablespoons of water. Let it sit until it thickens. This will help bind the ingredients just like eggs do. You can still enjoy this tasty treat no matter your dietary needs. For the full recipe, check out the link! To keep your leftover Chocolate Marble Zucchini Bread fresh, wrap it tightly in plastic wrap. This helps seal in moisture. You can also store it in an airtight container. Place it at room temperature for up to three days. If you want it to last longer, put it in the fridge. It can stay good there for about a week. Just remember, cold can dry it out a bit. Freezing is a great way to save slices for later. First, let the bread cool completely. Then, slice it into individual pieces. Wrap each slice in plastic wrap. After that, place the wrapped slices into a freezer bag. Make sure to remove as much air as possible. You can freeze the slices for up to three months. When you want to enjoy a slice, just take it out and let it thaw in the fridge. To rewarm your Chocolate Marble Zucchini Bread, you have a few options. If you want it warm and cozy, preheat your oven to 350°F (175°C). Place the slice on a baking sheet and heat for about 10 minutes. You can also use a microwave. Just place the slice on a plate, cover it with a paper towel, and heat for about 15 seconds. Enjoy the taste and texture just like fresh-baked! Yes, you can use frozen zucchini. Just ensure you thaw it first. After thawing, squeeze out extra water. This keeps your bread from getting too wet. Then, use it just like fresh zucchini. Frozen zucchini works well in baked goods. Chocolate Marble Zucchini Bread lasts about 3-4 days at room temperature. Keep it in an airtight container. Look for signs of spoilage, like mold or an off smell. If it feels dry or hard, it's time to toss it. You can prepare this recipe in advance. Mix the batter and store it in the fridge for up to 24 hours. This saves you time on baking day. You can also bake it ahead and freeze slices. Just wrap them tightly in plastic wrap. This bread pairs well with a scoop of vanilla ice cream. You can also serve it with whipped cream for a treat. Fresh fruit or a dollop of yogurt make great sides too. For a drink, try pairing it with coffee or tea. Check out the [Full Recipe] for more serving ideas! This blog post covered how to make delicious Chocolate Marble Zucchini Bread. We outlined the key ingredients like grated zucchini, cocoa powder, and chocolate chips. You learned step-by-step instructions for mixing and baking, plus some essential tips and variations. Remember, this recipe is flexible. You can swap ingredients or customize it to your taste. When done right, this bread is a hit! Enjoy your baking, and I hope your loaf turns out great!](https://meltedrecipes.com/wp-content/uploads/2025/07/5ff45348-8a13-42e7-ae77-9db0e7e8a47c.webp)
Chocolate Marble Zucchini Bread Moist and Flavorful Treat
Are you ready to take your baking to the next level? This Chocolate Marble Zucchini Bread is the perfect mix of moist, rich chocolate and
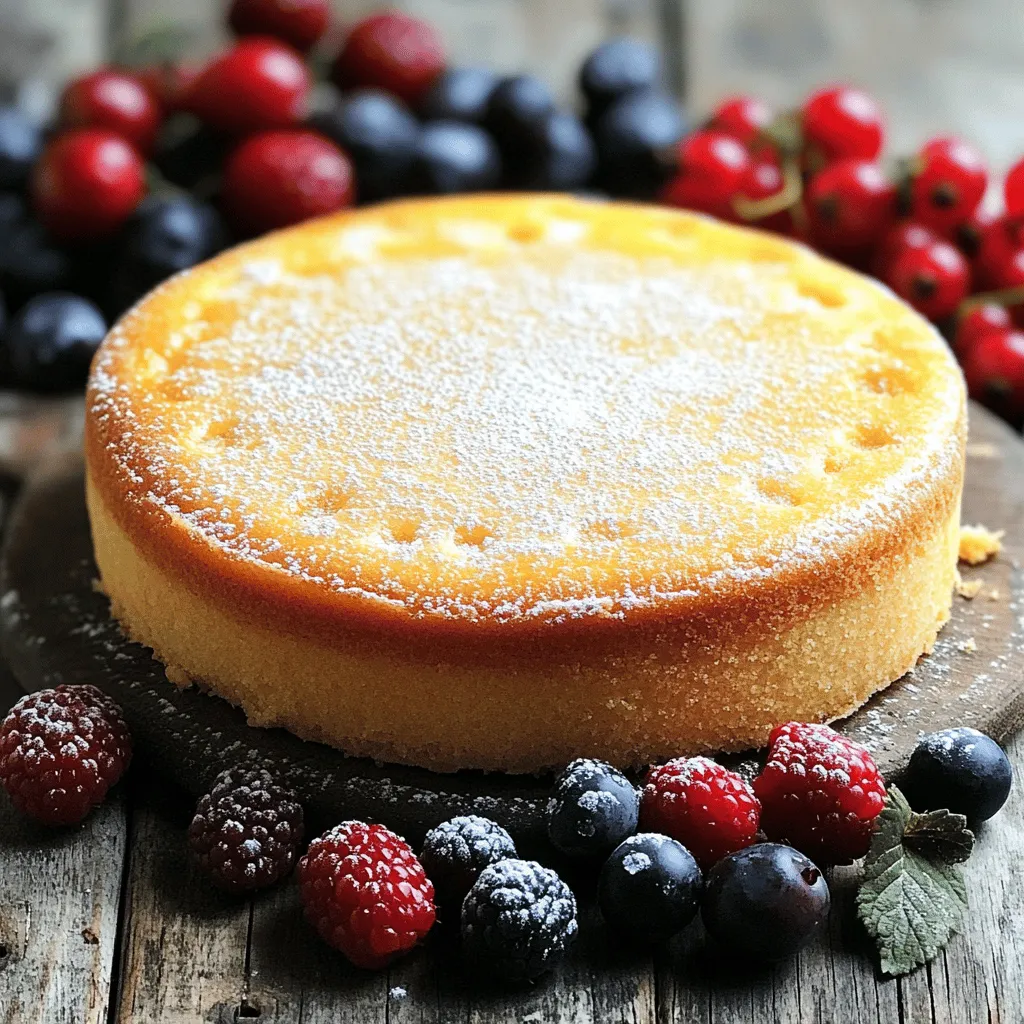
Ridiculously Easy French Butter Cake Simple Delight
Are you ready for a dessert that’s both simple and delicious? This Ridiculously Easy French Butter Cake will become your new favorite! With just a
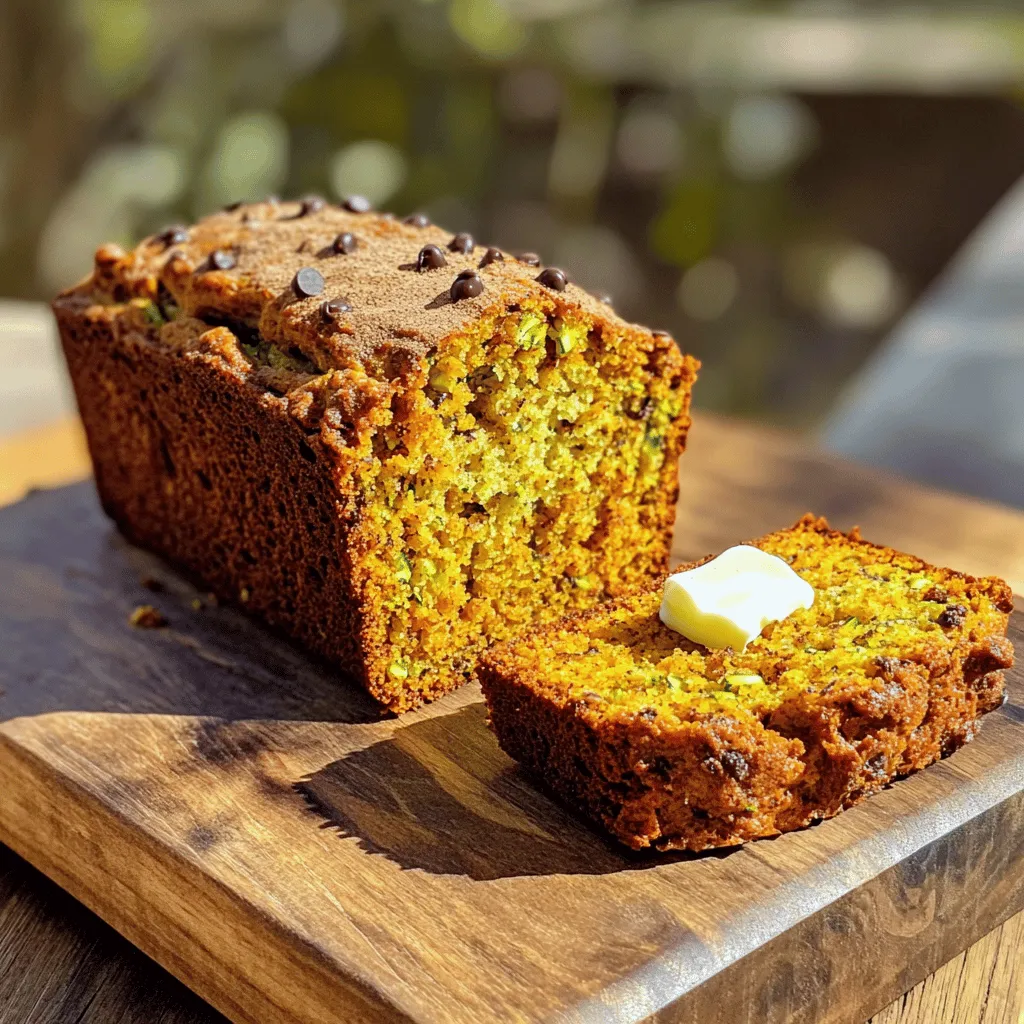
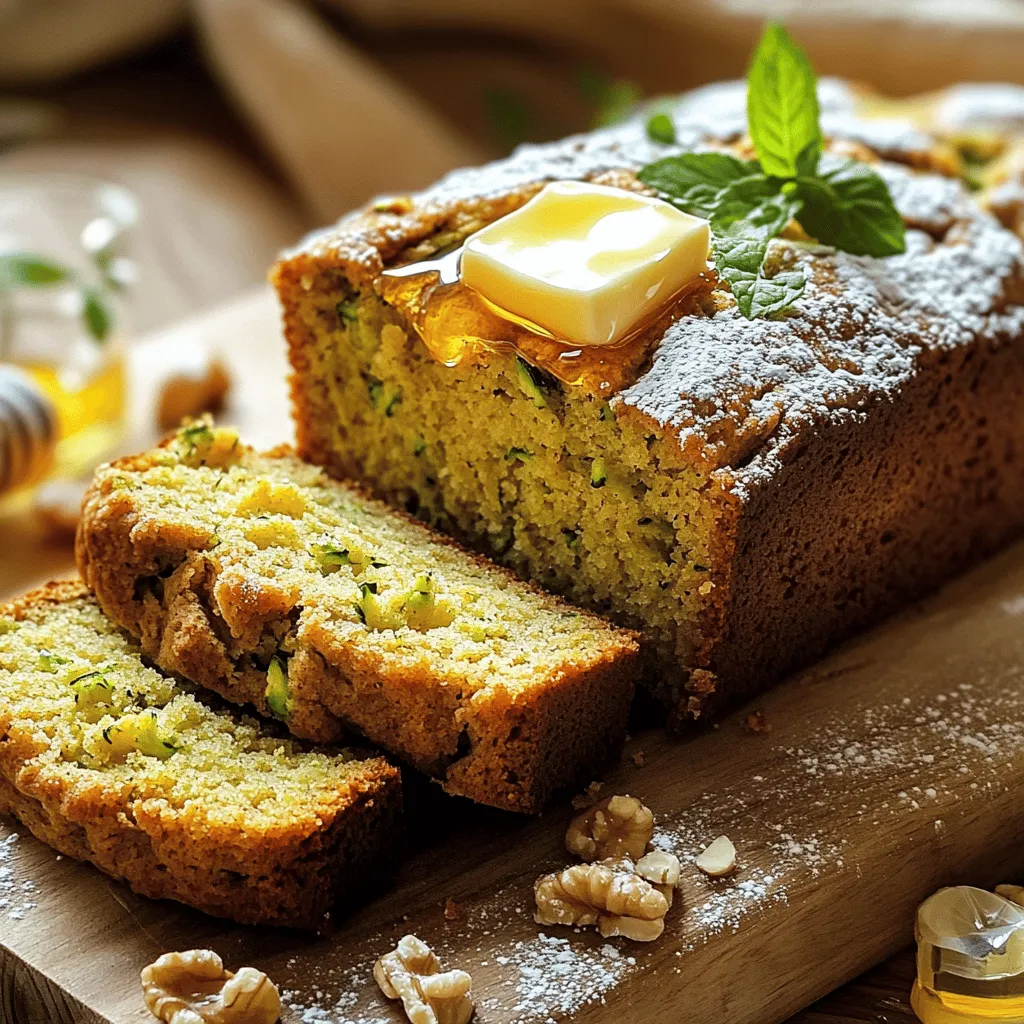
Pumpkin Zucchini Bread Easy and Flavorful Recipe
Are you ready to bake something delicious? This Pumpkin Zucchini Bread recipe is easy and packed with flavor. You’ll love it, whether for breakfast or
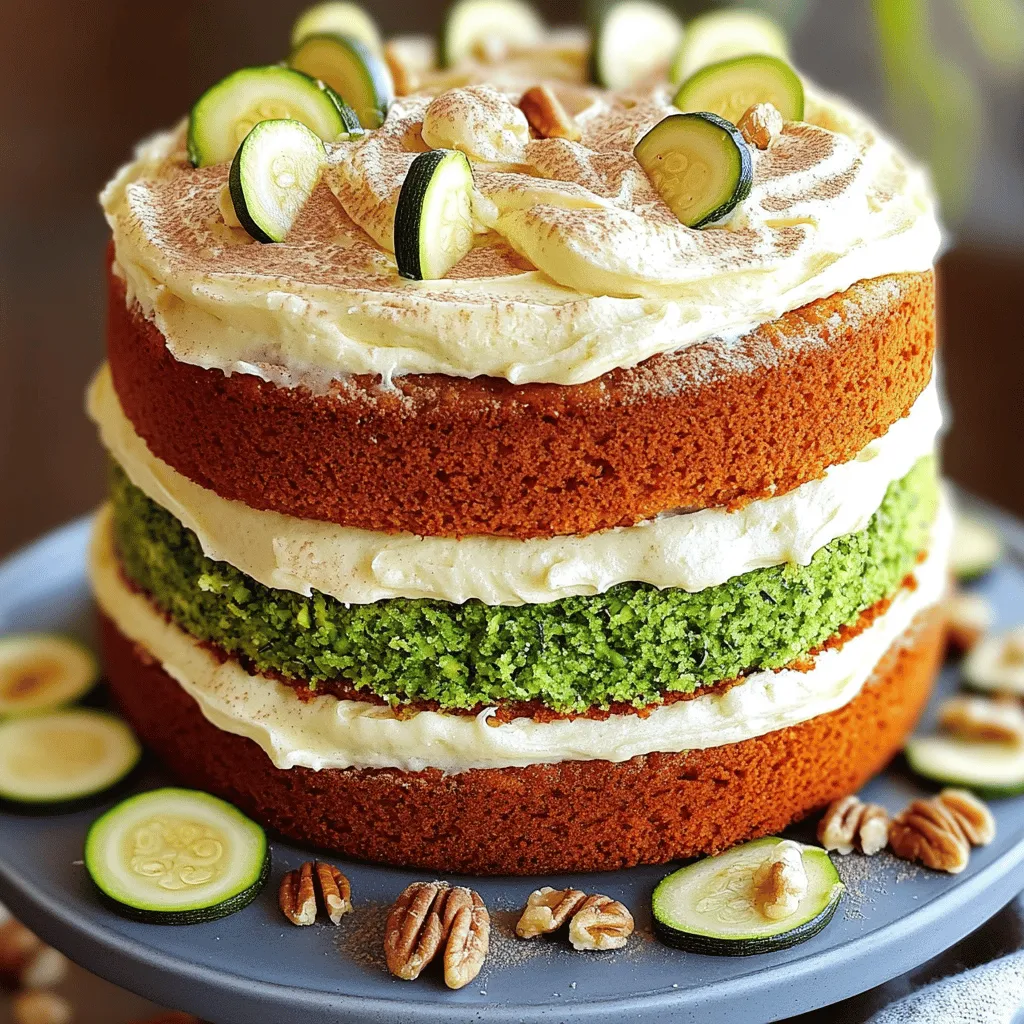
Zucchini Cake with Cream Cheese Frosting Delight
Welcome to my delicious world of Zucchini Cake with Cream Cheese Frosting Delight! If you think veggies don’t belong in dessert, think again. This cake

Strawberry Crunch Shortcake Cookies Easy and Tasty Treat
Get ready to tempt your taste buds with my easy Strawberry Crunch Shortcake Cookies! These cookies combine the sweet flavors of strawberries with a delightful
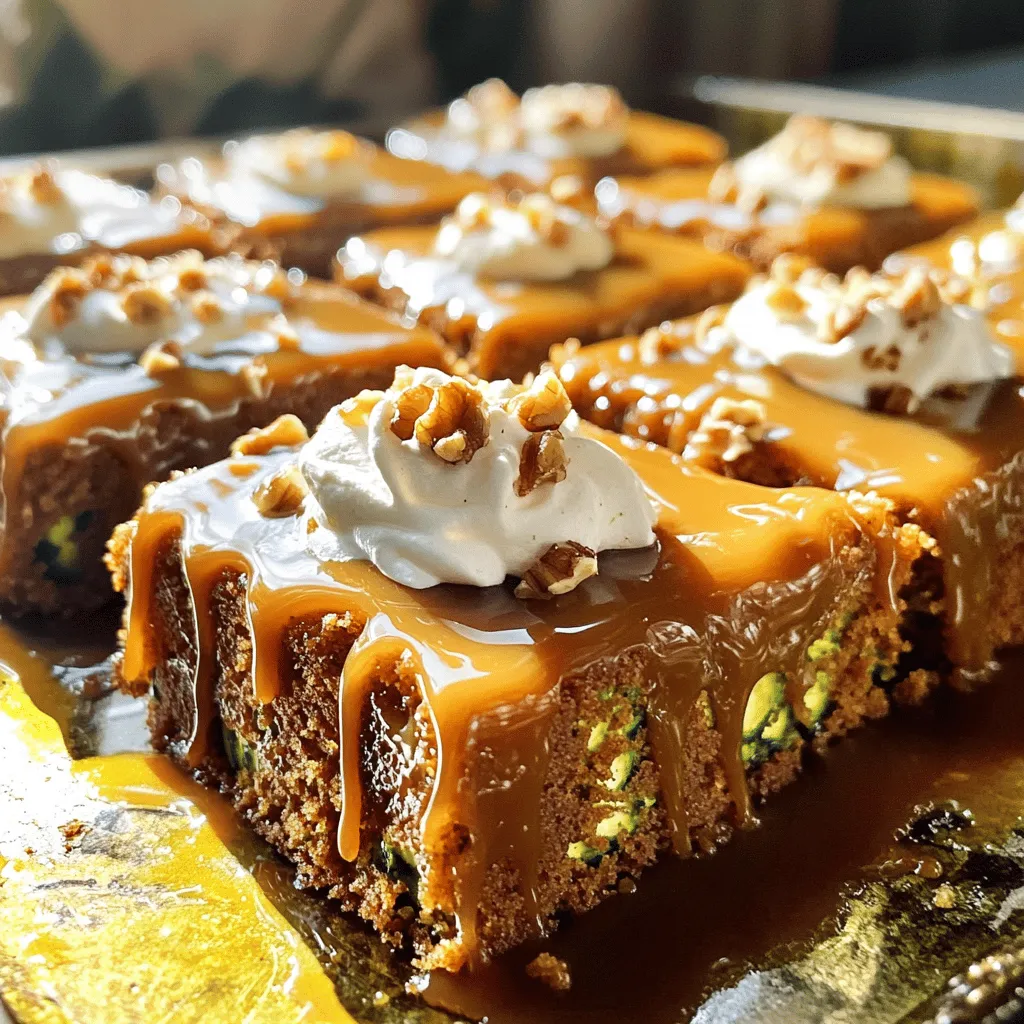
Caramel Zucchini Poke Cake Savory and Sweet Treat
Are you ready to make a dessert that’s both savory and sweet? This Caramel Zucchini Poke Cake is a delicious twist on traditional cake. Packed
Easy Gluten Free Zucchini Bread Simple and Tasty Treat
If you crave a delicious treat that’s gluten-free, look no further! This Easy Gluten Free Zucchini Bread recipe will quickly become your favorite snack. With

Bakery Style Double Chocolate Zucchini Muffins Recipe
If you’re ready to indulge in a delicious treat that combines healthy and sweet, you’re in the right place! These Bakery Style Double Chocolate Zucchini